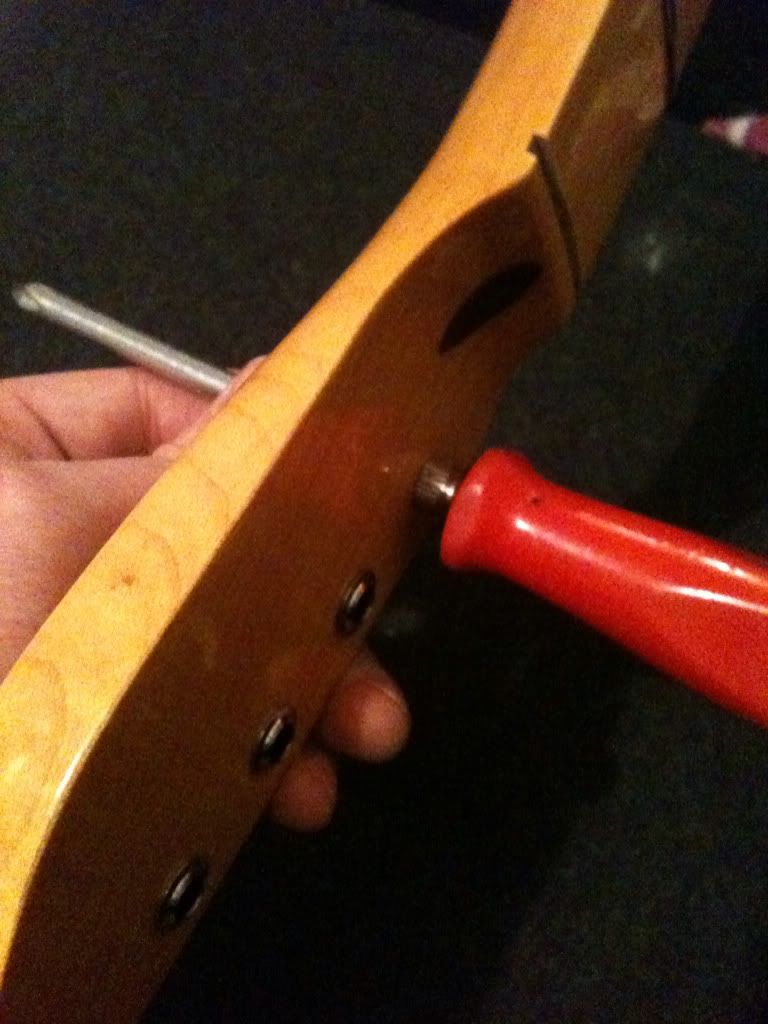
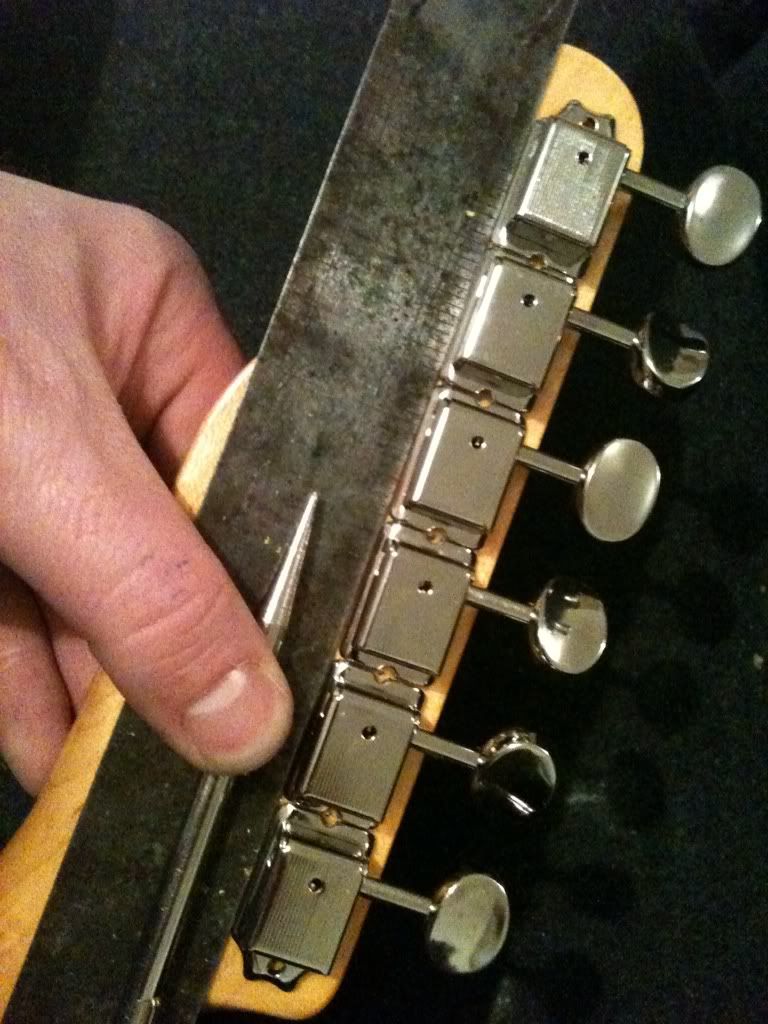
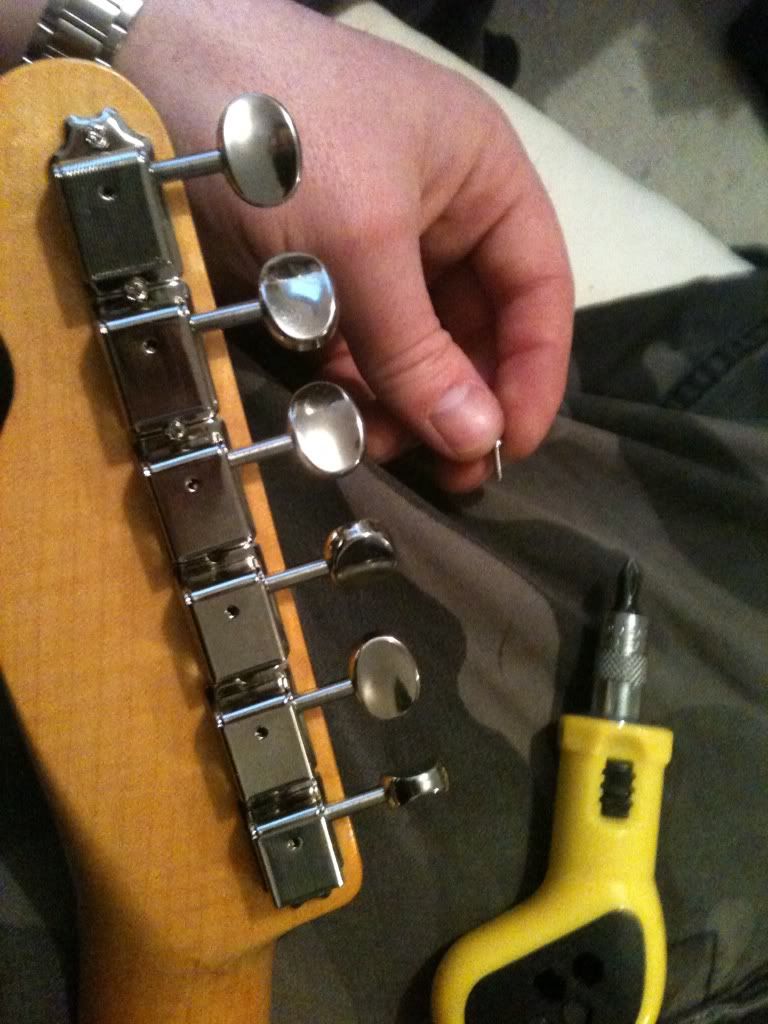
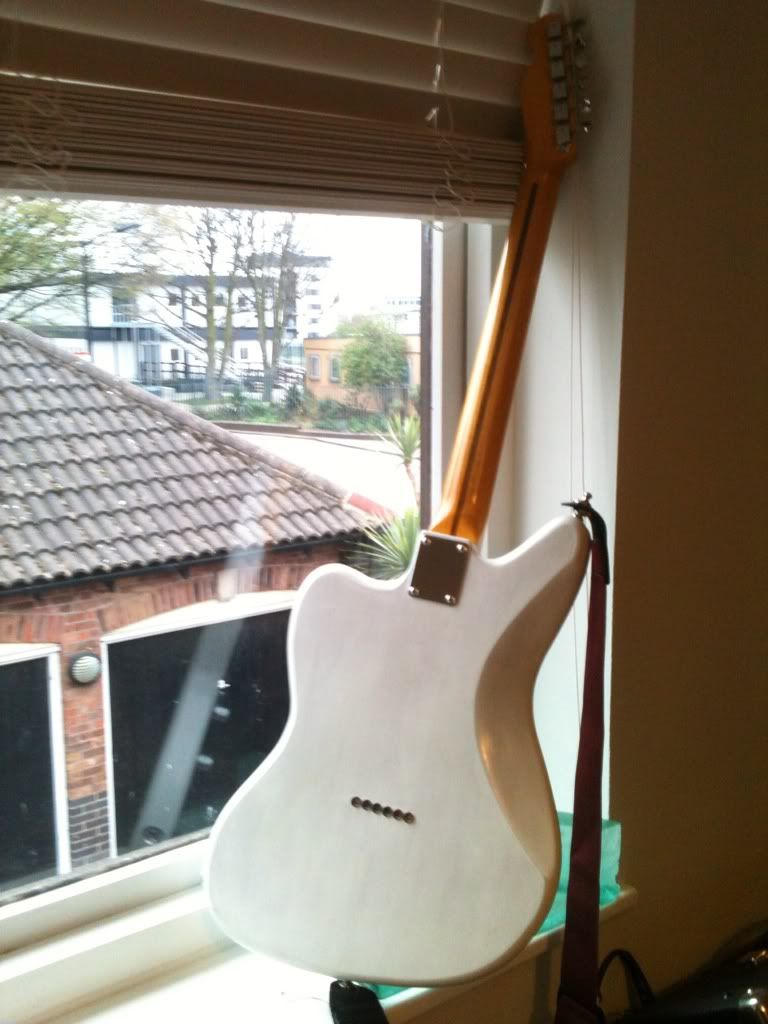
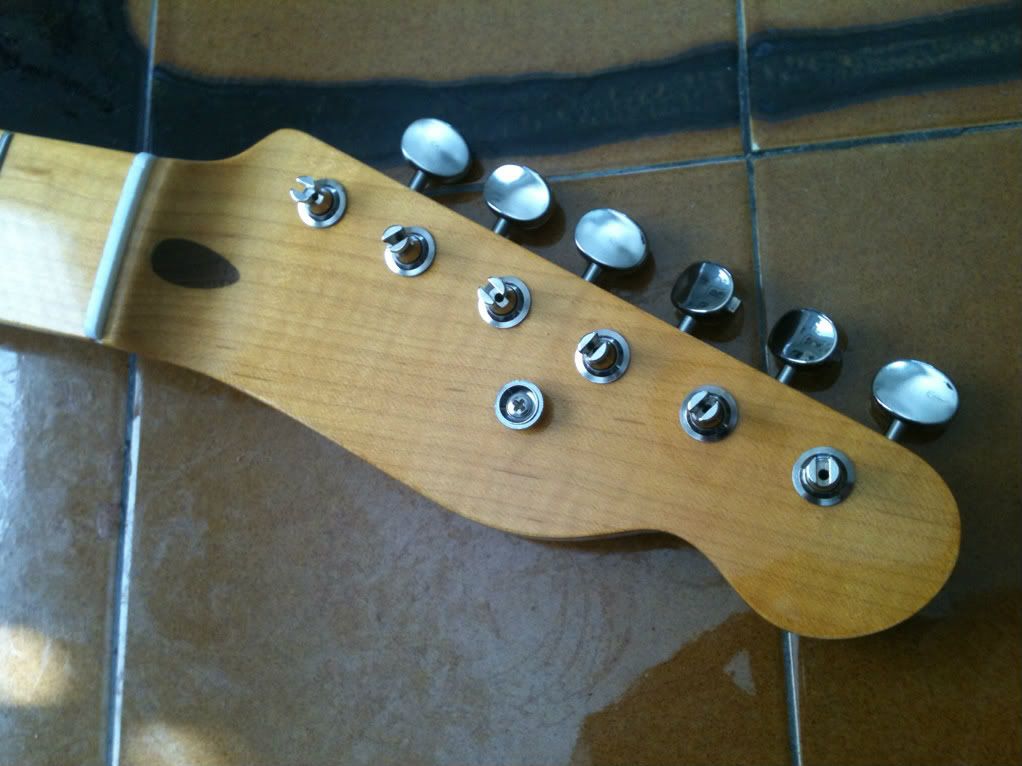
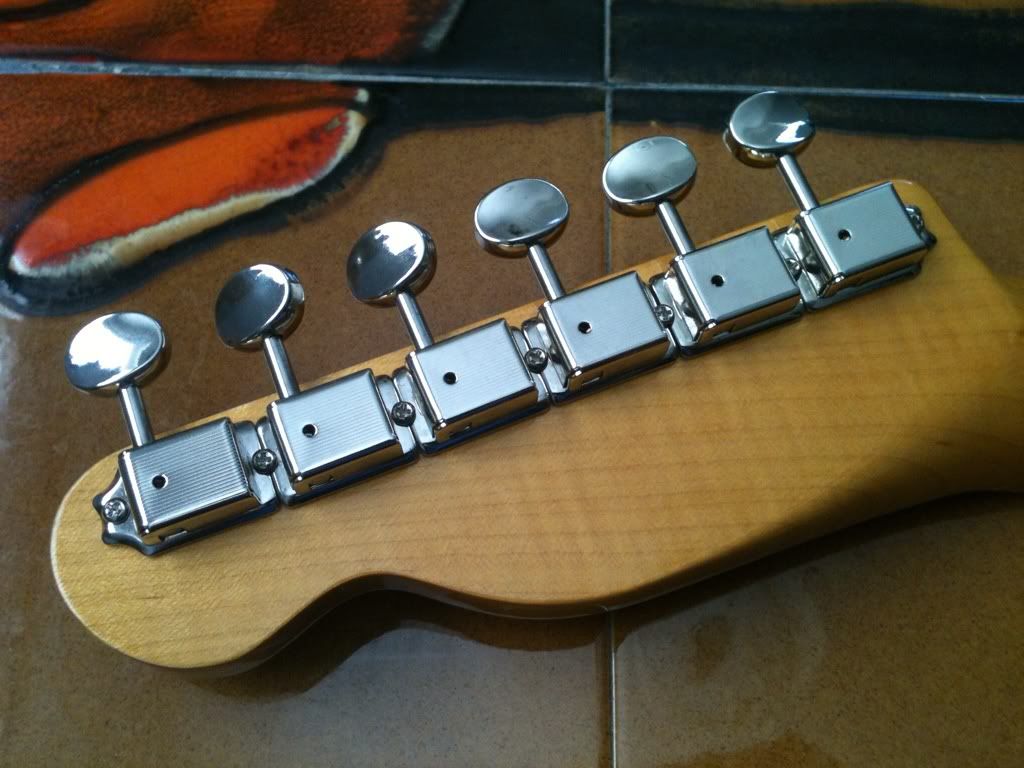
Machineheads and String tree fitted.
Found a person who supplies the decal I want, so that is also in the post to me... notice the 'M'


Using this as a guide for placement. So many variations out there !! This woll also leave me a gap (above the 'n') to put another string tree if I feel its necessary.
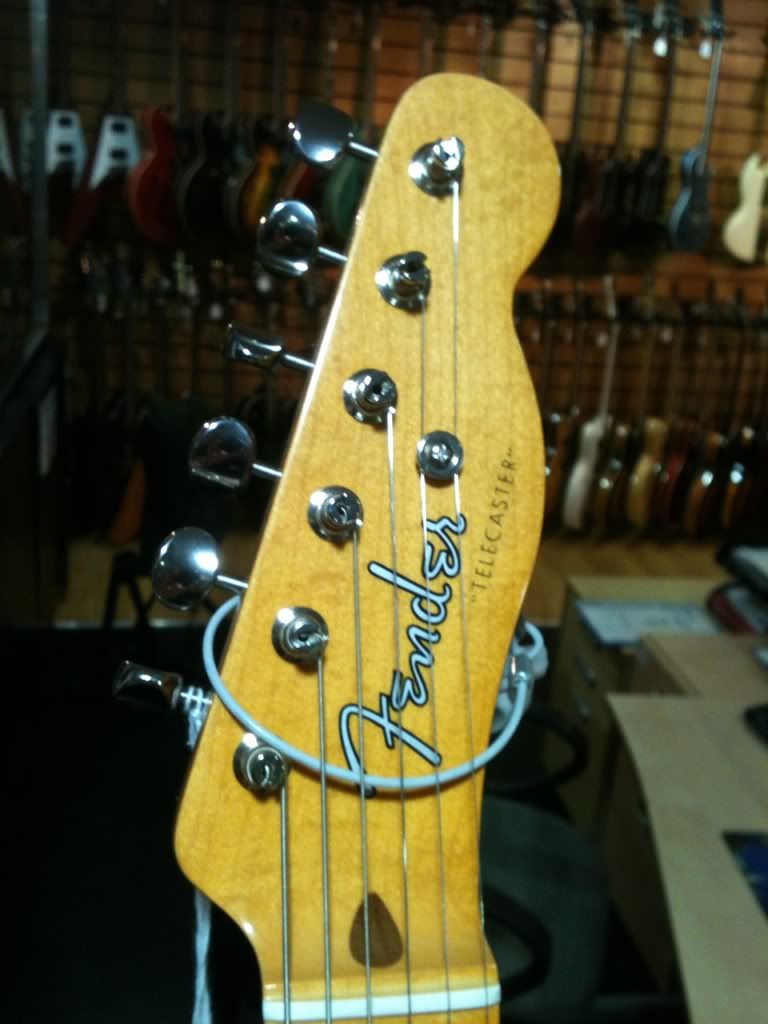
Wondering if I can get away with applying it on the gloss and without a clear coat ?
Was thinking enamel clear - brush on, or hairspray even ? Any advice appreciated.
----------------------
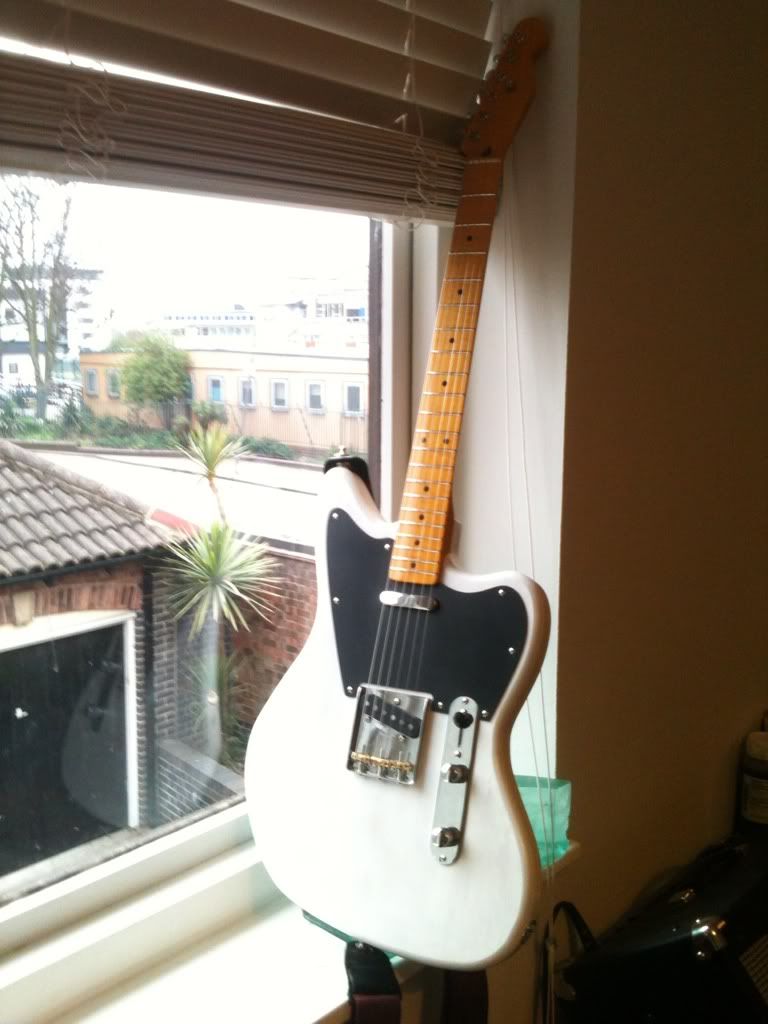
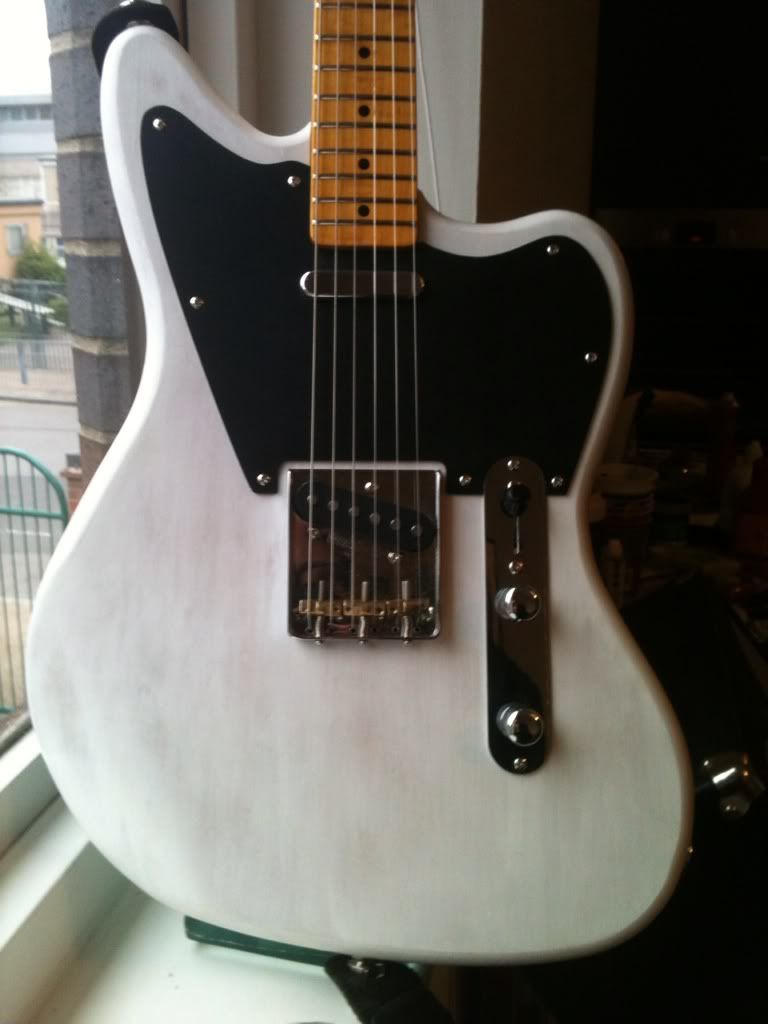
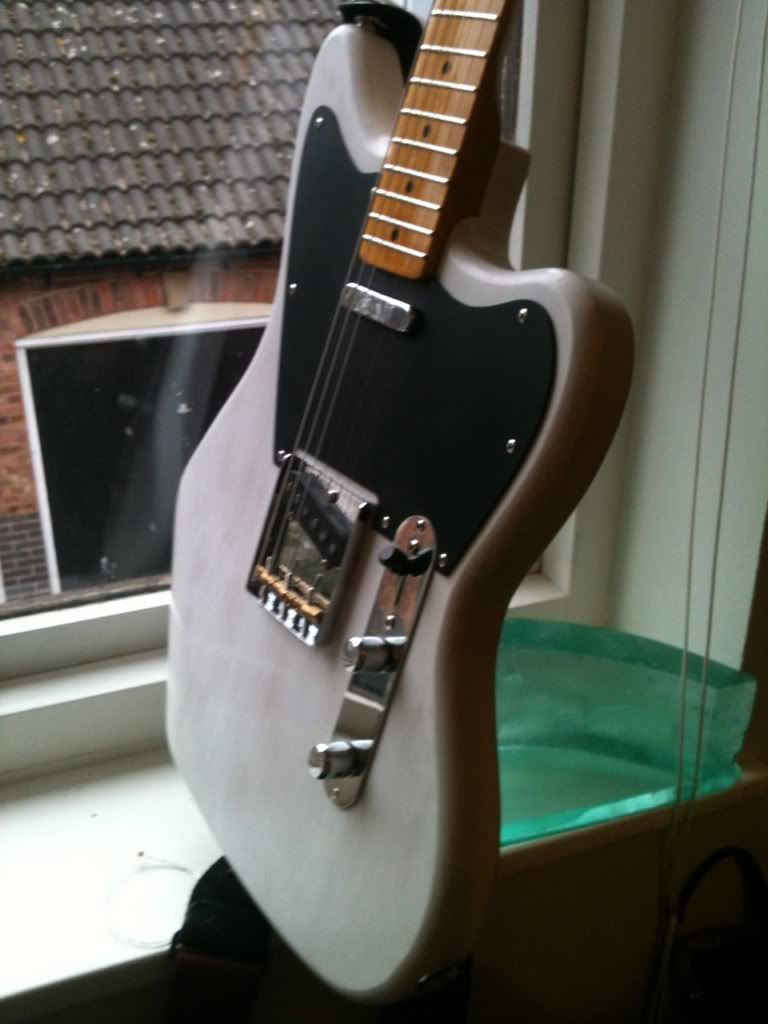
Tuners are pretty straight, nice amount of resistance in the 'axesrus' machineheads. They feel pretty good quality. Can't fault.
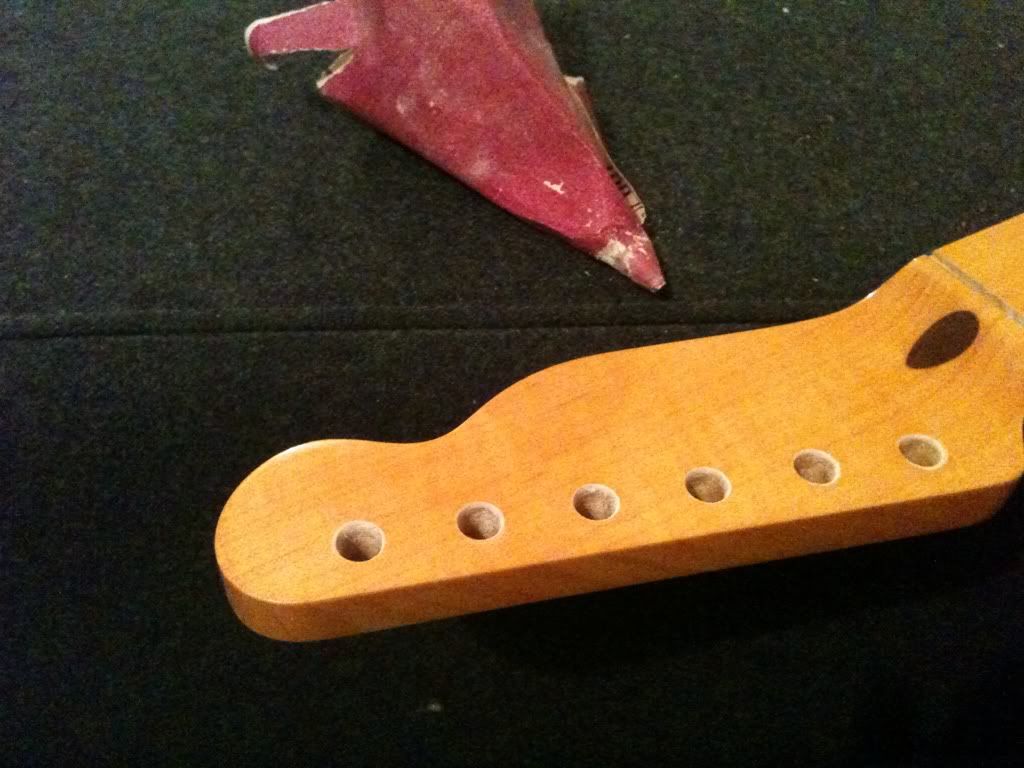
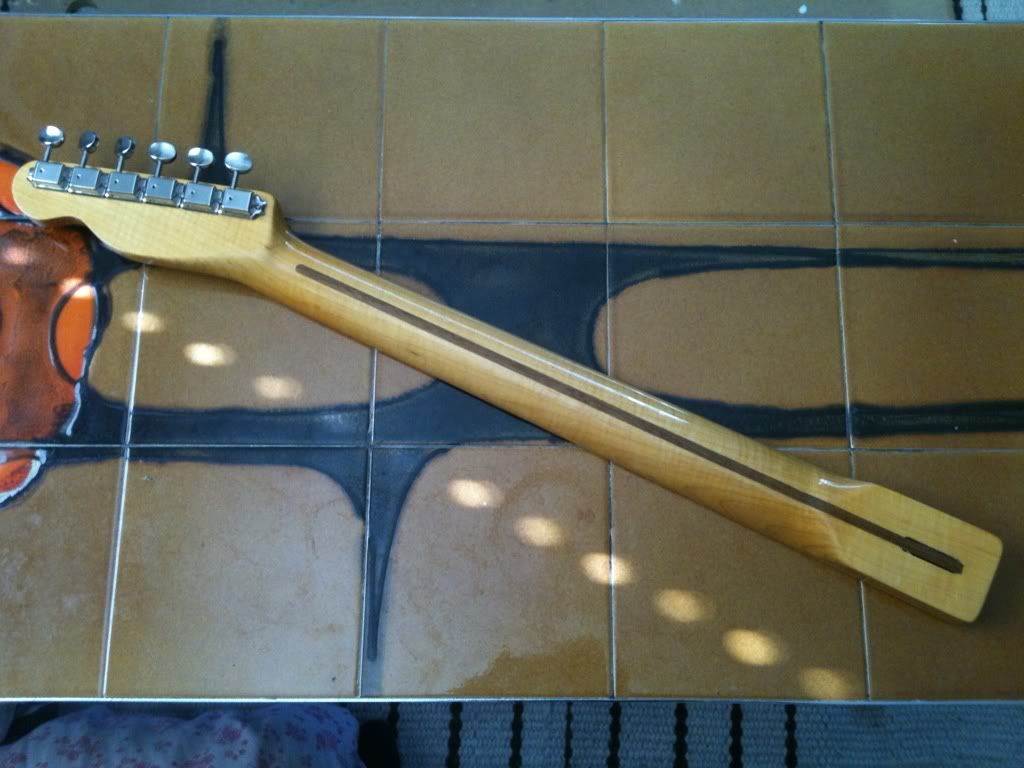
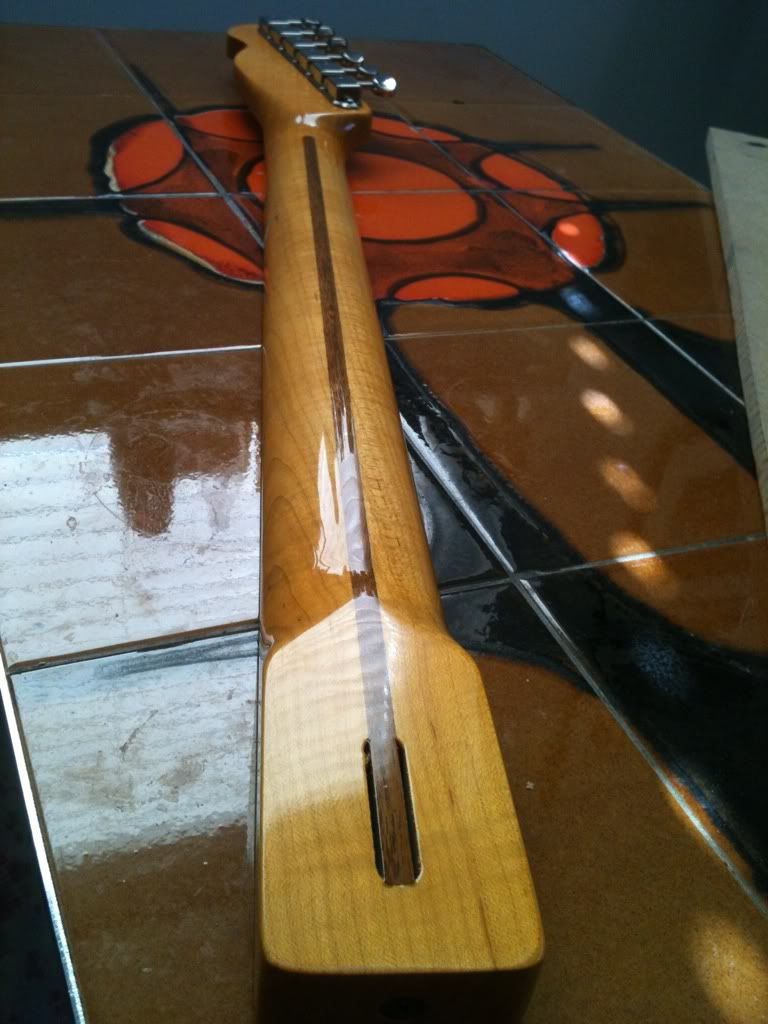
Nice grain and very subtle flame.
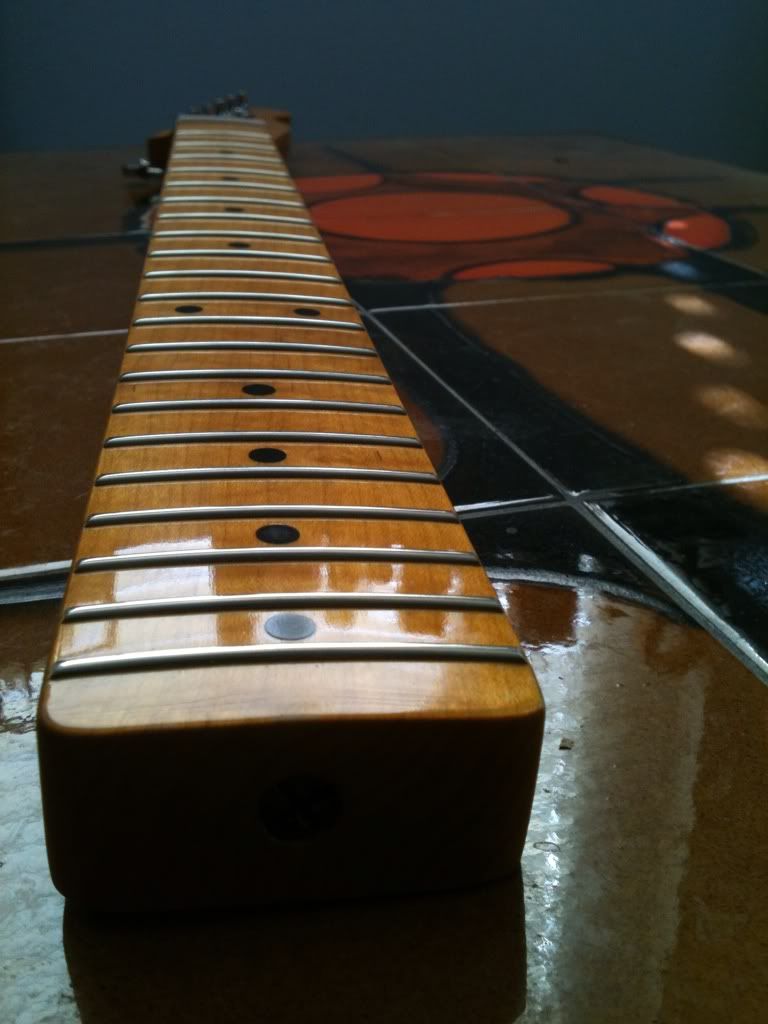
Really nicely polished frets, and no sharp ends. Happy !!
Perhaps slightly overly tinted neck which I didn't think was possible for my tastes.
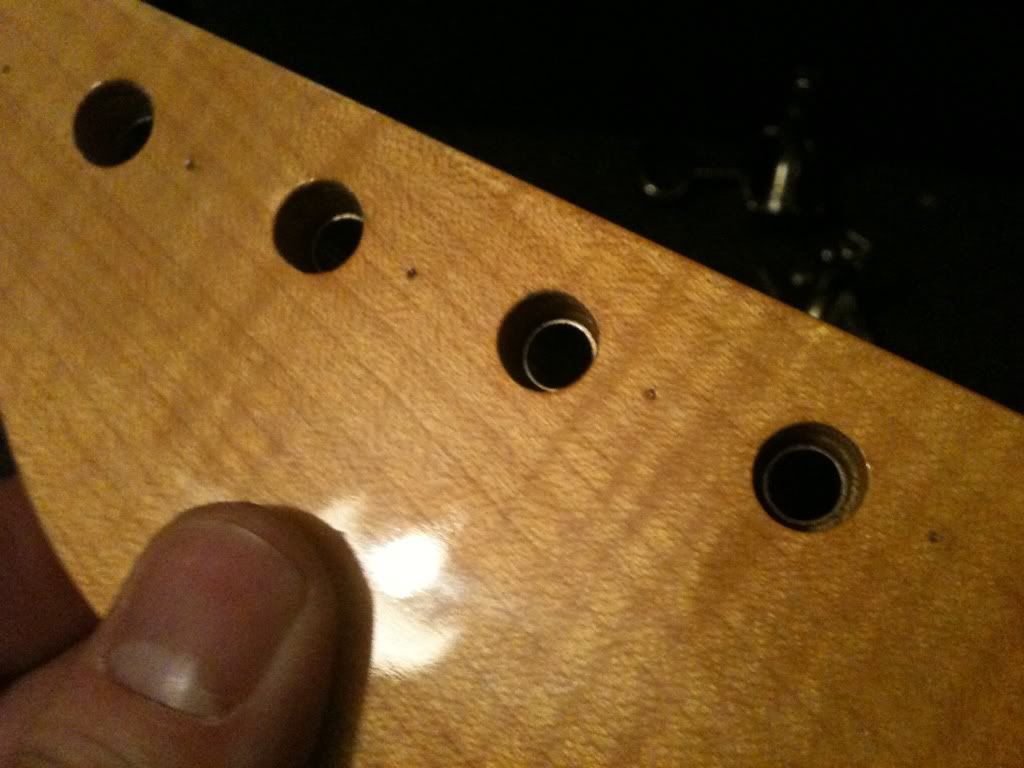
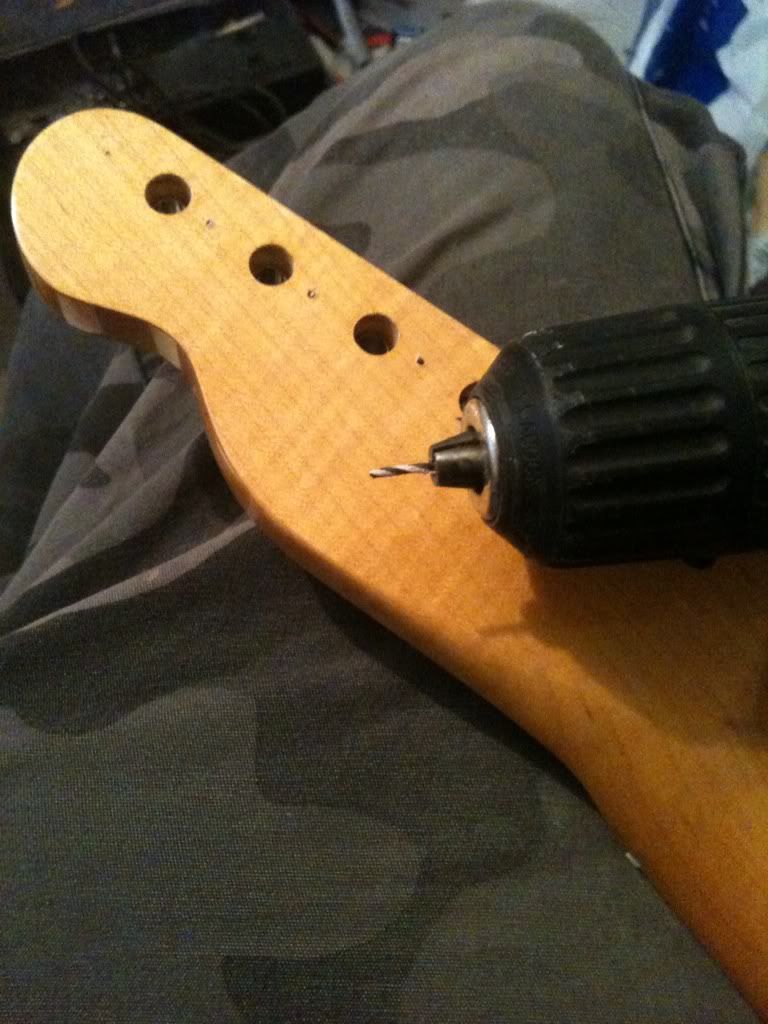
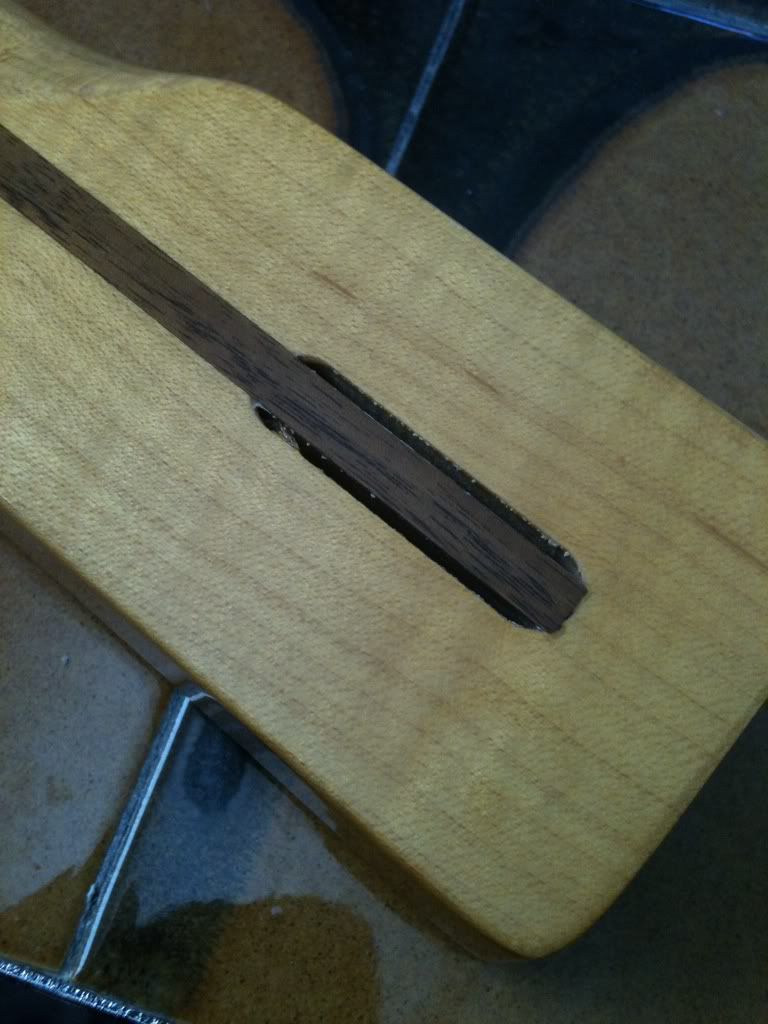
Can anyone tell me why these holes exist ? Just part of the manufacturing process ?
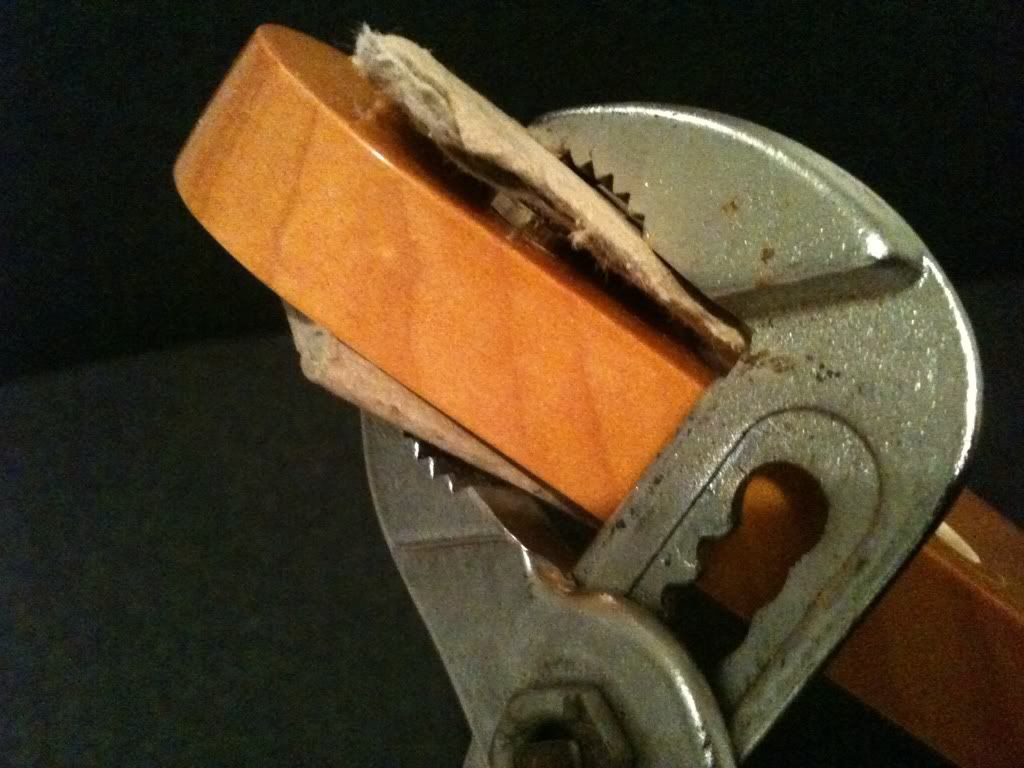
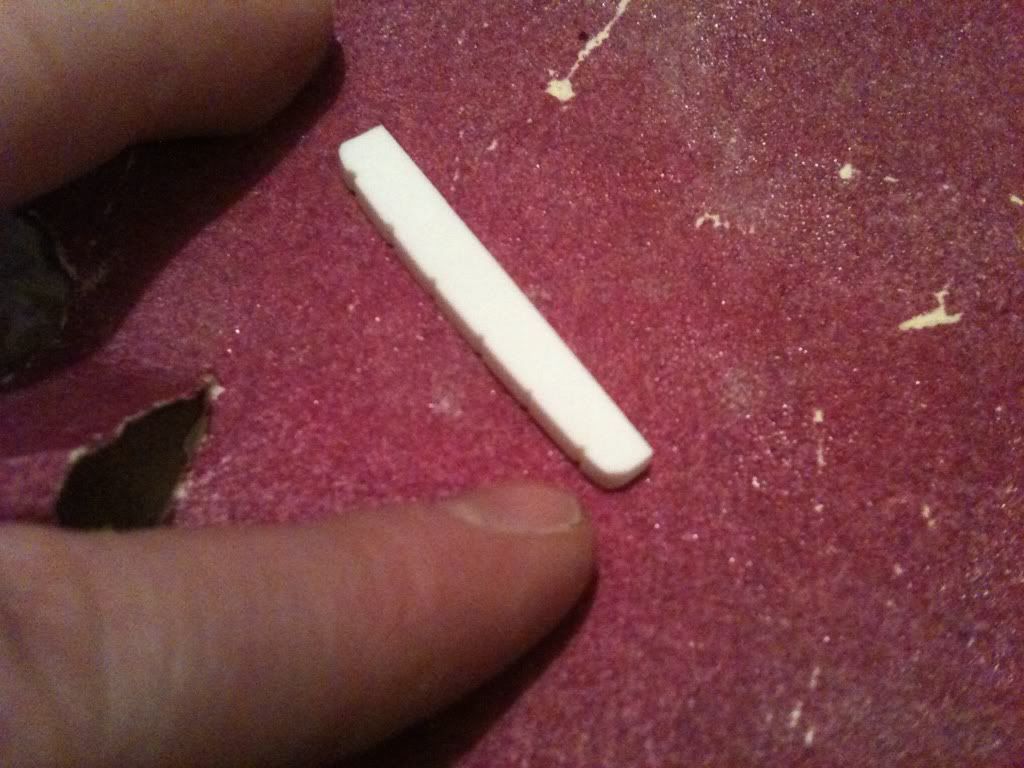
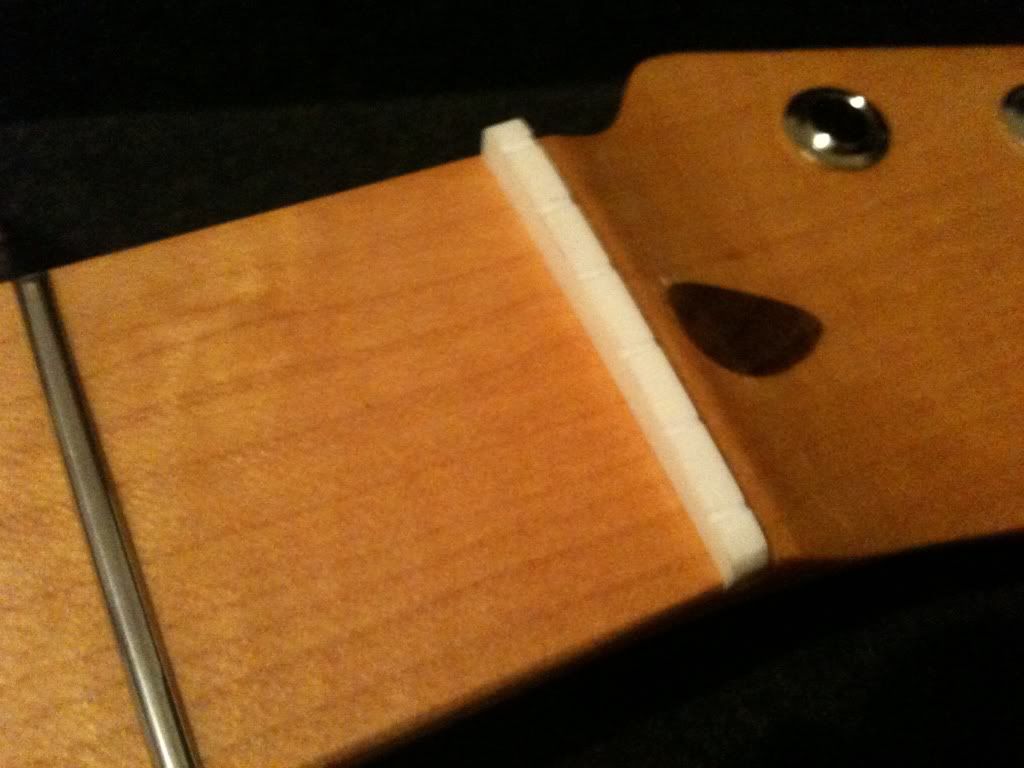
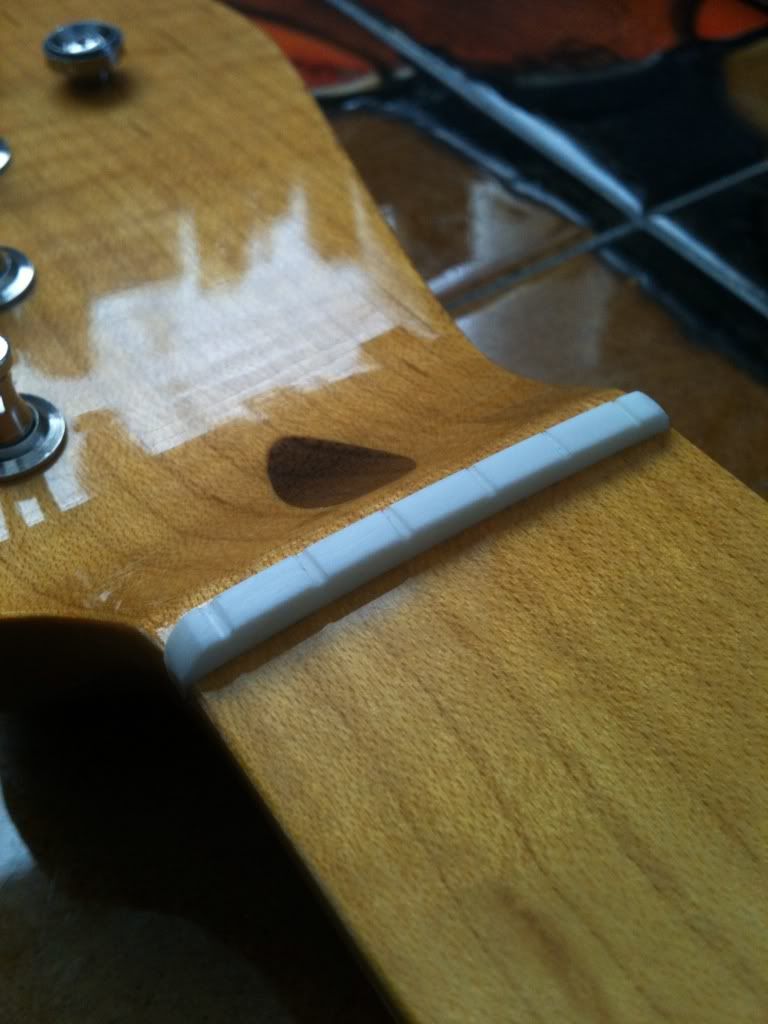
Nut shaped, but waiting for the assemble before doing anymore. Ultimately it's probably only going to be a template for a better nut eventually.
Advertised as a Bone nut, but this seems quite cheap to me. Was hoping for a Japanese Fender type material, which is ??
This one seems more Squier to me and a little plasticky and stark white.
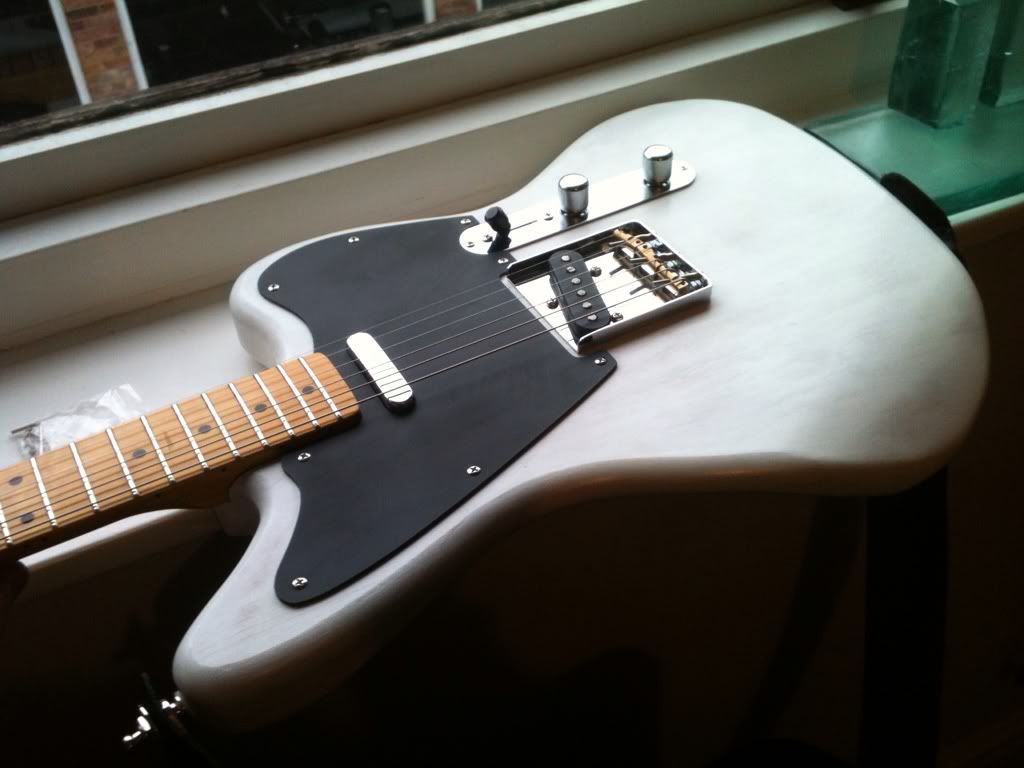
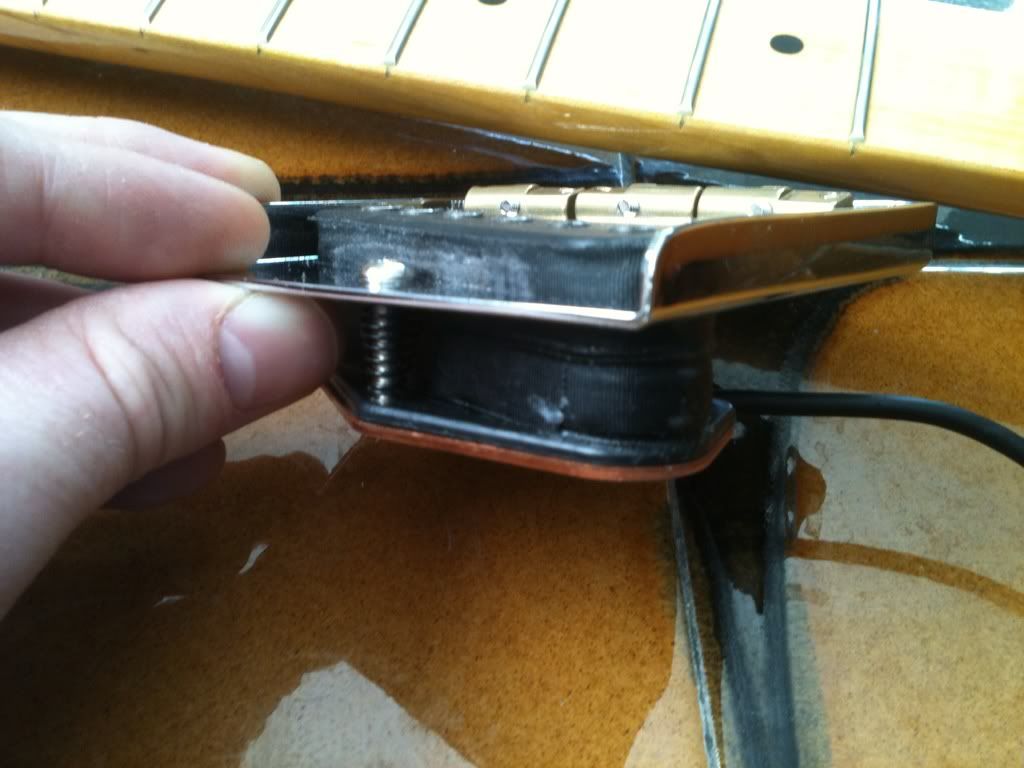
Struggled to fit the overwound bridge pickup inside the Trem pickup hole, so a tiny amount filing was need, but all good now. Took as much ribbon off as I could get away with, needs some stickyness cleaning off still. Because the pickup is double stacked as well I'm no sure the mounting screw provided will be long enough. Might just get away with it, or may have to double shim the neck for the time being. Hoping the depth of the route wont be a problem either.
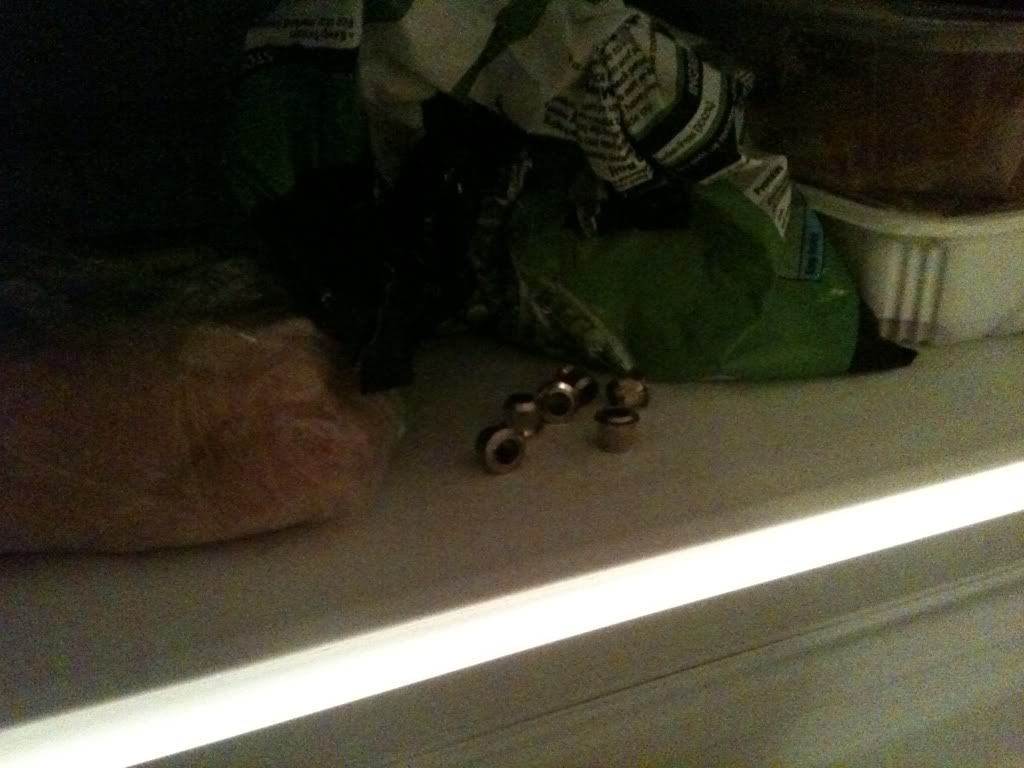
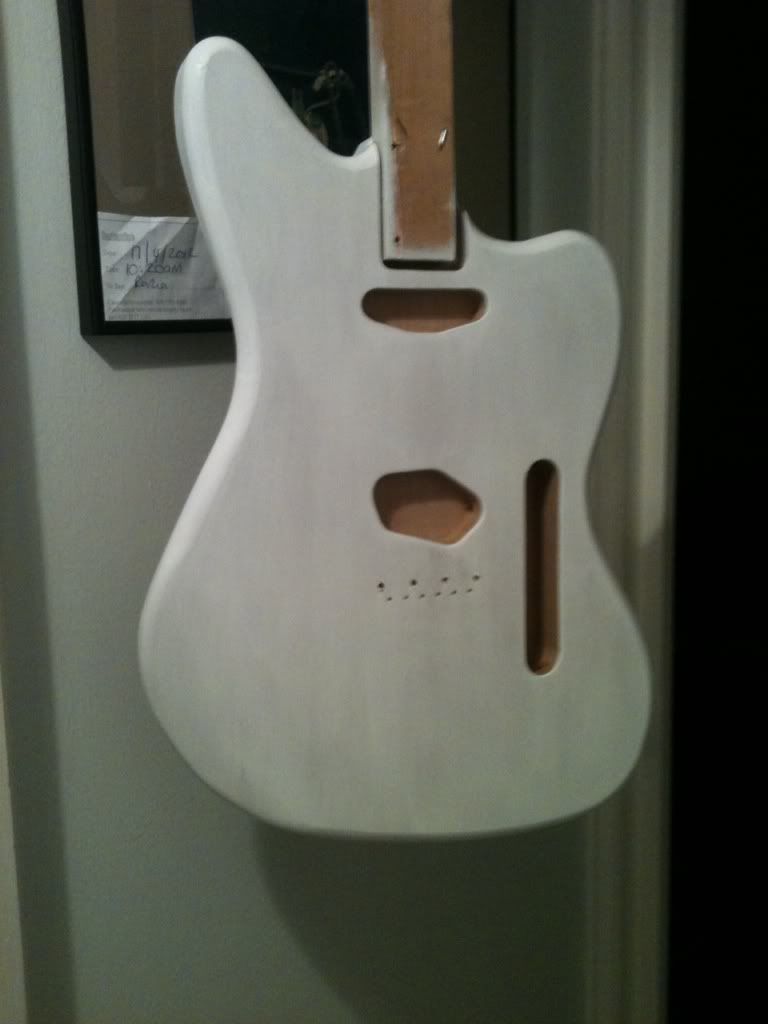
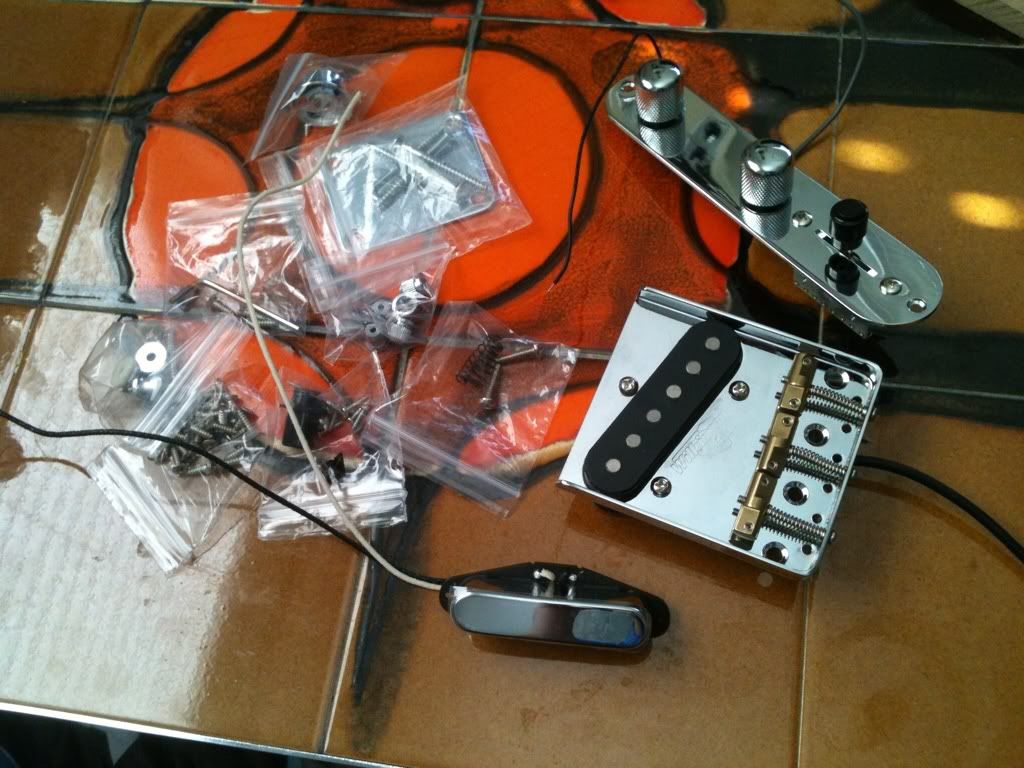
The rest of the parts, just waiting for the body now.
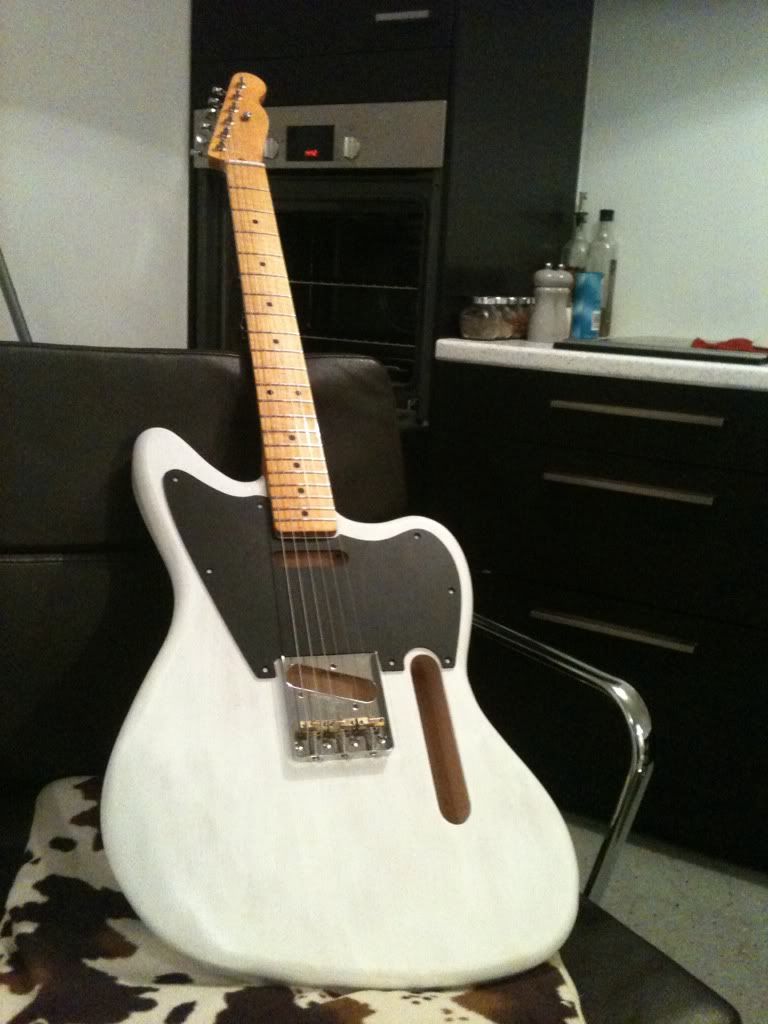
Also, Got the Tru Oil and have done some tests with the colour I'm using. Should turn out ok, and be pretty quick to do.
Aiming for something in between Gibson Worn white & Classic Vibe White Blonde. Will see how it goes.
Will be done by this time next week I reckon.
Ok, I'll stop boring you now.

 ELEMASTER