Jaguar body

Painting? Routing? Set-up tips? Or just straight-up making a guitar from scratch? Post here, and post pics!

Moderated By: mods

User avatar
andrewdoeshair
.
.
Posts: 29
Joined: Sat May 07, 2011 5:37 am
Location: Corona, CA

Jaguar body

Post by andrewdoeshair »

So I haven't taken custom requests in a long time, and I haven't been selling guitars and/or bodies much at all, but this deal felt right, so I put my recent LPJR builds on hold for a few days or weeks or whatever to knock out a Jag body.
Image

My first step was to source some alder. If you're in SoCal, look up Reel Lumber in Riverside. Their alder prices are the best I've found. I got an 8' long board, 8" wide, and 8/4 thick, for $40 after tax. I have my boards cut into 4' long sections to fit into my car.
Image
Image

Next I trace my template onto the board and try my best to A) avoid all the knots and/or cracks, and B) leave sections as long as possible on either end. If I were to use a middle section of the board, leaving an 8" long piece of scrap on each side, the scraps would be much less likely to help me, as if I were to use the end of the same section, and leave one 16" long piece of scrap. You know?
Image

After the piece is roughly cut out, I run it over my jointer, which cost me about $150 at Lowes. I went back and forth on whether or not I should buy a jointer, and whether or not this was a good one, but in the end I'm very happy with it. Easy to use, easy enough to set up. I used to use a No5 Jack plane for this, but it required too much skill. This method removes the need for skill.
Image

Back to my paragraph about useful scrap, this piece on the right here may save my butt with another build some day. It goes in the 'good' pile.
Image

And then the two sides are glued together with titebond.
Image

Moar to come, probably tomorrow...
I'm hungry
User avatar
cobascis
.
.
Posts: 3831
Joined: Sat Jun 21, 2008 4:31 pm

Post by cobascis »

i love it
User avatar
DGNR8
.
.
Posts: 4220
Joined: Sat Sep 30, 2006 2:51 am
Location: DC Area

Post by DGNR8 »

Oh my. That looks like an emerging giant.
Yell Like Hell
User avatar
aen
Turdscreamer
Posts: 7698
Joined: Sat Apr 22, 2006 5:07 am
Location: ELECTRIC WARRIOR
Contact:

Post by aen »

HAY ANDREW!
Welcome to Shortscale!
High quality, low popularity Ecstatic Fury
User avatar
mkt3000
.
.
Posts: 3000
Joined: Sun Dec 18, 2011 4:01 pm
Location: Miami

Post by mkt3000 »

Hi Andrew.

I'll take a Jaguar body and a haircut.
10 PRINT "Bite Me!"
20 GOTO 10
User avatar
cur
.
.
Posts: 7298
Joined: Sun Jan 18, 2009 8:58 pm

Post by cur »

jag and a haircut..... two bits

Image
Image
User avatar
andrewdoeshair
.
.
Posts: 29
Joined: Sat May 07, 2011 5:37 am
Location: Corona, CA

Post by andrewdoeshair »

'Sup doods. Thanks for reading! this stuff gives me something to do when I have no life at all (I currently have no life at all).

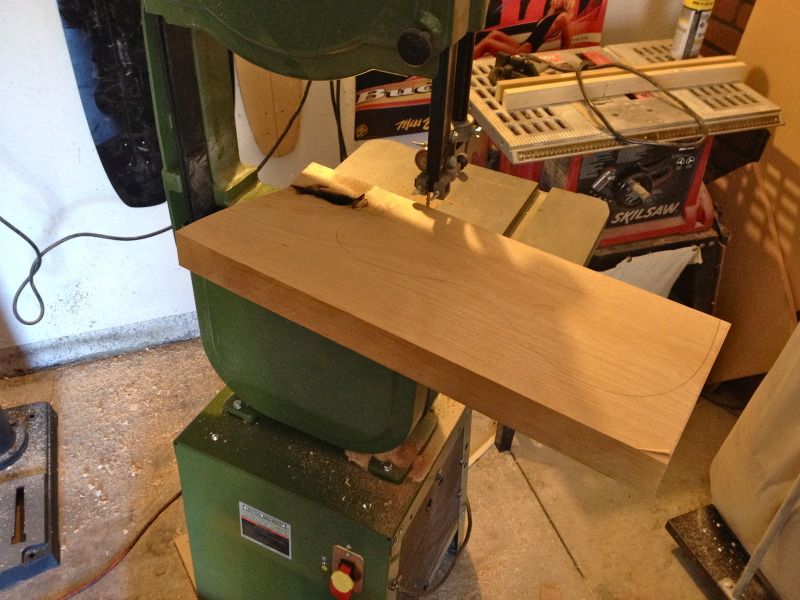
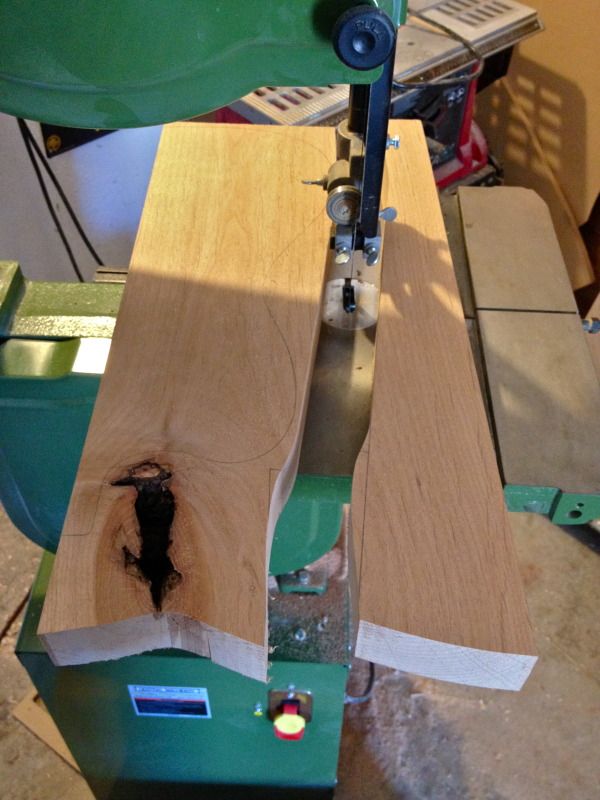
Band sawing just outside the outline. The closer I get, the less material I have to remove with the big, scary router bit later.
Image

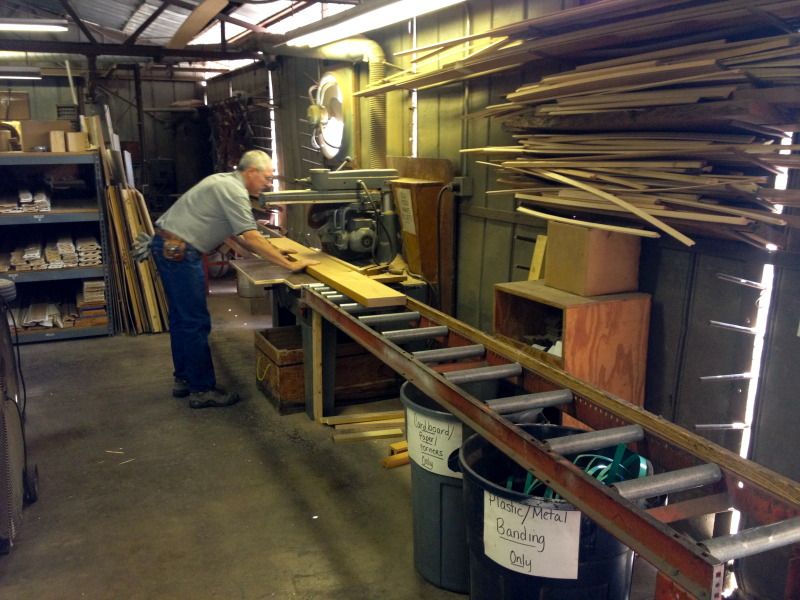
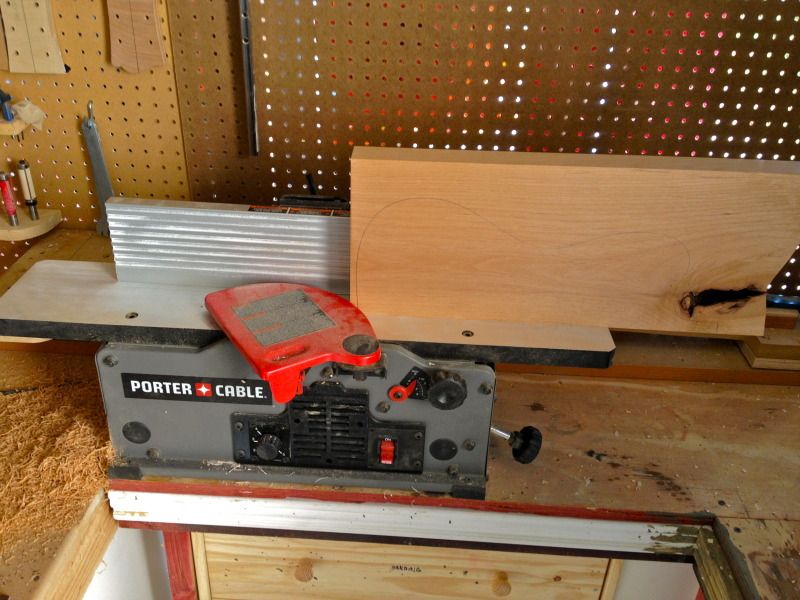
This is my planer jig. It's my down draft table with a top on it, which has dowels protruding from the bottom to align it onto the downdraft table. This top also has a pair of 2" PVC pipes screwed onto it, for the sled to ride. The sled is 2 pieces of 3/4" MDF, screwed together, and it has toggle clamps to hold my router in place (in addition to a pair of 3/4" MDF guides that fit snugly around the router). The router is held very securely. I use a very large bit to plane the surface of boards, removing very little material at a time (usually 1/16" to 1/8" at a time). The dust collector sucks the blank down to the table, and it's very hard to move it. After I get one side totally flat, I flip the blank and take the other side down to the desired thickness. A jaguar is 1.625"
Image

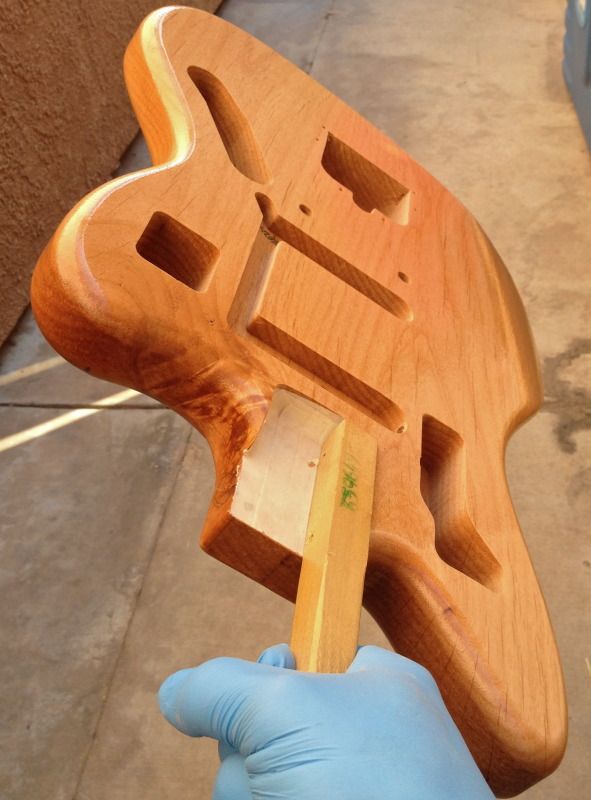
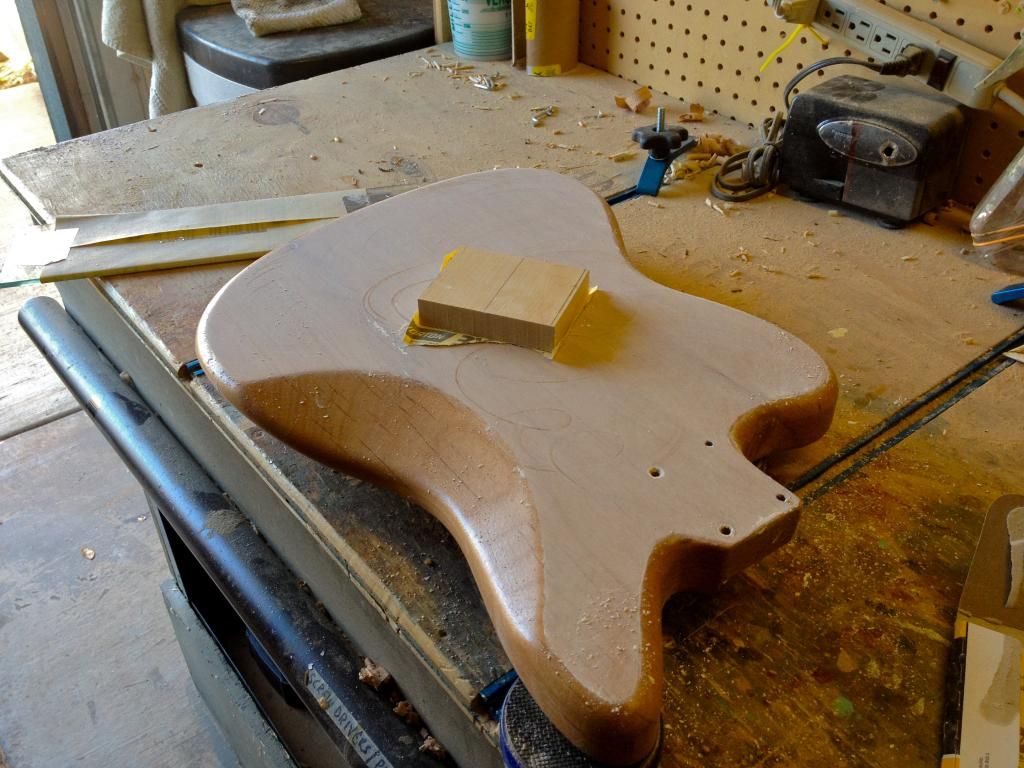
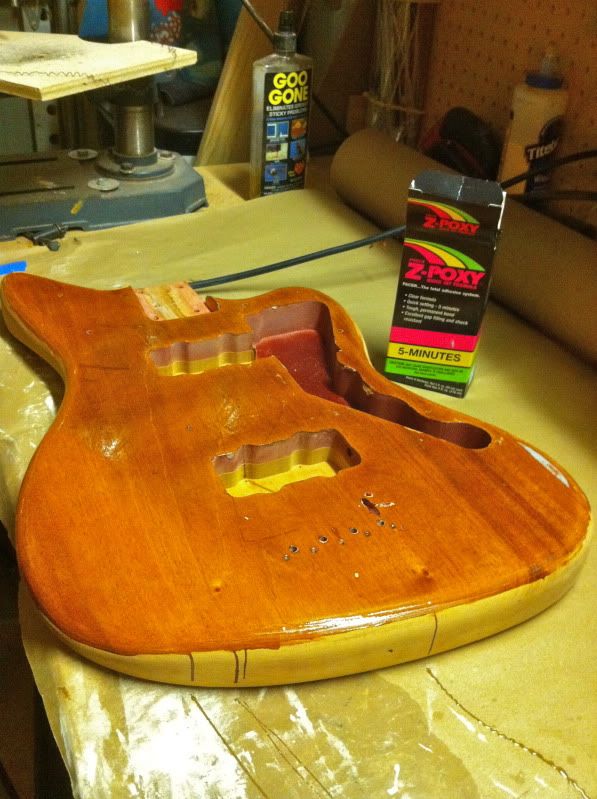
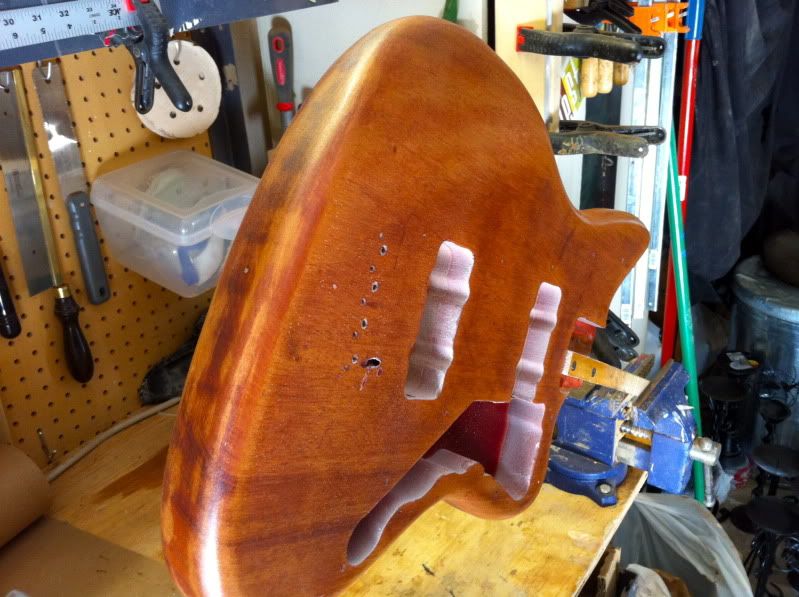
The majority of the material is removed from the cavities by using a 1" forstner bit. I use a 5/8" bit to hog out the smaller pickup cavities. The wire channel thing is so narrow and so shallow that I let the router bit do the work, there.
Image

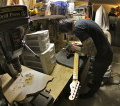
I use the world's scariest router bit to cut downhill only. I call it Satan's dong, because I'm certain that it has an evil origin, and that it wants to harm me. I hold my breath every time I use this thing.
Image

Then I keep the guitar absolutely in the same place, but I flip the entire universe upside down, and I adjust the bit to use the opposite bearing, so that I can now cut with the grain on the areas that couldn't be cut in the last dimension.
Image

The holes are transformed into routs by the use of a 1/2" diameter bearing guided bit. For other guitars I usually use a 3/4" bit for this, because it cuts so much cleaner, but these cavities are narrow, so 1/2" it is... I also drill the holes here.
Image

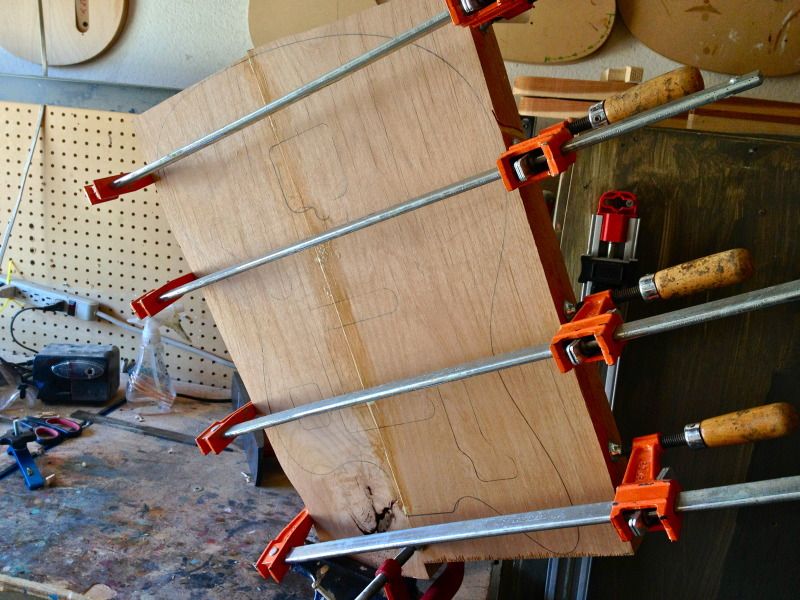
MY neck pocket templates have dowels to fit into the bridge holes, so that I can align them instantly. They are held in place by drywall screws, which leave holes that will hide under my pickups.
Image

Spindle sander to remove the slight wonks from Satan's dong.
Image

Adding roundness. Should use a 7/16" but all I have is 1/2" and I actually prefer the bubblier look this way.
Image

I carve the arm contour with a No5 Jack plane, and I do the gut cut with a band saw and then a 3" oscillating spindle sander.
Image

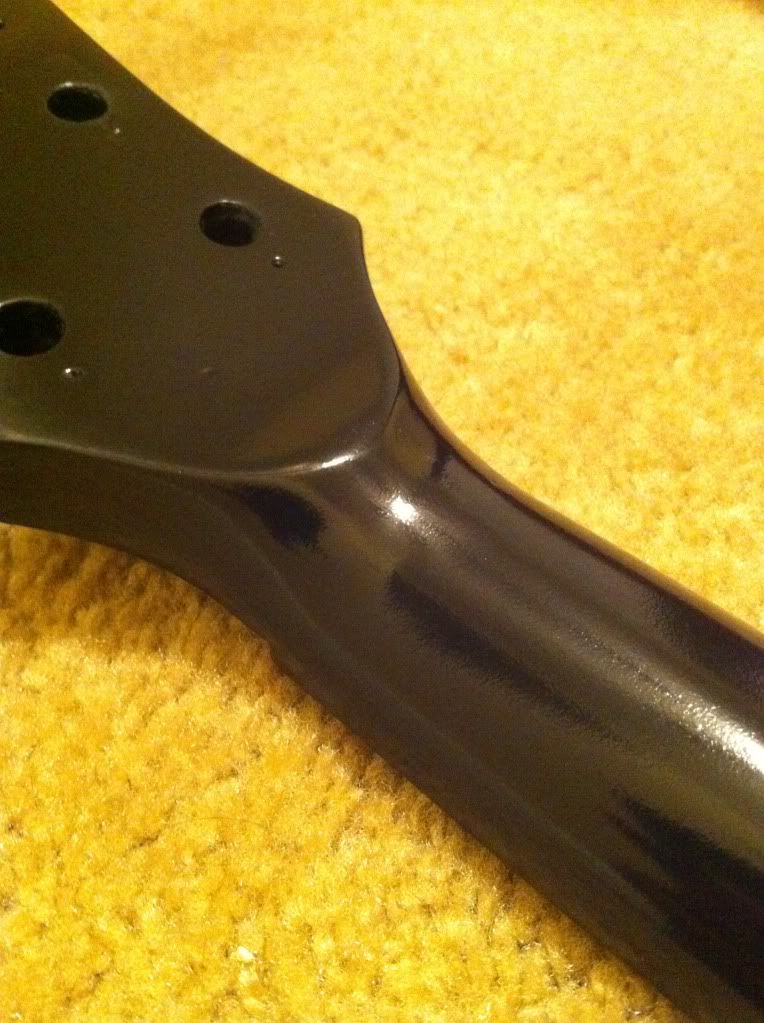
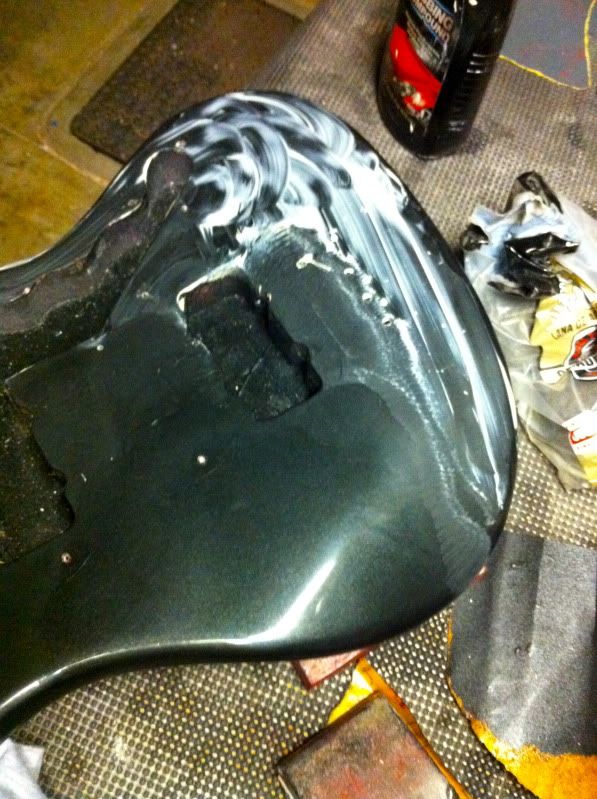
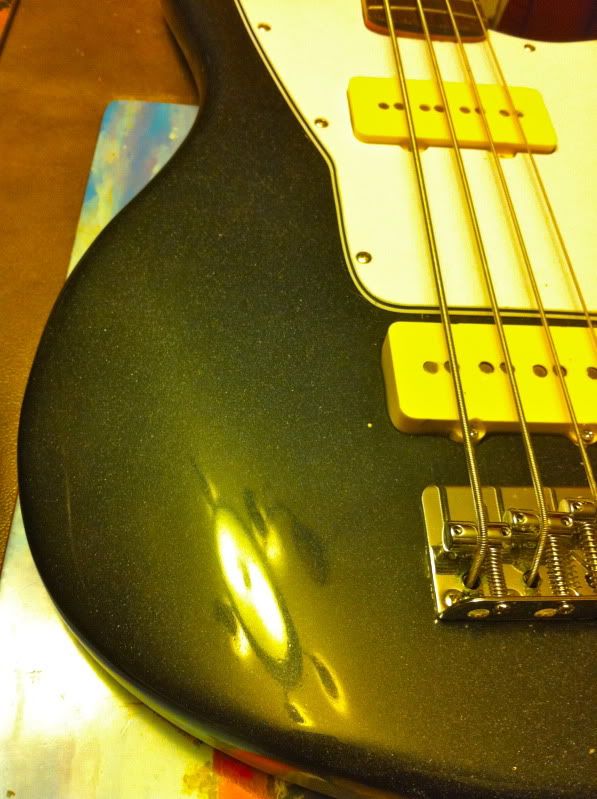
Now she just needs a good sanding, then a drippy wet coat of sealer, some more sanding, color coats, wet sand, clear coats, wet sand again, and buff.... Dang, I'm tired already.
Image


Oh, PS: my templates are made from the templates available by Paul Rhoney, through Ponoko.com. Use your google skills and go buy some, if you are into guitar making. I'm not exactly affiliated with them, I'm just a very very pleased customer. These are EASILY the best templates I've ever gotten.
Image
Image
Image
I'm hungry
mcjt
.
.
Posts: 19
Joined: Tue Dec 08, 2009 2:47 pm

Post by mcjt »

looks great, fellow offset lover!
Jazzmaster and Coronado lover
User avatar
andrewdoeshair
.
.
Posts: 29
Joined: Sat May 07, 2011 5:37 am
Location: Corona, CA

Post by andrewdoeshair »

After I sanded the body from 80 on up to 220, I sprayed a pretty dry coat of Behlen vinyl sealer, then a few very wet coats of it. It's all drippy and gross, but I care not, because this will mostly be sanded off, when I level it all out, after it's dried. Then I'll shoot another couple of coats of it, level that out, and THEN color coats. Cheal out that figuring on the lower horn!
Image
I'm hungry
User avatar
speedfish
.
.
Posts: 1152
Joined: Thu Oct 27, 2011 6:08 am

Post by speedfish »

Andrew,

You are amazing! Can you recreate Supersonics?

Thanks,
Disciple of Pain

"I'm like the monkey screwing the skunk. I haven't had enough, but I've about had all that I can stand!"

"Born to Lose. Live to Win." Lemmy Kilmister
User avatar
h8mtv
.
.
Posts: 1020
Joined: Mon Apr 11, 2011 1:35 pm
Location: Virginia

Post by h8mtv »

speedfish wrote:Andrew,

You are amazing! Can you recreate Supersonics?

Thanks,
User avatar
HNB
.
.
Posts: 4089
Joined: Sun Apr 15, 2012 8:32 pm
Location: Puyallup, WA

Post by HNB »

I would love a Supersonic with a normal Fender neck attachment area so I could use a standard neck on it.
User avatar
andrewdoeshair
.
.
Posts: 29
Joined: Sat May 07, 2011 5:37 am
Location: Corona, CA

Post by andrewdoeshair »

Supersonic, eh?

I could make anything I wanted to, if I woke up internally motivated to do so. The trouble is, I don't control what I'm motivated to do, I just find myself with an insanely strong desire to make one guitar, but not another, and I'll spend hours on end working on it, no eating, no sleeping, until the itch is scratched. This is why I dropped out of high school, and why I baffled and frustrated myself, my parents, teachers, and bosses all my life. I'm unstoppable, motivated, and efficient when I want to accomplish something, but I don't get to consciously decide what any something is... My parents grounding me for not doing school work never made school work a something for me, and jobs/bosses offering cash money never made mindless work a something for me, either. I've had guys offer me $500 to make them a custom body, and if it's a body that I don't feel like doing, it's totally not worth it to me, and I won't do it, but I've also given free bodies to other guys when they ask for something I feel like doing. It kind of sucks to be wired this way, but it also has kept me from working a single day of my life. Luckily I'm motivated every day to cut hair, and so I've been lucky or blessed enough to earn a decent living with something that does't feel like work.

I know a photographer who is very good at what he does, and he is also afflicted with my motivational problem, but he has taken it and really ran with it- the guy doesn't charge for his photography, which again, is in pretty high demand, but what he does is has a list on his FB page, of things he's motivated to do with it. And if anyone wants him to work, it has to be on the list and they have to provide everything necessary for him to do the job. He went to Hawaii twice on someone else's dime through this list.


Sorry, you'll get irrelevant posts like this from me anytime I post after I've had my coffee...
I'm hungry
finboy
.
.
Posts: 3564
Joined: Fri Feb 08, 2008 3:56 am
Location: Calgary, Alberta, Canada

Post by finboy »

Awesome work Andrew, that shortscale tele you/Paul is still playing awesome, can't wait to see how this turns out
User avatar
Fran
The Curmudgeon
Posts: 22219
Joined: Thu Apr 20, 2006 5:53 am
Location: Nottingham, Englandshire.

Post by Fran »

Very impressive work! :D
User avatar
andrewdoeshair
.
.
Posts: 29
Joined: Sat May 07, 2011 5:37 am
Location: Corona, CA

Post by andrewdoeshair »

I sanded the sealer flat using 220 grit dry. I used to wet sand this step, using mineral spirits, but I was advised not to by a friend who does AMAZING finishes for a large but still respectable guitar company you've heard of. He says that the wet sanding at this point will do 2 things; it will make it harder to tell when you've sanded through, and being that you're slathering the body in a lubricant, it's possible to hinder the lacquer from adhering properly later. So I use 220 dry here. A large flat block (glass shelf, here) for the large areas, a small flat block (maple scrap, here) for the small flat surfaces, and a high quality sanding sponge (from Rockler, forget 3M) for the round areas, until the little bumps disappear.
Image

Wiped down with a dry paper towel. I'll blast it with the air compressor before I spray the next coat, though.
Image

So I had two small knots in the back of the blank, that appeared after I planed it. In the past, I've epoxied these before sealer, and I've epoxied these after sealer. I haven't noticed a huge difference either way. But this Zpoxy is cheap, easy to use, and I can find it down the street at the hobby store. It'll be sanded flat after it dries, before I spray one more coat of the sealer (mixed with white pigment, to act as my primer).
Image


I've used the Zpoxy in the past to fill giant gaps in a headstock repair which had many missing chips. I wish I had some of the "in process" pictures, but this is all I could find. There is a complete break, 2 maple dowels, Titebond II, and a heap of
Zpoxy under there...
Image

The Zpoxy also works WONDERS as a grain filler for ash and mahogany... Enter flashback:
Image
Image
Image
Image


I've used it to finish some skateboards, too.
Image
I'm hungry
User avatar
serfx
ss.o bastard son
Posts: 6411
Joined: Tue Jan 15, 2008 11:34 pm
Location: Edmonton Alberta
Contact:

Post by serfx »

Looks great.

how did the skateboard end up?
User avatar
DGNR8
.
.
Posts: 4220
Joined: Sat Sep 30, 2006 2:51 am
Location: DC Area

Post by DGNR8 »

Not for nothing, but I had just started using Zpoxy as a filler and found it hard to work with for some things. I read up on it and realized I was using the 5 Minute kind, but wanted the Finish kind. It hasn't arrived in the mail yet, and I am sure it's a lousy buzz.
Yell Like Hell
User avatar
andrewdoeshair
.
.
Posts: 29
Joined: Sat May 07, 2011 5:37 am
Location: Corona, CA

Post by andrewdoeshair »

So when I was sanding back that epoxy, I had a less than brilliant idea to scrape it close to flat before sanding it, and I ended up pulling the epoxy right out of the holes it was filling

I had to repeat that step. But now it's really really close to ready to spray!
Image
I'm hungry
User avatar
HNB
.
.
Posts: 4089
Joined: Sun Apr 15, 2012 8:32 pm
Location: Puyallup, WA

Post by HNB »

Hot