About to embark on a new project but need a bit of advice on a couple of issues. I've never fully taken on a proper project so some of the questions may be very novice.
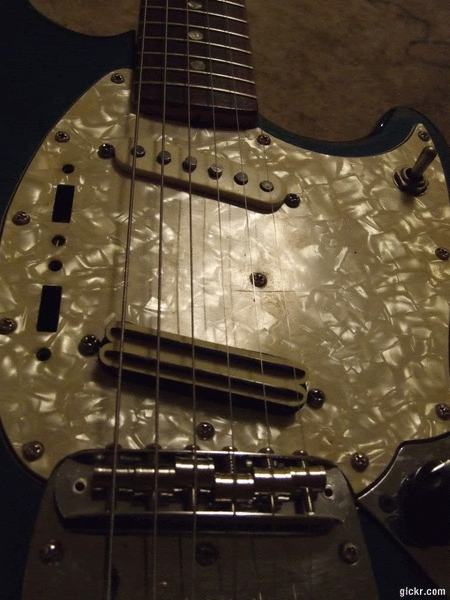
Is it possible to remove the 3-way switch on a CV Duo-Sonic and use Mustang slide switches instead? Or is it possible to change the on-off-on switch to just a 3-way switch?
Mustang slide switches
Moderated By: mods
-
Leather Jacket
- .

- Posts: 142
- Joined: Thu Oct 18, 2012 1:36 am
-
hotrodperlmutter

- crescent fresh
- Posts: 16665
- Joined: Sat Apr 04, 2009 10:29 pm
- Location: Overland Park, KS, USA


Yeah it's possible to do that, the Mustang switches are actually on/on/on switches wired with an off position in the middle. Though I've no idea why you'd want it over a toggle switch. The slider is a much worse design and the only reason I can think you would want it is because it would look a bit more like a Mustang.
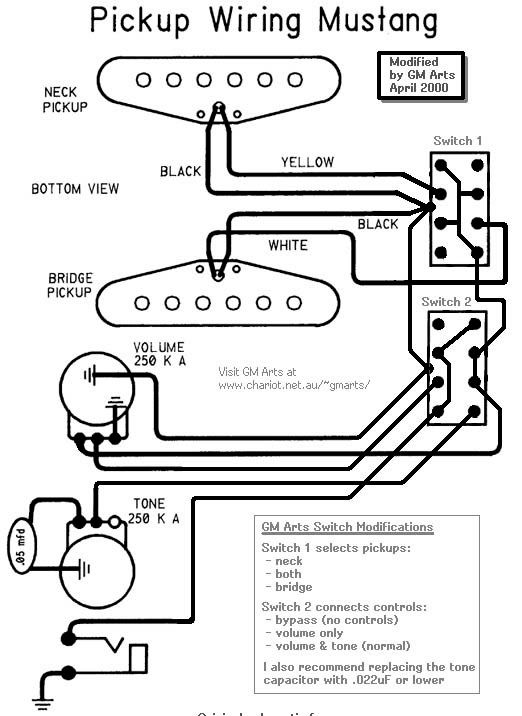
You'd need to copy Switch 1 from that diagram. How you do the rest of it depends on what you want the second switch to do.
You'd need to copy Switch 1 from that diagram. How you do the rest of it depends on what you want the second switch to do.
Shabba.
I will be cutting a pickguard tomorrow. I will document the process that I use for you with pictures. I don't have to make square holes on this one, but I will also take pictures of how I do that too with the scrap.Mooseboy wrote:Well the idea was to make it more Duo-Sonic II style
I have tools I'm just unsure of how to go about making the whole thing


A) Double stick carpet tape to pickguard material (mint/black/mint. B) Band Saw to trim. C) Close, but don't get greedy and mess up.
D) Pattern bit to flush trim. E) Trimmed to shape. F) 45 degree pattern chamfer bit set to proper height.
G) Do a test to make sure it is set correctly. H) Since this is a one off guard I did not cut out neck pocket until in final position.
I) Screw holes with 1/8 brad point drill bit and drill press. Use a very sharp counter sink. I just twist with my fingers to carve out counter sink for screw heads.
J) All screw holes except neck pocket made and screwed into position. K) Use a pattern bit and plunge router to route neck pocket perfect.
L) Placement of neck screws determined. Drill, countersink and screw in place.
This is what I did so far. I have templates for single coil and buckers pickups that I will use.
Hope this helps.
Oh yeah, I didn't get to making square holes. When I have done this in the past I mark out the hole (maybe with blue painters tape). Then drill out most of the material and use a sharp chisel to square the thing out my hand. I sharp chisel will go through the pickguard plastic like butter. Just use a piece of scrap wood to back it up.