Making a pickup mount using nothing but my bare hands

Painting? Routing? Set-up tips? Or just straight-up making a guitar from scratch? Post here, and post pics!

Moderated By: mods

User avatar
ekwatts
A series of tubes
Posts: 24579
Joined: Tue Apr 18, 2006 10:35 pm
Location: Bongchester

Making a pickup mount using nothing but my bare hands

Post by ekwatts »

And a motorised plotter designed for scrapbooking (I'm not even really sure what scrapbooking really is) and fabric patterns to cut a design out of plasticard.

Here's the machine:

Image

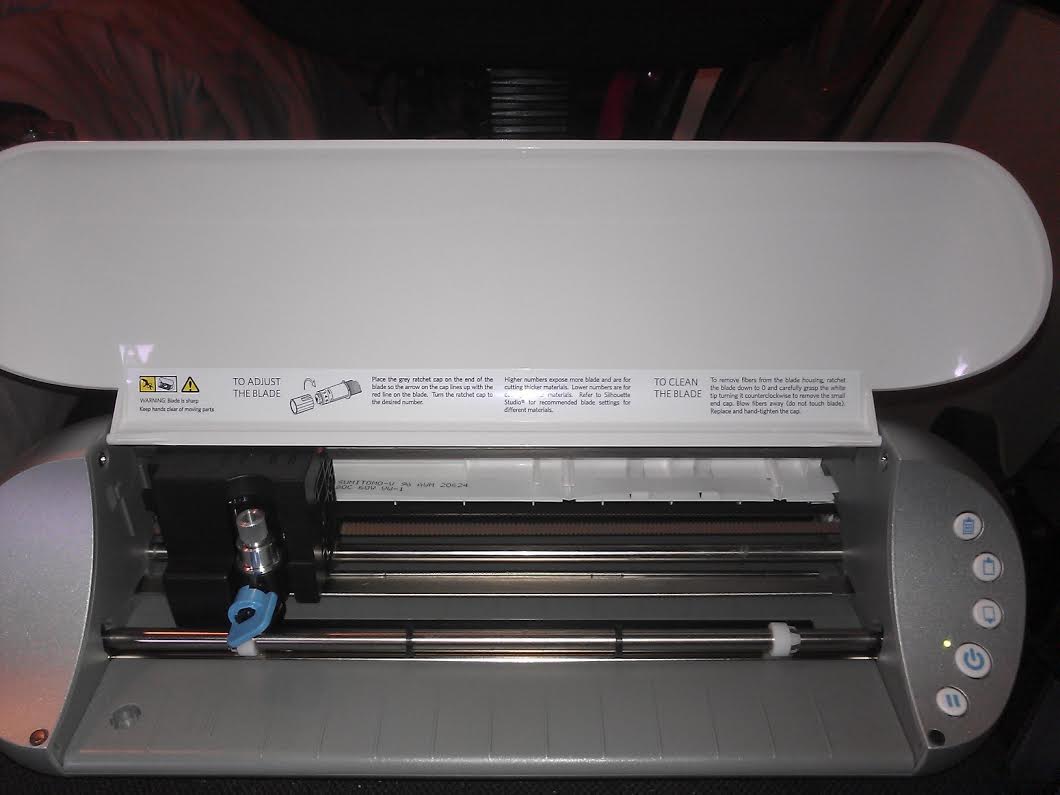
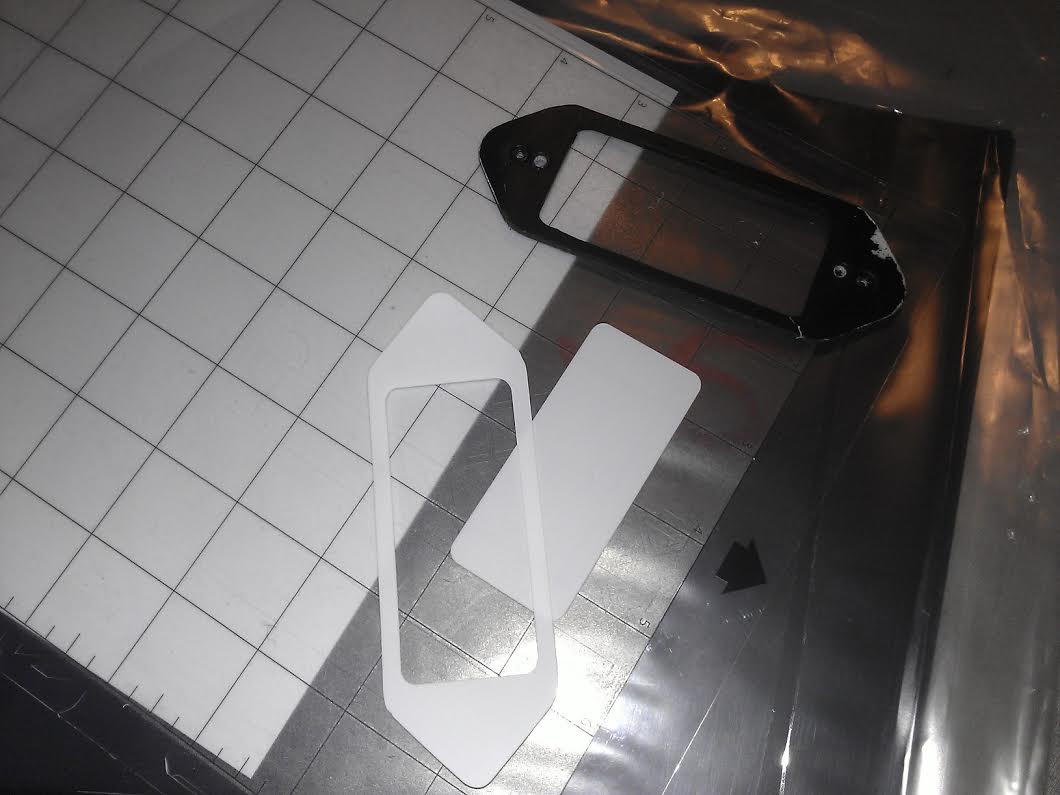
Basically it's a motorised scalpel that cuts patterns designed on a vector graphics program. Pretty nifty and useful for all sorts of things. Now, in this case, it only really cuts materials up to 1mm or so. For this I'm using 0.5mm plasticard in black. I didn't really need to do this, but the surround I'd previously cut out freehand (which was much harder than it felt like it should have been) was in white PVC foam which I then spraypainted black. It was only ever meant to be a temporary measure but the paint had rubbed off much faster than I thought it would and then it cracked. Boooo. You can see the thin white prototype below next to the old surround I'm replacing.

Image

So 0.5mm is a bit thin on its own. So what I do is cut several copies of the exact same shape and laminate them together using thin polystyrene cement. As the machine is so accurate they all come out pretty much exactly the same, give or take a few frayed edges.

Image

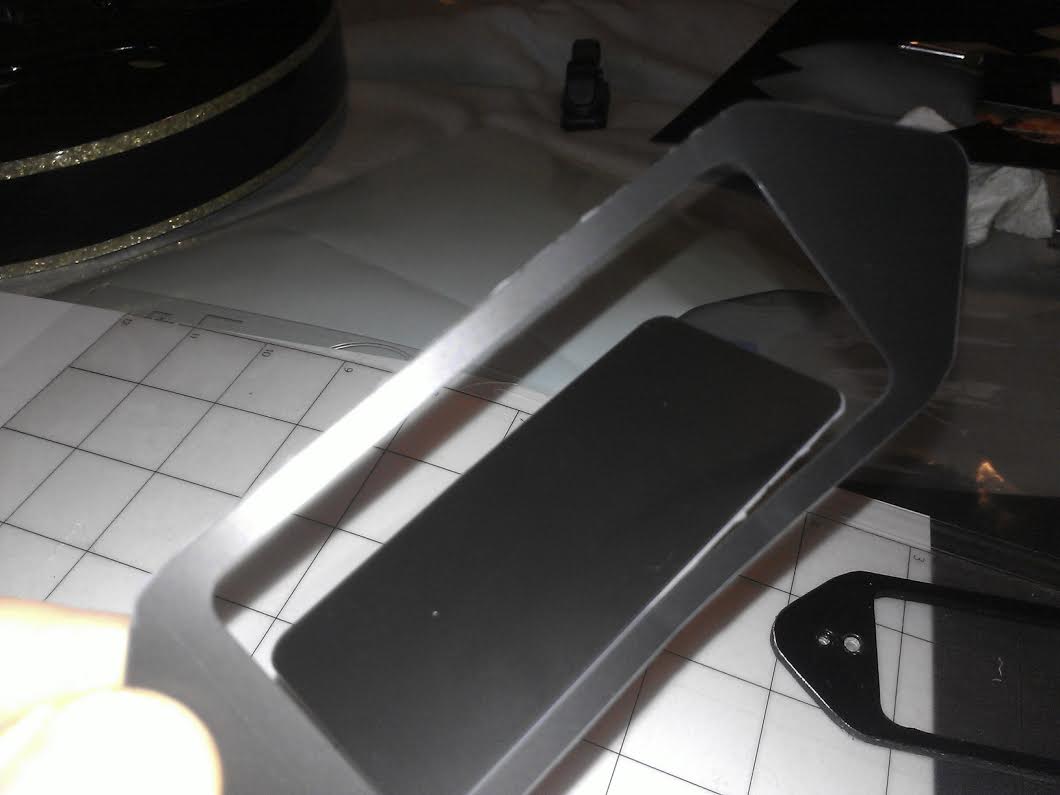
Now, stupidly, I totally forgot to set it to cut twice in the options, so it only ran over the basic shapes once. With plasticard this can be a bit of a bitch if you haven't put guidelines on the template; plasticard can be scored and snapped easily enough if it's straight geometric shapes but not so easily if you're doing rounded shapes like boobs. It can be risky to bend and snap the inner sections but it all worked out fine. As it happens, I had the machine cut eight copies but I only ended up laminating four together as it had already started to feel quite sturdy after that.

Image
Image

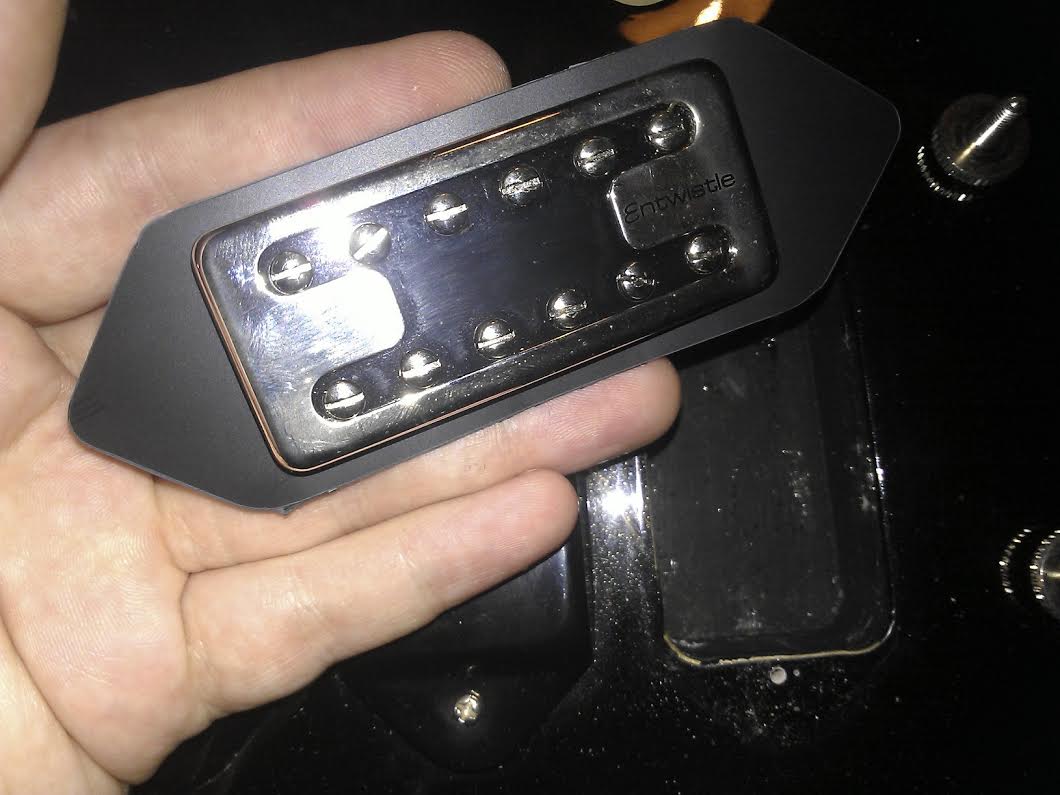
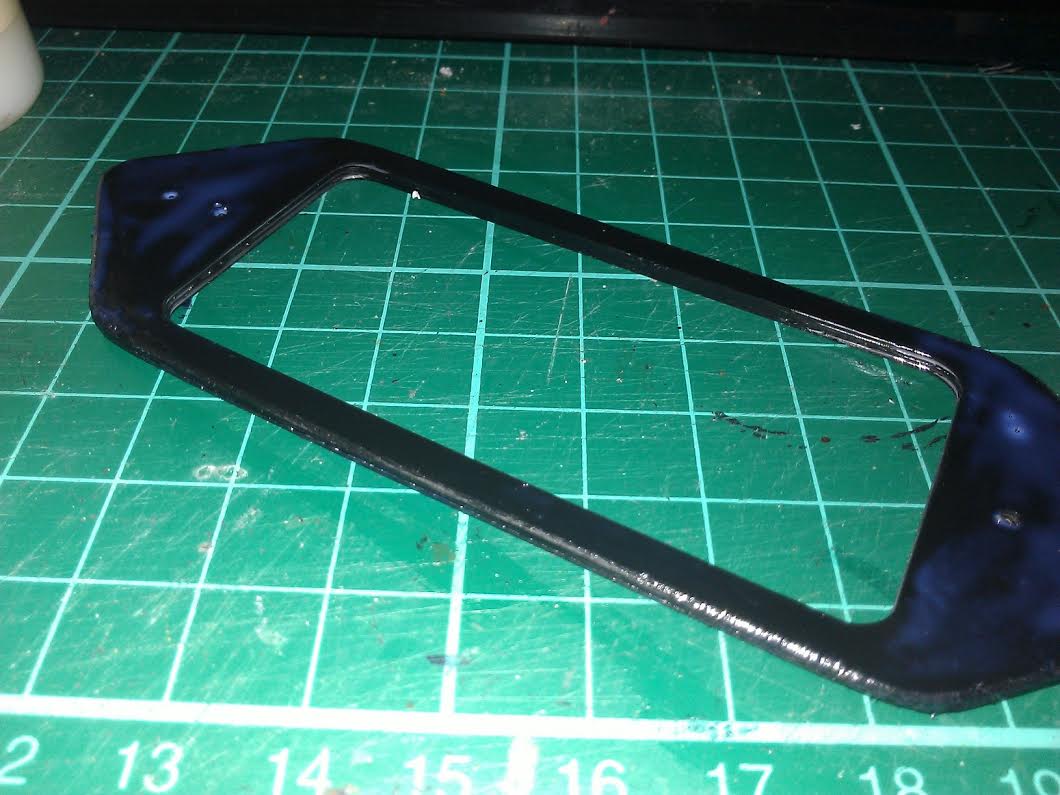
I filed the edges down and then painted the top of it with gloss acrylic. Pointless and it ended up looking like a bag of shit, really. Oh well, doesn't look bad from far away. And it doesn't really matter if the gloss comes off because it's still black underneath. Like your mam.

Image

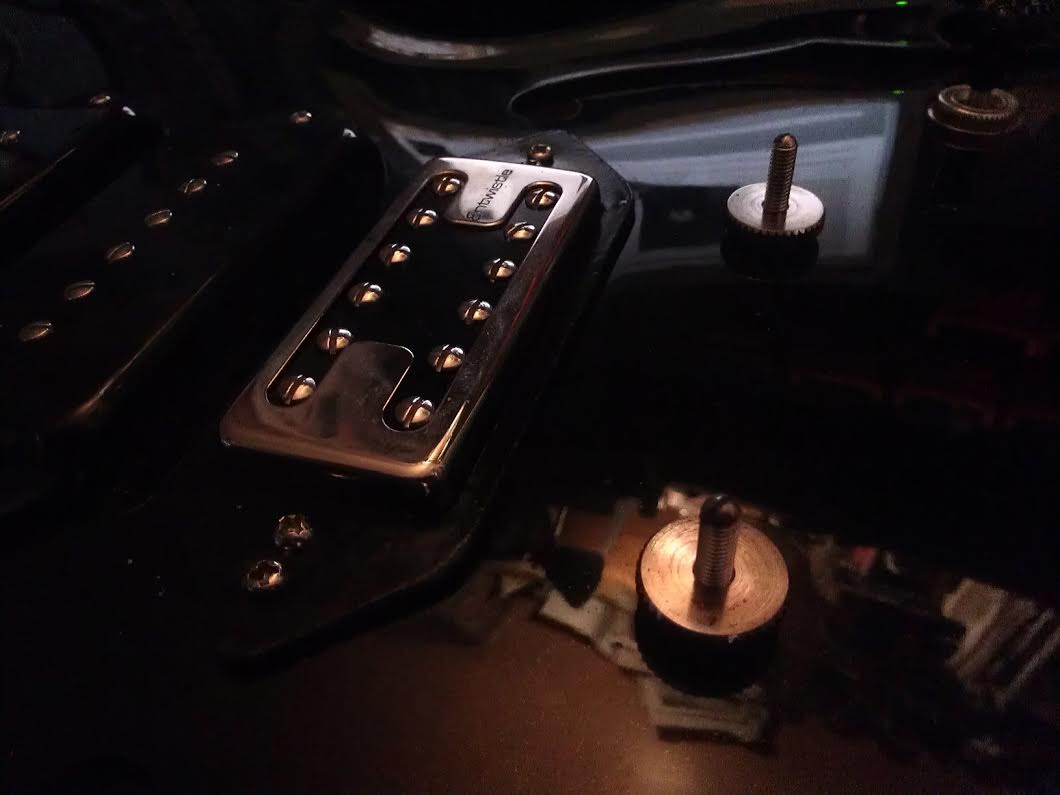
Ta-da. Turned the flash off because I'm an idiot.
Image
Brandon W wrote:you elites.
User avatar
theshadowofseattle
THE TAMPA BAY HERO
Posts: 62654
Joined: Thu Apr 20, 2006 3:11 am
Location: Skrampa, FL

Post by theshadowofseattle »

Diggable. How does it sound? I really like the bridge sondz on the Shad Signature Model Riviera, and I'm surprised and offended that you changed it.
Fakir Mustache wrote:Classic Shad Deluxe.
Nick wrote:Some of Shad's favorite Teles are black.
User avatar
ekwatts
A series of tubes
Posts: 24579
Joined: Tue Apr 18, 2006 10:35 pm
Location: Bongchester

Post by ekwatts »

theshadowofseattle wrote:Diggable. How does it sound? I really like the bridge sondz on the Shad Signature Model Riviera, and I'm surprised and offended that you changed it.
It's good either way! To be honest, I wasn't sure about sticking the Nashville in the Riviera at first, I just wanted to try it out in something so I made the temporary surround and slapped it in. It's a proper upgrade; when you're running the humbucker alone it sounds great. Kick in the middle P90 with it and it's even better. Stupidly good.
Image
Brandon W wrote:you elites.
User avatar
cur
.
.
Posts: 7298
Joined: Sun Jan 18, 2009 8:58 pm

Post by cur »

This is totally cool, but not as cool as the shortscale scrapbook you are working on. I'm in for a scrapbook if they are not over 20 bucks.

Image
Image
User avatar
ekwatts
A series of tubes
Posts: 24579
Joined: Tue Apr 18, 2006 10:35 pm
Location: Bongchester

Post by ekwatts »

It's going to literally be made out of scrap. Like, wing mirrors and old chrome toasters.
Image
Brandon W wrote:you elites.
User avatar
benecol
Best Poster 2010
Posts: 8289
Joined: Tue Jan 25, 2011 8:12 pm
Location: Westcountry

Post by benecol »

Good going Watts. We have a lasercutter at work that works in a similar way (files-wise). I got all excited that it'd cut through metal and revolutionise MBM pedal production/artwork, but it doesn't. Cuts perspex etc. fine though, want to try and do some pickguards sometime.

Anyhow: strong work.

Image
User avatar
ekwatts
A series of tubes
Posts: 24579
Joined: Tue Apr 18, 2006 10:35 pm
Location: Bongchester

Post by ekwatts »

Thanks! Yeah, it's like a laser cutter in many ways, though obviously not quite as good (but, er, also not thousands of pounds!).

One of the things this cutter can do is adhesive vinyl, though, and my pedal-maker friend has asked me if I could do some designs for his range. It's also great for spraypainting templates. I'm currently trying to figure out how to make some custom plates to go on my Little Rock amp and I'm leaning towards perspex/polycarbonate with the design spraypainted onto the front then sealed with gloss acrylic. I had previously tried transparent vinyl with a design laser-printed onto and stuck onto the back of transparent perspex, then backed with (sprayed) white, but I wasn't entirely happy with it. You know the air bubble problem when applying a screen protector? Imagine that but for the entire front of a Marshall head. Not easy.
Image
Brandon W wrote:you elites.