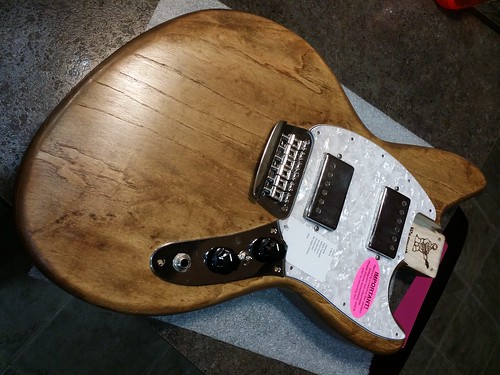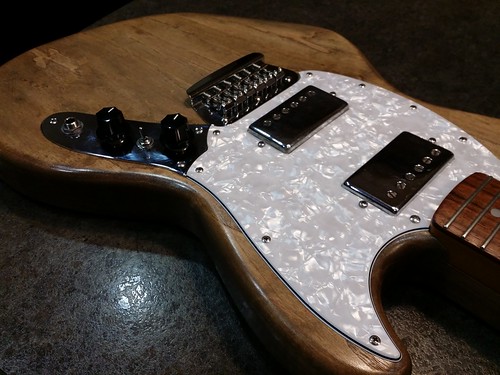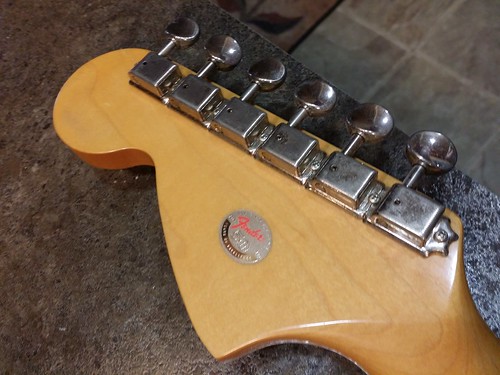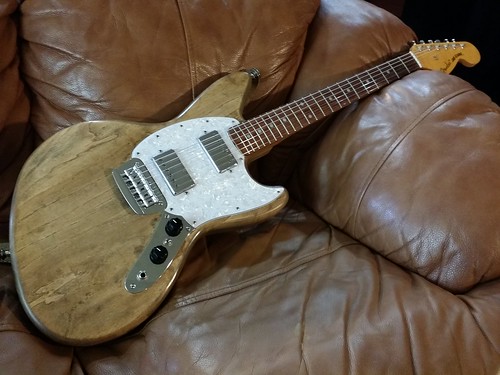

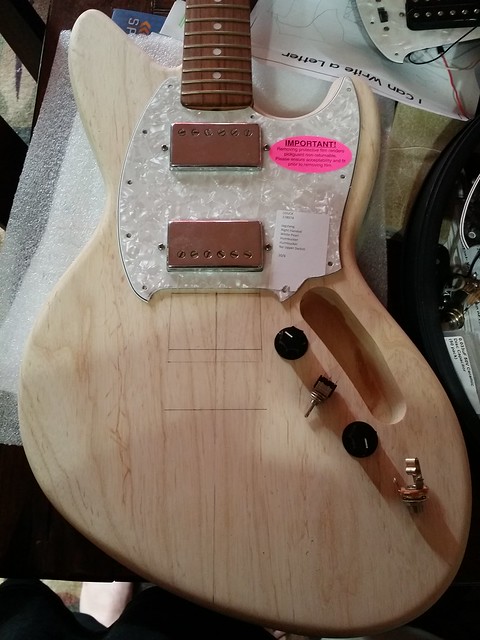
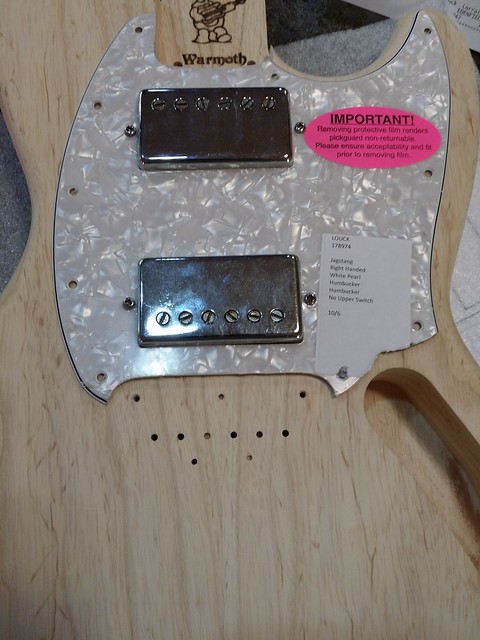
First I had to get the pocket widened a little bit to fit the stock Fender Japanese Jag-Stang neck. Once I got the neck mounted, I put the pear pickguard I ordered with humbucker size single coil pickups on it. (I really like these old fake humbuckers. Have the inside is empty space. Just looks like a humbucker.)
 20161007_163916 by Christopher Louck, on Flickr
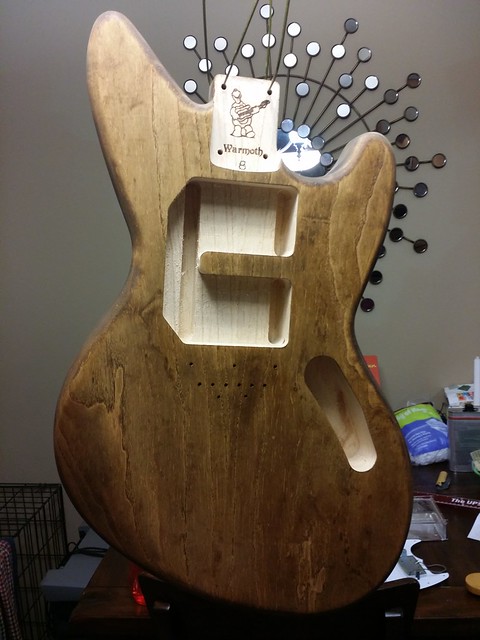
Since I wanted a hardtail bridge, I was drawing out the center line (luckily it is a two piece body with a centerline) and adding some perpendicular lines to help me line up the bridge.
 20161004_183309 by Christopher Louck, on Flickr
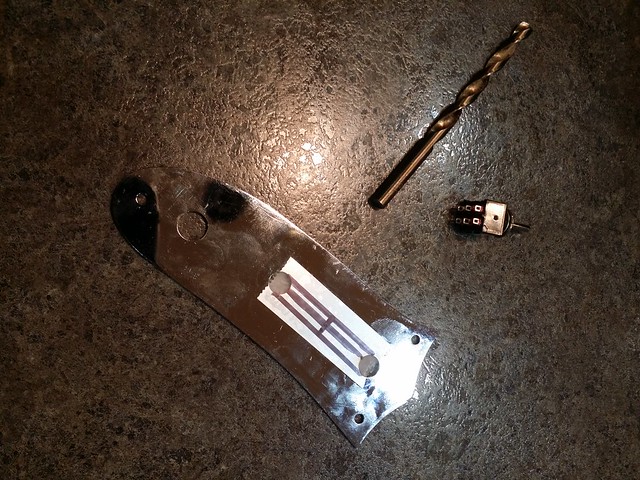
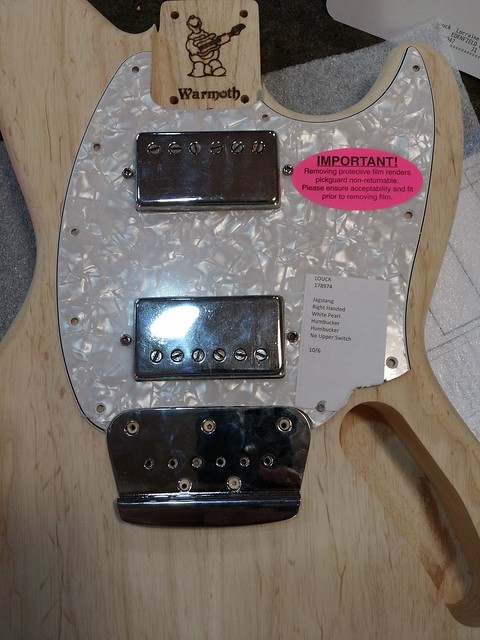
I marked the bridge holes and mounted the bridge to the body so I could drill the six holes for the strings.
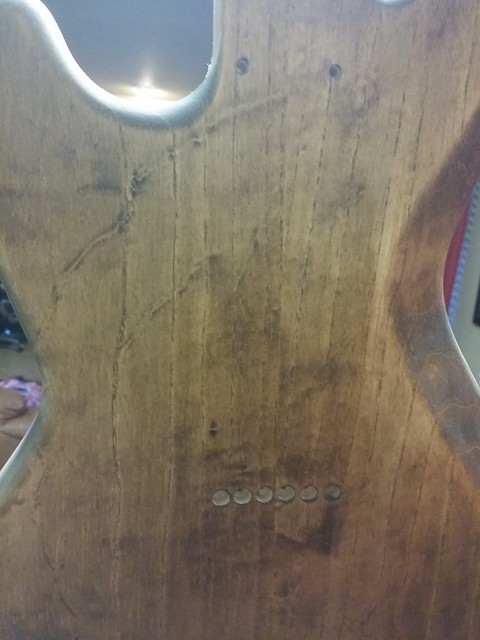
 20161011_171831 by Christopher Louck, on Flickr
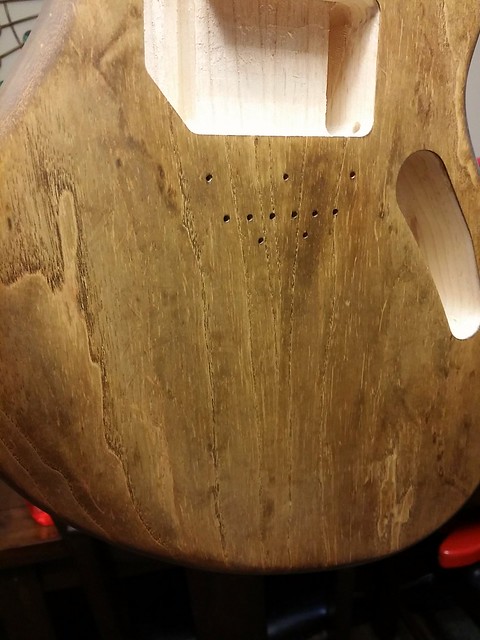
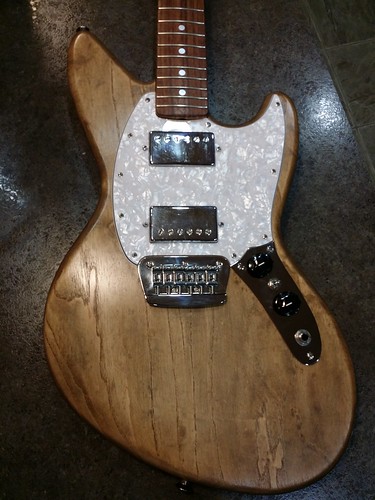
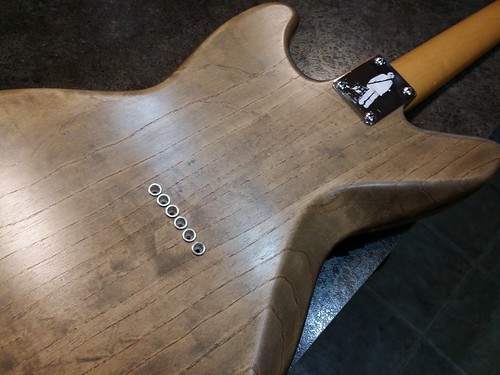
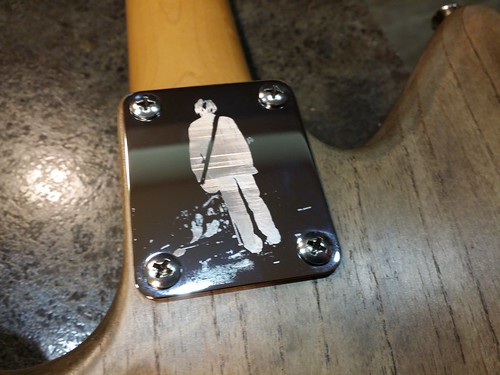
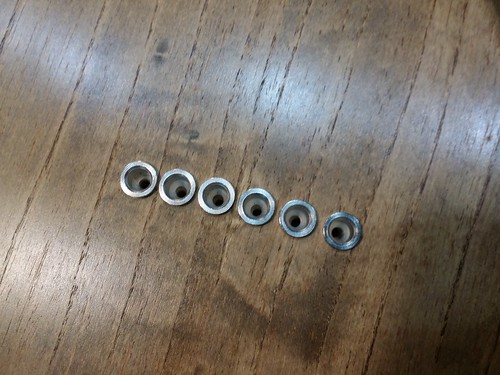
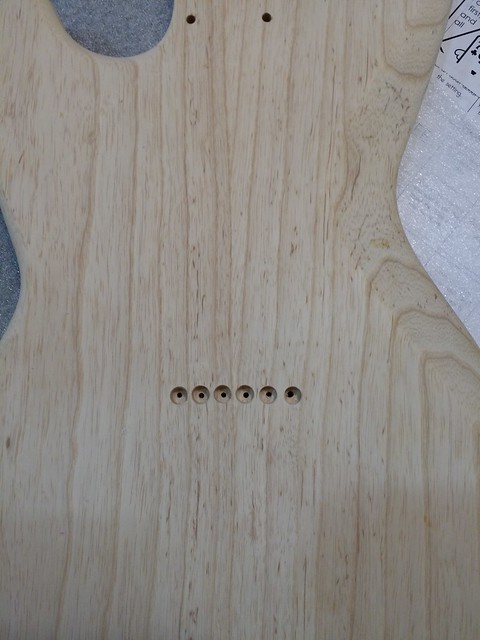
I only drilled the high e and low e holes through the body. Then I mounted the bridge on the back of the guitar to drill the other four holes through to the front to get them straight. Drilling the ferrules didn't go perfect. It was hard to center the large bit over the string holes, but I think it turned out pretty ok for my first time. They work work fine and some of the vintage telecasters have wonky ferrules also. LOL
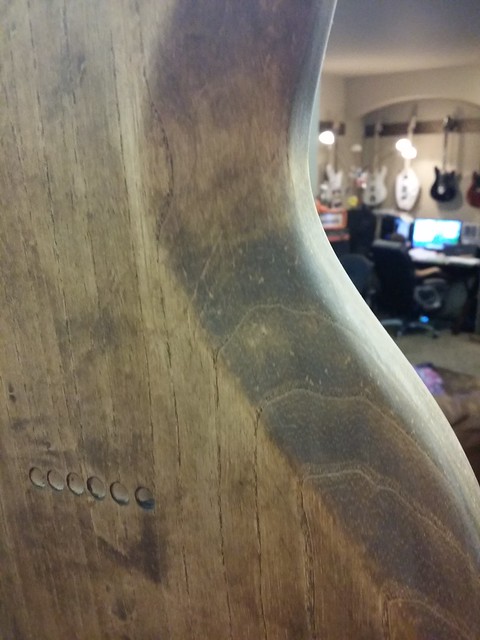
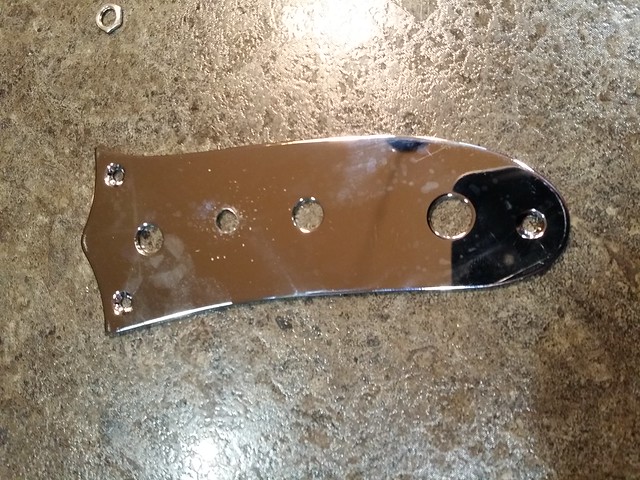
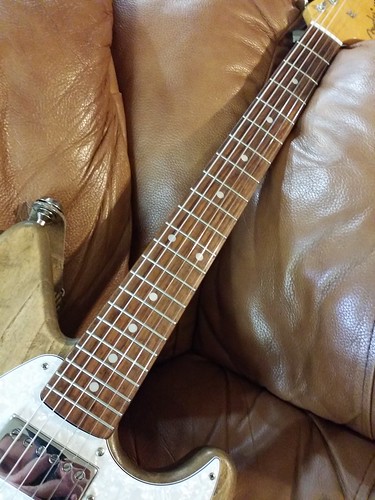
 20161011_171854 by Christopher Louck, on Flickr
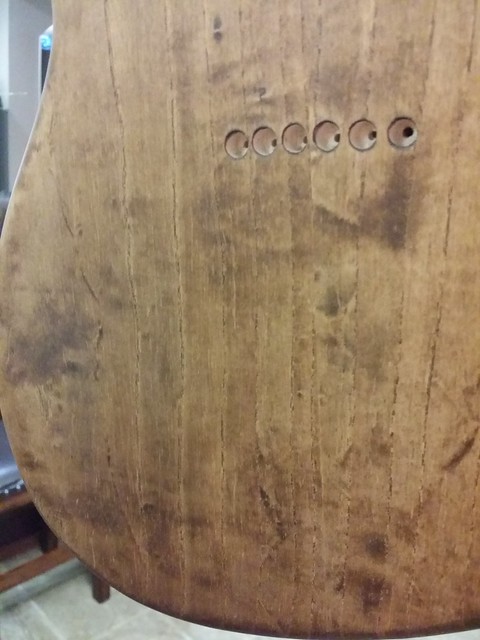
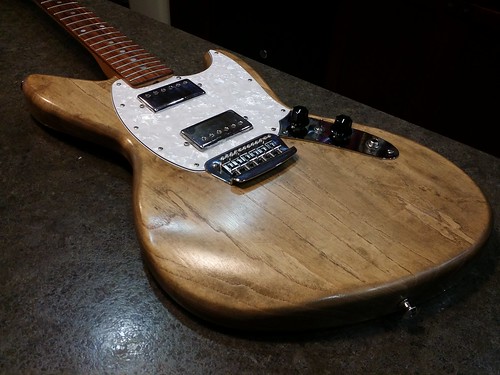
Lines up very well on the front.
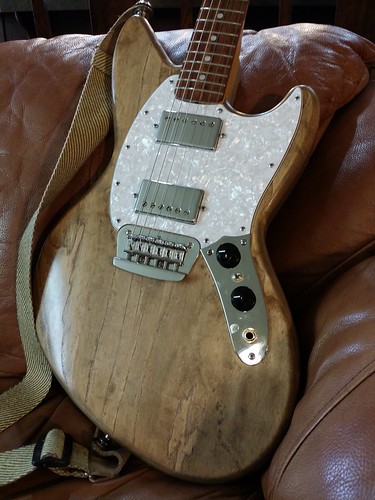
 20161011_171825 by Christopher Louck, on Flickr
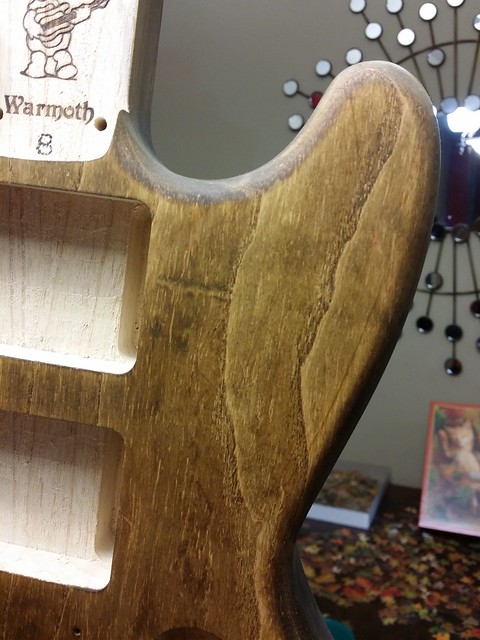
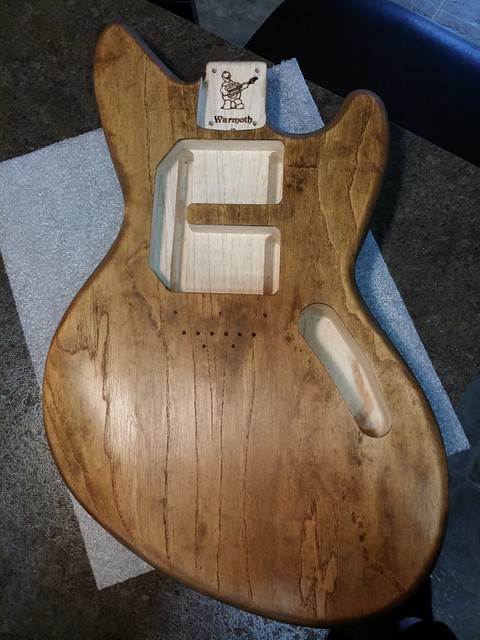
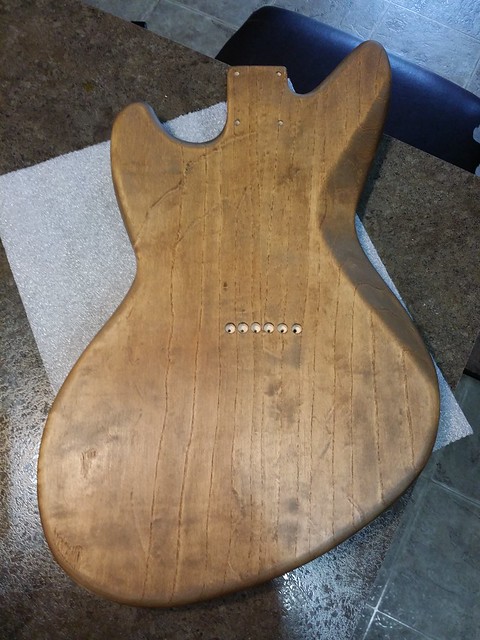
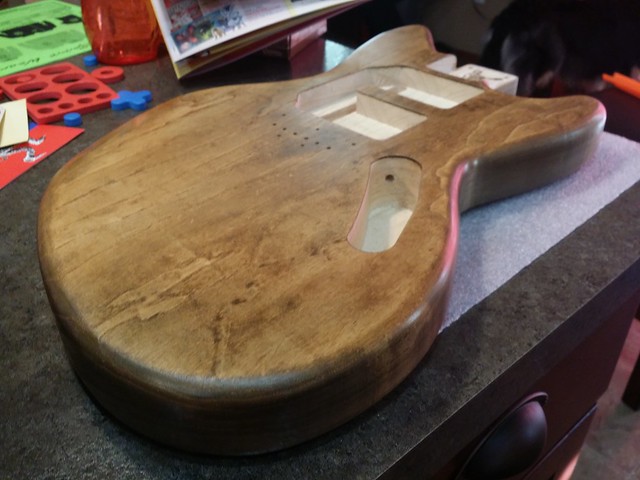
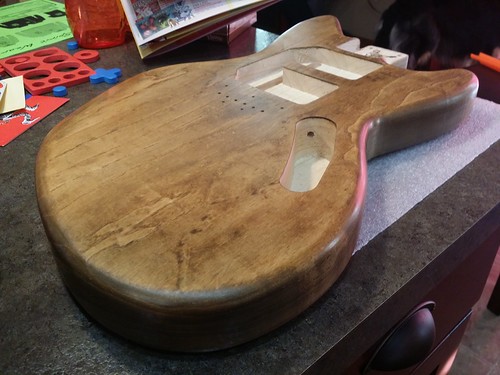
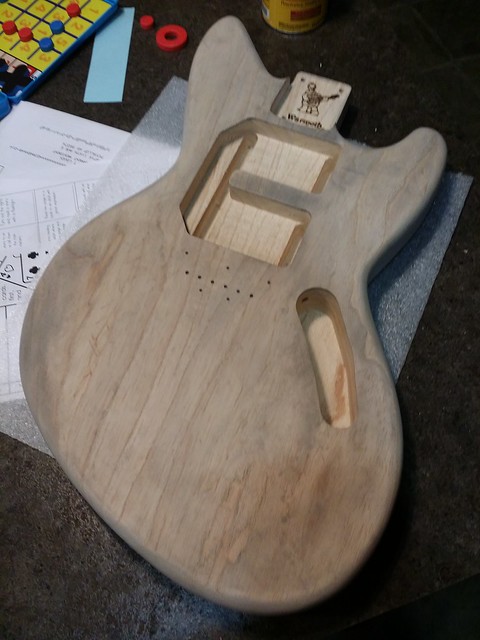
I rubbed some black grain filler on the body. I will lightly sand it tomorrow when it is more dry.
 20161011_190333 by Christopher Louck, on Flickr
 20161011_190348 by Christopher Louck, on Flickr
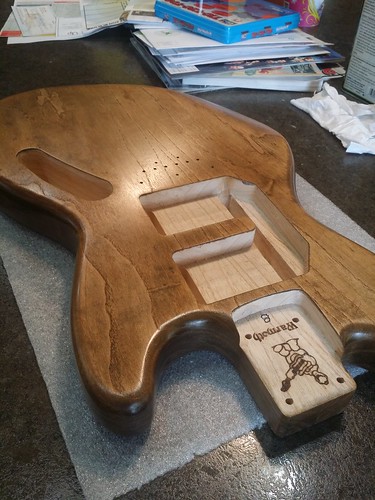
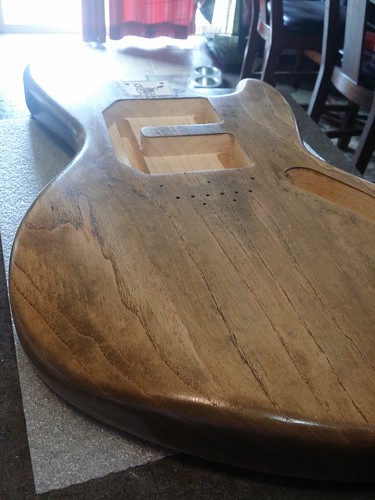
Once it is sanded smooth again, I am going to add some oak stain to it. Should look pretty cool, but I will have to wait and see.
 20161011_190356 by Christopher Louck, on Flickr