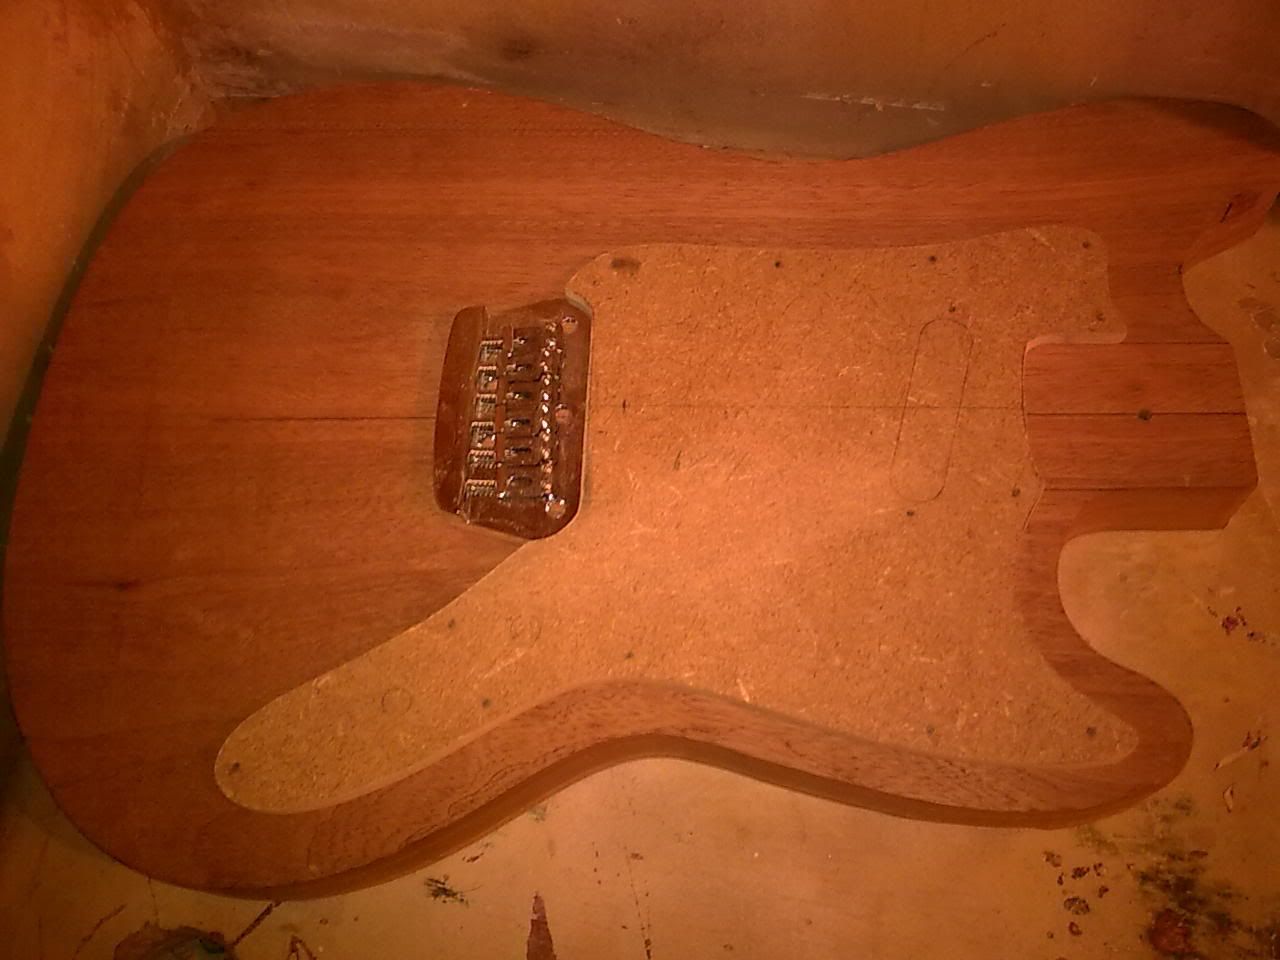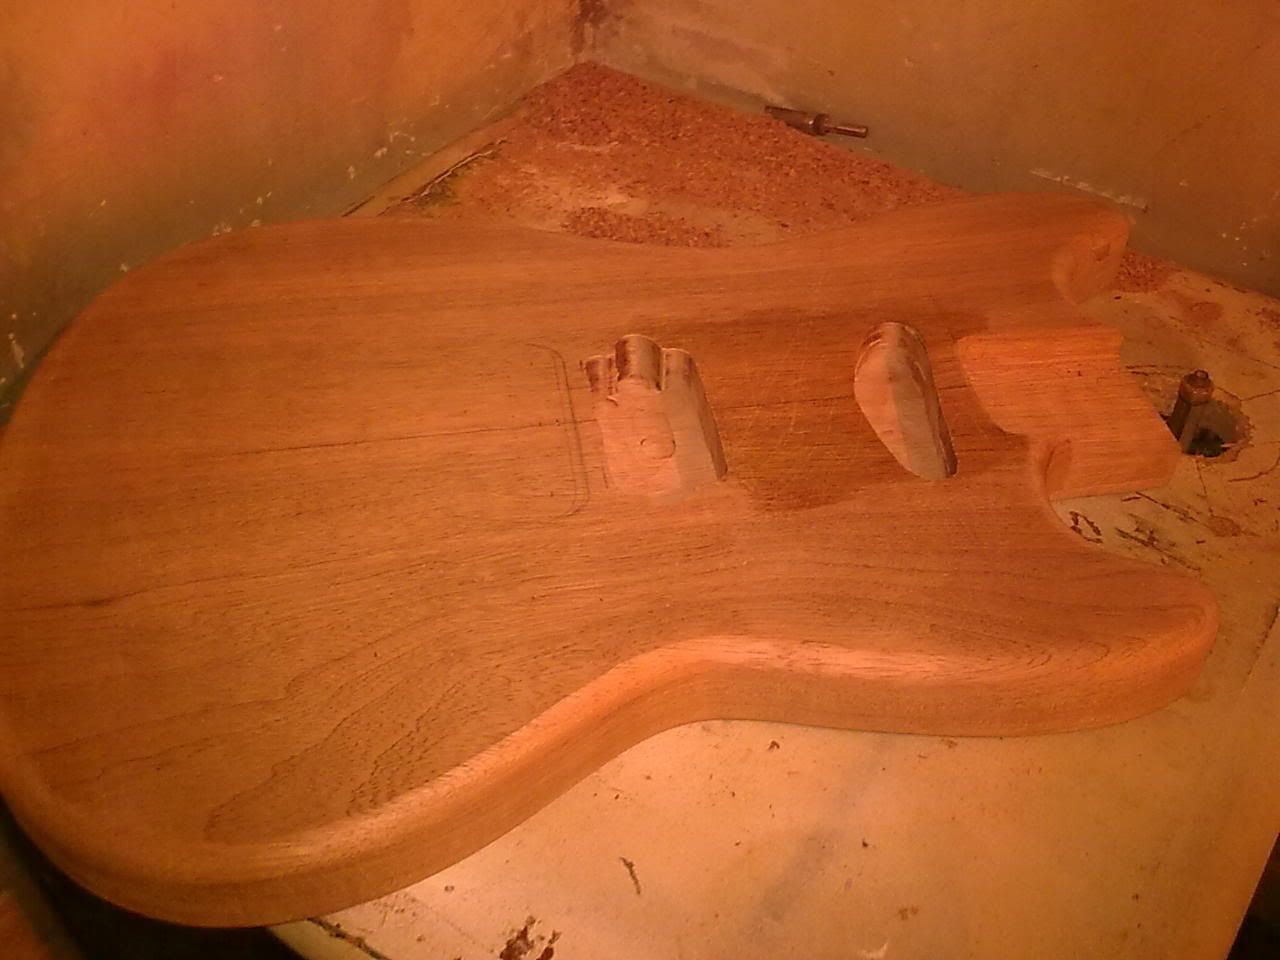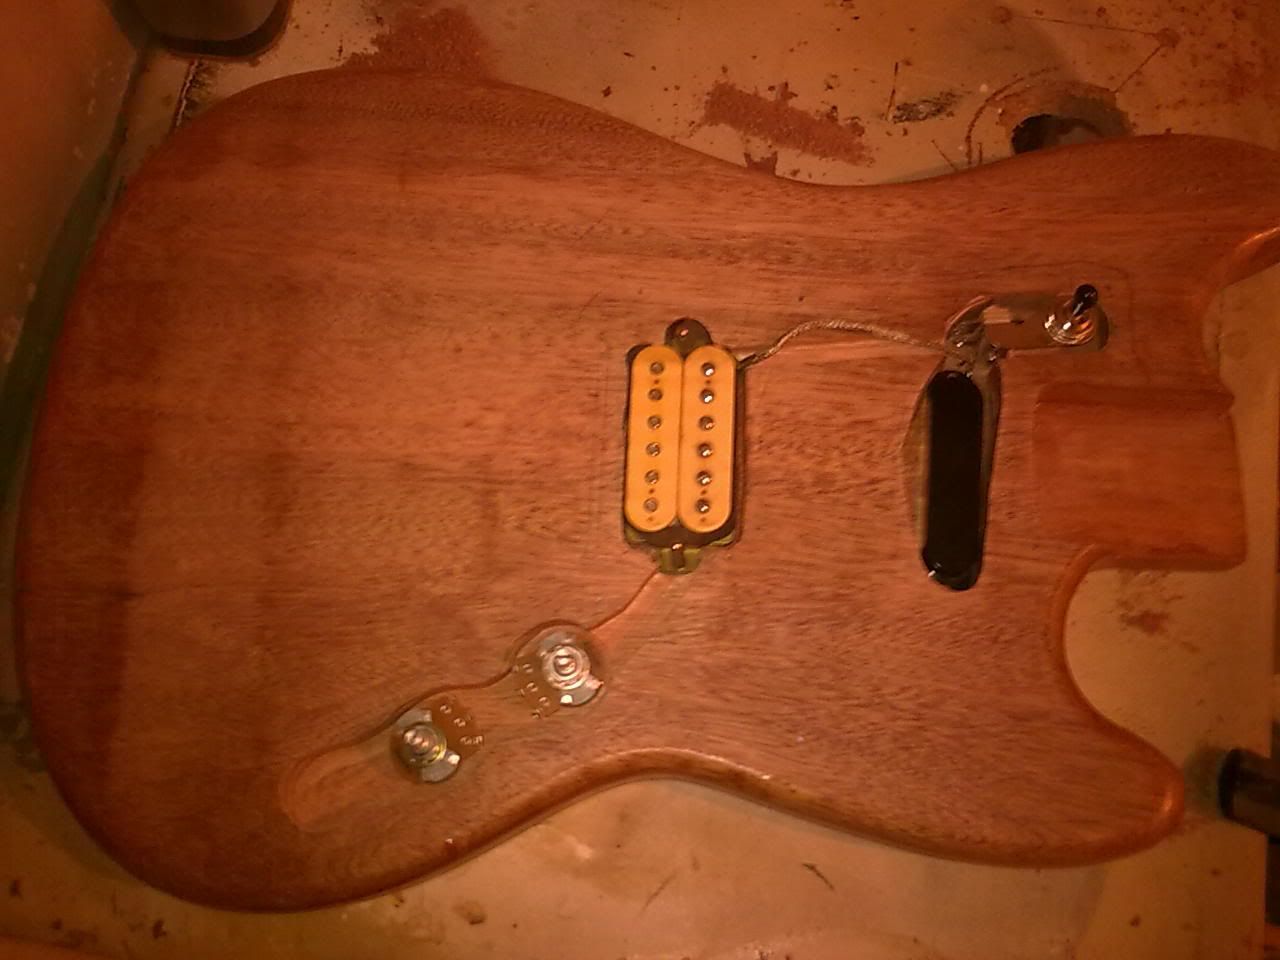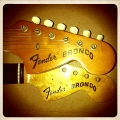

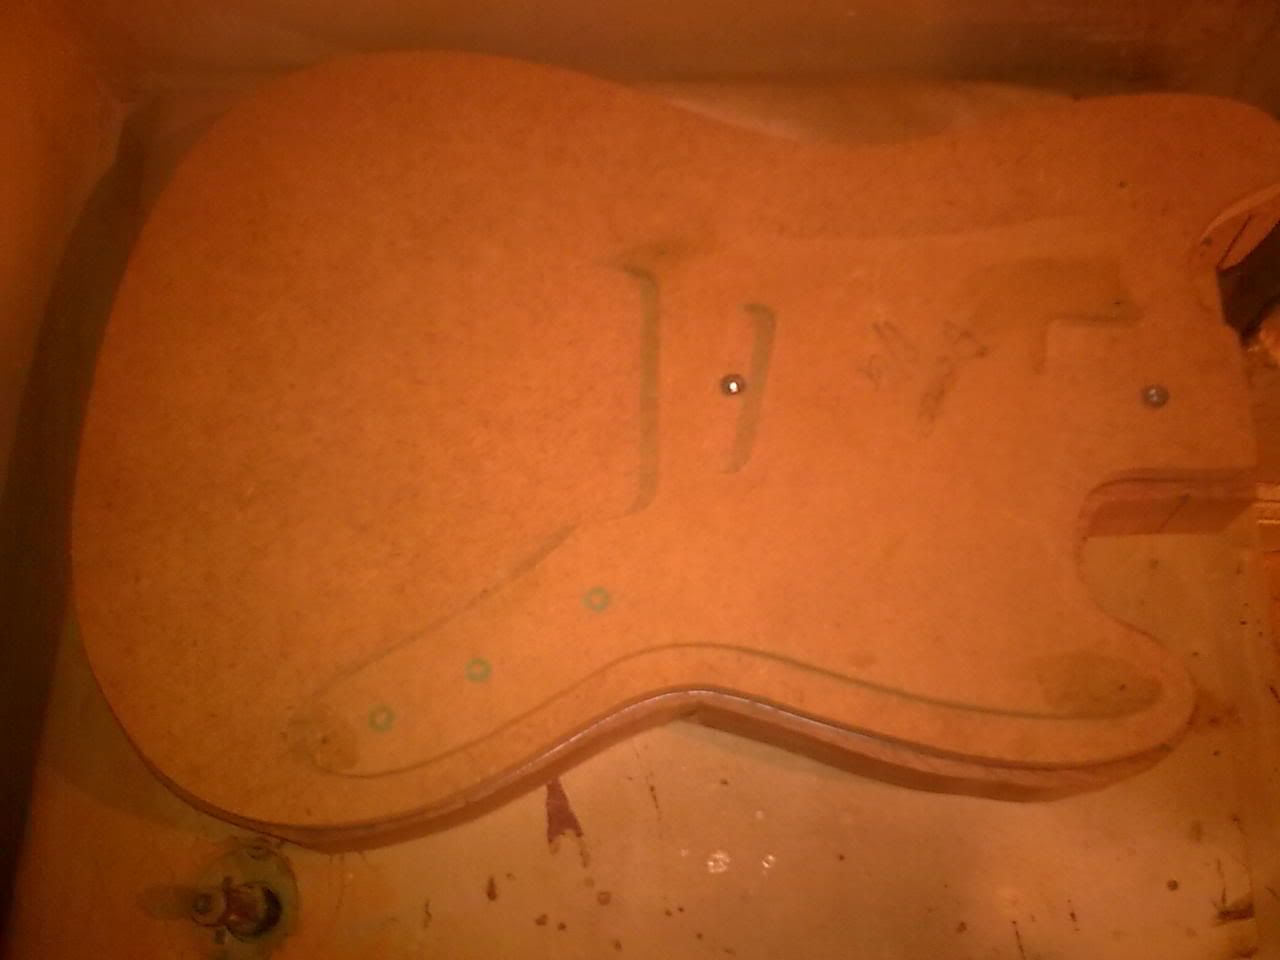
For the body I used my bronco, traced, cut sanded and checked for accuracy.
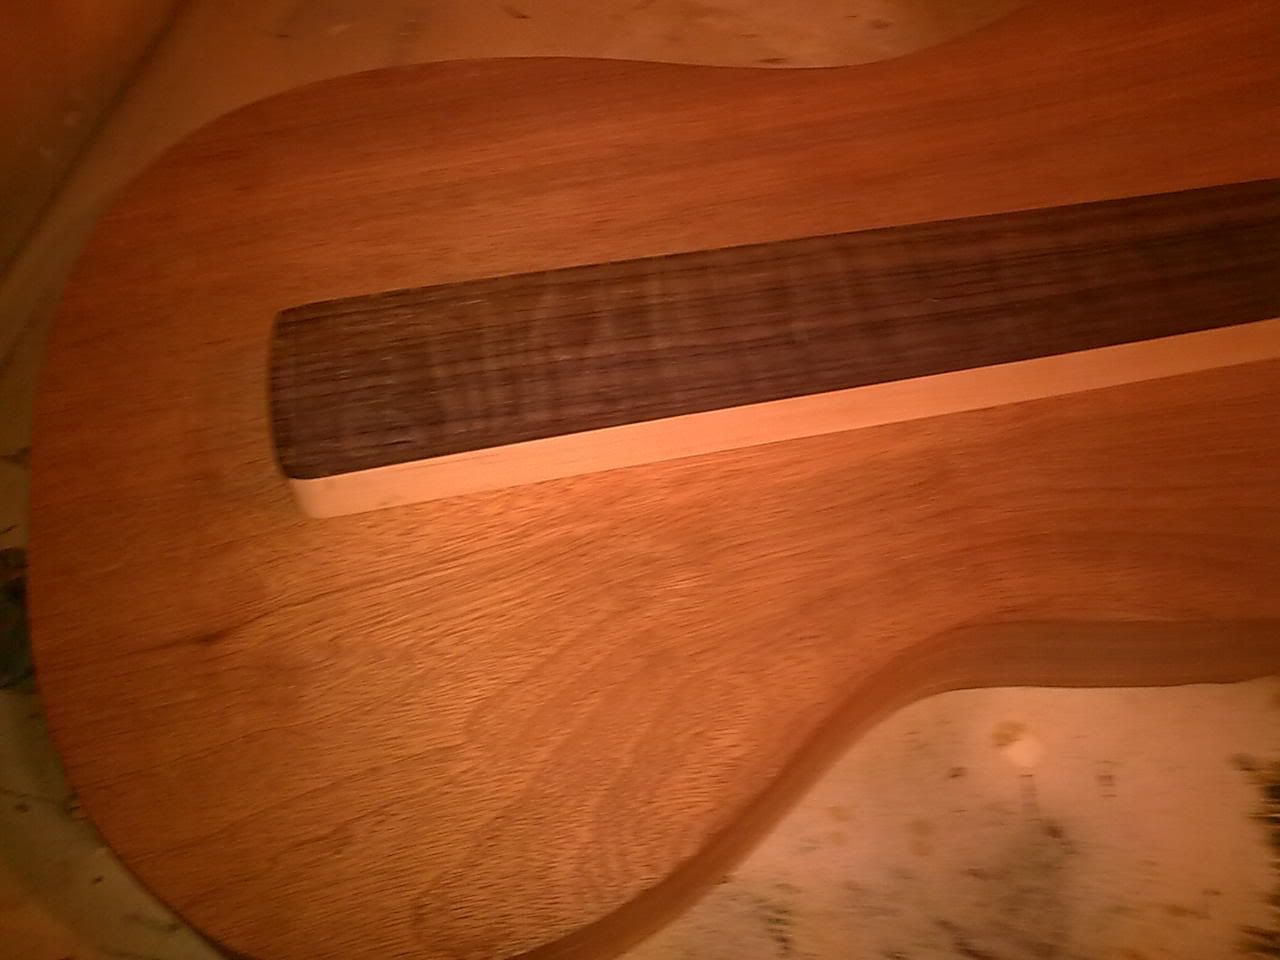
For the neck template I used my Jagstang neck. Using a combination of measuring and tracing, I think its pretty accurate.
I bought 2 mahogany one piece body blanks at a local hardware store for £23.50 each.
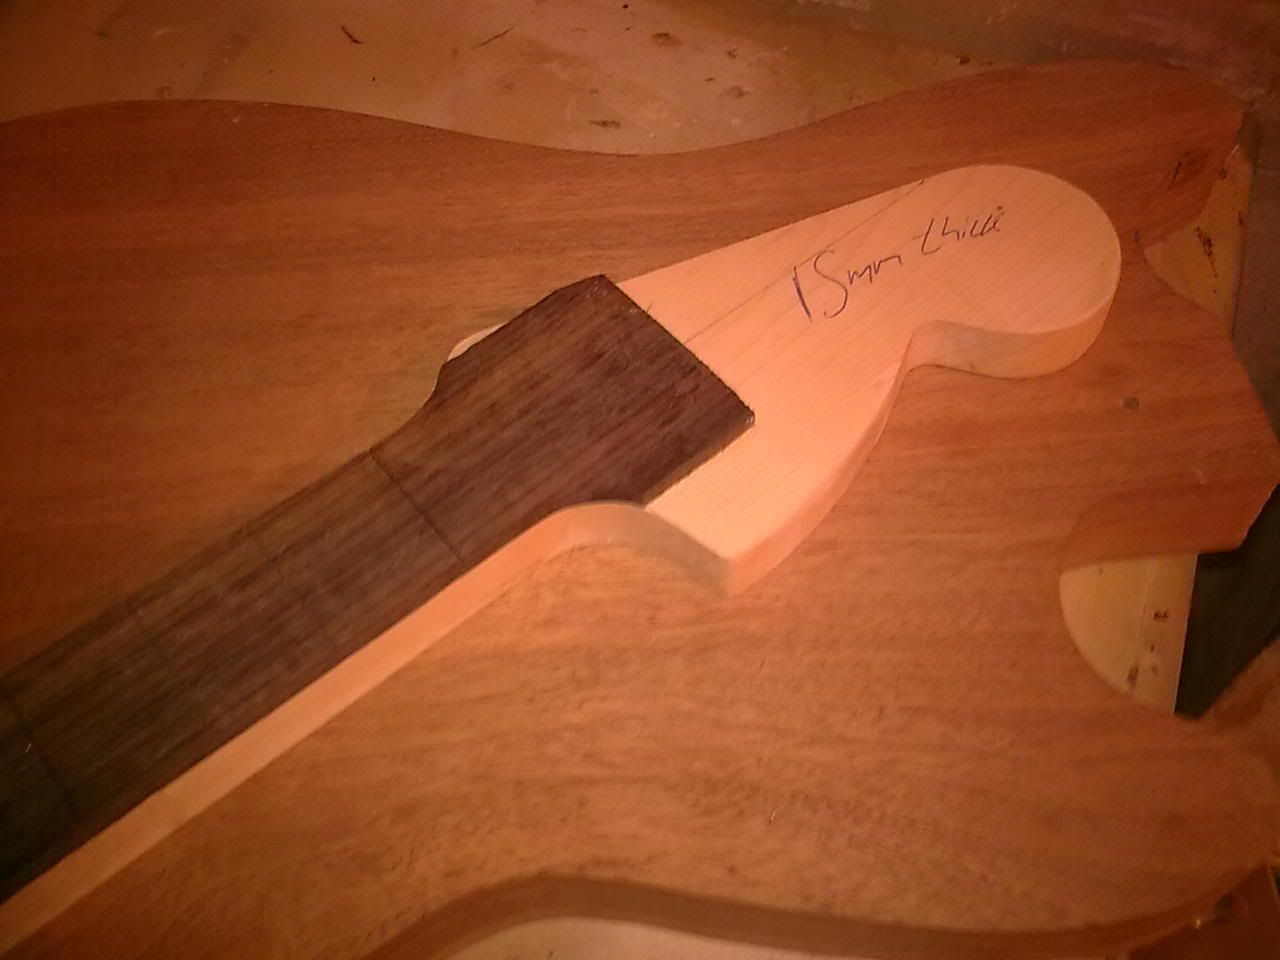
Maple PAR board, rosewood fretboard blank and truss rod via ebay.

*EDIT*
The spec will be:
mahogany body,
24" scale maple/rosewood neck
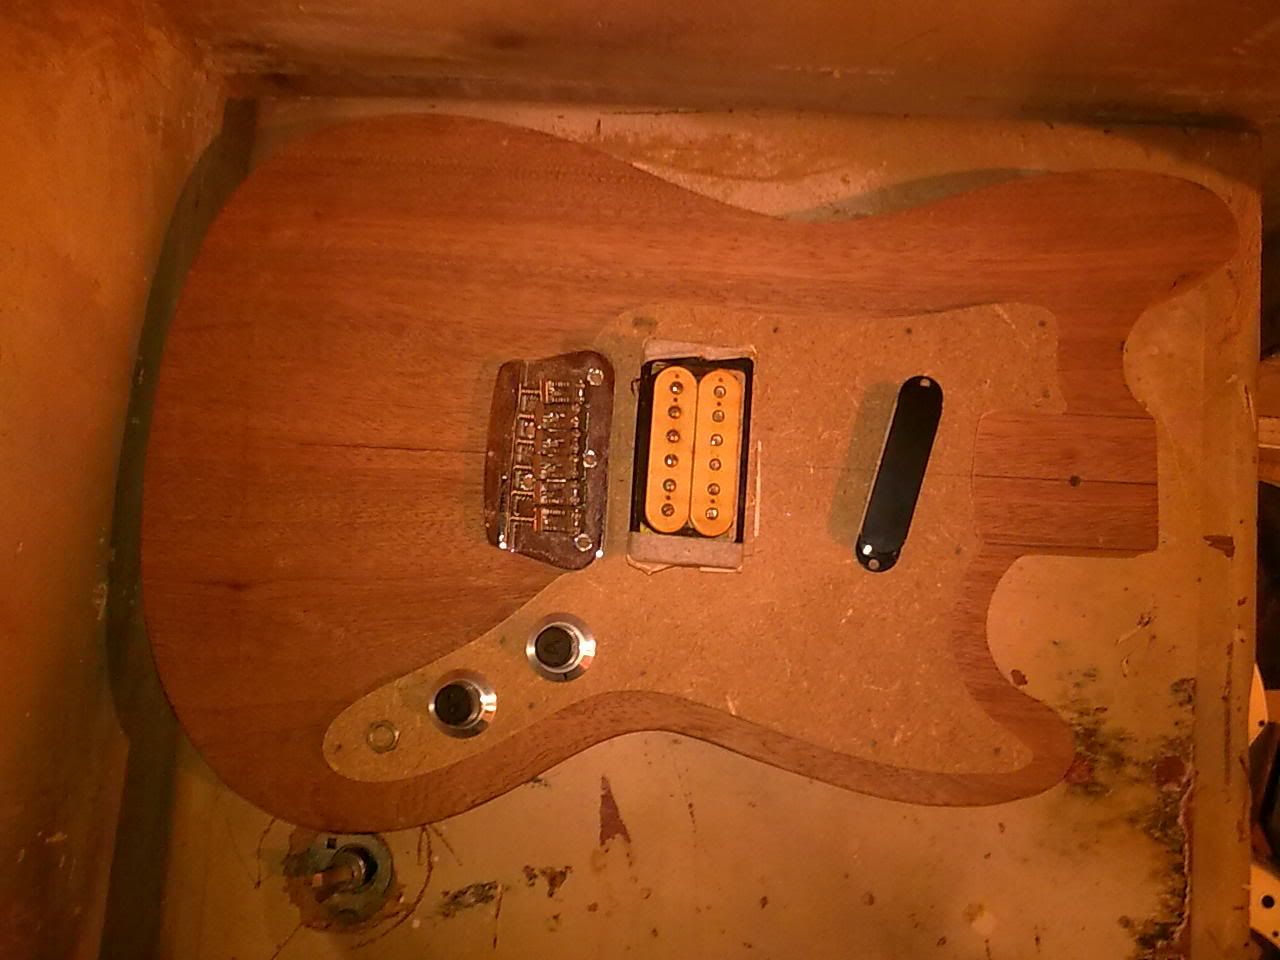
toronado bridge,
The anchient DiMarzio humbucker from my bronco,
Japanese mustang neck pickup,
bronco shaped pickguard (with reshaped bridge area)