Hi everyone,
As a quick introduction, I have been trying to learn to play acoustical guitar for a few years now. I do all my own setup work, etc. and love working on guitars. I have even built a ukulele from a kit sold at stewmac.com. I have found that short scale guitars are more comfortable to play due to my short fingers. My current main guitars are a Larrivee Parlor acoustic guitar (24" scale). And a 628mm (~24.75") scale classical guitar. I also had a Fender Highway One Telecaster once, but I sold it. Do any of you folks play acoustic guitars?
I am beginning my first partscaster project. I bought most everything from guitarfetish.com. It is going to be a strat copy, in the vintage style. I will have some questions as I go along. And I thought this place might be a good place to ask them. And to share the experience.
My first question is regarding the neck-body joint. Both the neck and body are advertised as being made to Fender spec (2-3/16" wide). However, the neck is about 1/16" too wide (2.252") at the widest point, according to a digital caliper. The smaller body cavity is very close to 2-3/16" (actually 2.220") at the widest point.
I want to be able to change necks in the future. I might want to put on a conversion neck to shorten the scale to either 24" (squier jagmaster conversion neck) or a 24.75" conversion neck from Warmoth.
So, my first question is:
Given the above dimensions, etc., does it make the most sense to carve or sand the neck down to fit in the body cavity? Or is sanding the body cavity larger the proper way to proceed? My instinct tells me to make the neck smaller. But, this is my first project of this type and I wanted to get some advice from more experienced folks.
Thanks for the help in advance. And I look forward to getting to know you all.
First Partscaster
Moderated By: mods
-
porterhaus
- .

- Posts: 86
- Joined: Sat May 22, 2010 12:45 pm


Personally if it were me I'd sand the neck down, this is because the wood at the neck joint is rather thin and is the most fragile area of the body so I'd avoid making the wood thinner. If you want to change necks in future and the neck you have now is too wide but the body is fine it would make sense to change the neck.
If i were you I'd sand it down with course working to finer. Then use fine grade wire wool finishing with a few coats of danish oil - you just want to treat the wood not make it glossy.
If i were you I'd sand it down with course working to finer. Then use fine grade wire wool finishing with a few coats of danish oil - you just want to treat the wood not make it glossy.
-
porterhaus
- .
- Posts: 86
- Joined: Sat May 22, 2010 12:45 pm
-
porterhaus
- .
- Posts: 86
- Joined: Sat May 22, 2010 12:45 pm
Thought I would post a few pictures of the progress so far. I am currently waiting for a long drill bit to arrive to drill the holes for the tremolo spring claw at the proper angle.
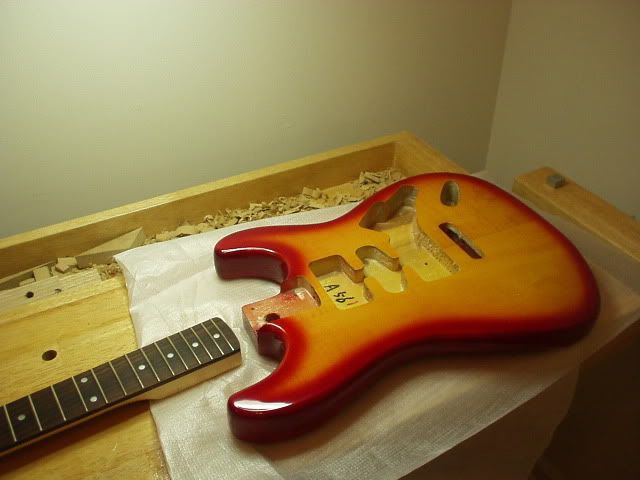
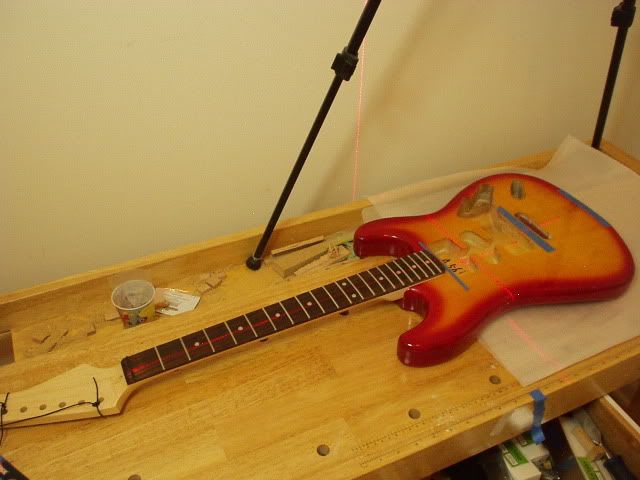
Out of the box, body and neck:
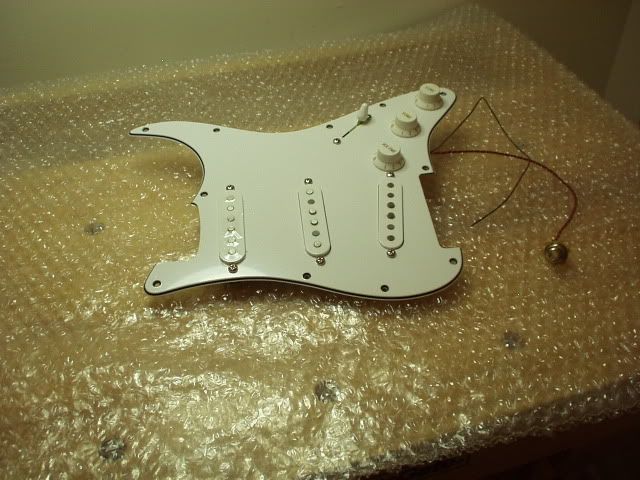
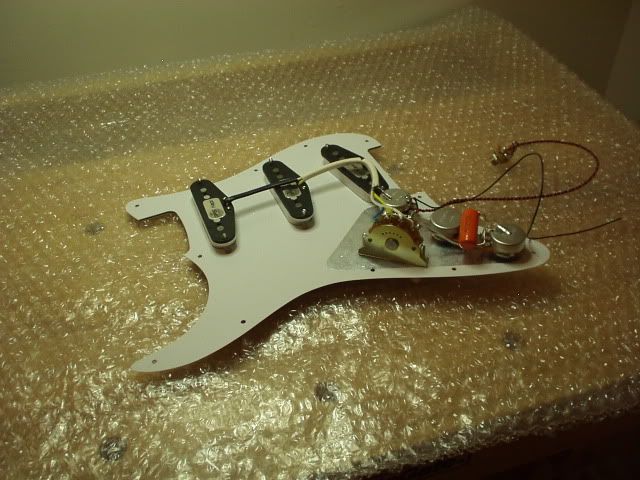
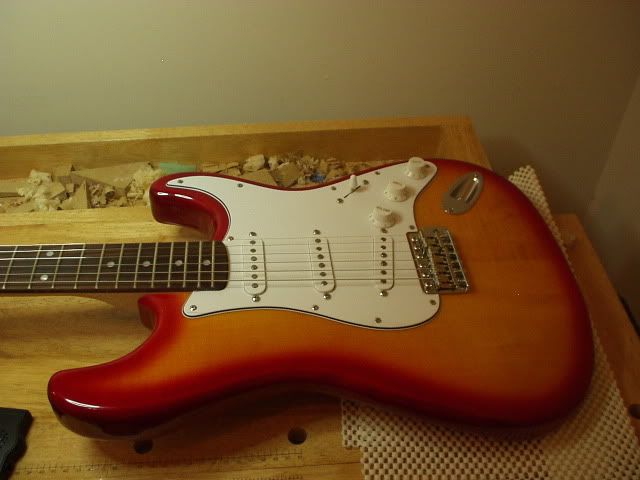
A hand-wired pickguard (from guitarfetish.com) with 3 premium alnico vintage 127 pickups and a 250K pot value. (I have no soldering experience.)
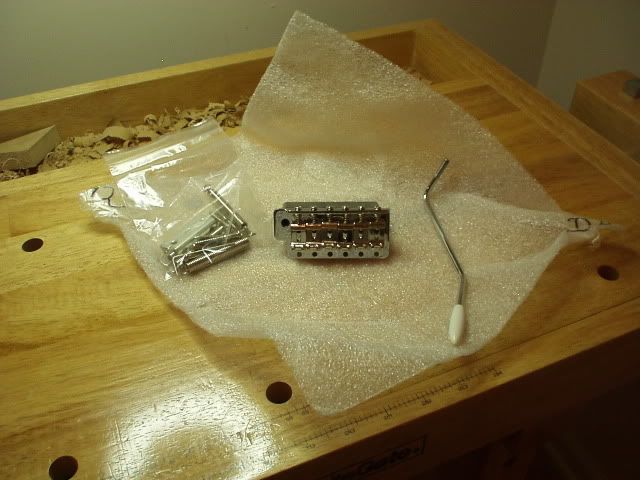
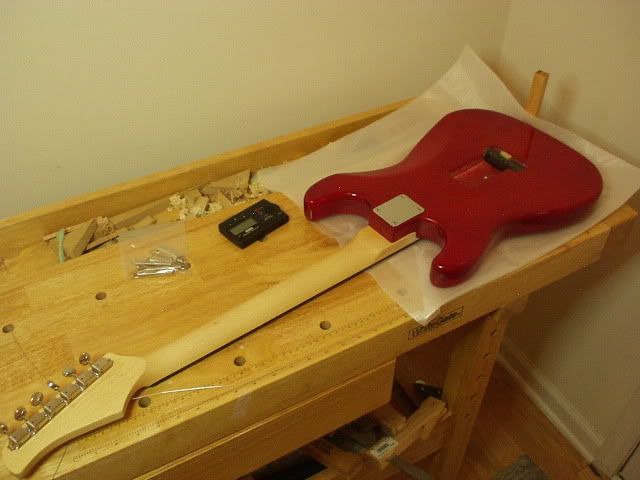
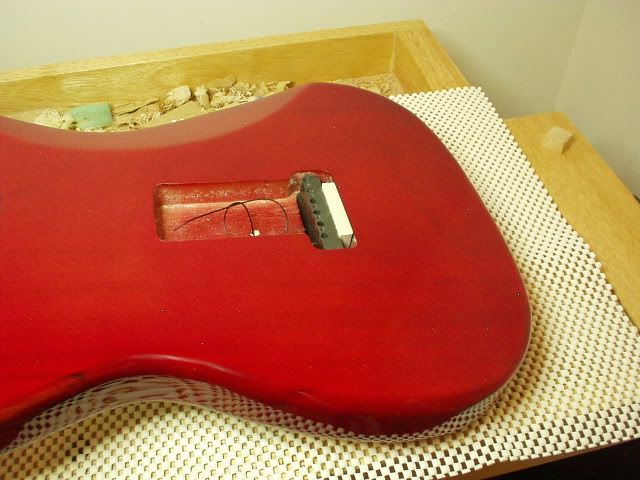
Vintage tremolo bridge:
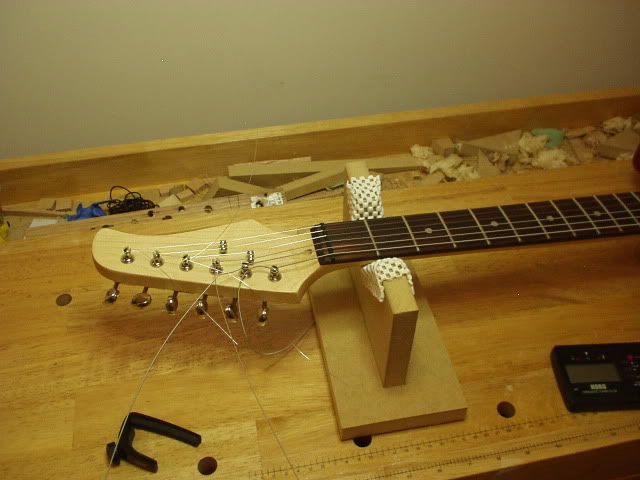
There were no holes pre-drilled in the neck. So I used a laser mounted on a tripod to help get it properly aligned.
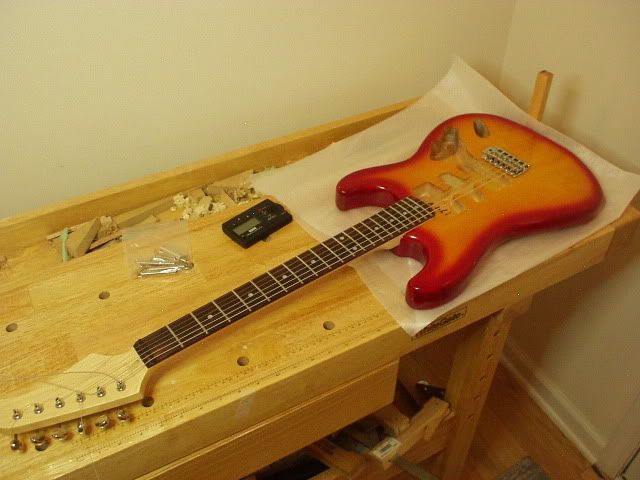
The bridge hole in the body needed enlarging a small bit on the bass side. This was in order to center the bridge on the body and to give a little clearance for the sustain block to move inside the body. I used some sandpaper wrapped around a 5/8" dowel for that operation. Here I have the tuners, bridge and strings installed to make sure things line up properly.
The tuners required a little filing on the edges in order to fit on the headstock.
I managed to unsolder and re solder the wires on the jack in order to thread the wires through the hole in the body. The pickguard required a little sanding where it meets the neck, and at the bridge.
The string trees mounted on the headstock:
Here is a 10-step Strat setup based on the one in Dan Erlewine's book "Guitar Player Repair Guide". Dan says he learned this at the Fender factory.
First make sure electronics are working, no springs installed on the tremolo, tremolo claw loose (1" from rear wall) for easy installation of the springs later, intonation is rough "pre-set" according to Fender's bridge saddle pattern.
1. String up lightly, but not nearly to pitch.
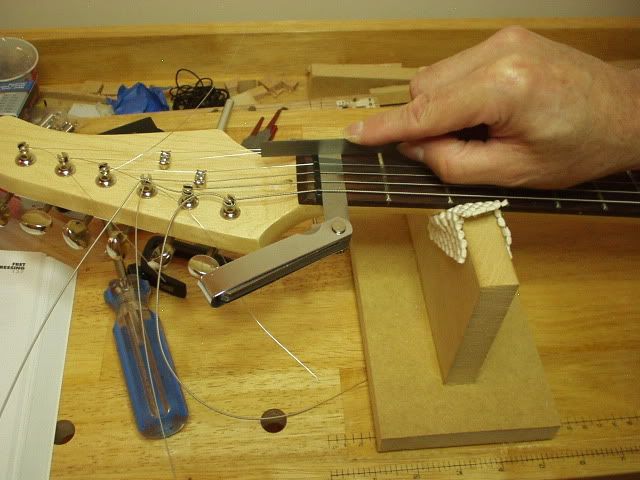
2. Block the tremolo in the middle position so it can float in either direction. Use a hardwood block. String to pitch and the tension will hold the block in place. Adjust the block until a gap of 3/32" shows between the bottom of the bridge plate and the face of the guitar. (I am initially setting this one up like a Clapton model strat with the bridge flat on the body.)
3. Install a capo at the first fret.
4. Adjust the neck. In the playing position, depress one of the wound strings at the 17th fret. Adjust the neck to the proper relief at the 7th fret. Factory specs are .012" for most strats. The Clapton model is .008" - .010". (I prefer a straighter neck and have initially set this one at .005".)
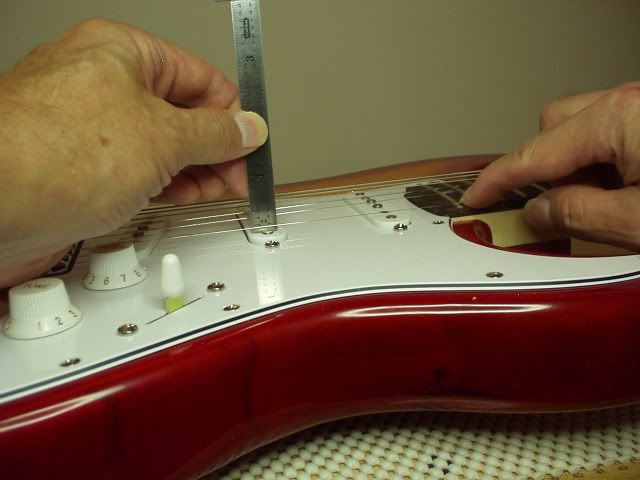
5. Set the string height. With the capo still on, adjust the string height at the 17th fret to match the factory specs. This is 4/64" for most strats. The Clapton model is 3/64" - 4/64". I chose to set the bass E string at 5/64" and the treble E string at 4/64". Then I used a homemade radius gauge to blend in the strings in between.
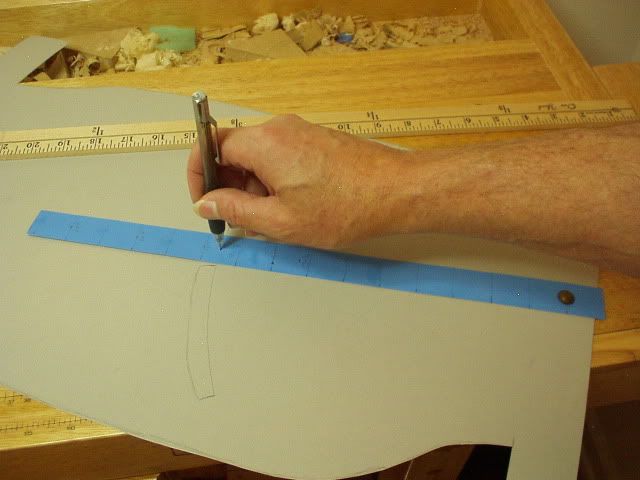
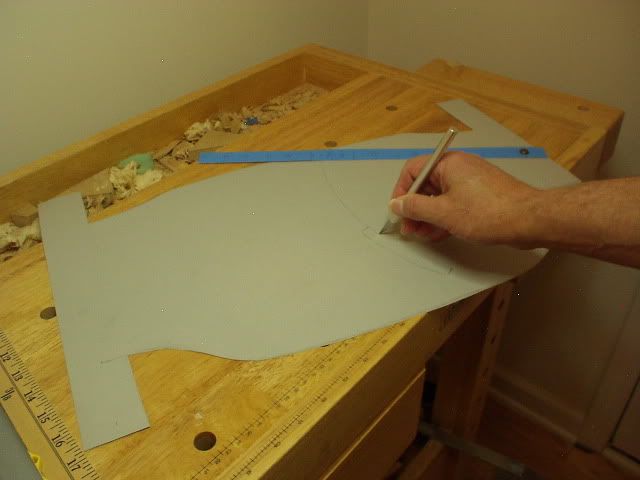
Making the radius gauge out of leftover poster board. Marking with a pencil:
scribe with a sharp tack:

Cut very carefully with an X-acto knife:
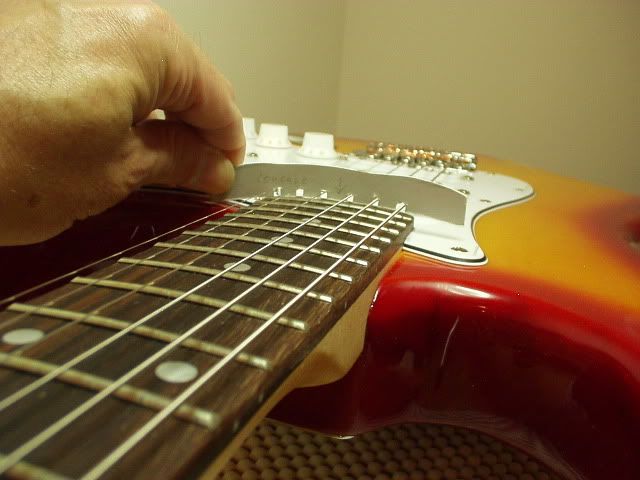
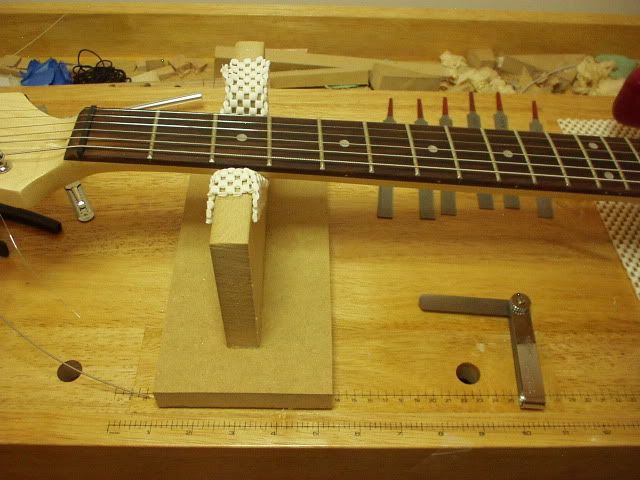
Checking the fretboard radius to make sure it is 9-12":
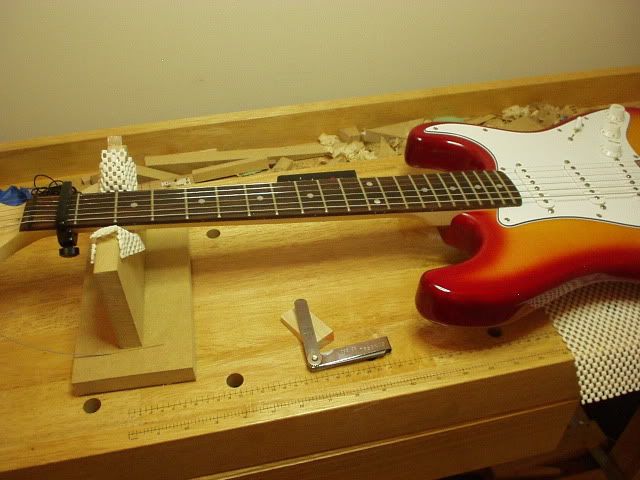
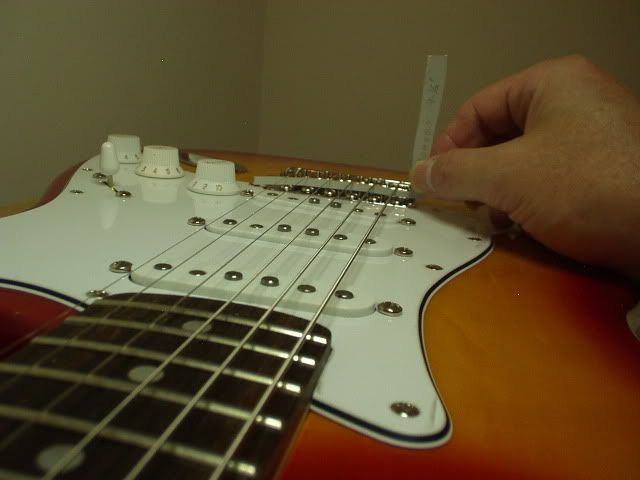
Setting the string heights:
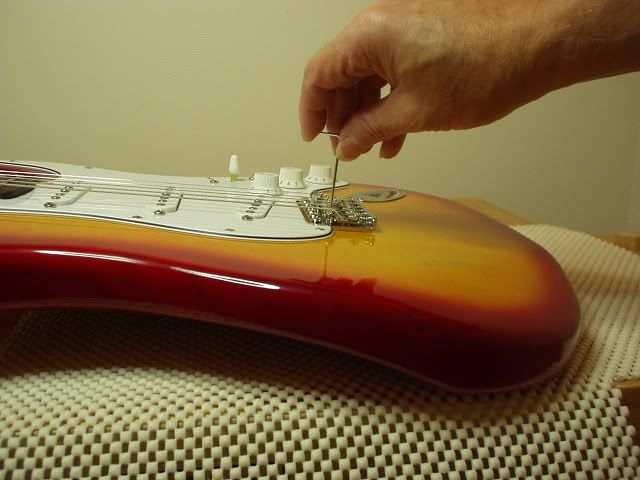
Using a convex radius gauge as a guide for adjusting the string heights:
6. Remove the capo.
7. Lower the string height at the nut to match factory specs. This is .020" for all the strings except the treble E string, which is .018". This is measured between the top of the first fret and the bottom of each string. I used a different method. First I measured the fret height above the fretboard by placing a straightedge over the first two frets and used a combination of stacked feeler gauges. My new frets are about .040". Then I added .009" (total of .049") for some clearance and used a stack of feeler gauges that equals .049" at the nut to tell me when to stop filing the nut slots.
I use the proper size nut file for each string (based on the string thicknesses). You can see six files lined up on the bench:
8. Adjust the pickup heights to specs. For most strats this is 1/8" bass side and 3/32" on the treble side. Fret the outer two E strings at the last fret and measure from the pickup pole to the bottom of the string.
9. Play the guitar and check for buzzes at every fret. Adjusting the final intonation can be done quicker now while the tremolo is still blocked. Tune each string to pitch and check for intonation at the 12th fret. Adjust the saddle further away from the nut if sharp and closer to the nut if flat. Re-tune and check again until the notes match.
10. Install the tremolo springs and begin tightening the claw.Once the springs get to the right tension they take control and the wooden block loosens and pulls right out. If you didn't adjust final intonation in step 9, do it now. Your are done! (I will have to wait for this step until I receive the long drill bit.)
Out of the box, body and neck:
A hand-wired pickguard (from guitarfetish.com) with 3 premium alnico vintage 127 pickups and a 250K pot value. (I have no soldering experience.)
Vintage tremolo bridge:
There were no holes pre-drilled in the neck. So I used a laser mounted on a tripod to help get it properly aligned.
The bridge hole in the body needed enlarging a small bit on the bass side. This was in order to center the bridge on the body and to give a little clearance for the sustain block to move inside the body. I used some sandpaper wrapped around a 5/8" dowel for that operation. Here I have the tuners, bridge and strings installed to make sure things line up properly.
The tuners required a little filing on the edges in order to fit on the headstock.
I managed to unsolder and re solder the wires on the jack in order to thread the wires through the hole in the body. The pickguard required a little sanding where it meets the neck, and at the bridge.
The string trees mounted on the headstock:
Here is a 10-step Strat setup based on the one in Dan Erlewine's book "Guitar Player Repair Guide". Dan says he learned this at the Fender factory.
First make sure electronics are working, no springs installed on the tremolo, tremolo claw loose (1" from rear wall) for easy installation of the springs later, intonation is rough "pre-set" according to Fender's bridge saddle pattern.
1. String up lightly, but not nearly to pitch.
2. Block the tremolo in the middle position so it can float in either direction. Use a hardwood block. String to pitch and the tension will hold the block in place. Adjust the block until a gap of 3/32" shows between the bottom of the bridge plate and the face of the guitar. (I am initially setting this one up like a Clapton model strat with the bridge flat on the body.)
3. Install a capo at the first fret.
4. Adjust the neck. In the playing position, depress one of the wound strings at the 17th fret. Adjust the neck to the proper relief at the 7th fret. Factory specs are .012" for most strats. The Clapton model is .008" - .010". (I prefer a straighter neck and have initially set this one at .005".)
5. Set the string height. With the capo still on, adjust the string height at the 17th fret to match the factory specs. This is 4/64" for most strats. The Clapton model is 3/64" - 4/64". I chose to set the bass E string at 5/64" and the treble E string at 4/64". Then I used a homemade radius gauge to blend in the strings in between.
Making the radius gauge out of leftover poster board. Marking with a pencil:
scribe with a sharp tack:
Cut very carefully with an X-acto knife:
Checking the fretboard radius to make sure it is 9-12":
Setting the string heights:
Using a convex radius gauge as a guide for adjusting the string heights:
6. Remove the capo.
7. Lower the string height at the nut to match factory specs. This is .020" for all the strings except the treble E string, which is .018". This is measured between the top of the first fret and the bottom of each string. I used a different method. First I measured the fret height above the fretboard by placing a straightedge over the first two frets and used a combination of stacked feeler gauges. My new frets are about .040". Then I added .009" (total of .049") for some clearance and used a stack of feeler gauges that equals .049" at the nut to tell me when to stop filing the nut slots.
I use the proper size nut file for each string (based on the string thicknesses). You can see six files lined up on the bench:
8. Adjust the pickup heights to specs. For most strats this is 1/8" bass side and 3/32" on the treble side. Fret the outer two E strings at the last fret and measure from the pickup pole to the bottom of the string.
9. Play the guitar and check for buzzes at every fret. Adjusting the final intonation can be done quicker now while the tremolo is still blocked. Tune each string to pitch and check for intonation at the 12th fret. Adjust the saddle further away from the nut if sharp and closer to the nut if flat. Re-tune and check again until the notes match.
10. Install the tremolo springs and begin tightening the claw.Once the springs get to the right tension they take control and the wooden block loosens and pulls right out. If you didn't adjust final intonation in step 9, do it now. Your are done! (I will have to wait for this step until I receive the long drill bit.)


I have that book Dan Erlewine wrote, really good comprehensive steps. Helped me get started with guitar modification. However though I never use a step by step method anymore, I do it all by feel and sound. The pickup height is something I think is very much over-looked, you can get so much variation by messing with the heights.
Anyway thats a lovely looking build there.
Anyway thats a lovely looking build there.
-
porterhaus
- .
- Posts: 86
- Joined: Sat May 22, 2010 12:45 pm
Thanks for the replies guys.
Yes, Dan Erlewine is very picky and methodical. Even if you do things by feel and ear, this is a good starting point. And, if you you noticed, I varied from the factory specs a bit on my guitar.
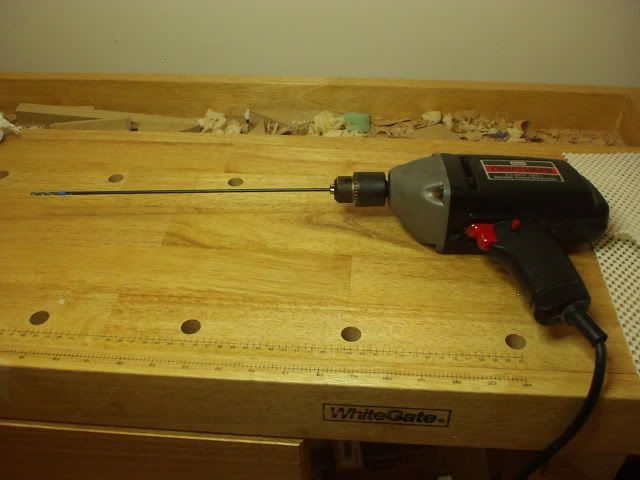
OK, here is a photo of the 12" long aircraft drill bit used to drill the holes (at the proper angle) for the spring claw screws. It came in the mail yesterday.
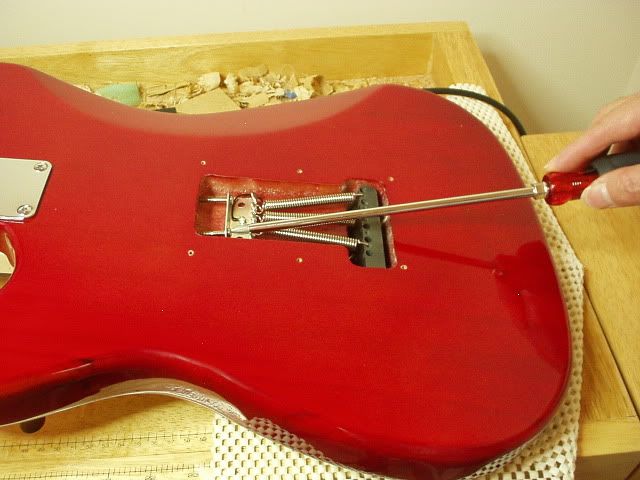
And here is an 8" long phillips head screwdriver. (I discovered that for working on guitars, you can never have enough tools. And it really pays to have the right tool for the job.) I managed to get the ground wire soldered to the claw. And installed the springs and adjusted the claw as described above.
And, the cover for the springs.
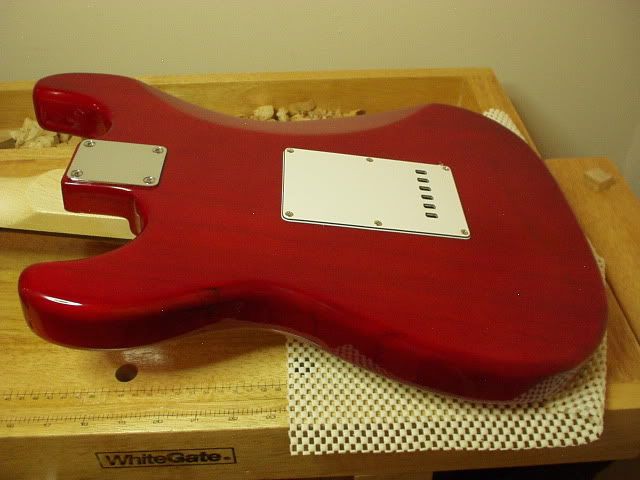
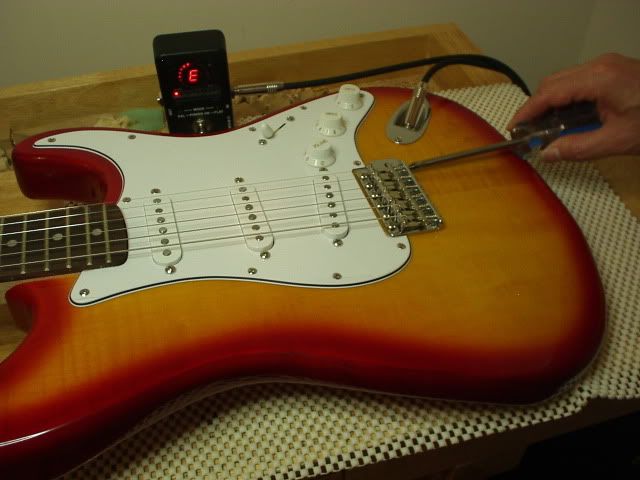
I installed the whammy bar and played around just a little with it to make sure everything works. I will need to go back and re-do some of the setup steps because the bridge is now in a floating middle position instead of flat on the guitar top.
Anyway, I am ready to say this one has been a success. I have learned quite a bit. And I now have a nice strat type guitar.
Yes, Dan Erlewine is very picky and methodical. Even if you do things by feel and ear, this is a good starting point. And, if you you noticed, I varied from the factory specs a bit on my guitar.
OK, here is a photo of the 12" long aircraft drill bit used to drill the holes (at the proper angle) for the spring claw screws. It came in the mail yesterday.
And here is an 8" long phillips head screwdriver. (I discovered that for working on guitars, you can never have enough tools. And it really pays to have the right tool for the job.) I managed to get the ground wire soldered to the claw. And installed the springs and adjusted the claw as described above.
And, the cover for the springs.
I installed the whammy bar and played around just a little with it to make sure everything works. I will need to go back and re-do some of the setup steps because the bridge is now in a floating middle position instead of flat on the guitar top.
Anyway, I am ready to say this one has been a success. I have learned quite a bit. And I now have a nice strat type guitar.
-
porterhaus
- .
- Posts: 86
- Joined: Sat May 22, 2010 12:45 pm
-
porterhaus
- .
- Posts: 86
- Joined: Sat May 22, 2010 12:45 pm