First re-fret job

Painting? Routing? Set-up tips? Or just straight-up making a guitar from scratch? Post here, and post pics!

Moderated By: mods

porterhaus
.
.
Posts: 86
Joined: Sat May 22, 2010 12:45 pm

First re-fret job

Post by porterhaus »

I have an old (early 70s) Kay Classical guitar. It is a short scale guitar(24"). These are cheap guitars and were made in Chicago back then. Many of the steel string versions haven't survived the years. But the nylon string guitars seem to fare better. I think they are pretty cool in a way, and a good way to have a piece of guitar history without spending a bundle. I bought this a few years ago knowing it needed new frets. And I have finally gotten around to replacing them.

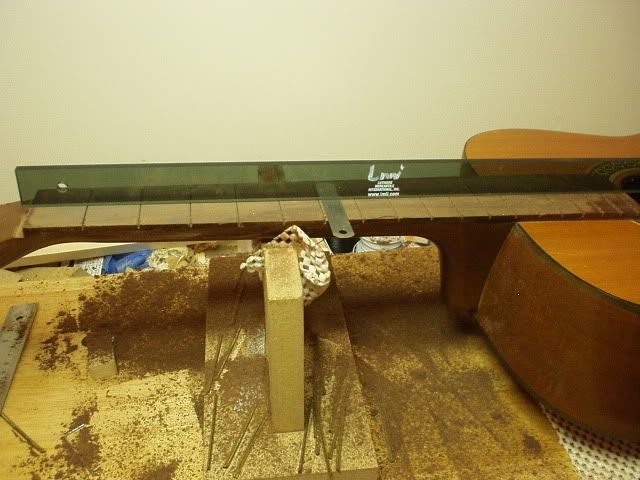
The fretboard was apparently not leveled well at the factory. That is why the frets were so low in places. After removing the frets I proceeded to level the fingerboard. This is an important step, but it is often overlooked by some guitar technicians. Classical guitars have flat (non radius) fret boards, which made this a little simpler.

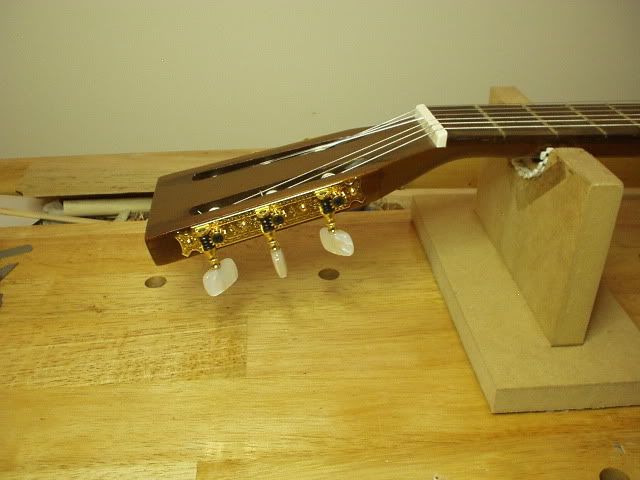
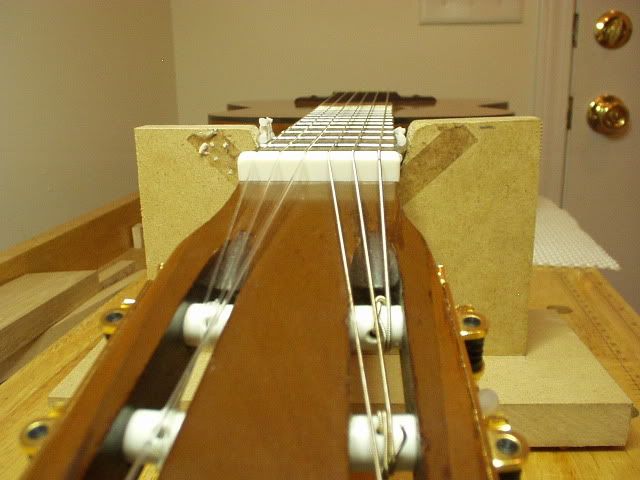
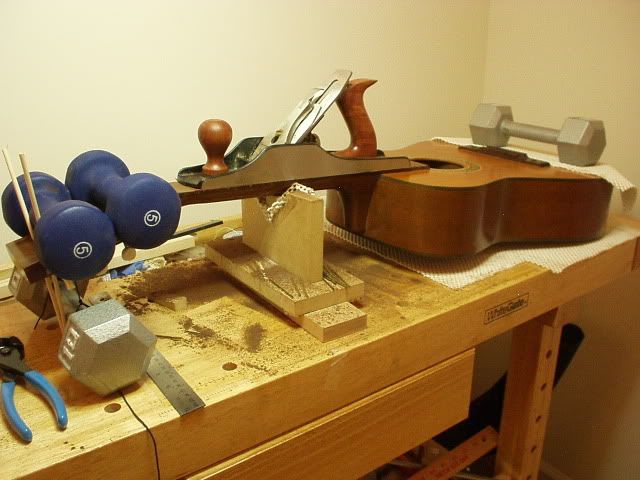
Most classical guitars do not have truss rods. This one doesn't either. It has about .008" of relief built in to the neck (without any string tension). So, in order to straighten out the neck, I had to place 20 lbs of weight at the headstock. And counter balance it with 10 lbs at the body. I place the fulcrum under the neck at the 5th fret position. Then I use the flattest thing I own (a plane) to flatten the fingerboard. I used stick-on sandpaper on the bottom of the plane (after retracting the blade).

Image


When the weights are removed, the neck returns to normal and we have the proper relief (without any tension).

Image


I use the backside of an exacto knife blade to clean out the sawdust from the fret slots.

Image


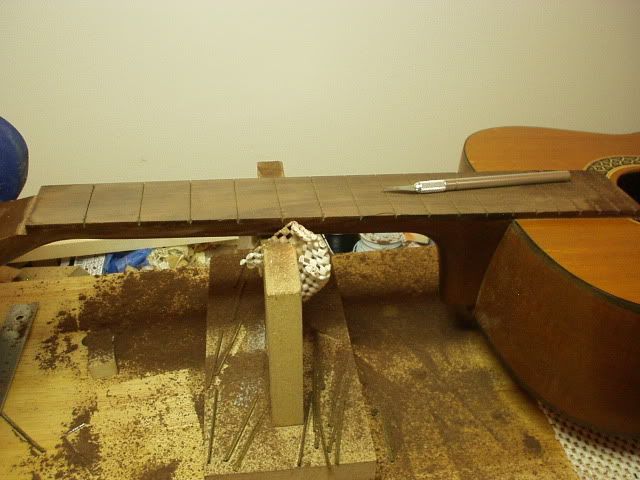
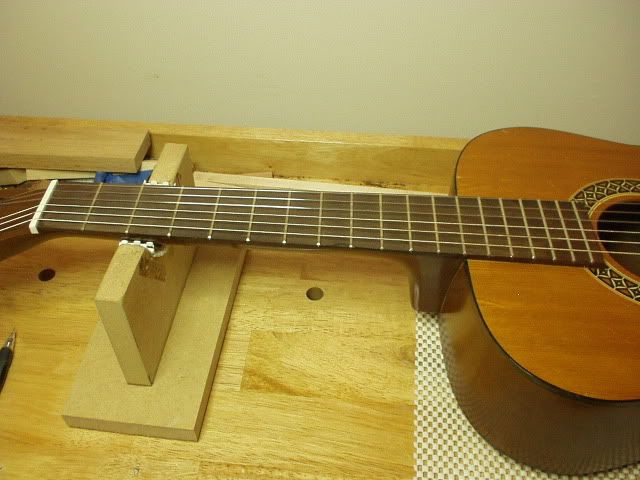
Installing the frets involved checking the depth of each fret slot. Then using a special saw, with a proper size kerf, to deepen the slots as necessary. Then, using a small triangular file, clean up the top edges of each slot. Then cutting to length, and hammering in each fret with a special fretting hammer. I use a triangular fret rocker to check for any frets that might be sticking up a little.

Image

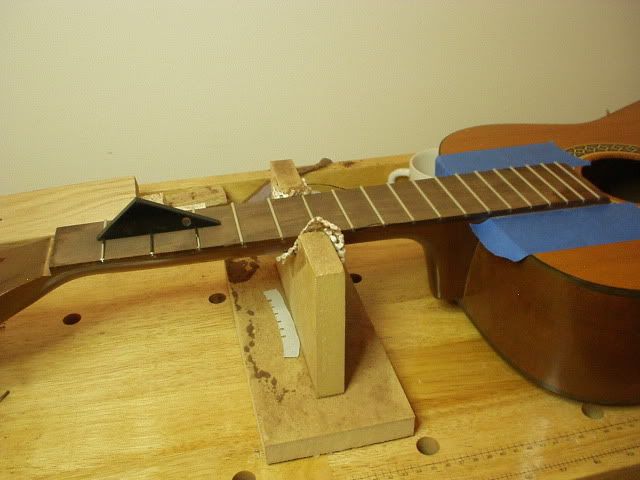
The effort to level the fretboard paid off well. The frets are all level and probably won't require any dressing, except for the fret ends.

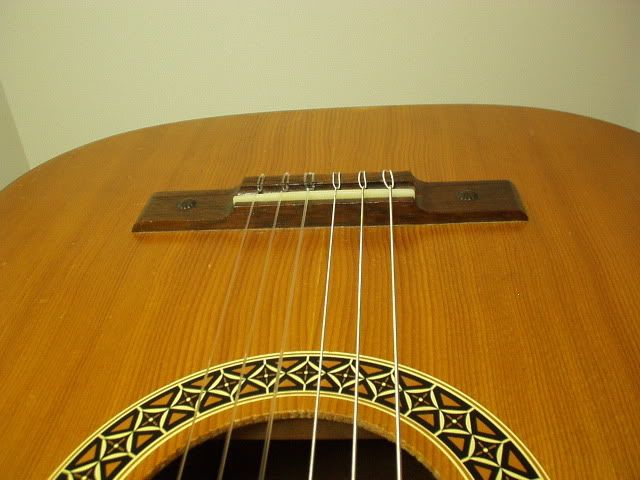
I plan to make a new bone nut for this guitar. And will probably change out the tuners for some good ones. Can't wait to see how it plays after all the work.
User avatar
James
Nutmeg
Posts: 10645
Joined: Thu Jul 13, 2006 6:15 pm
Location: Boxingham Palace

Post by James »

Really nice detail. Good work. Did you calculate the fulcrum point with those weights or did you just estimate it?
Shabba.
porterhaus
.
.
Posts: 86
Joined: Sat May 22, 2010 12:45 pm

Post by porterhaus »

James wrote:Really nice detail. Good work. Did you calculate the fulcrum point with those weights or did you just estimate it?
Thanks, I measured and found the mid-point of the neck (between the nut and 12th fret [neck body joint]) was about the fifth fret. I figured this would be a logical place to use for a natural curve, similar to how the string tension bends the neck (in the other direction). The amount of weight was a trial and error exercise. I tried it with half that amount of weight to start with. But I found out that wasn't enough.
User avatar
Dave
TOTALLY MODD
Posts: 10439
Joined: Mon Jun 09, 2008 9:35 pm
Location: UK - Southampton

Post by Dave »

Excellent work - that first photo is somehow very artistic!
iCEByTes wrote:5 Most Jizz face maker Solo�s , classic Rock music i ever listened.
iCEByTes wrote:Blunt a joint , Take the Touch , Listen this.
porterhaus
.
.
Posts: 86
Joined: Sat May 22, 2010 12:45 pm

Post by porterhaus »

Thanks Dave!

Yeah, I thought that first picture was interesting too. :wink:

I now have the nut finished except for some final touches to make it look pretty. I will post another final picture when everything is done.

I also refined the top of the saddle to include a very slight radius (35") which peaks right at the 4th string. This is how Kenny Hill makes the saddles on his handmade classical guitars. He says the 4th string is the most likely one to buzz. And that this shape allows the 5th and 6th strings to be at a more comfortable height.

The guitar plays well and is a very comfortable 24" short scale.

Since this work went OK, I am planning to re-fret another classical guitar I have. It is a 1970 Hernandis grade 1A. The procedures will be somewhat similar to this one.
User avatar
Mages
súper crujiente
Posts: 7454
Joined: Wed Mar 26, 2008 8:34 pm
Location: MD
Contact:

Post by Mages »

very useful thread! this is something I've been wanting to learn more about.
porterhaus
.
.
Posts: 86
Joined: Sat May 22, 2010 12:45 pm

Post by porterhaus »

Thanks Mages, I too am learning as I do this stuff. It is a lot of fun. And I get a good feeling from helping an old neglected instrument back into decent playing condition.

I highly recommend Dan Erlewine's book "Guitar Player Repair Guide" if you really want to learn.

Here are a few final pictures:

The new nut and tuners:

Image


The new frets and new nut:

Image


The saddle with the new radius. (This is unbleached bone.)

Image


And the fretboard (after a small amount of fretboard oil):

Image

Thanks for the comments folks. I will try to post more projects as they happen.