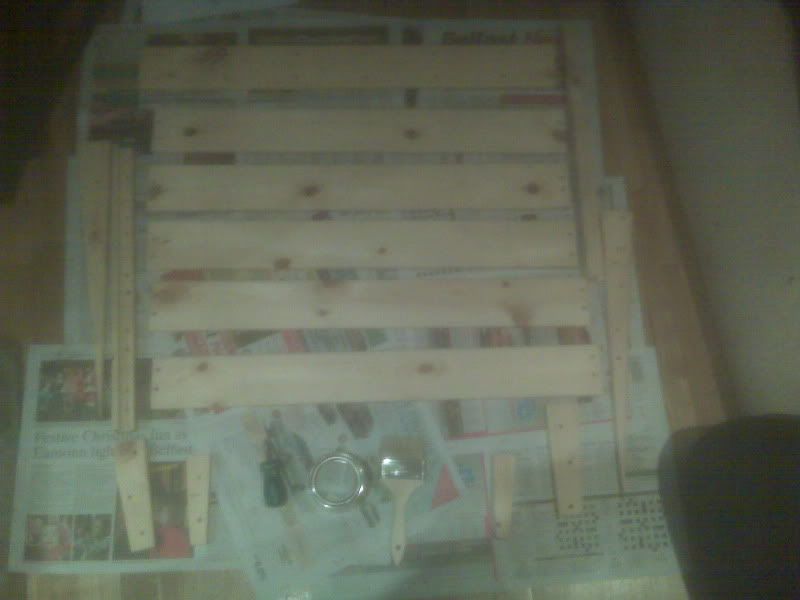
There's a bit I don't have pics of, and it's taking the unit apart. Basically, I turned it upside down, sat the rail on two books of equal height with the slat I wanted to remove between the books, then stood on the slat to pop it out. There are any number of ways to do this.
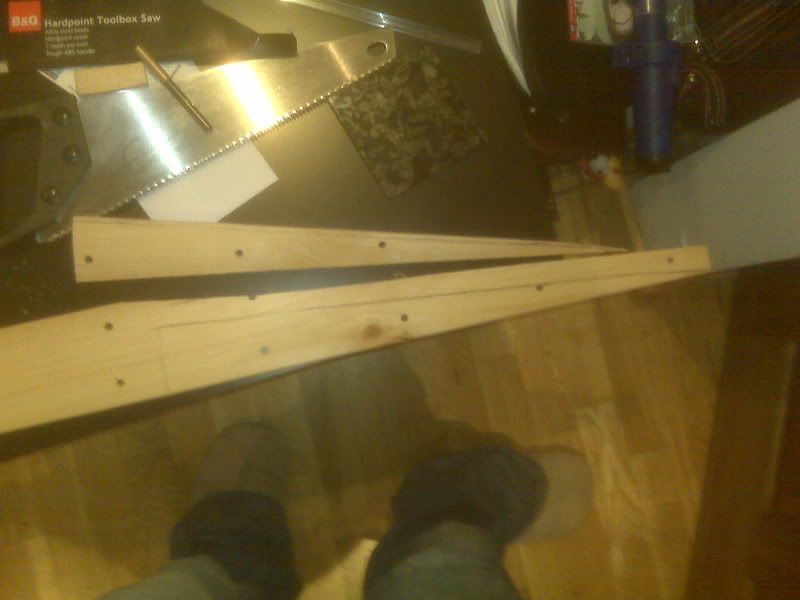
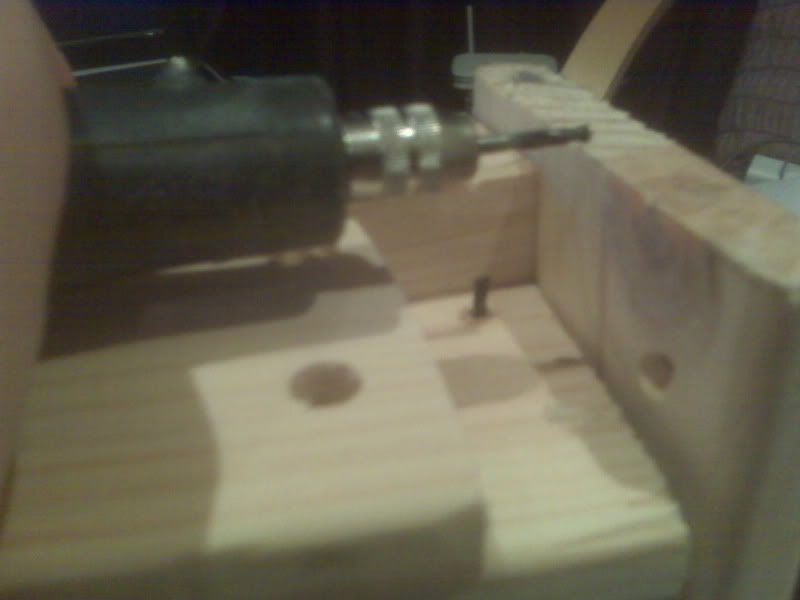
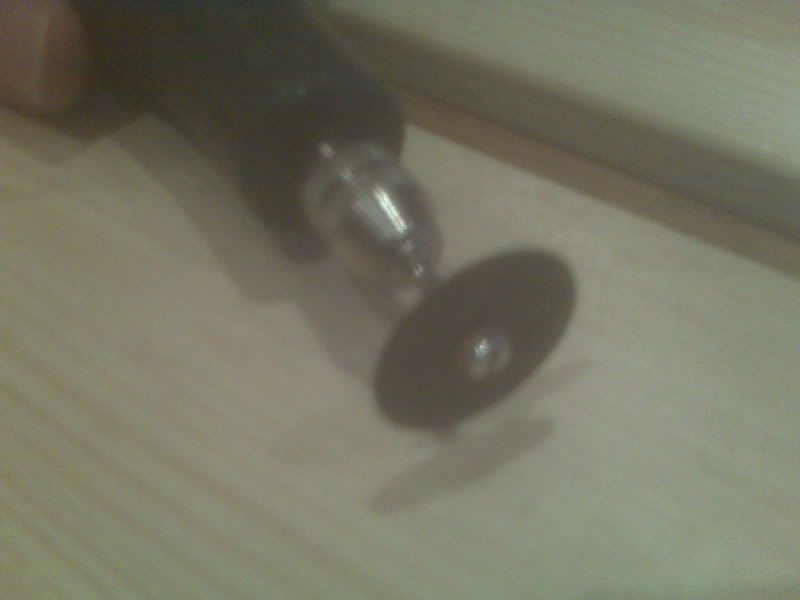
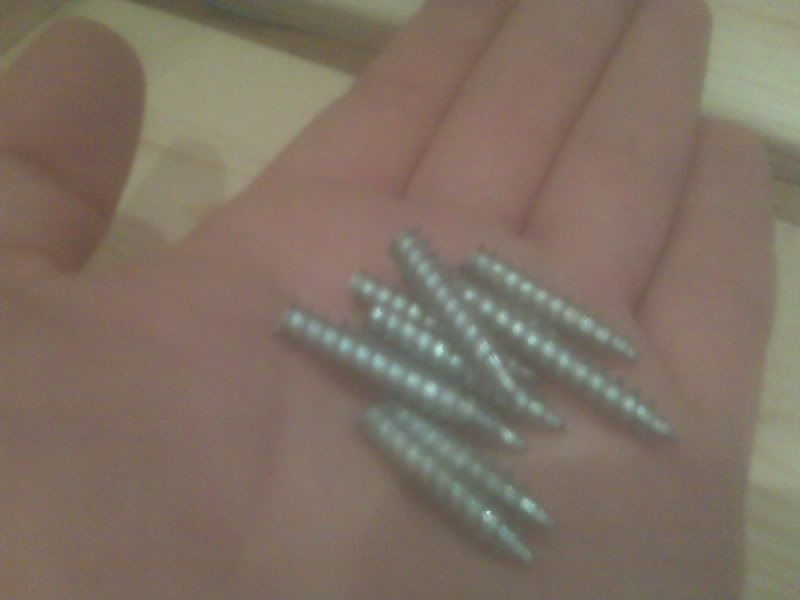
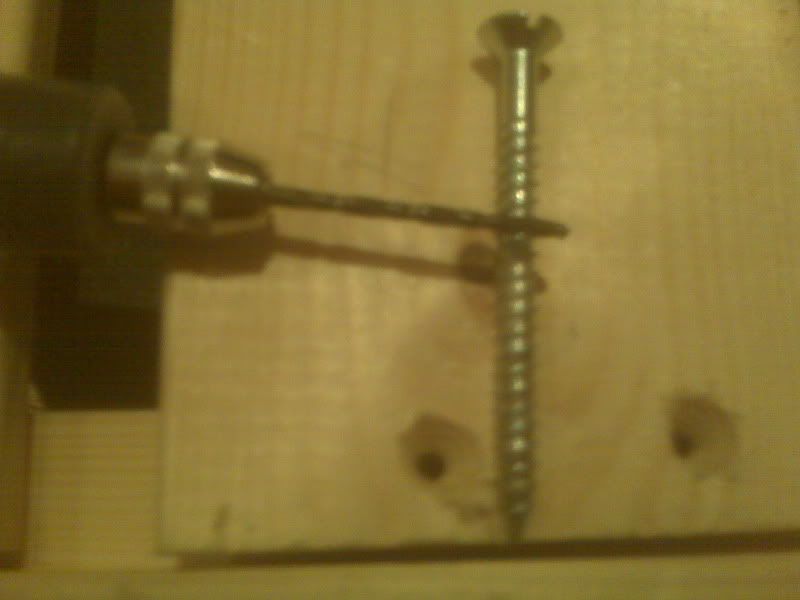
Anyway, having taken the thing apart into five slats and two rail parts, I set about widening the holes to take the ridiculous screws I bought. The screws I'm using are massive. The drill big I have to widen the holes is tiny. This was tiresome, and involved robroeing the holes (sticking a dremel in a jiggling it around until it's big enough). This was a nightmare. It took ages. I also had to drill holes through the rail pieces, and widen then too.
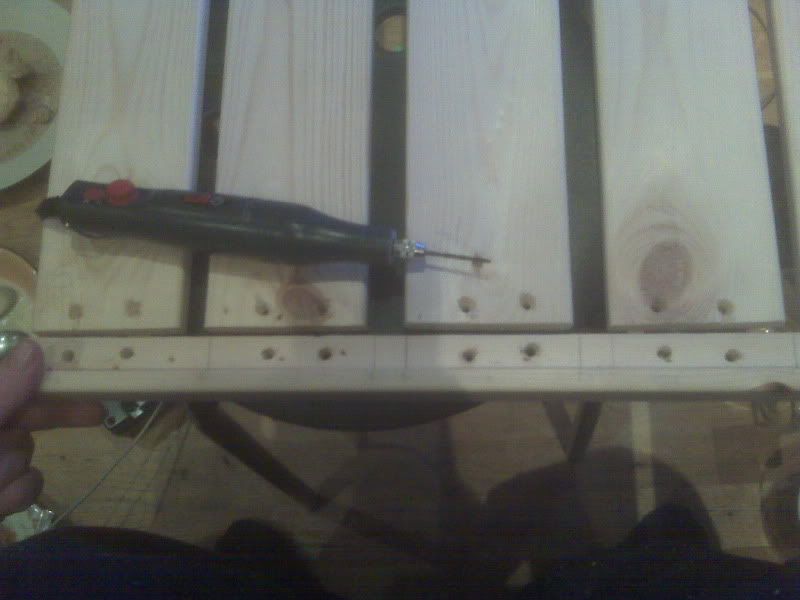
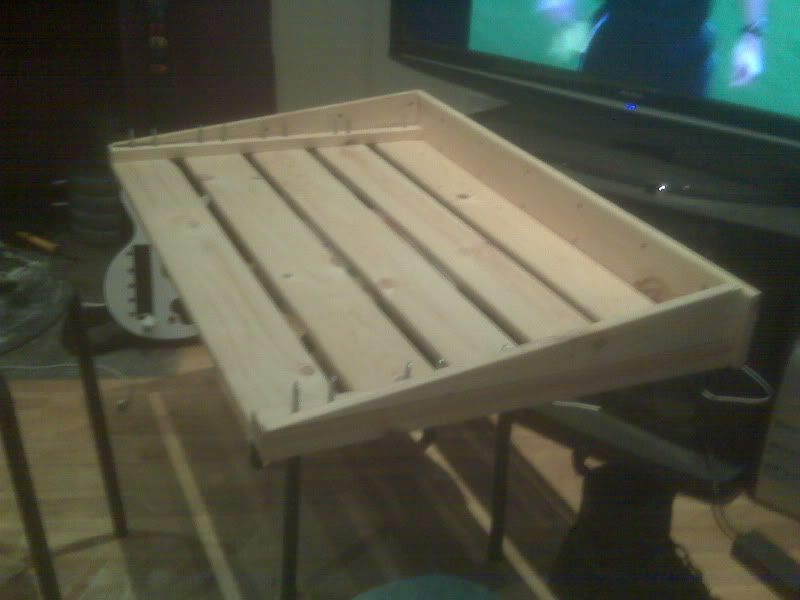
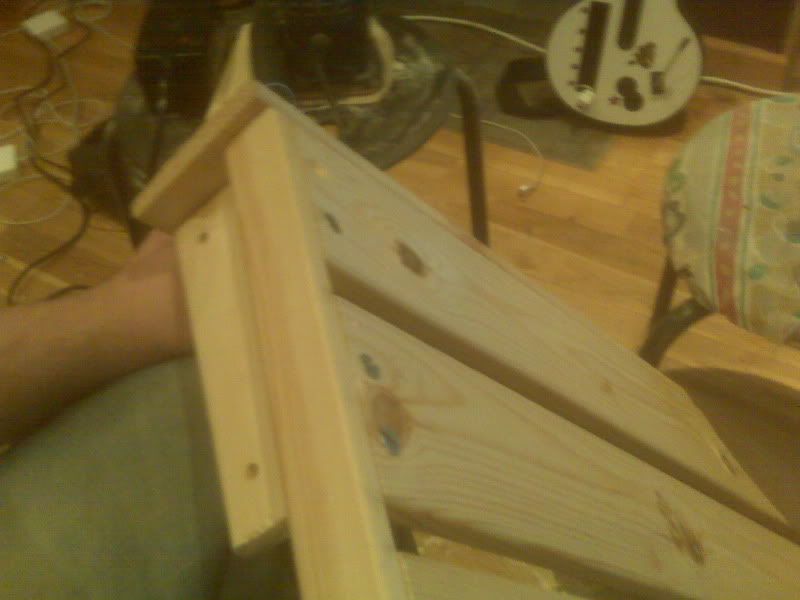
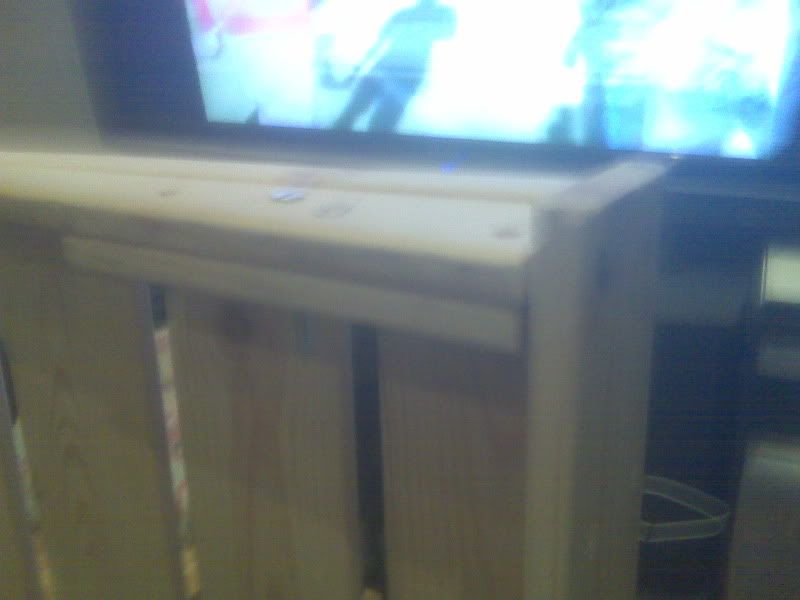
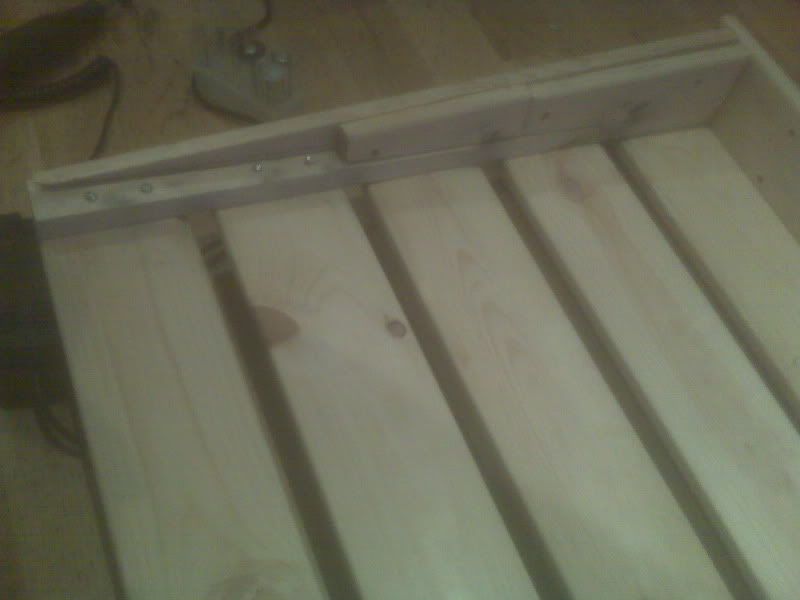
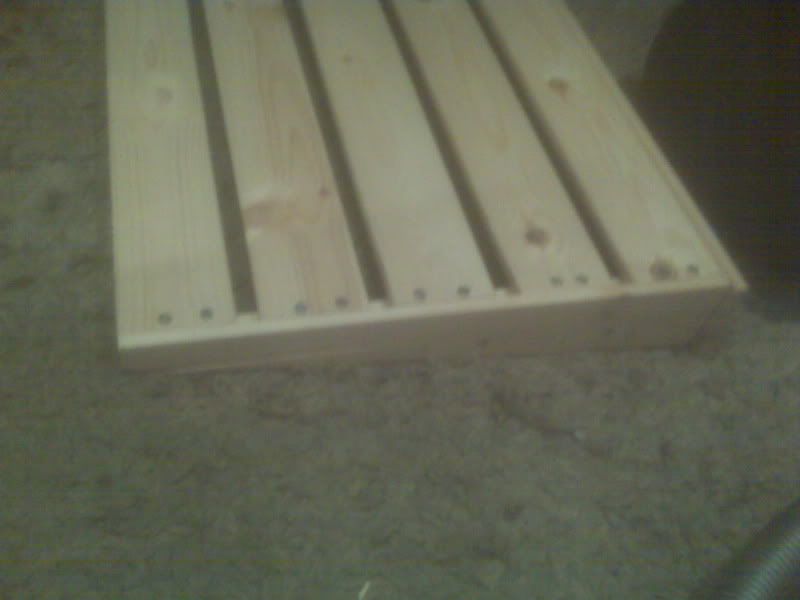
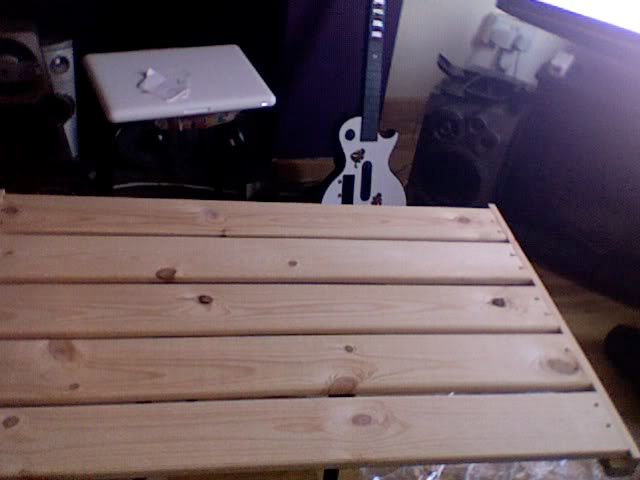
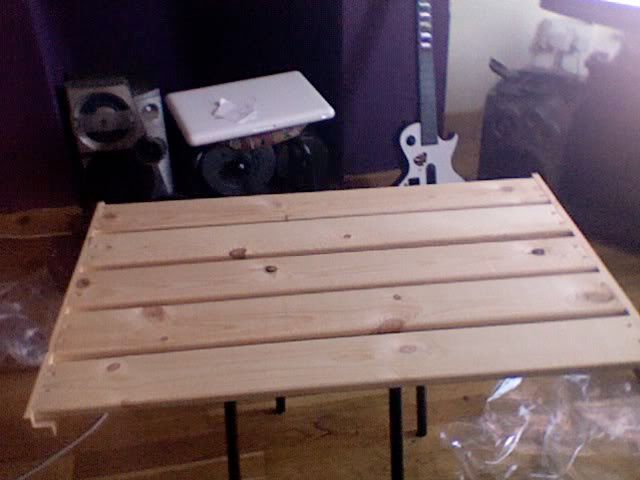
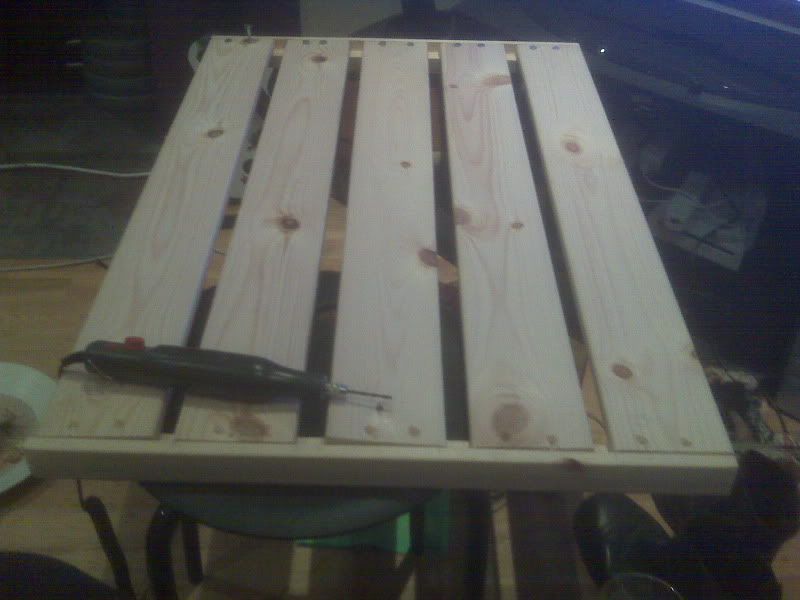
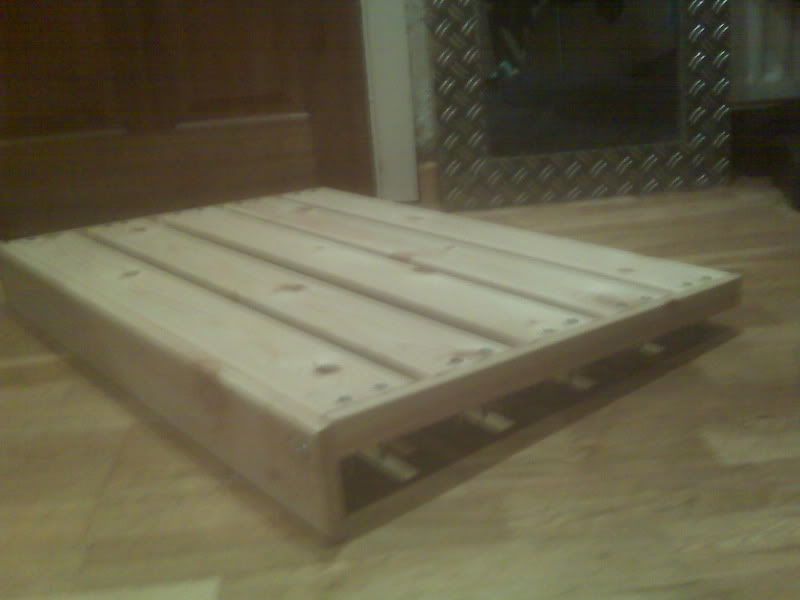
Having done that, I put it back together again. Note that the slats are now out at the edges of the rails.
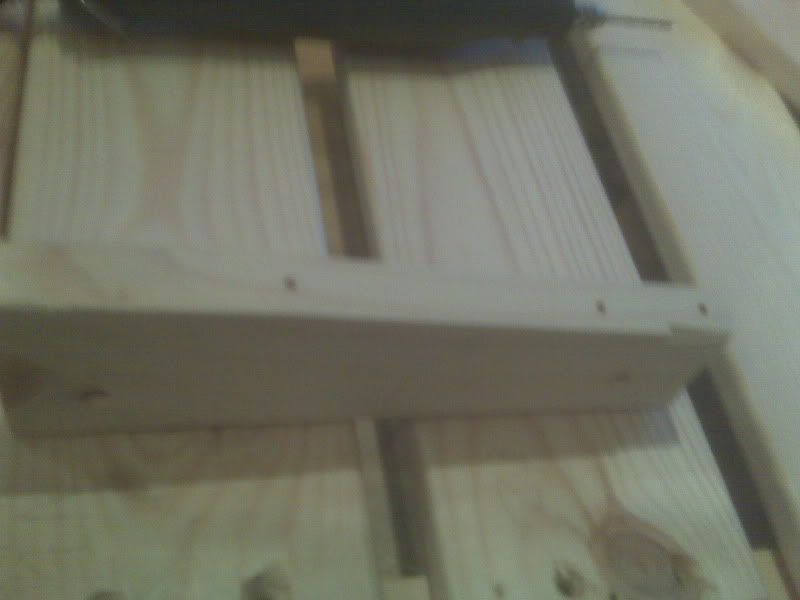
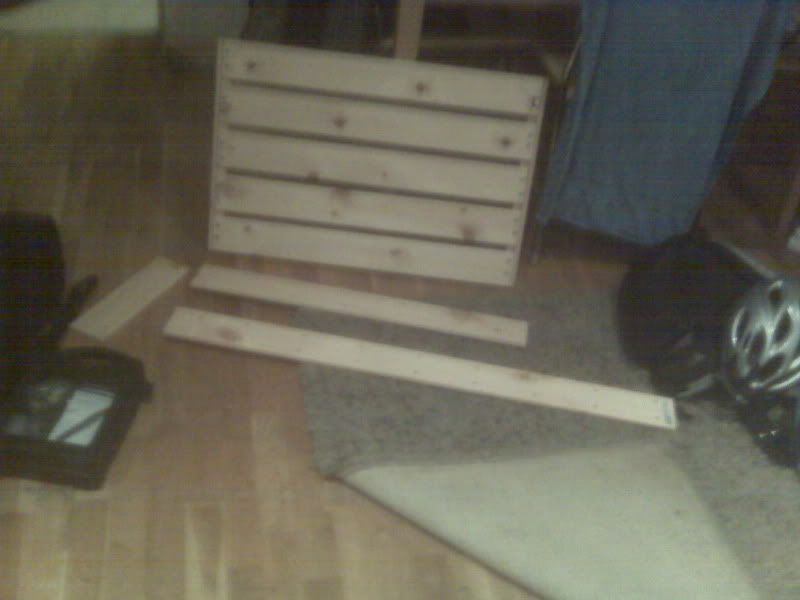
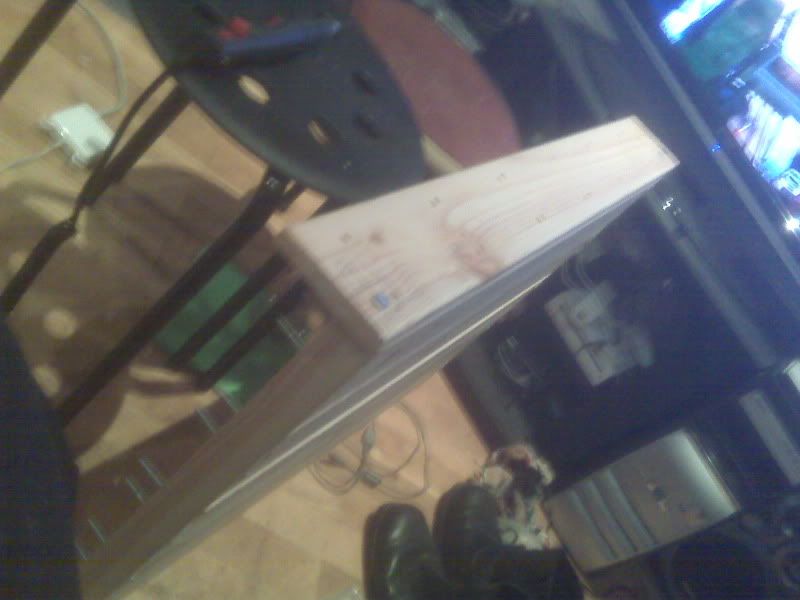
In order to give the board a bit of angle, I'm attaching a backboard to the back so that the back is higher than the front. This where one of the two planks I mentioned earlier will come in. I measured one of the planks against the pedalboard and cut it, leaving it a bit bigger than needed (probably half an inch longer). I'll tidy this up later.
This backboard will attach to the two rails at the edges of the board. Luckly, there is already a hole drilled in each rail.
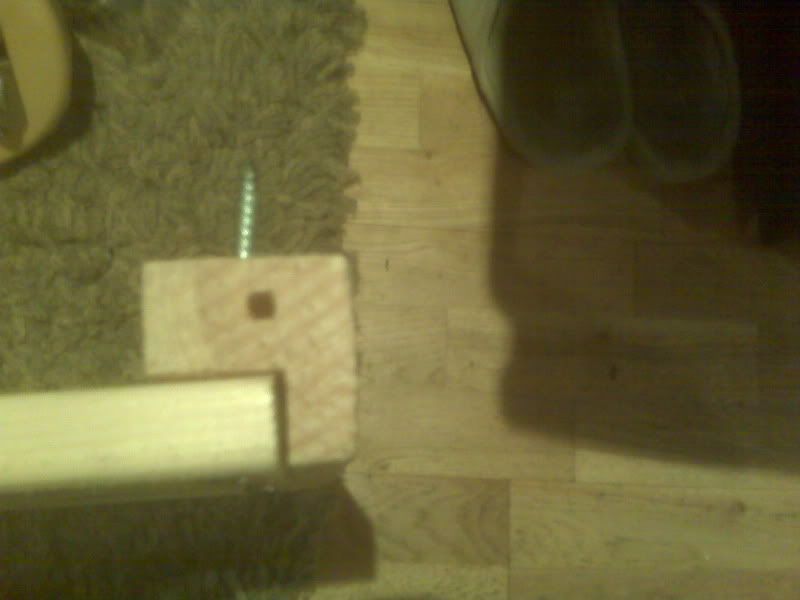
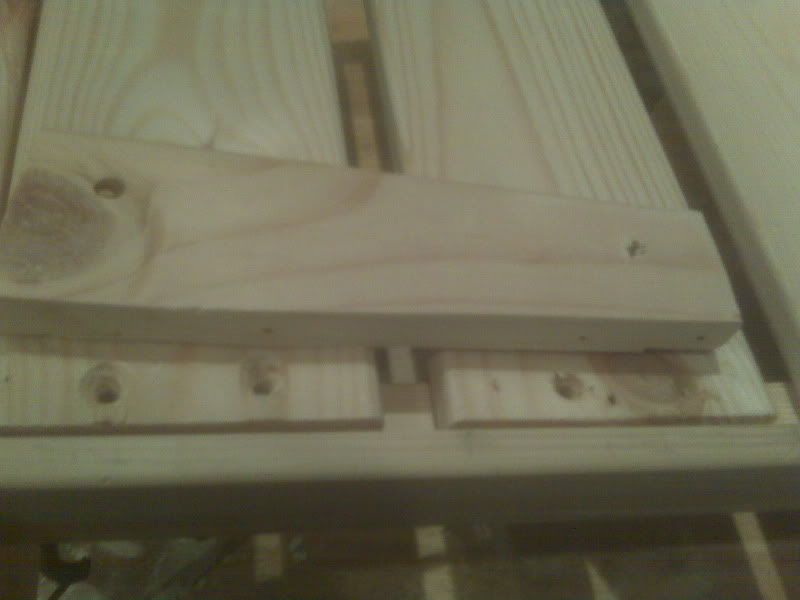
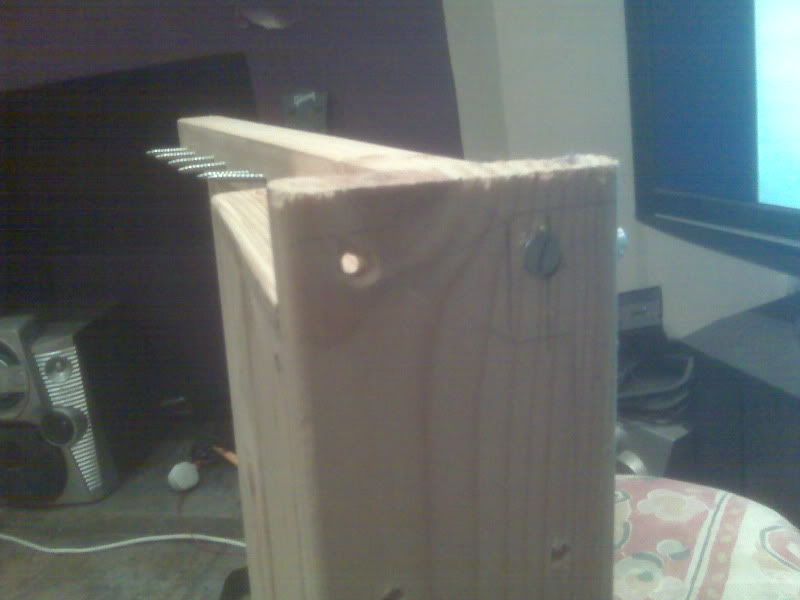
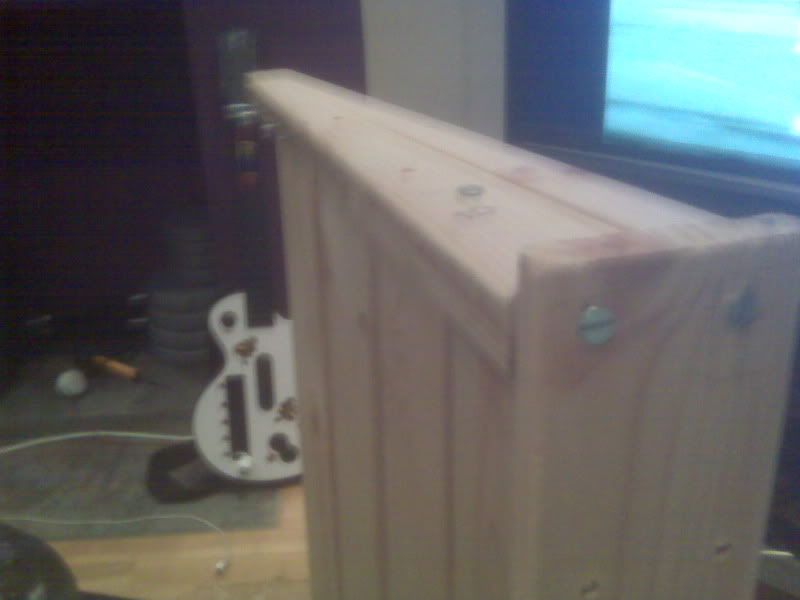
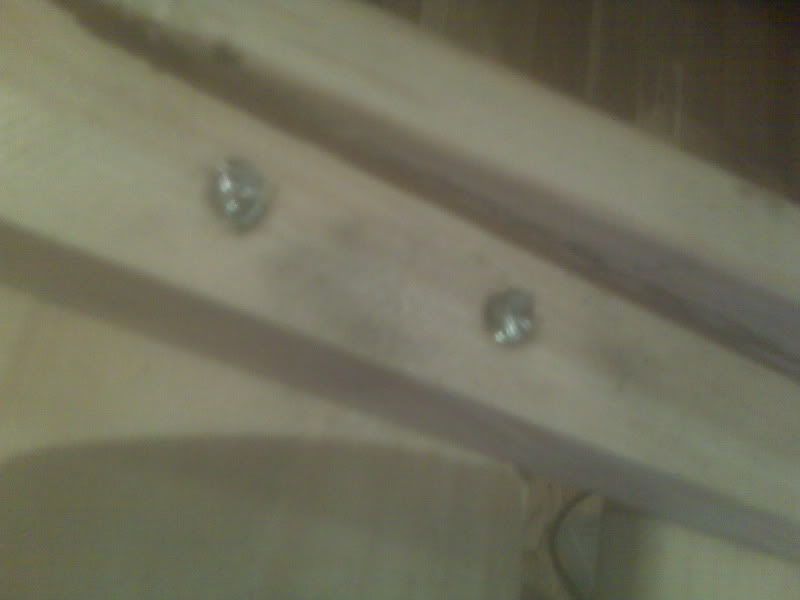
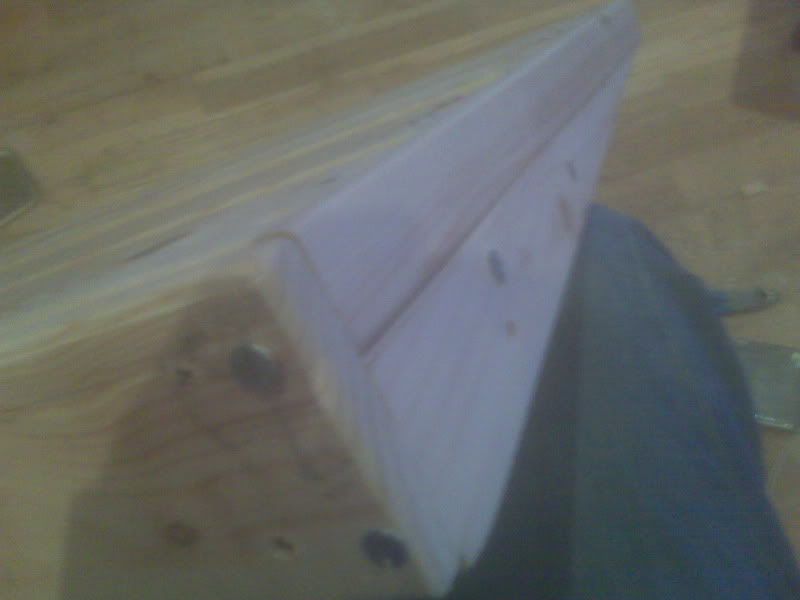
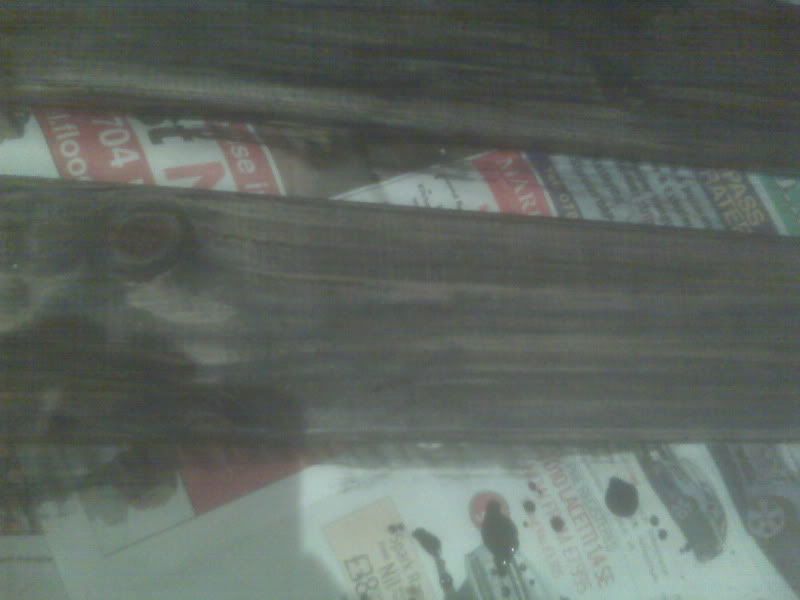
Someone on another site mentioned that these rail holes matched up with the holes in the plank, but not so in my case. I had to drill my own holes. Maybe if I'd used a different sized shelf unit it would match. In order to get this to match, I sat the backboard up against the pedalboard (upside down) and traced around the rails which gives me an impression of the location and shape of the cross section of the rails on the backboard. I couldn't really get a good pic of this, sorry. You can sort of see it better on the the second of these two pictures below. The hole (in my case) needed to be 1.5cm from the outside of the rail, and 7/8th of an inch from the top. Sorry for mixing measurements, but that's how I did it. I'd advise anyone else to make their own measurements, as these shelving units don't seem too precisely made. The hole in the first of these two photos was already in the plank. Presumably its purpose becomes clear if you use these things for their intended purposes rather than making cheap pedalboards.
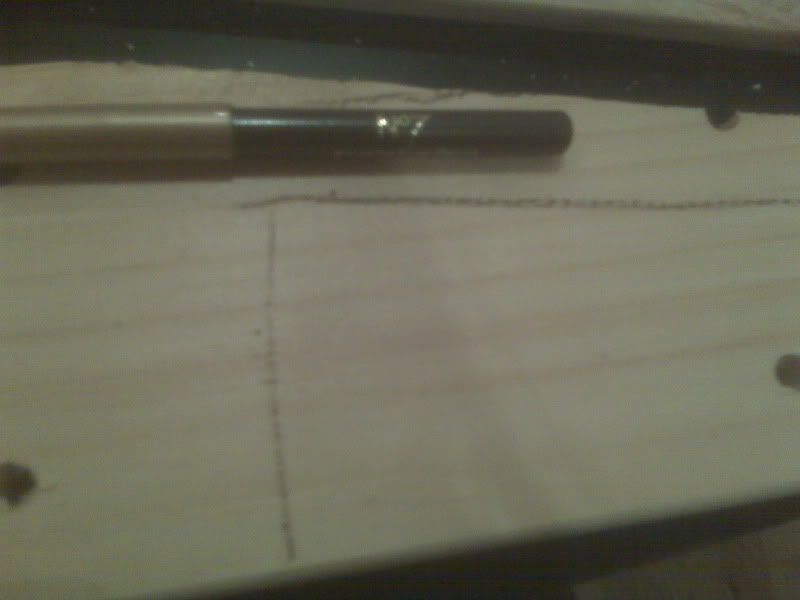
I drilled holes and robroed them out. here you can sort of see the tracing of the cross section of the rail (the hole below is 1.5cm from the right hand side of the rail in this picture, and 7/8" from the bottom).

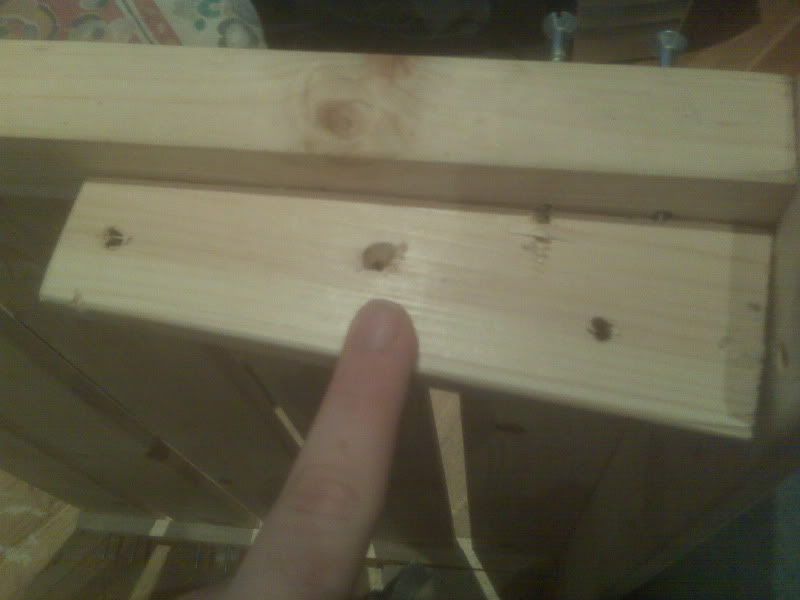
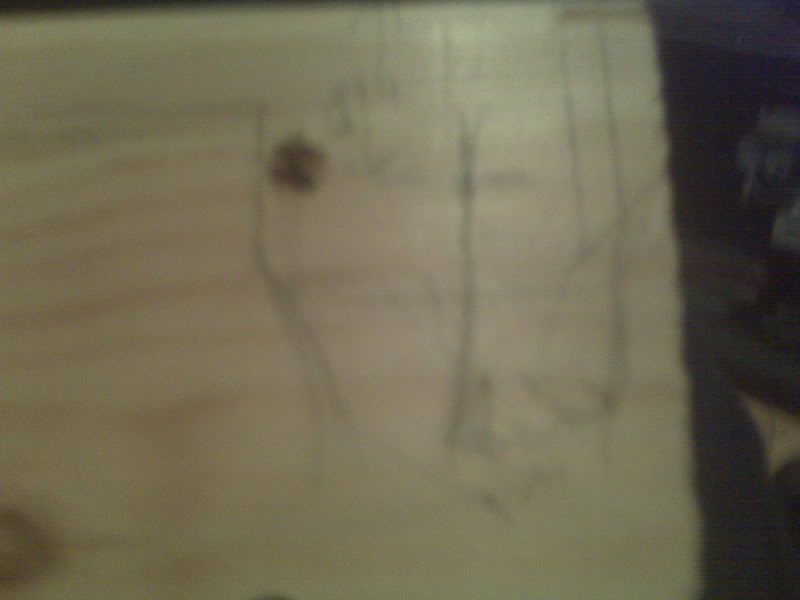
Here's a mistake I made, no doubt due to the flagrant mixing of different measurement standards. Imperial and metric don't mix. I'm not too bothered about this, it makes it boutique. This sort of mistake adds insane value to the board. No cold, machine made nonsense here.
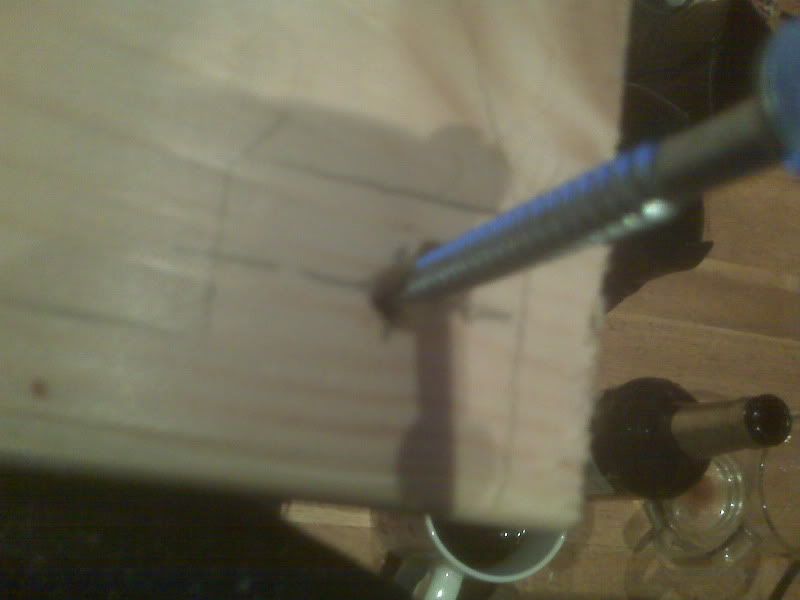
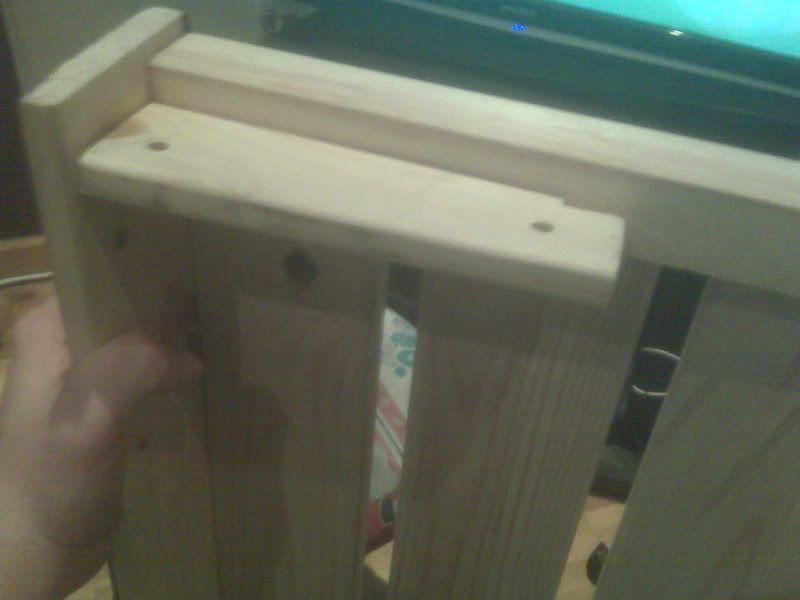
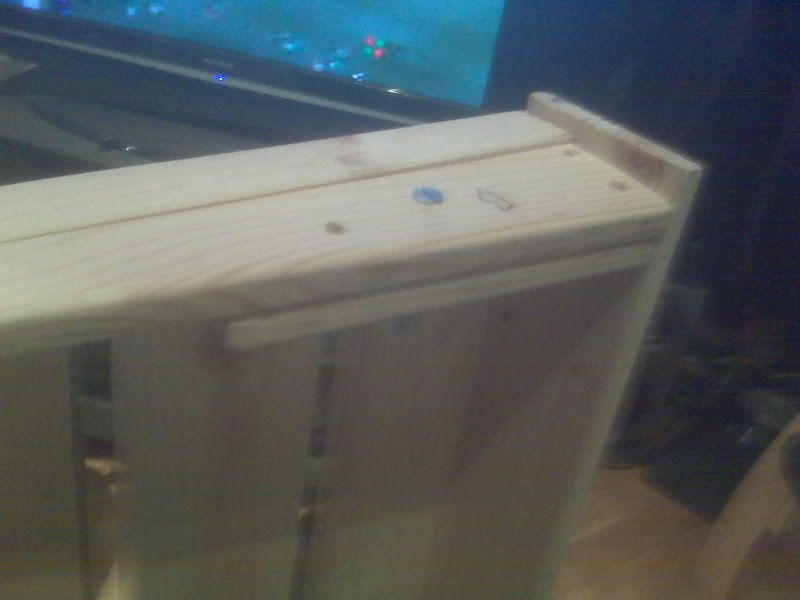
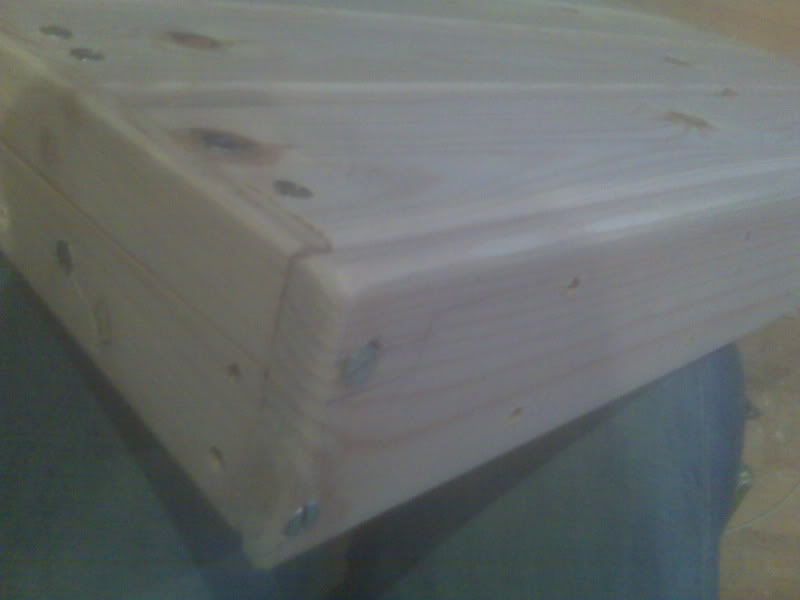
And here's the backboard screwed to the pedalboard.
Here it is on the floor. The angle should be a lot better (lower at the front) except that the gigantic screws haven't been taken care of yet. I'm a long way from finished, and have a few things I need to work out yet. I imagine I'll hack saw the screws off and I might will put sideboards on it. The whole thing has to come apart again, get painted, and be glued and screwed together permanently.
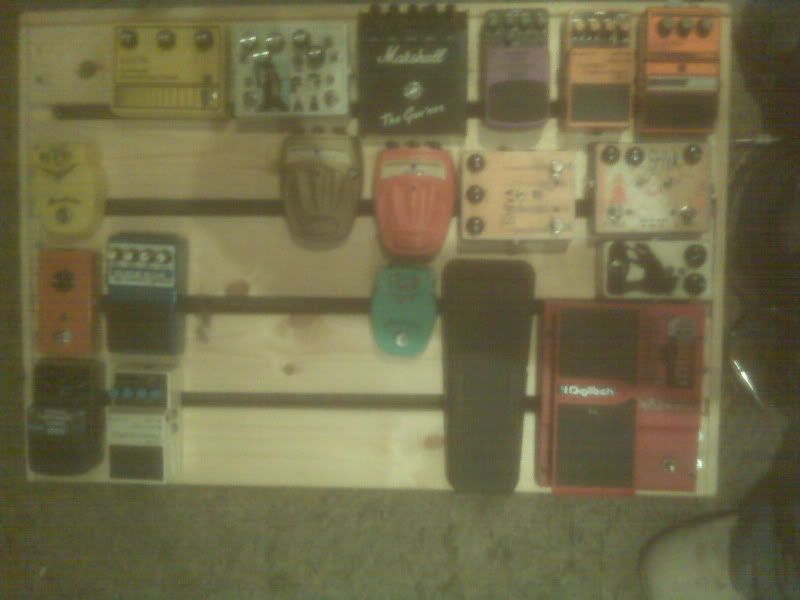
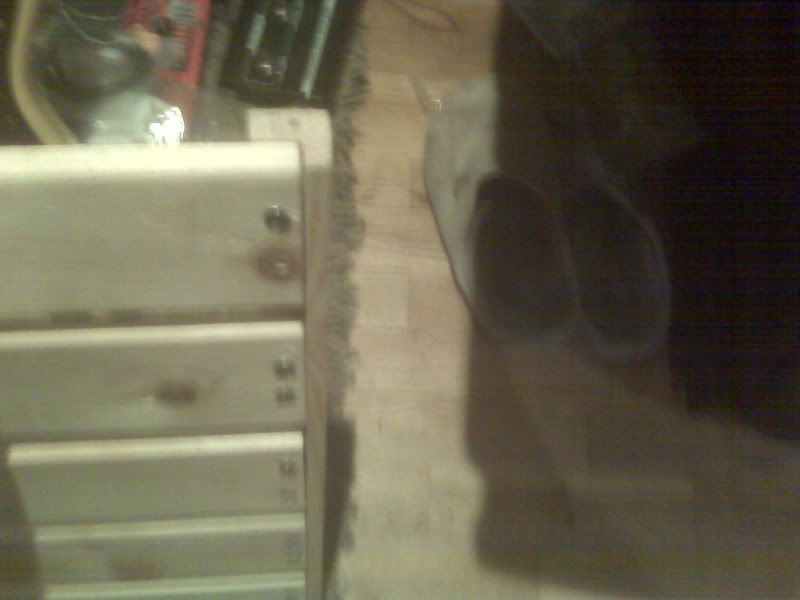
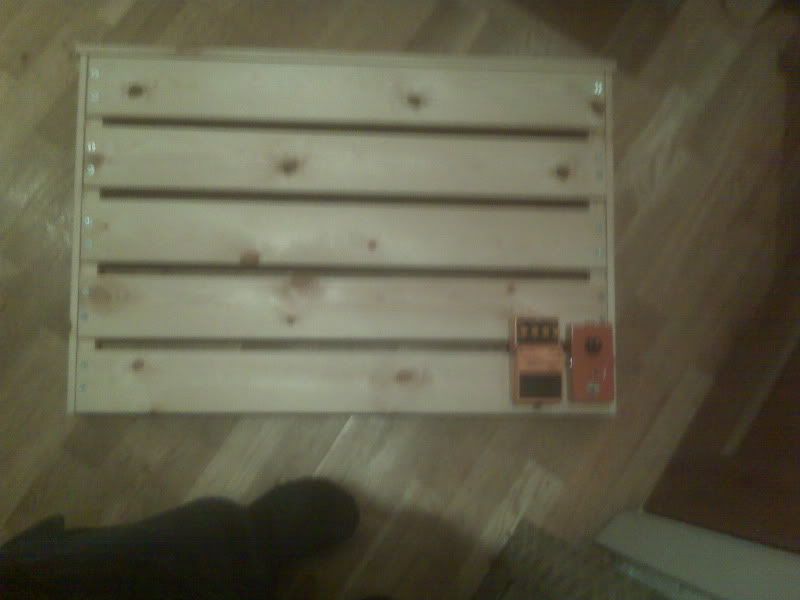
Here's an idea of the size of the thing. On the right is a Saltbooster, on the left is one of the 14 DS-2's that the board is being built to house.
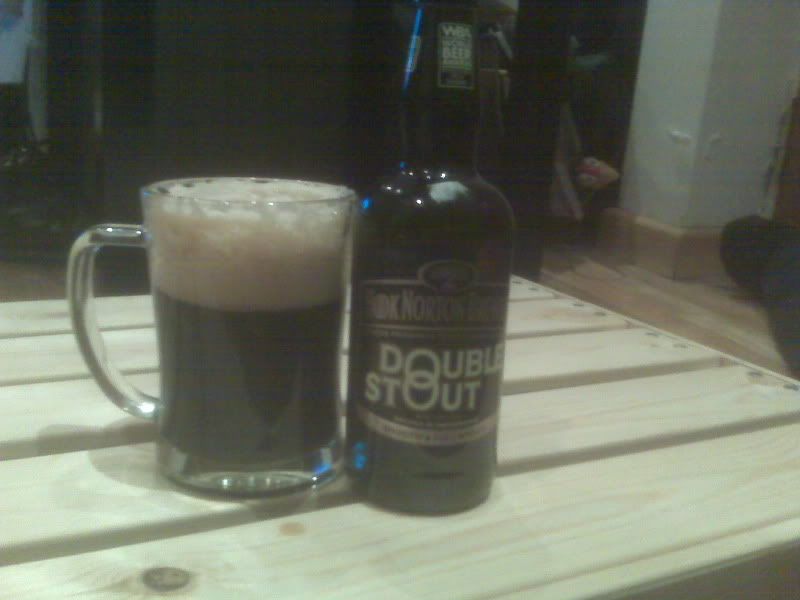
Here's a pint of stout to mark the end of this session of work. Much stickier and sweeter than I'd expected. Not cloying though. Not too strong either, 4.8%. Could drink it all day.
More tomorrow, hopefully.