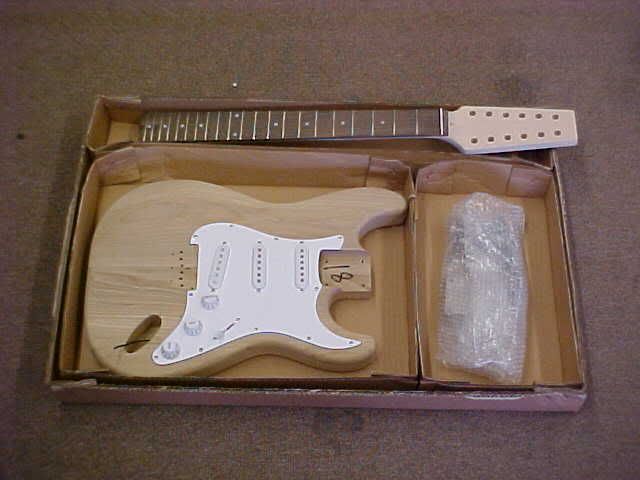
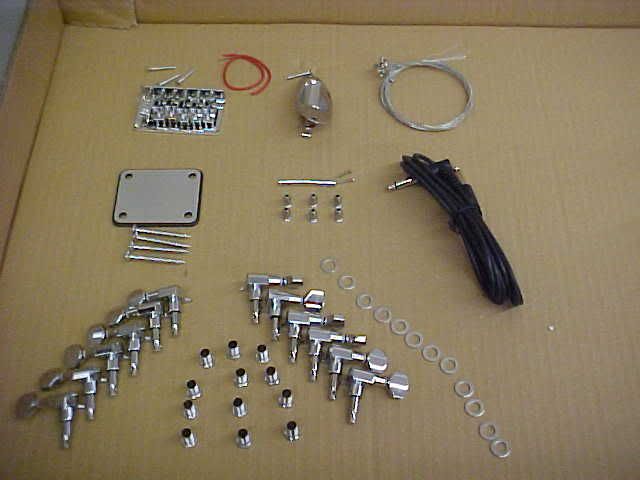
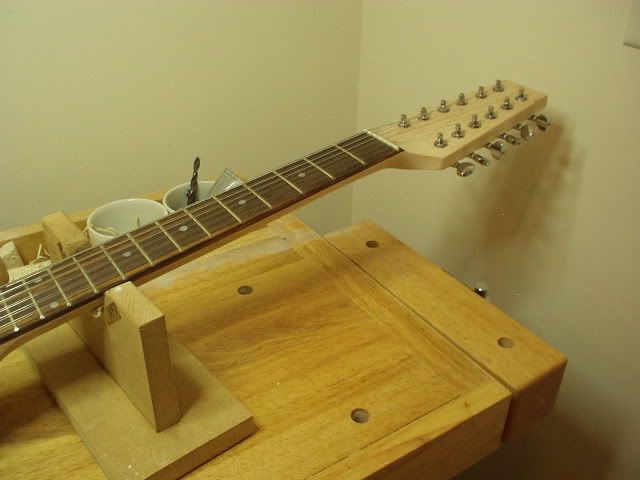
grinter wrote:i bought the same kit, neck was fine. put 19 coats of clear on it. i'd like to know what you did to ground the bridge, and also what the 3/16 by 2" rod with the flat on one side is for. it's also slightly bent in the middle. after the final assy, i'll upload project pics.
Welcome to the forum. I noticed this is your first post. Looking forward to your pictures.
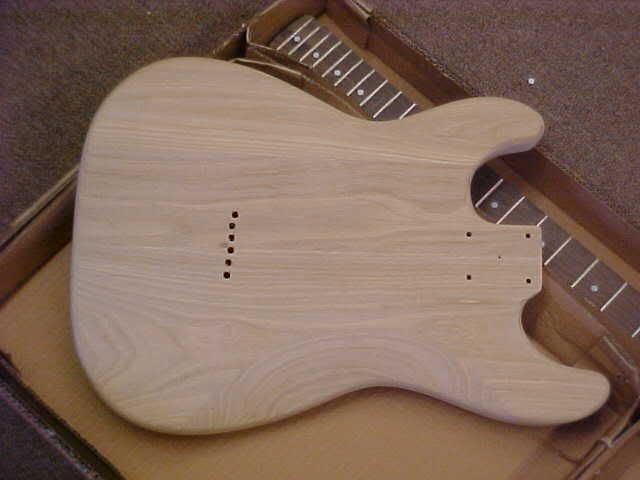
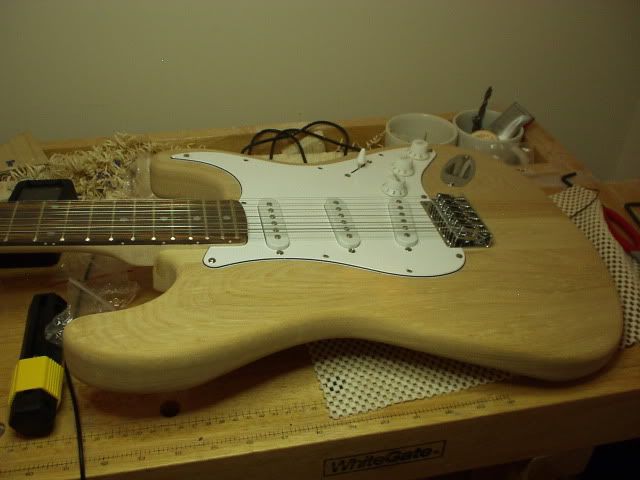
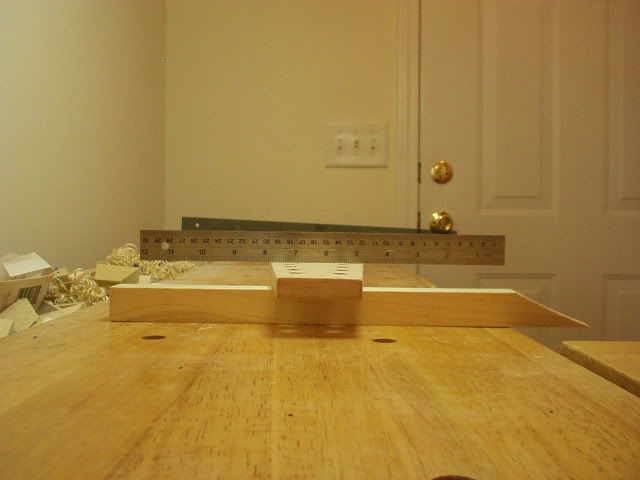
The bridge ground is simply a ground wire I installed. I ran it from the ground solder connection on one of the pots through the pre-drilled hole from the main cavity to under the bridge plate. I stripped a little insulation from the end of the wire and just let it lay between the body and the bridge plate. When the bridge is installed and tightened, the wire is held in place by friction. And the bare wire end makes a good electrical contact with the bridge. You can see the end of the pre-drilled hole in this photo:
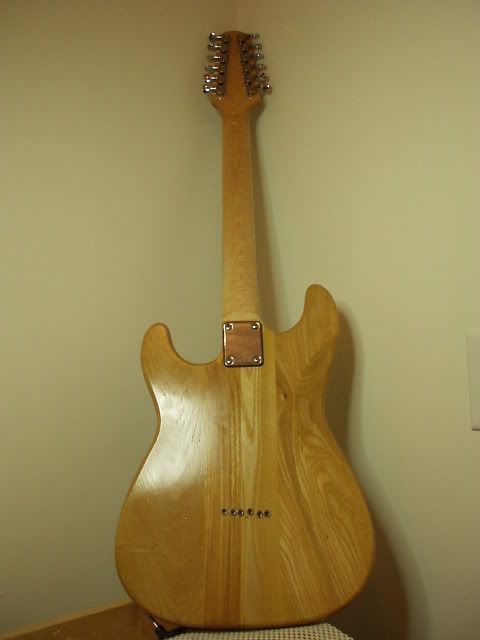
I was initially confused by the little bent rod also.

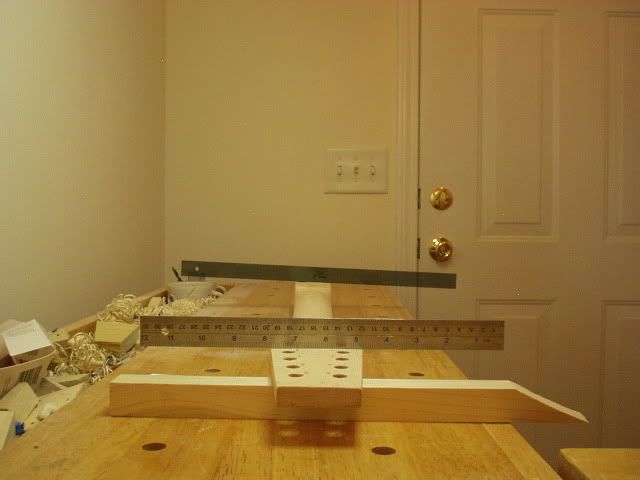
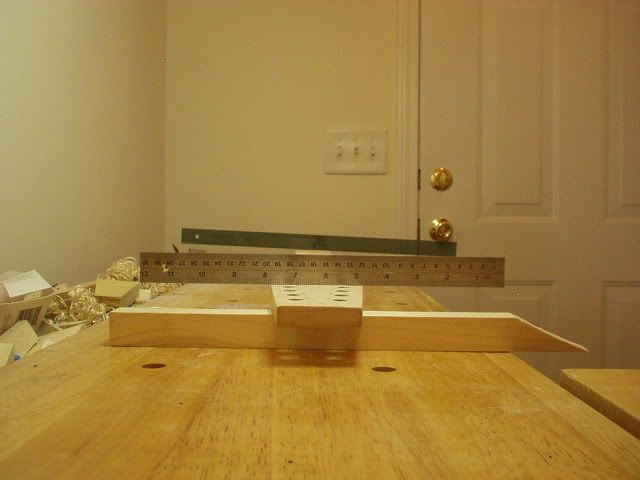
That is, until I looked at some pictures like this one:

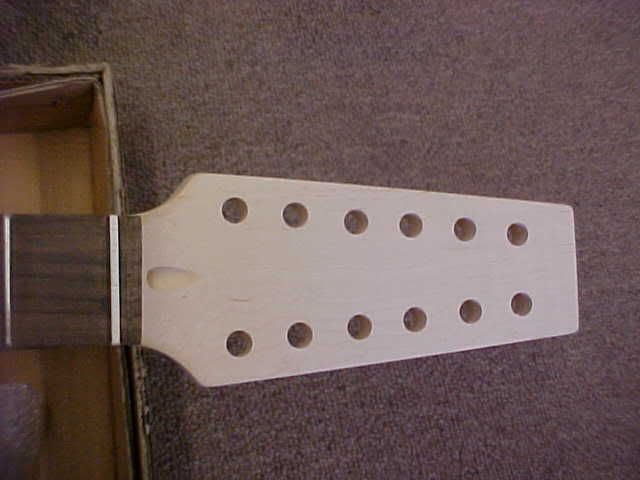
I installed it in about the same position as the one above. I am not crazy about the design of the one that comes with the kit. First, the two mounting screws line up exactly with strings #3 and #10. So they need to be routed above the bar (along with strings 1,2,11, & 12). Second, the screws are very small. So, I question how long they will hold against the string tension. (I will put a picture of my completed headstock here soon.)