i believe yhis is the profile of a V neck compared to a C
the ones i've played have been pretty comfortable and i liked how the thickness was the same 1" from the 1st fret up to the 12th. I play lead parts mostly so its pretty nice to have something to hold on to on the higher frets
the allparts necks are great. i ordered three of them a while ago, a tinted jazz bass, and a bare strat and jaguar neck and each one of them had a great feel and the frets were nicely finished.
Posted: Tue Mar 23, 2010 3:26 am
by taylornutt
Haze wrote:Do you plan on rewiring it to be reversed/switch in the back? As is its wired normally - switch, volume, tone. If you want it reversed you'll have to rewire things a bit to be volume, tone, switch. If you just flip the switch around you'll have tone, volume, switch which is a bit odd if you ask me.
I put the wire assembly in backwards by mistake. I plan to keep it wired the normal way.
Posted: Tue Mar 23, 2010 3:29 am
by taylornutt
I think I will try tinting and lacquering the neck for my Mustang unless I find a bargain on a used one. I decided for my first build to go with the neck already done for simplicity. Don't want to tackle too much until I get more experience under my belt. Besides the deals I found were cheaper with the nitro already applied.
Posted: Tue Mar 23, 2010 3:33 am
by Haze
if you look into doing your own tinting i have to recommend reranch to you. fairly cheap, great colour of tint, goes on easy. I mean its in a rattle can, how much easier can that be? I just finished my first neck using their tinted nitro and its not perfect but it certainly saved me some money and i'm proud of it
Posted: Tue Mar 23, 2010 4:19 am
by taylornutt
I saw your neck it looks really nice. I basically live in the same town where Reranch is located. I plan to use him for paint and finish. I might ask you some process questions when I get there. Do you have to apply anything to neck before you apply the finish and is the tint already in the finish or must you apply it before you add the finish.
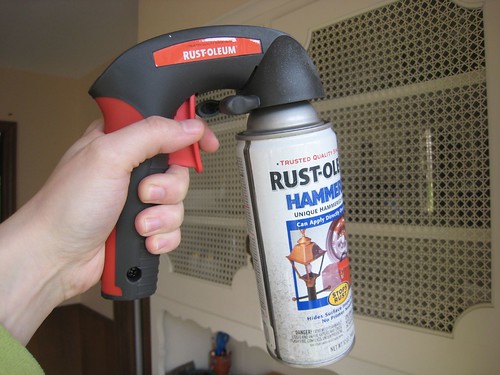
Also, I just spray painted a table for my wife and one of these is great for spray paint cans
Posted: Tue Mar 23, 2010 4:26 am
by Haze
I just shot it straight on the neck. The allparts necks are ready for finish as far as i'm concerned. You'll want to make sure they're clean and smooth and you'd be good to go. I used their "Tinted Clear Coat Aerosol" its basically nitro laquer with an amber tint mixed in so its all in one. Tape off the fretboard, install the nut afterwards, do a few thin coats, sand it smoooooth like wet sand to 1500 or something then get a decal on and apply in thin coats about an hour apart. Get plenty of those thin coats on nice and even then maybe wet sand it smooth and do a few thick wet coats and then wet sand and polish/buffer. not terribly difficult. Reranch has a great forum with plenty of tips and people to walk you through the processes.
Posted: Tue Mar 23, 2010 4:59 am
by taylornutt
Your neck looks great. What are your plans for the MusicMaster neck?
I prefer brass saddles and haven't had any issues with intonation and three saddles. They make six brass saddle bridges too which is a great idea imo
Posted: Fri Mar 26, 2010 3:47 am
by taylornutt
The original Baja Teles had 3 brass saddles, but 6 brass saddles would be cool and fit the same template. It would kinda be like a mustang bridge.
Posted: Sun Mar 28, 2010 4:04 am
by taylornutt
I am really annoyed tonight. I bought this expensive router bit to try and cut the guitar bodies out. It's a pattern bit that has a bearing that is supposed to run along side the template while cutting the wood the shape of the template. Unfortunately, Ash is a tougher wood and I took a nice chunk out of my wood block. The bit caught the edge of the table and nice chunk came out of it. $42 down the drain. The only good thing is I can move the template over and not loose the board. I need to cut the wood on a band saw and then use the router on it. I tried to do more than the tool could handle and nearly messed up my whole project. I learned something so I guess that counts for something.
Posted: Sun Mar 28, 2010 9:45 am
by Addam
I found ash an absolute bastard to cut aswell.
I had problems with the bits working loose, tearout, burning bearings out and accidentally cutting chunks off the template.
BUT I LEARNED how to do it from my mistakes.
A few things I found out:
ALWAYS PUSH AGAINST THE ROTATION OF THE TOOL, i read something on TDRPI about always routing 'downhill' and fucked up a good piece of wood.
NEVER TRY TO REMOVE MORE THAN HALF THE DIAMETER OF THE TOOL, kind of obvious if you think about how the cutter works.
Make spacers to space your template away from the work, means more shallow passes, I find actually speeds up the whole process!
I always add a stack of washers between the router collet and the collar that secures the bearing.
I've had the collar work loose, the bearing moves and fuck things up.
Oh, BTW I assume you're using a hand-held router?
I cut a hole in an old coffee table and screwed my cheap ass plunge router to that to make a ghetto router table.
It cost me next to nothing to do and makes the whole process a lot easier.
Posted: Tue Mar 30, 2010 1:32 am
by taylornutt
I finally went to Guitar Center and played some teles to figure out which neck I like. My favorite neck was on the American Vintage '52 Telecaster® Reissue . So I decided to go with an All Parts neck with vintage 7.25" radius and nitro finish. Found it on the Bay for around $200. It should be here in a week. I will post picks when it arrives. It will help me check my neck pocket template I made. I also plan to purchase an F-neck plate and tele bridge with brass saddles once I get paid. I am going to try to cut the body with a jig-saw and then smooth it out.
Posted: Sun Apr 04, 2010 9:49 am
by iCEByTes
go for 1952 telecaster spec´s
best telecaster ever build
[youtube][/youtube]
Posted: Mon Apr 05, 2010 4:09 pm
by taylornutt
The tele project is beginning to take shape literally. After my previous screw-ups, I took a step back and reevaluated everything. I cut the body out with a jigsaw (I don't have a band saw) and then ran the special router bit around the body. The results were great and very smooth with couple of exceptions. I also decided to tackle the routing of the pickup and electronic cavities. I made lots of shallow passes (1/4" at a time) and thought I did a pretty nice job. The Ash body looks awesome and will look even better after a little more TLC. I am waiting for the neck to arrive before attempting to route the neck pocket. I want to check my templates to be sure they are correct. I plan to order the ferrules, the bridge and neck plate with bolts today. Here are a few pics.
► Show Spoiler
Hey AddamInsane: I appreciate all the helpful advice. It really helped get me back on track.
Couple of questions: Should I drill the neck plate bolt holes before I route the neck pocket or after? or does it matter? What do I use to round or "soften the edges of the telecaster body? I know I would use a 1/2" roundover bit on a Mustang guitar, so could I use a smaller roundover or is there a better way?
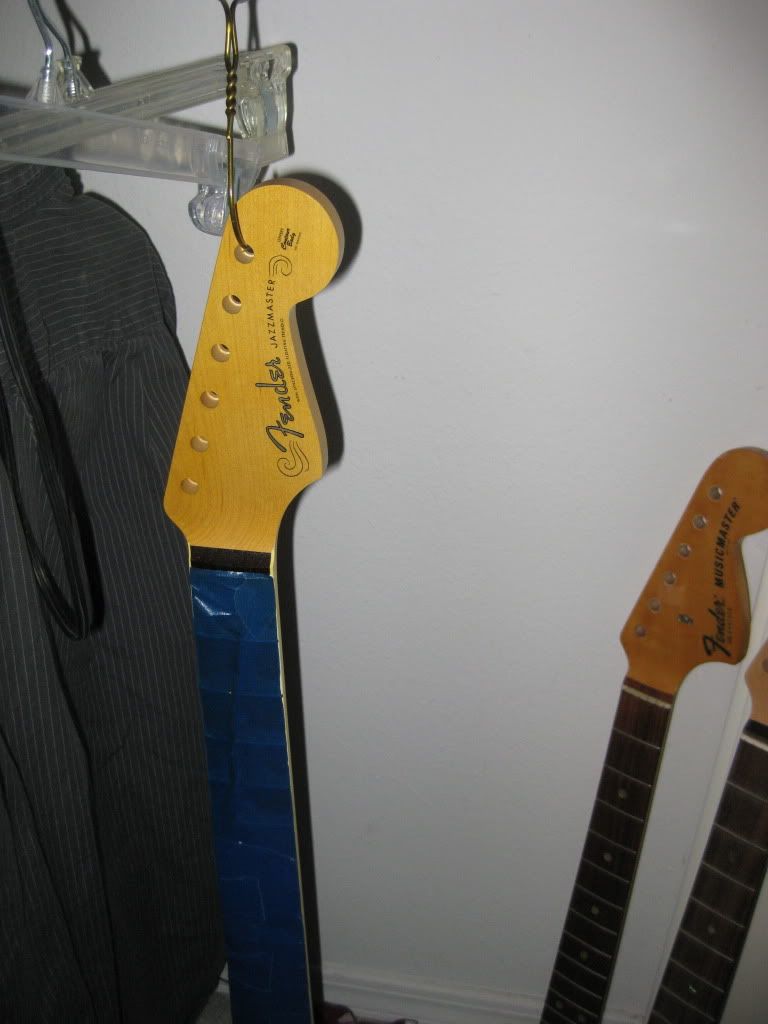
The neck came in today. It's flippiin' sweet! Brand new Allparts vintage tele neck with nitro finish. Reminds me of my Jag. I decided I liked the vintage tele neck over the C and V necks. Now I can start testing my neck templates and cutting the neck pocket. Here are some pics: