Page 2 of 3
Posted: Sat Mar 19, 2011 1:11 pm
by Addam
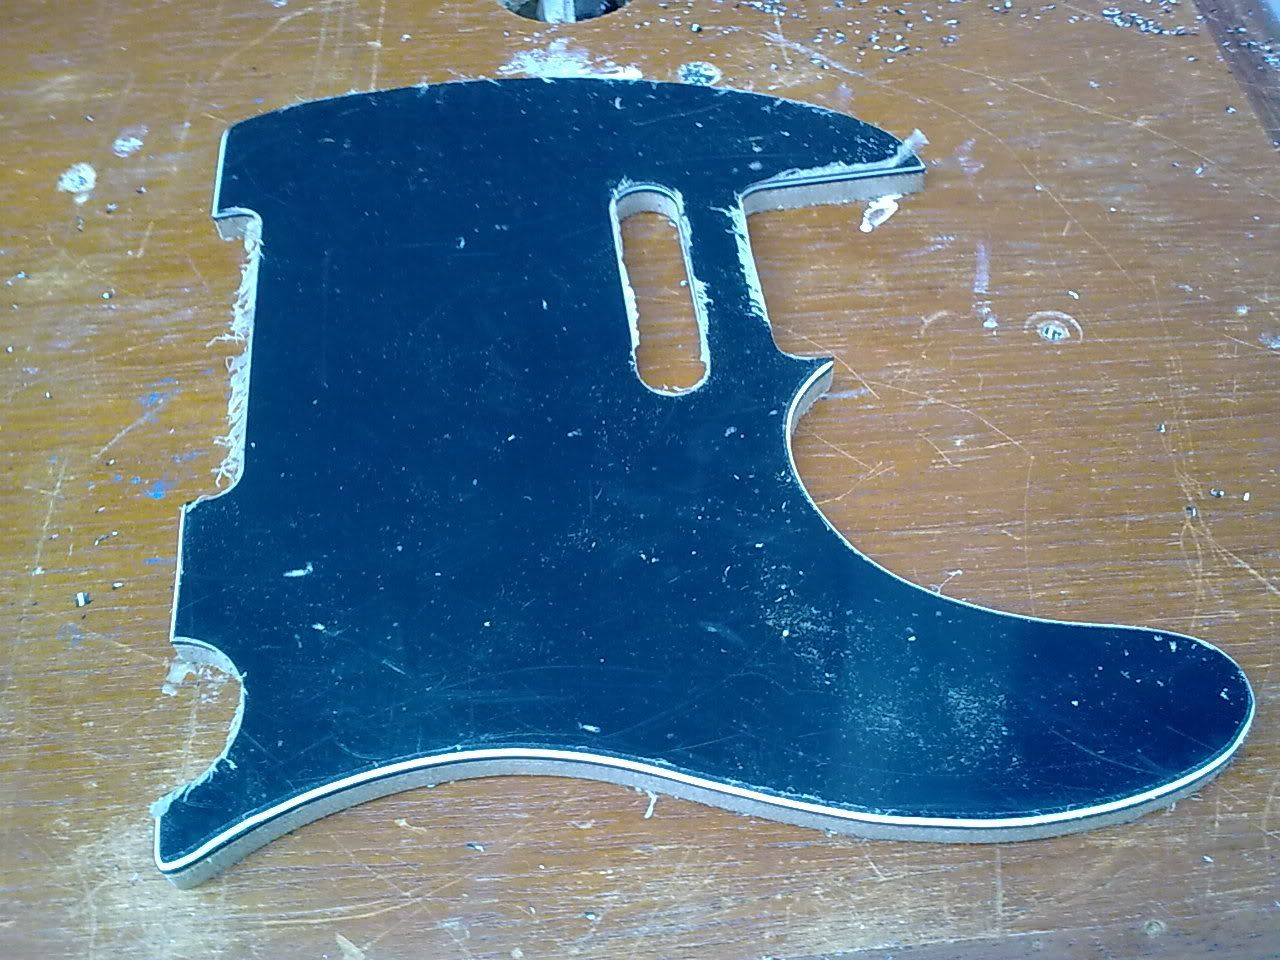
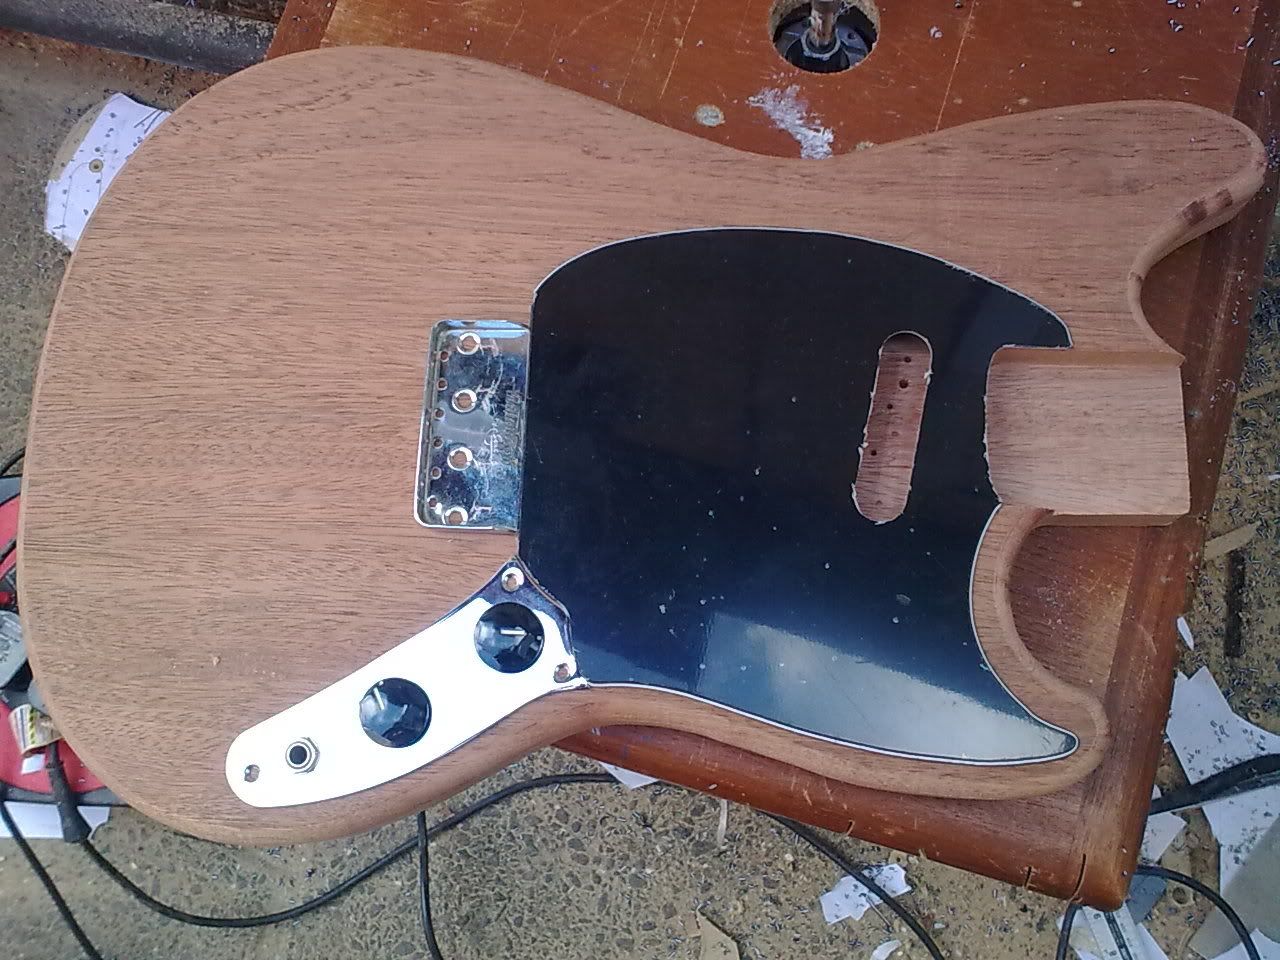
I've got a method of pickguard copying that really works for me.
I take an existing pickguard, draw around it twice on 6mm mdf, I cut one oversize and one undersize.
The oversize one will be the template, undersize just as a spacer.
I take these and the OG PG and make a sandwich, holding it all together with carpet tape.
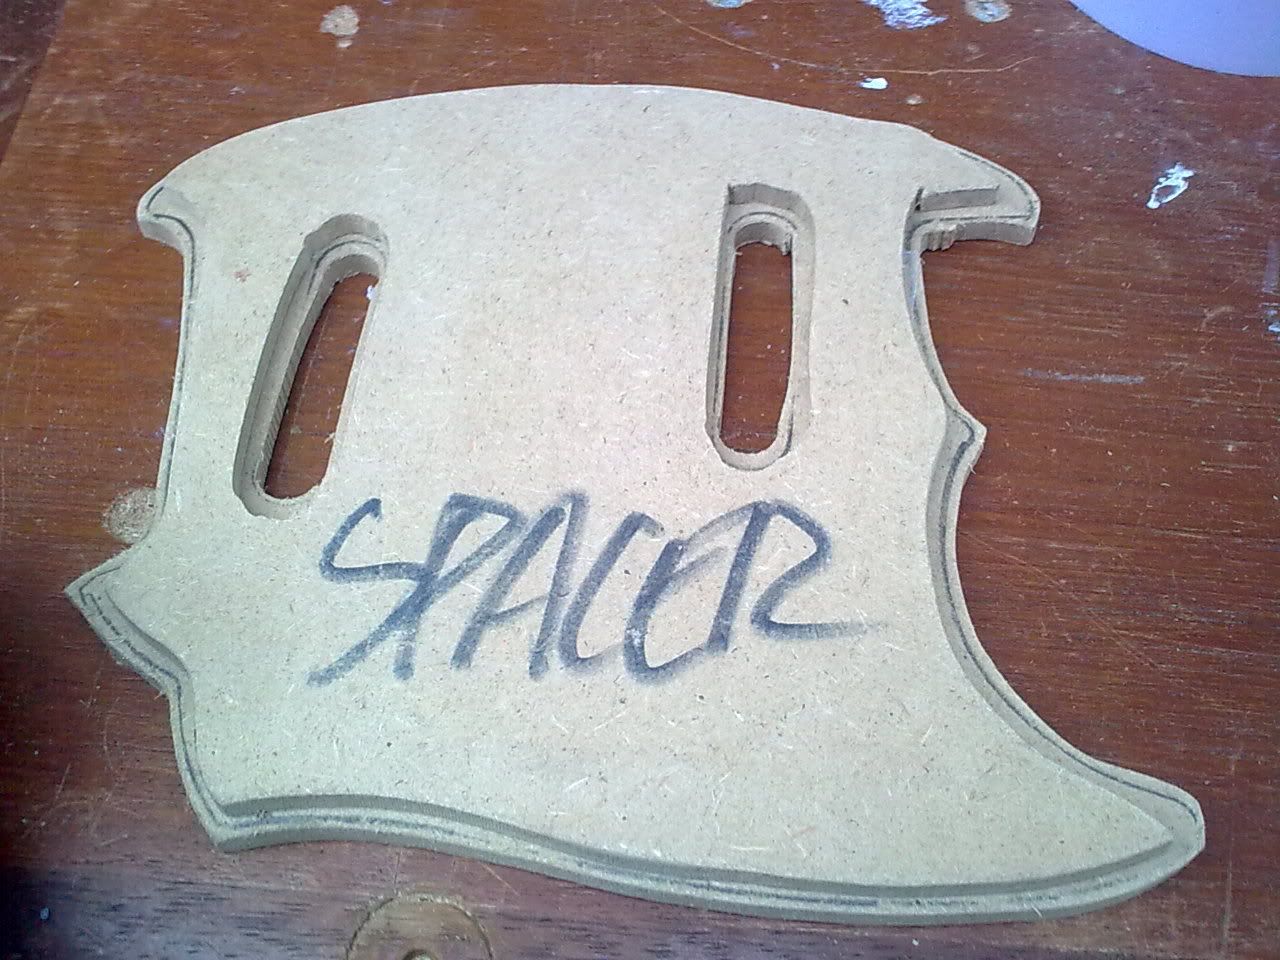
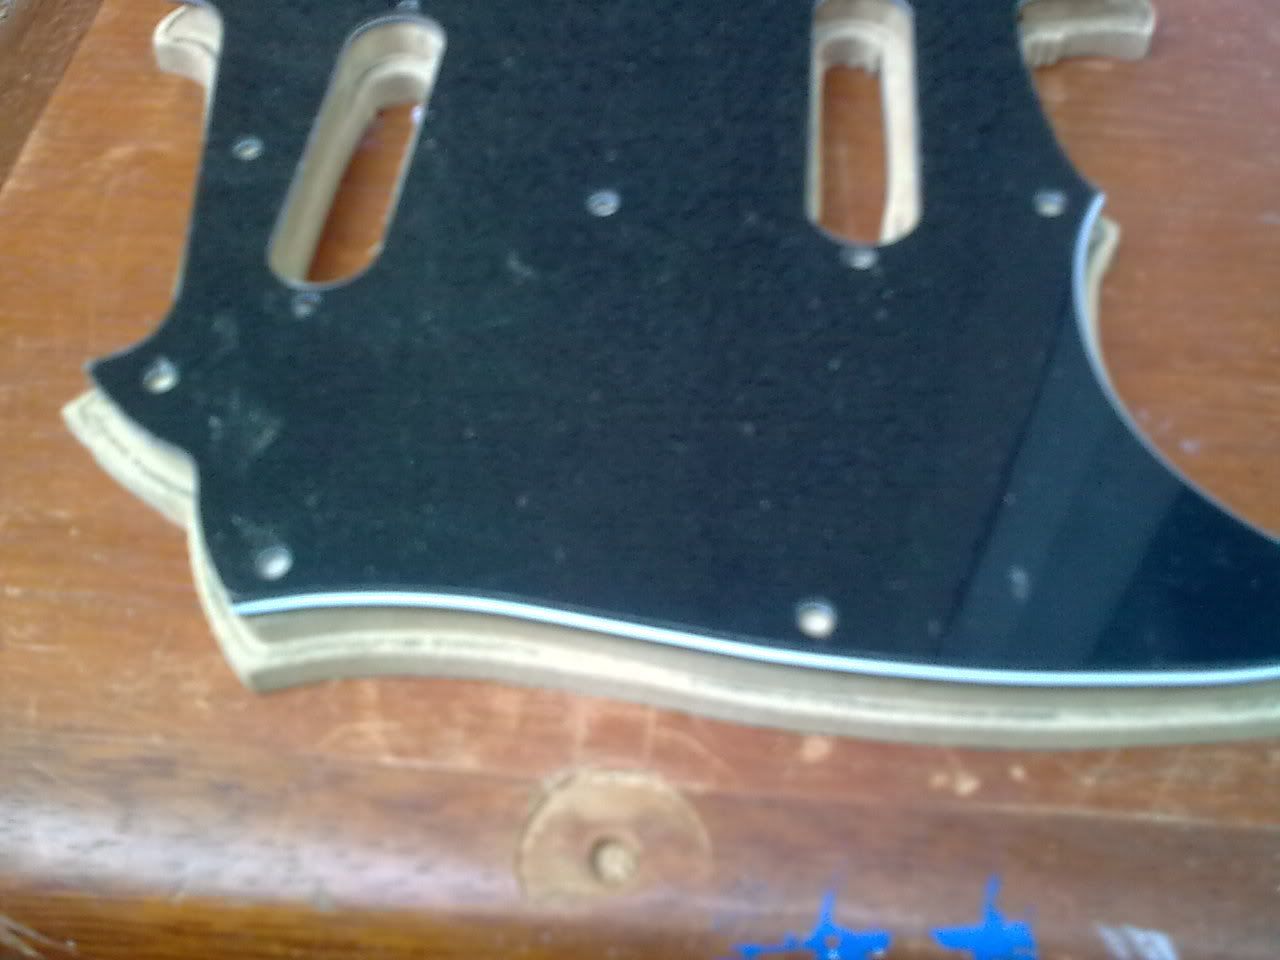
Threaten it with the router table...
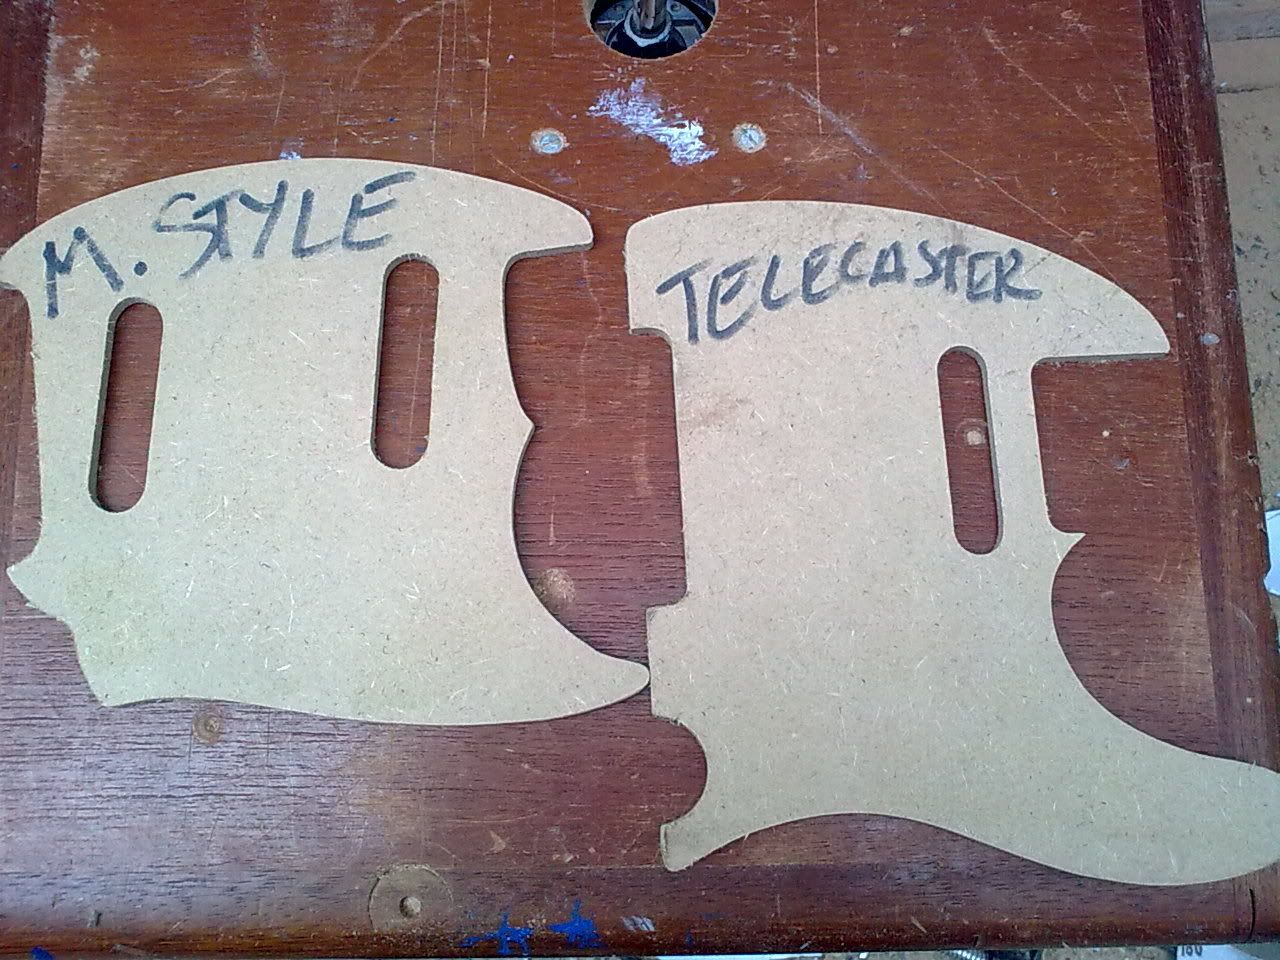
Then, taped the rough cut blank onto the template and ran that around the router table.
Posted: Sat Mar 19, 2011 2:37 pm
by Fran
Cool stuff dude.
Any plans to attempt necks? Its almost impossible to buy a short scale neck in Europe, you'd clean up.
Posted: Sat Mar 19, 2011 3:06 pm
by Addam
Well, yes and no. I already tried. And kinda failed.
I know how I fucked up so should be better equiped.
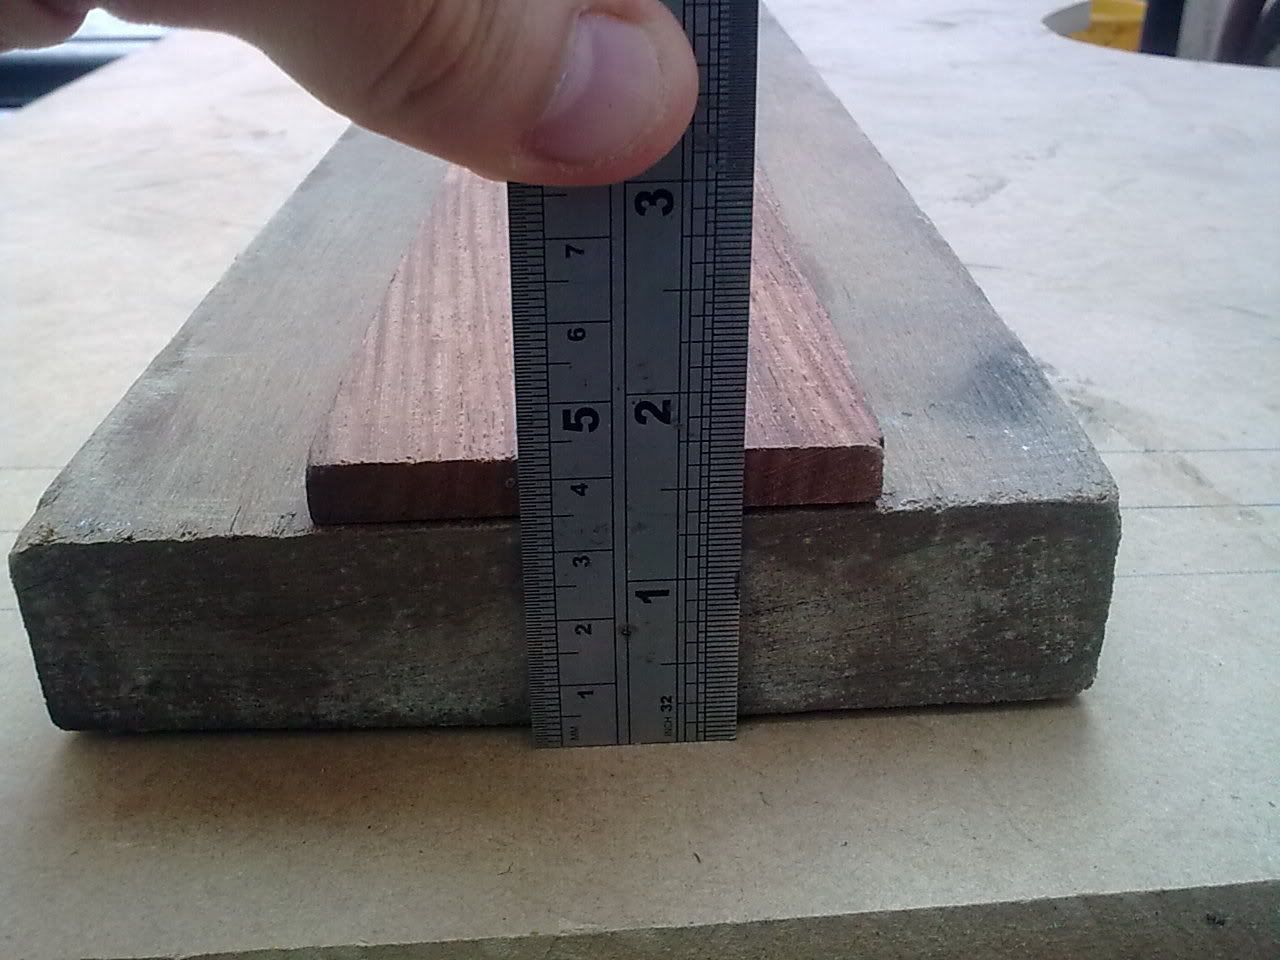
I had a problem with truss rod alignment caused by drilling the adjusting hole too small. When I re-drilled the hole ended up off centre and this gave a slight twist to the finished neck.
The fretting and shaping the rear profile actually turned out pretty well, even if I say so myself.
I find maple is a proper bitch to cut with my little router, a bandsaw would help alot!
I do have a Jaguar neck template, so am very tempted to build one out of mahogany because I know I can work it safely.
I actually have some suitable wood, a truss rod and a rosewood fretboard as well!
Posted: Sat Mar 19, 2011 4:54 pm
by Joey
My favorite drum sander, it's an airbag - so you can adjust the PSI to soft/firm.

I use it in my cordless drill and the sander got a big handle on it so you got good control of the tool. Would definitely make profiling easier on you.
Posted: Sat Mar 26, 2011 2:54 pm
by Addam
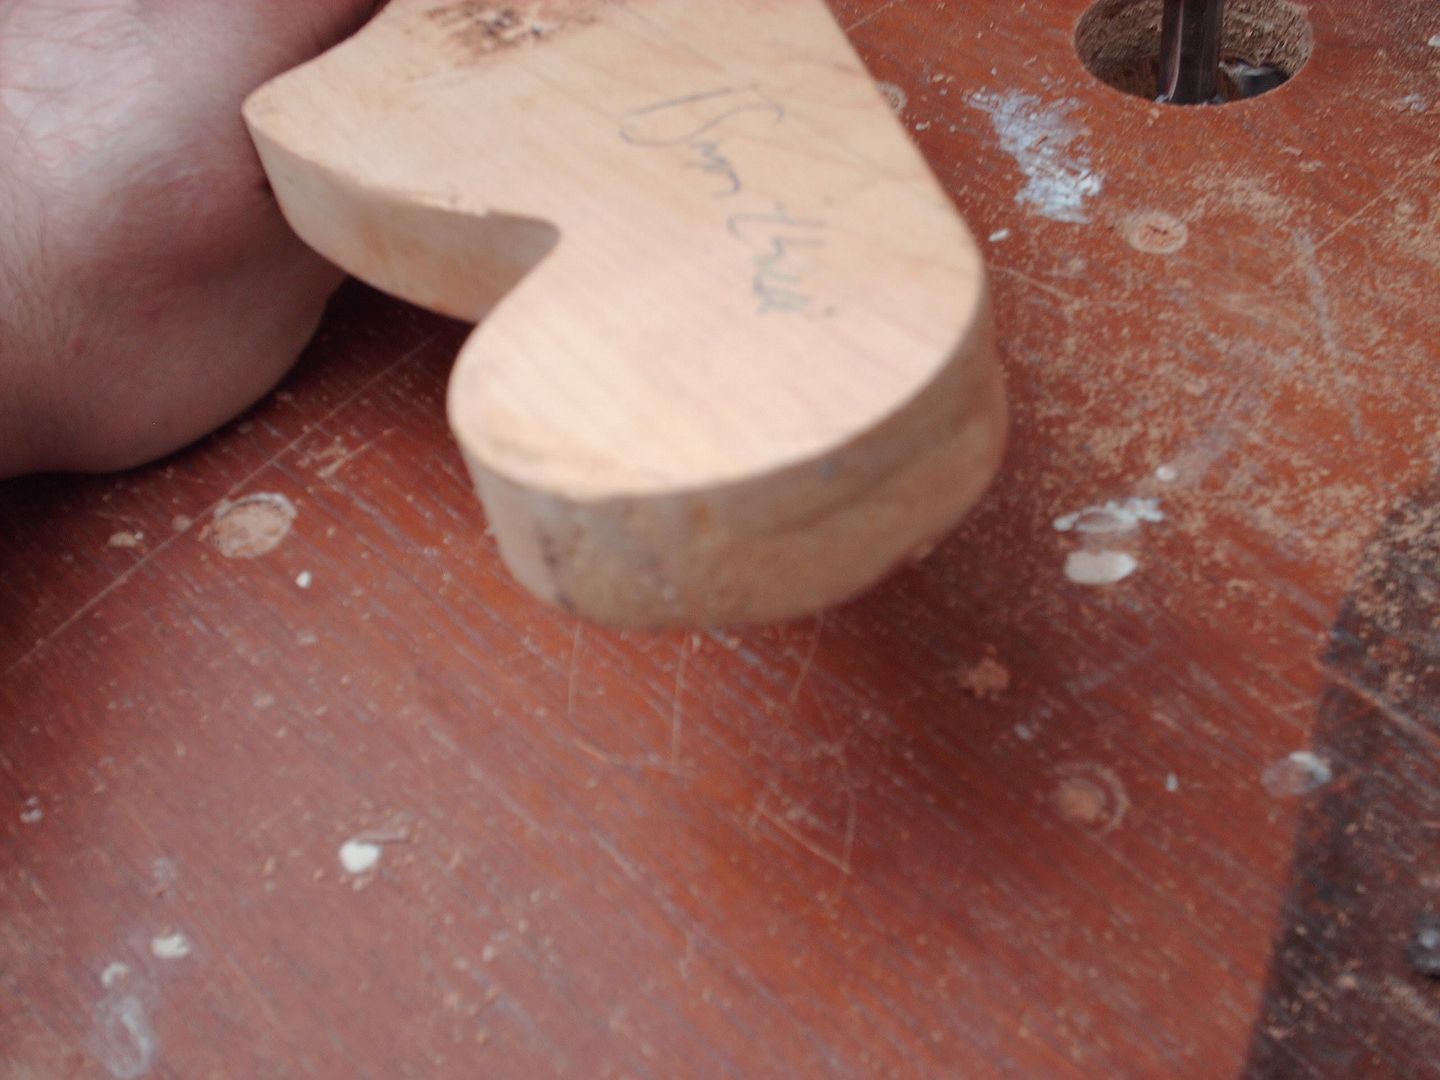
Made a bit of progress.
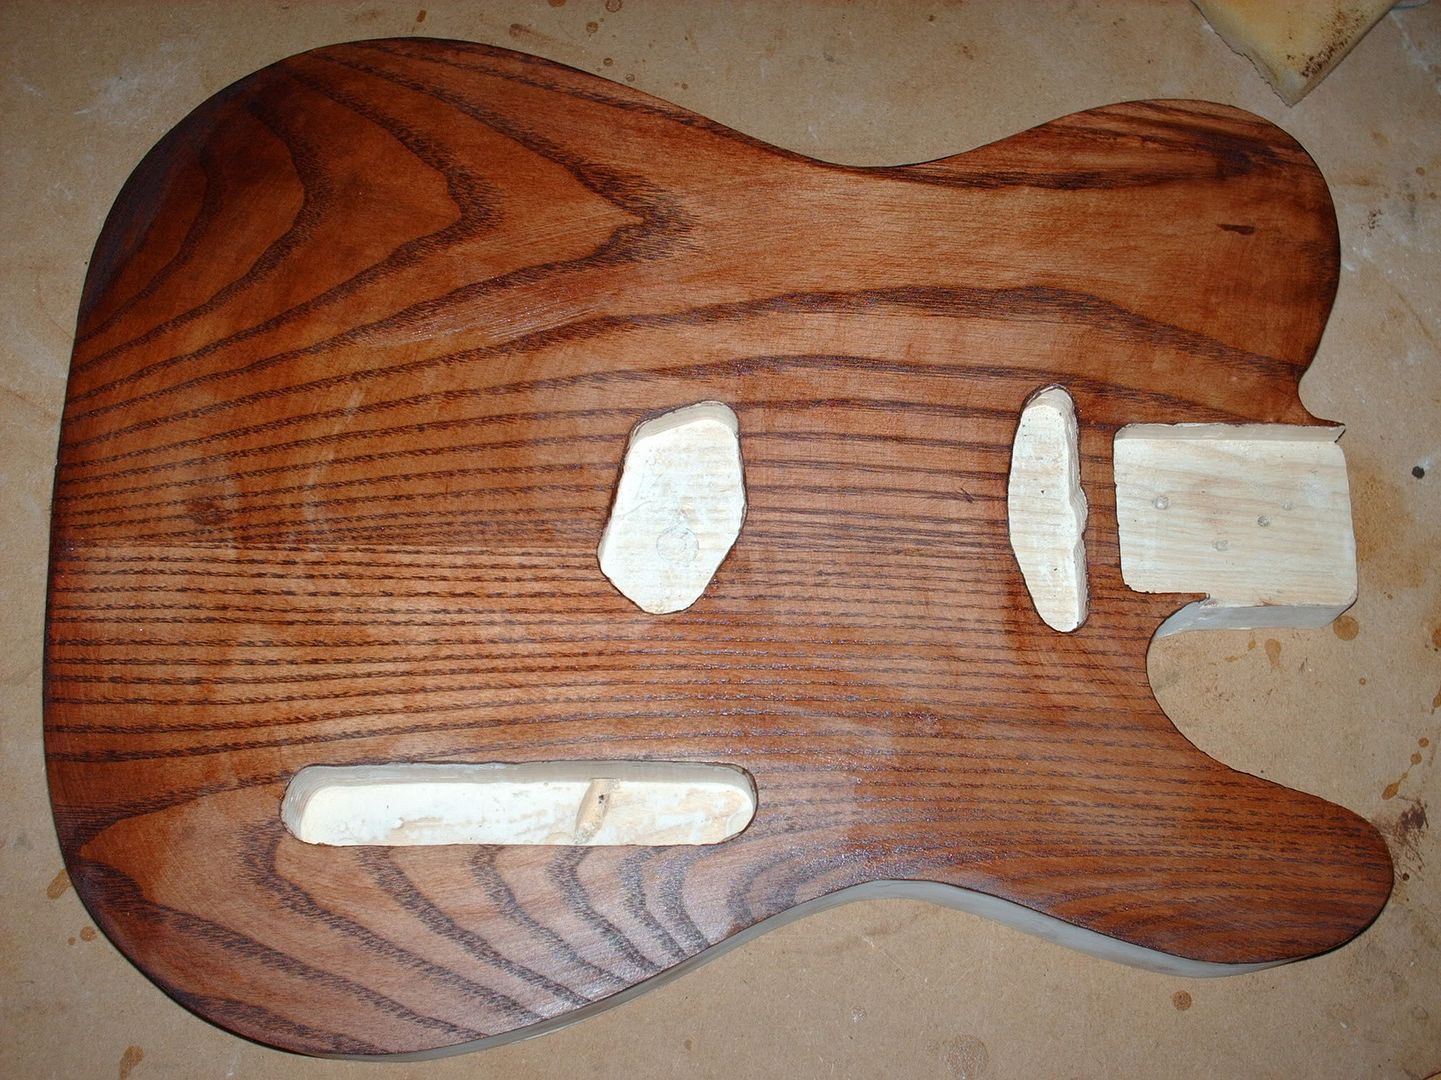
The stain
almost hides the fuck up on the upper bout.
Not sure wether to just stain this or do a brust? (to hide to fuckup/repair)
Posted: Sat Mar 26, 2011 7:02 pm
by Joey
Burst
Posted: Sat Mar 26, 2011 8:26 pm
by Addam
I've already started by masking off the face and blowing in the sides in black. While I was at it I did the cavities too.
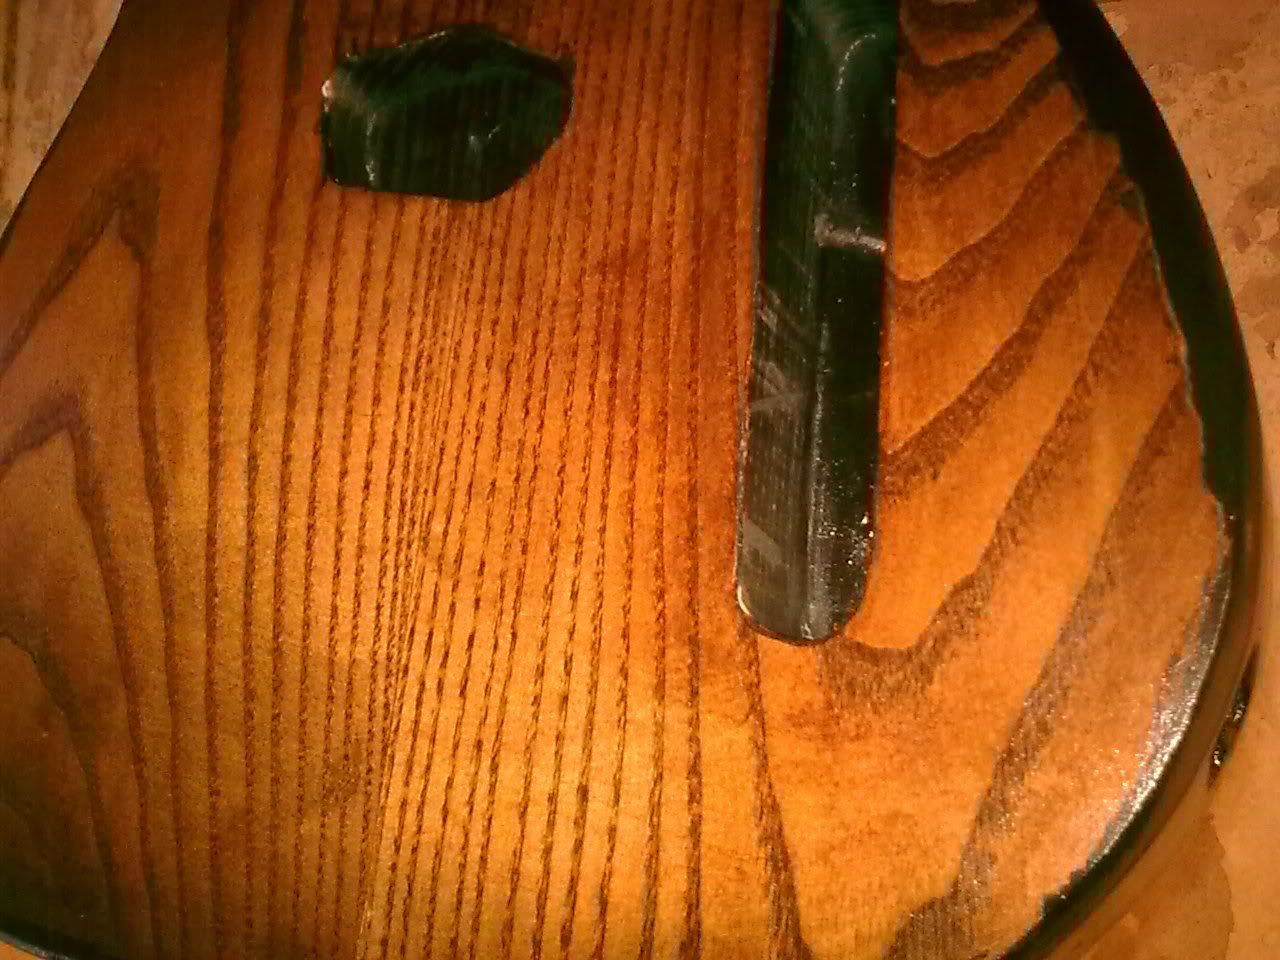
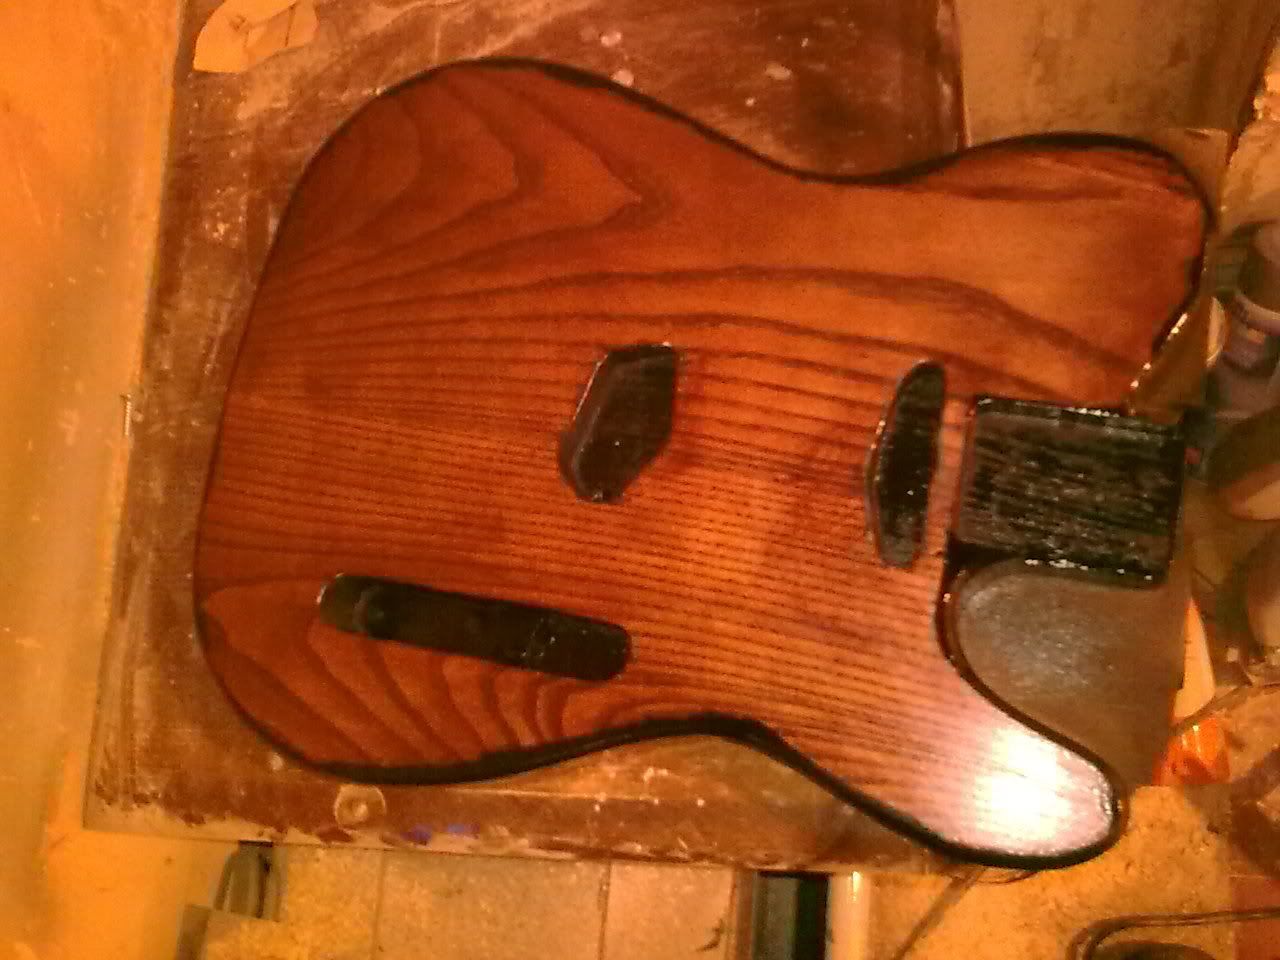
I'm gonna be aiming for this.

Posted: Sat Mar 26, 2011 8:41 pm
by Gabriel
Awesome can't wait to see how this turns out.
Posted: Sun Mar 27, 2011 4:42 pm
by Addam
Fran wrote:Cool stuff dude.
Any plans to attempt necks? Its almost impossible to buy a short scale neck in Europe, you'd clean up.
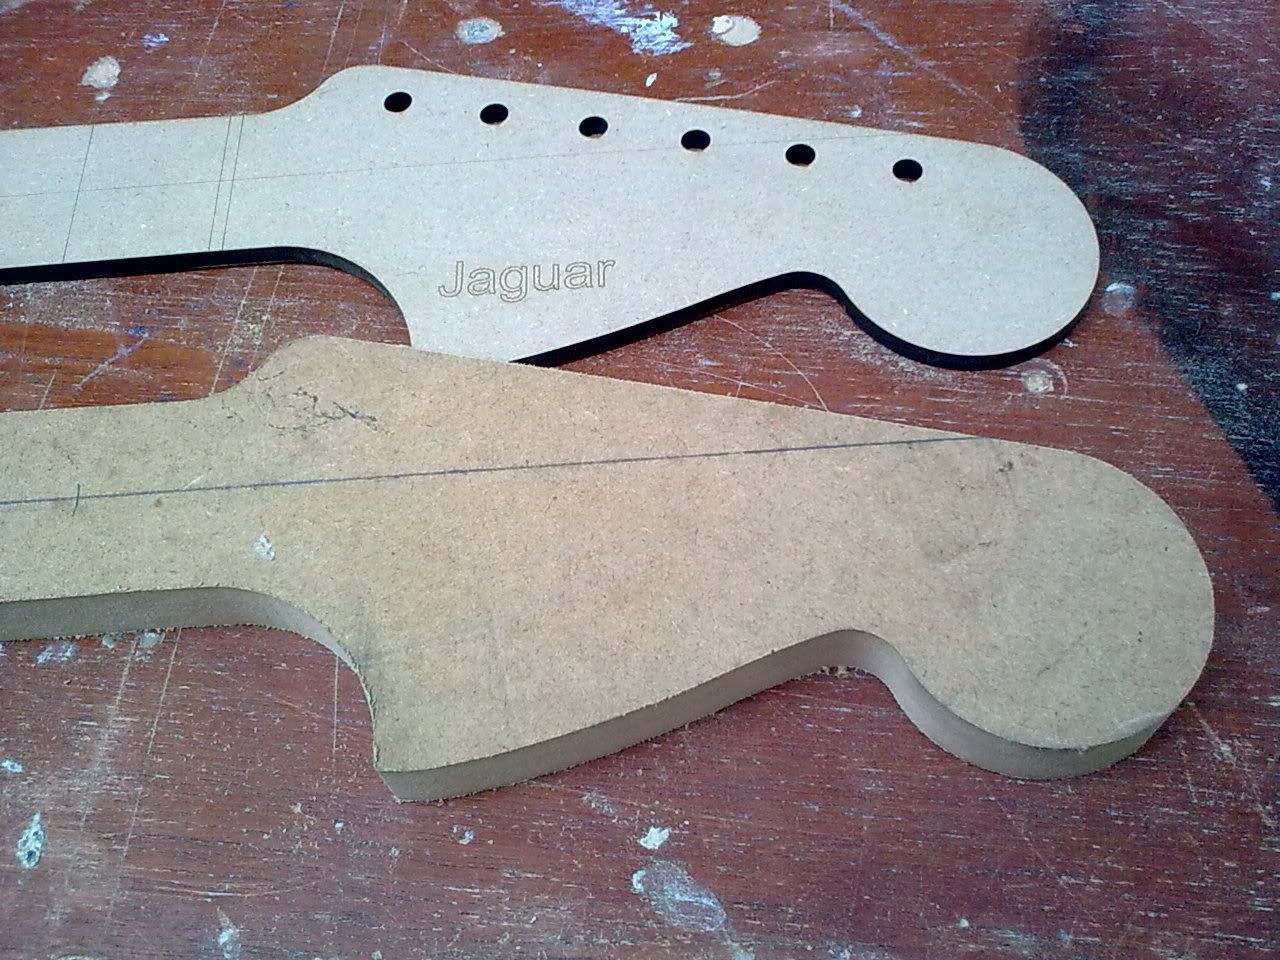
I made an attempt today. Failed!
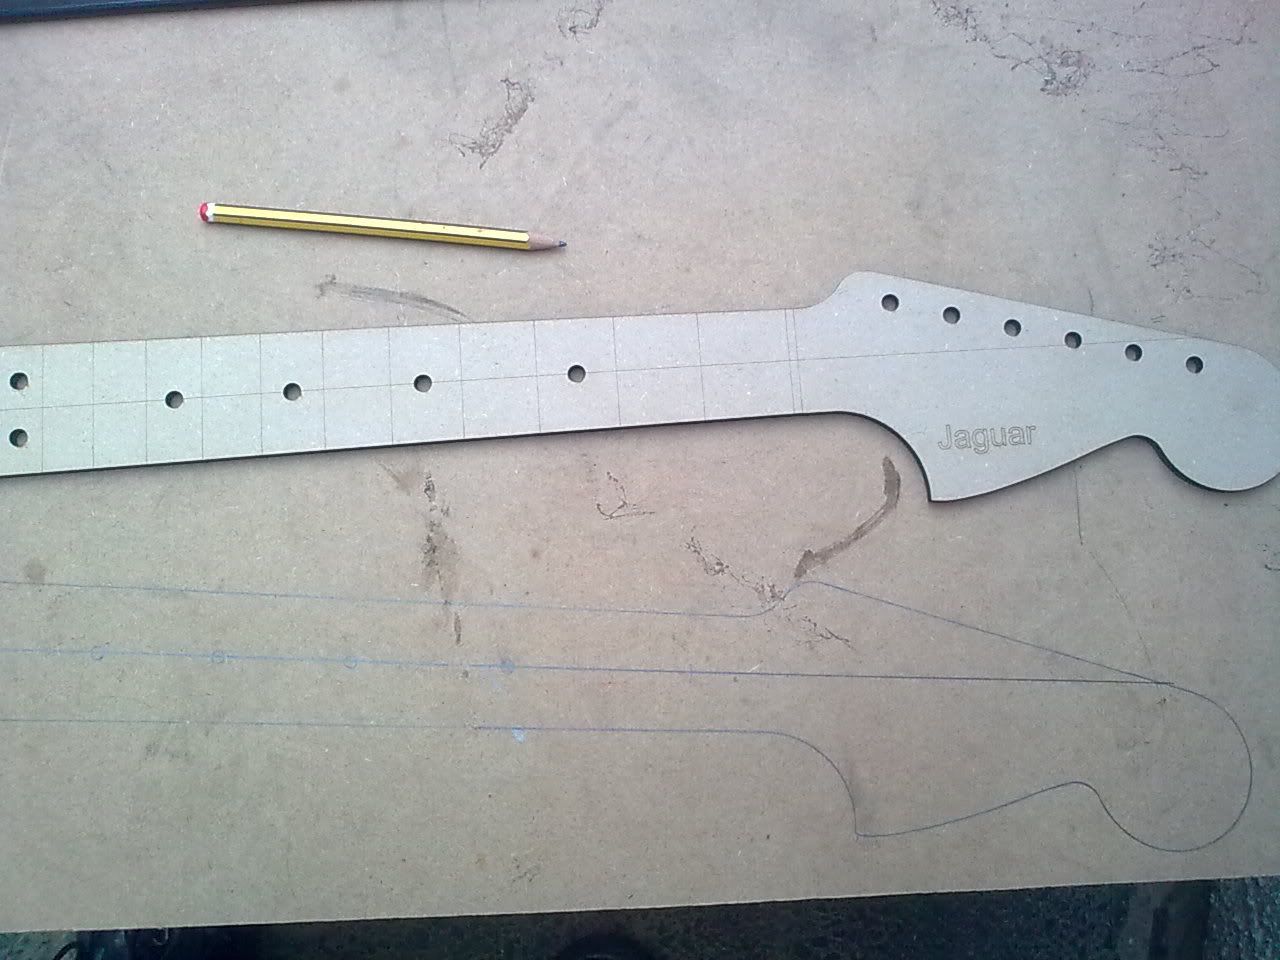
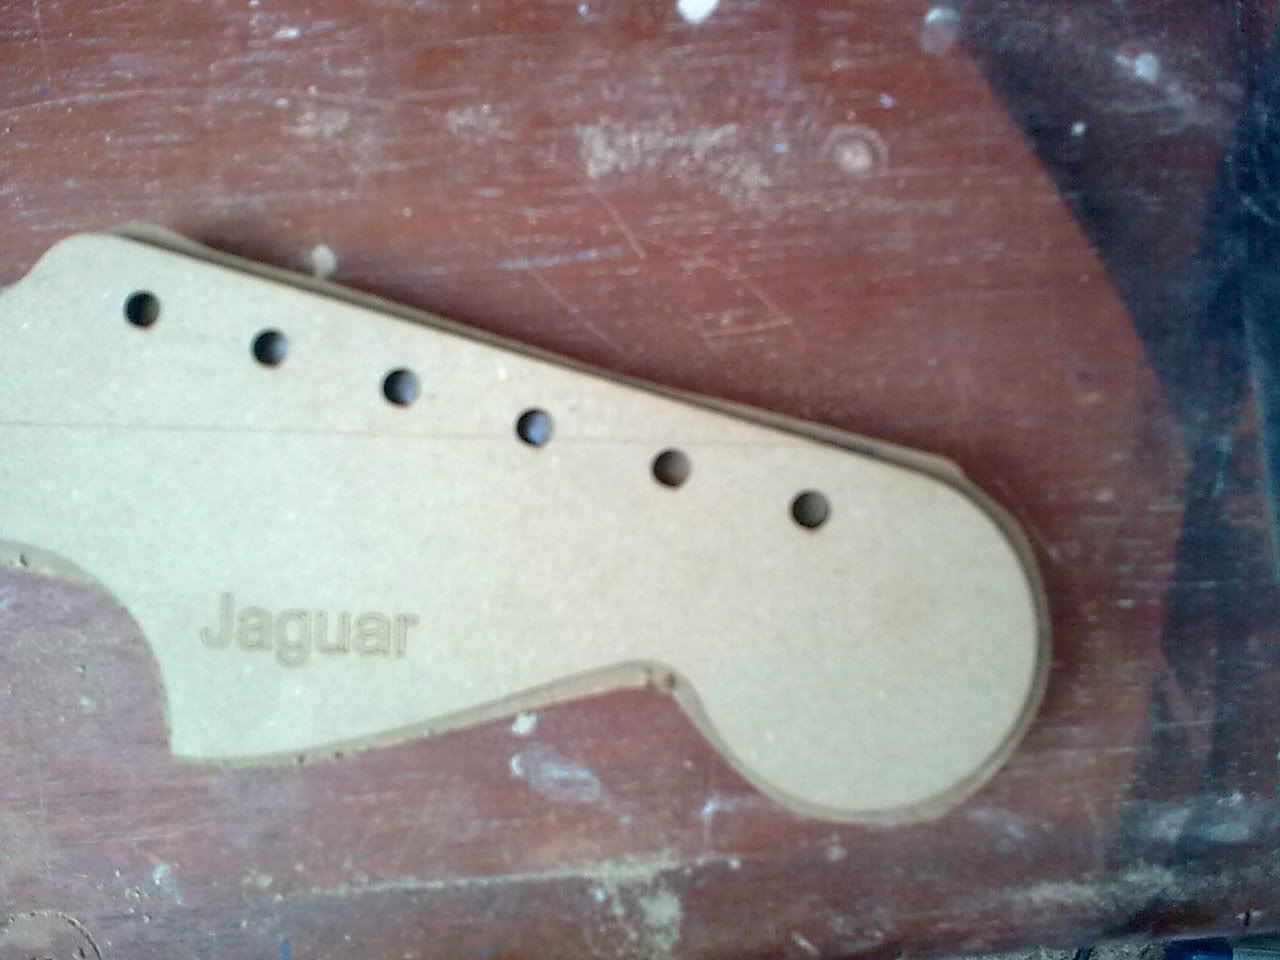
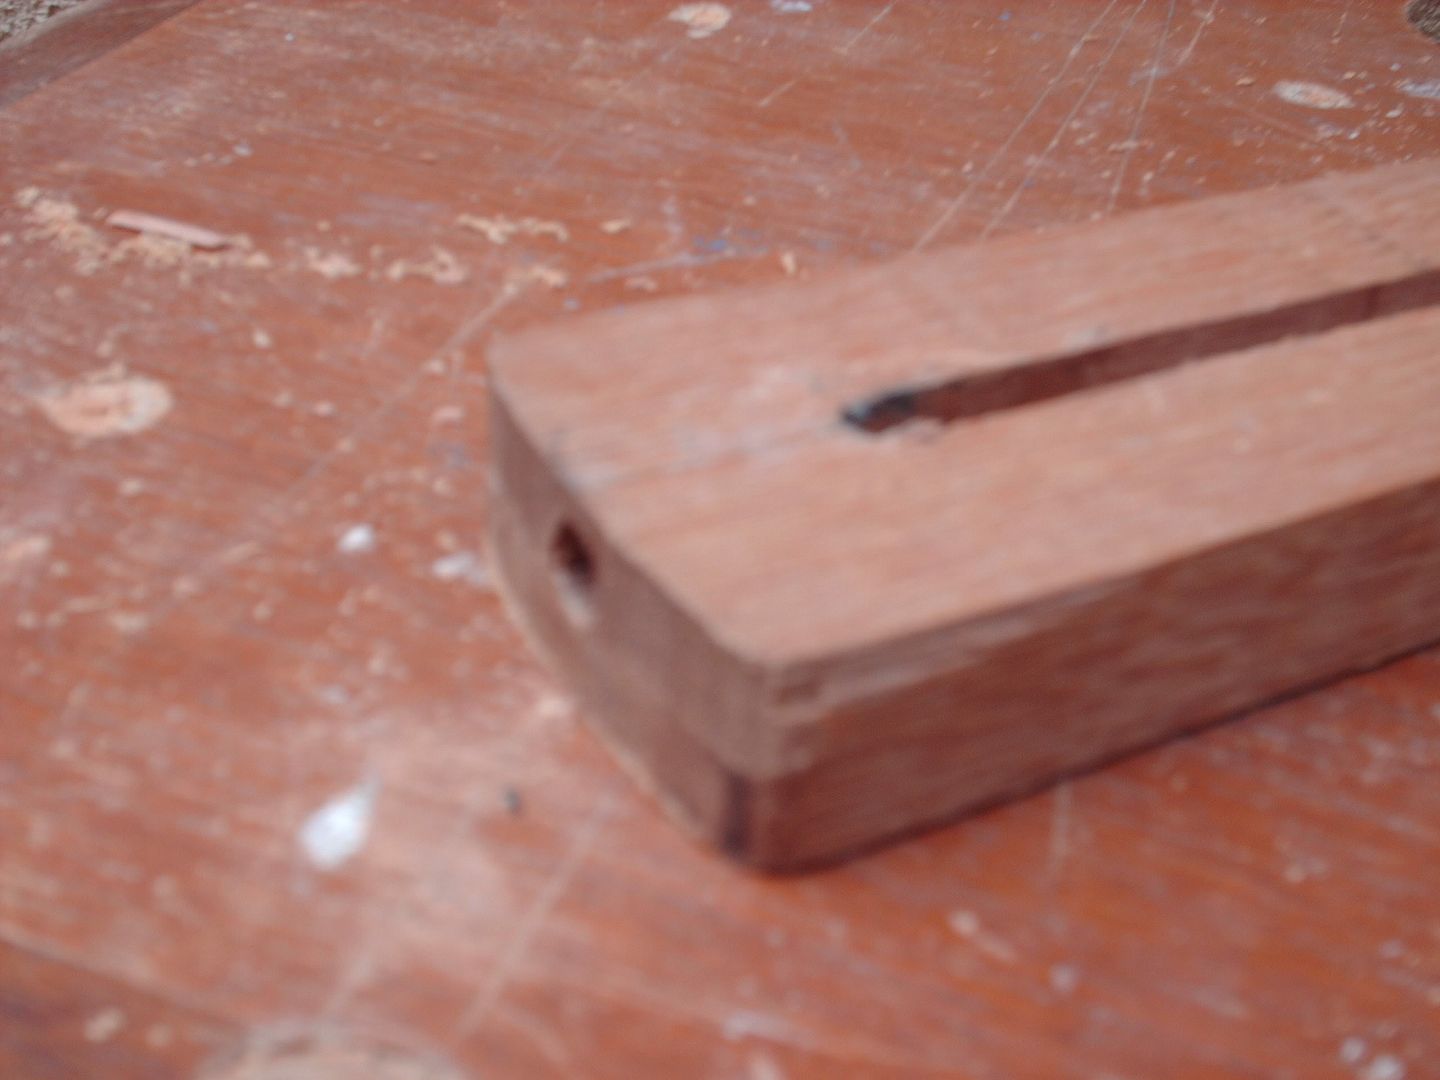
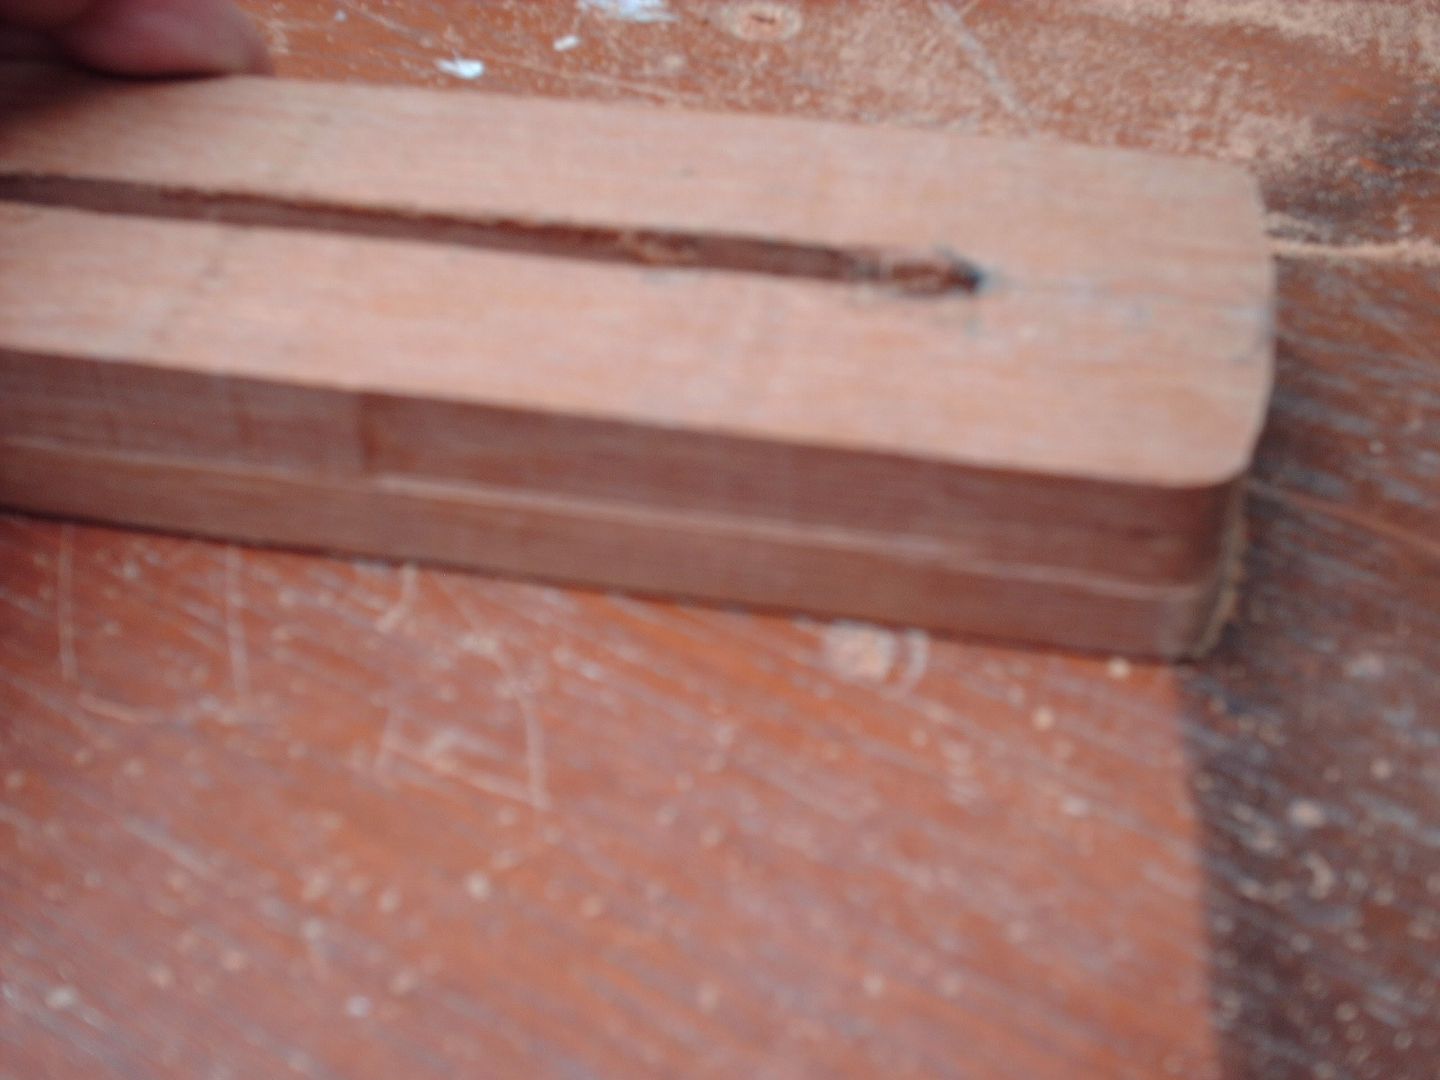
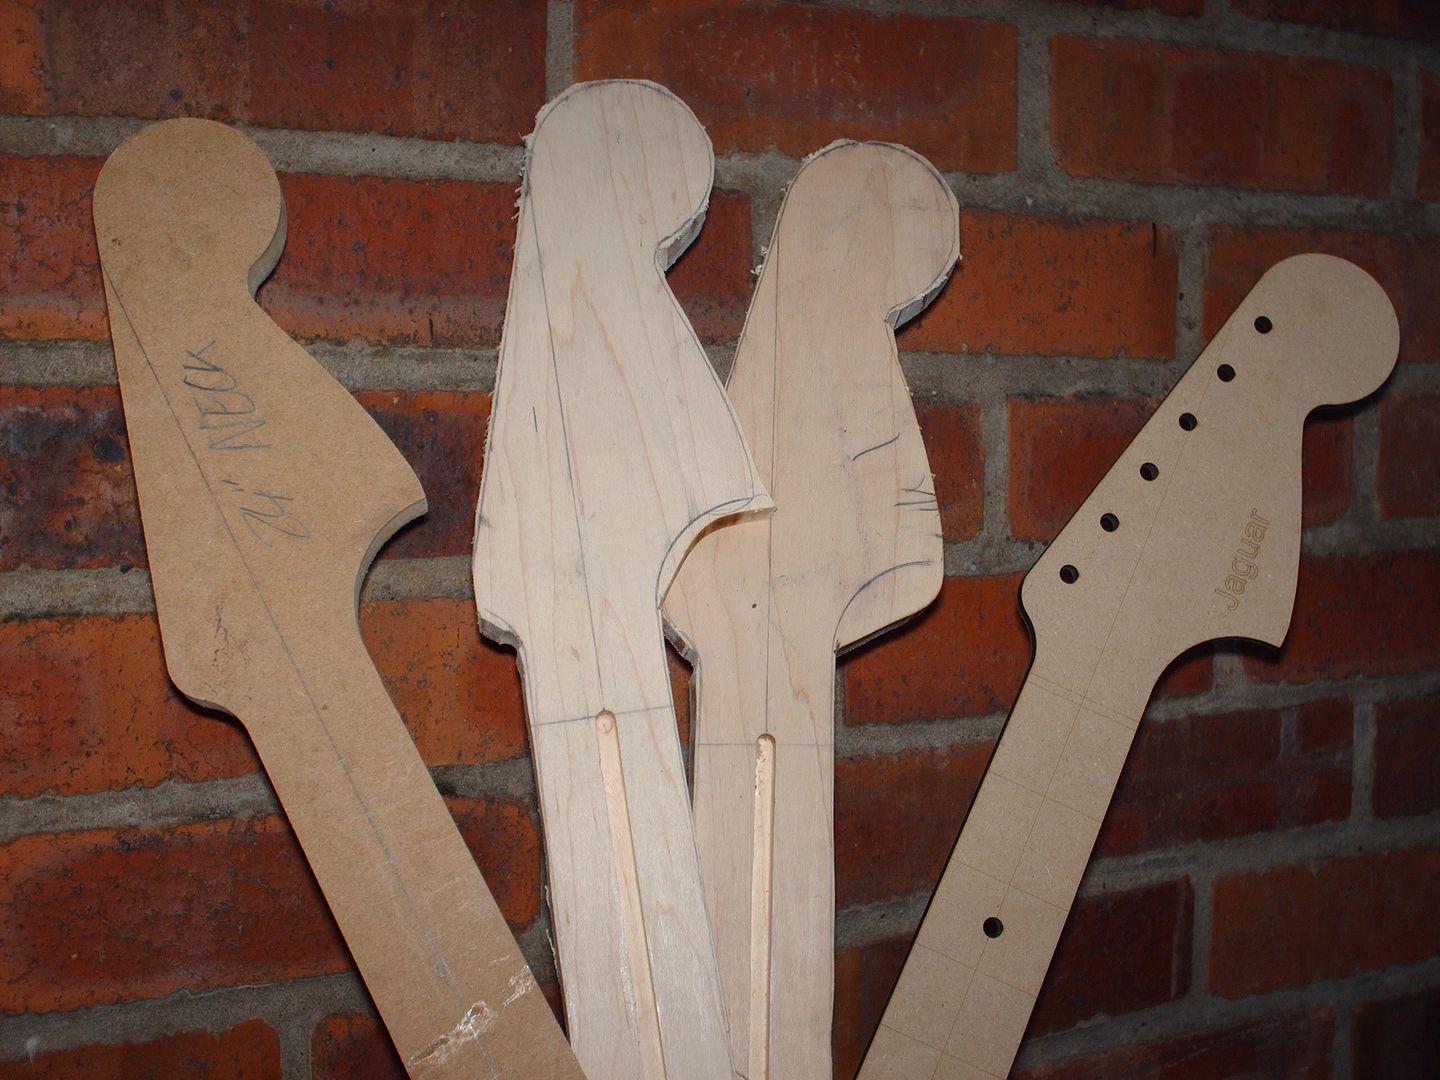
Started with a template, a truss rod, some wood and some MDF.
Made a thicker template
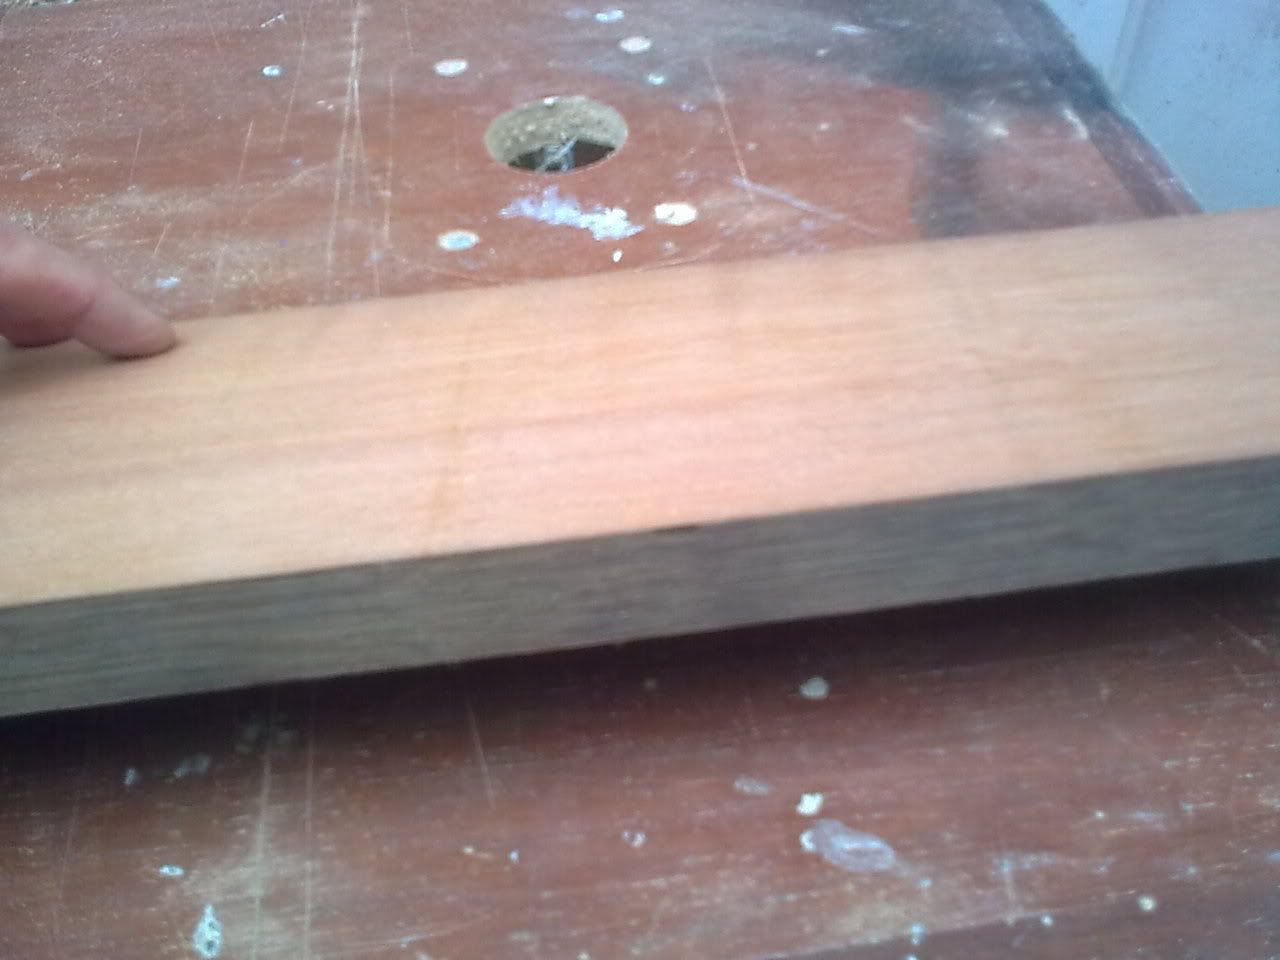
The wood I had I thought it was mahogany (or similar) was too thick
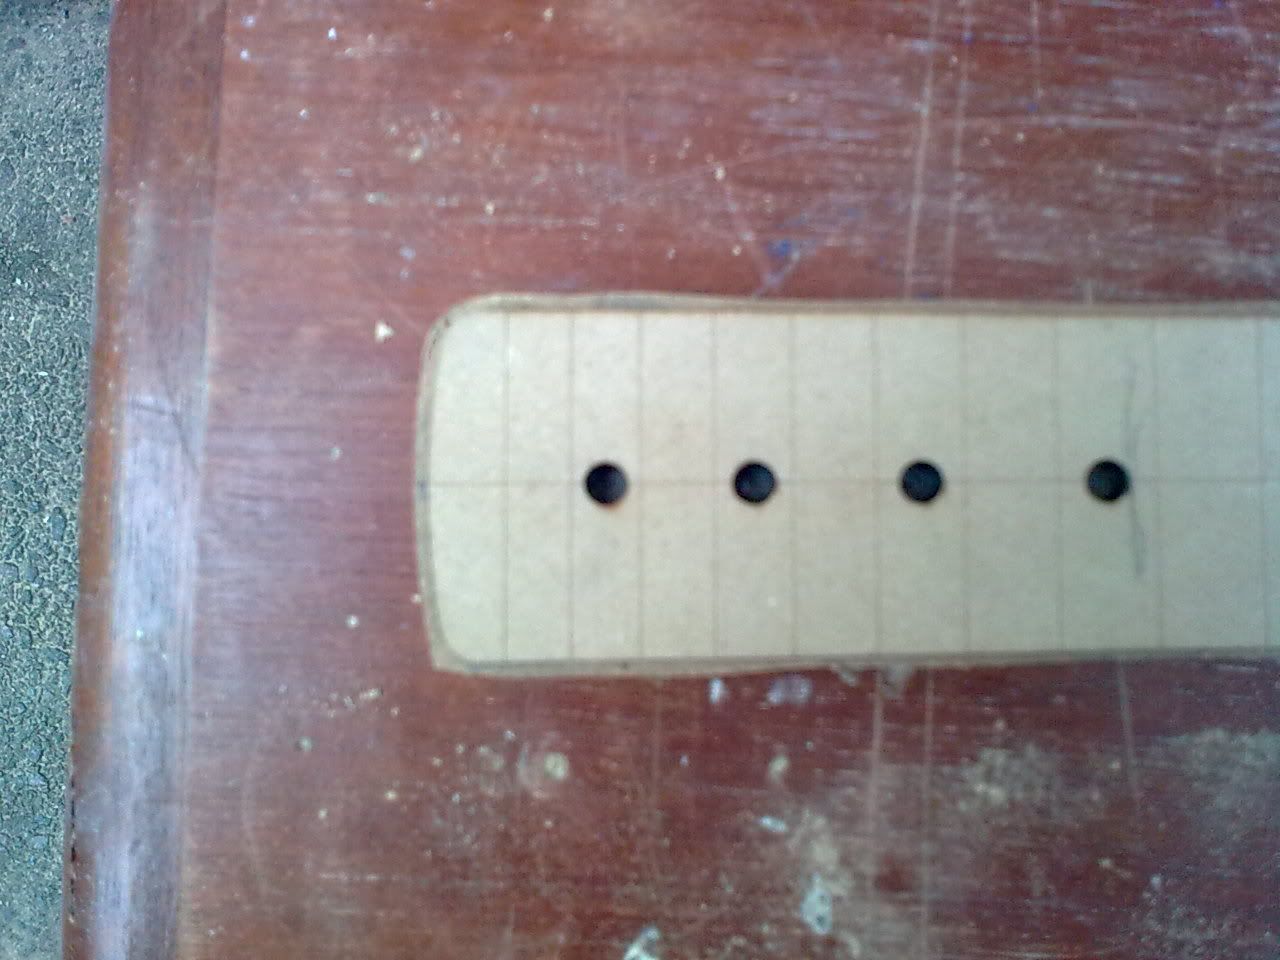
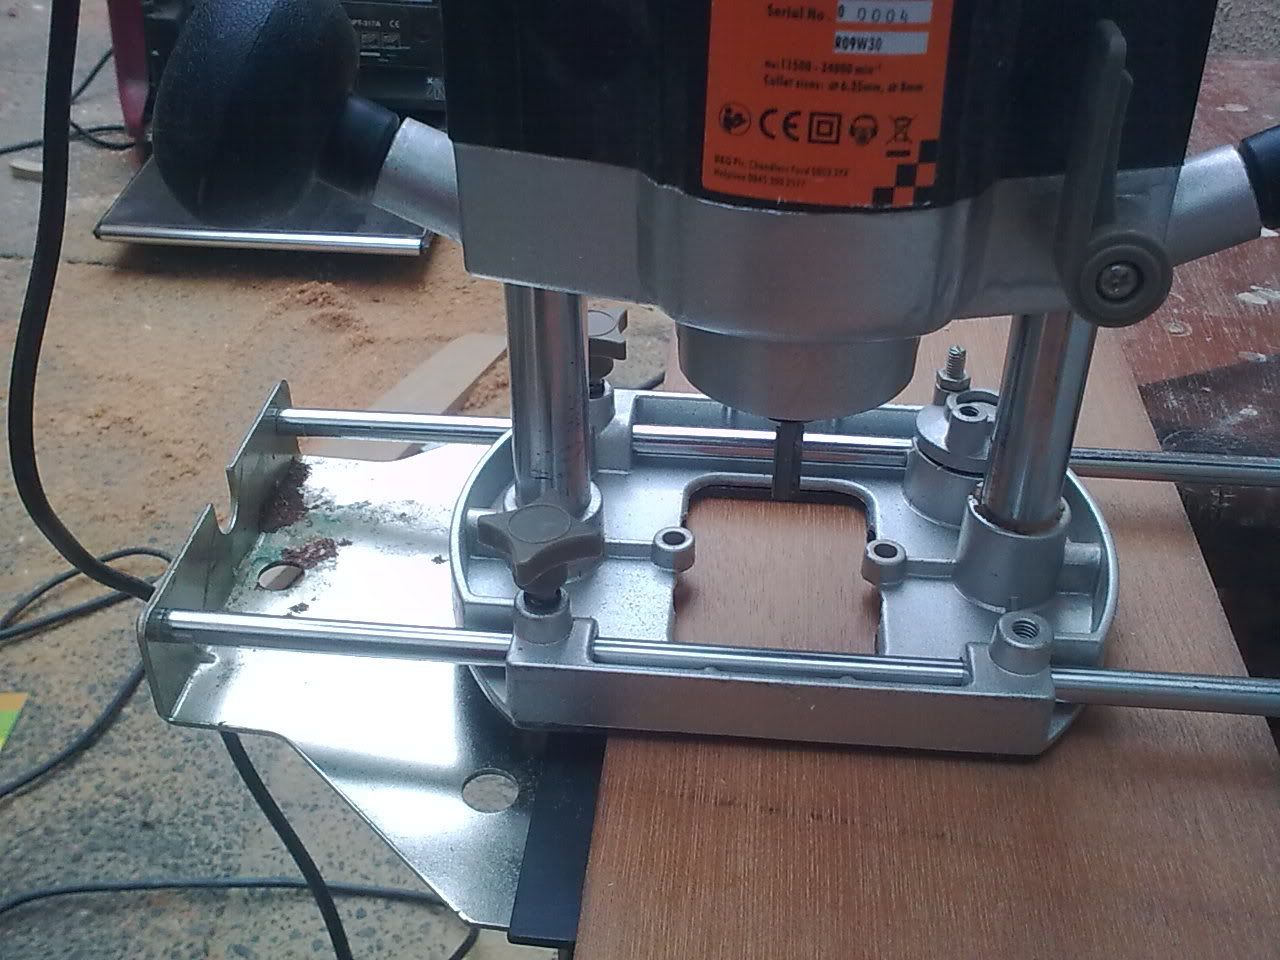
My trussrod routing setup.
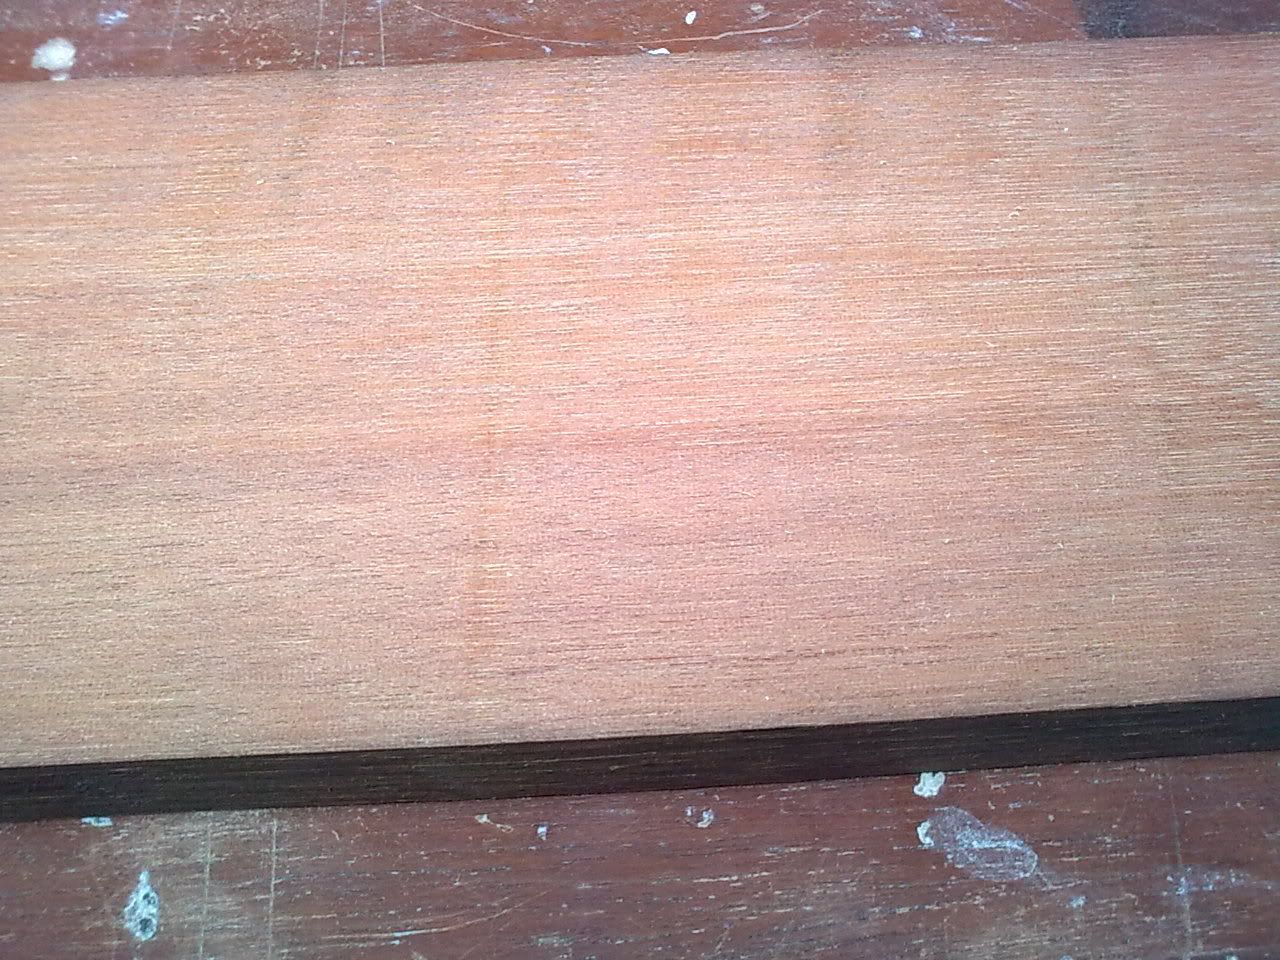
Anyway, the fail came in the form of tearout.
► Show Spoiler
Bastard!
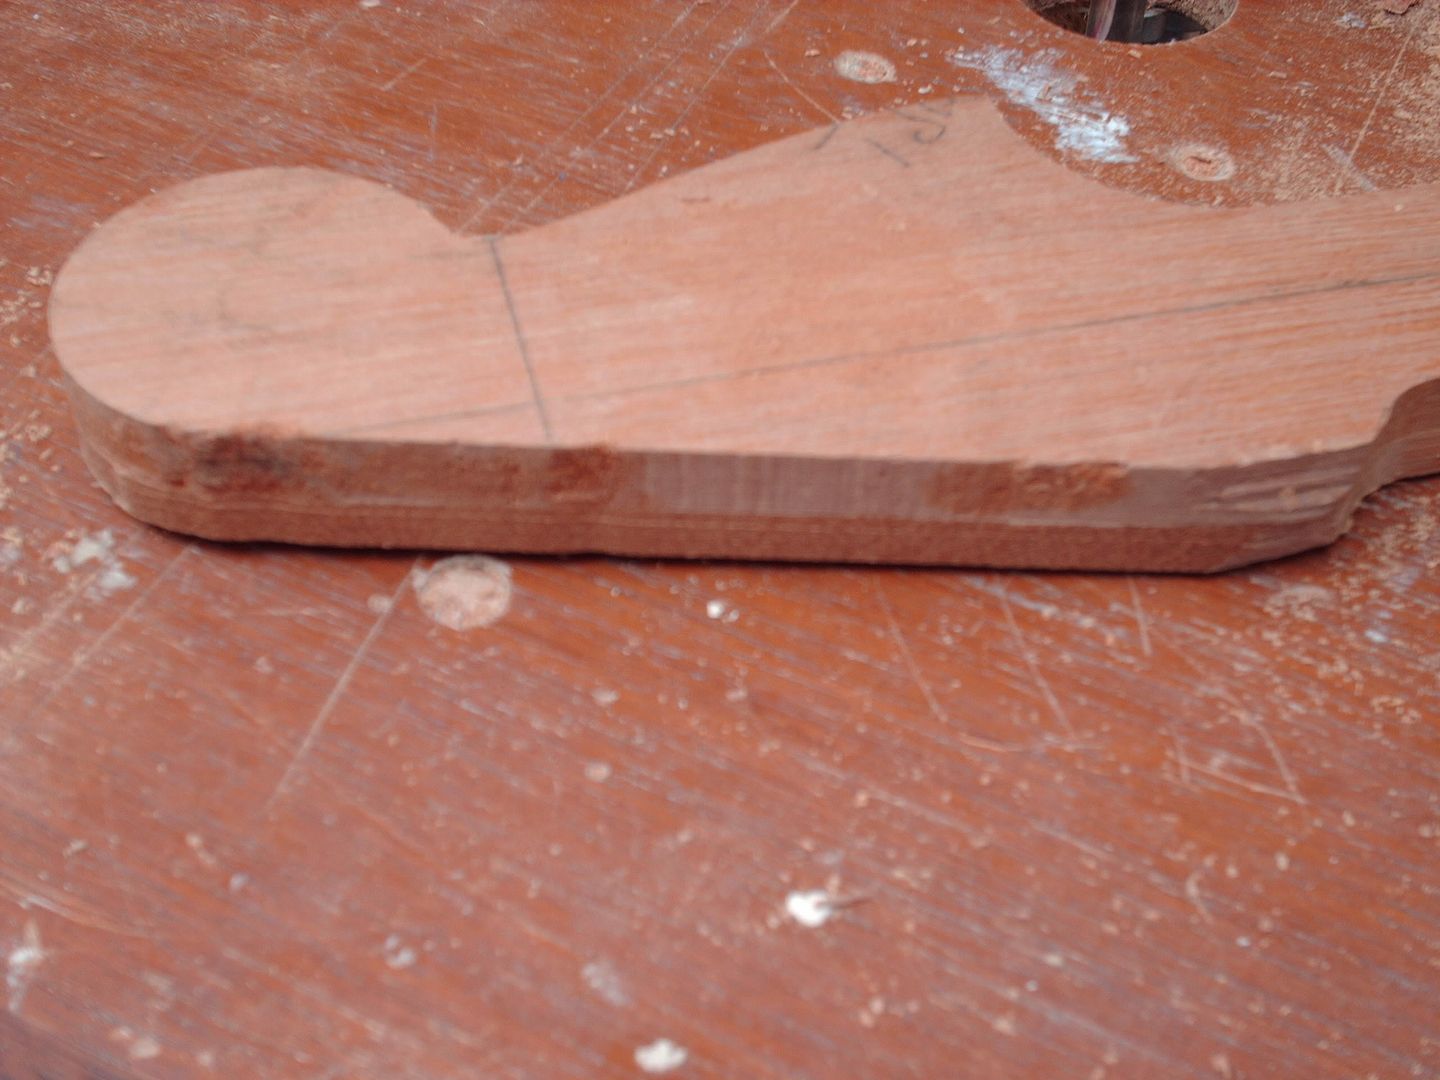
My previous fucked up neck
Tearout...
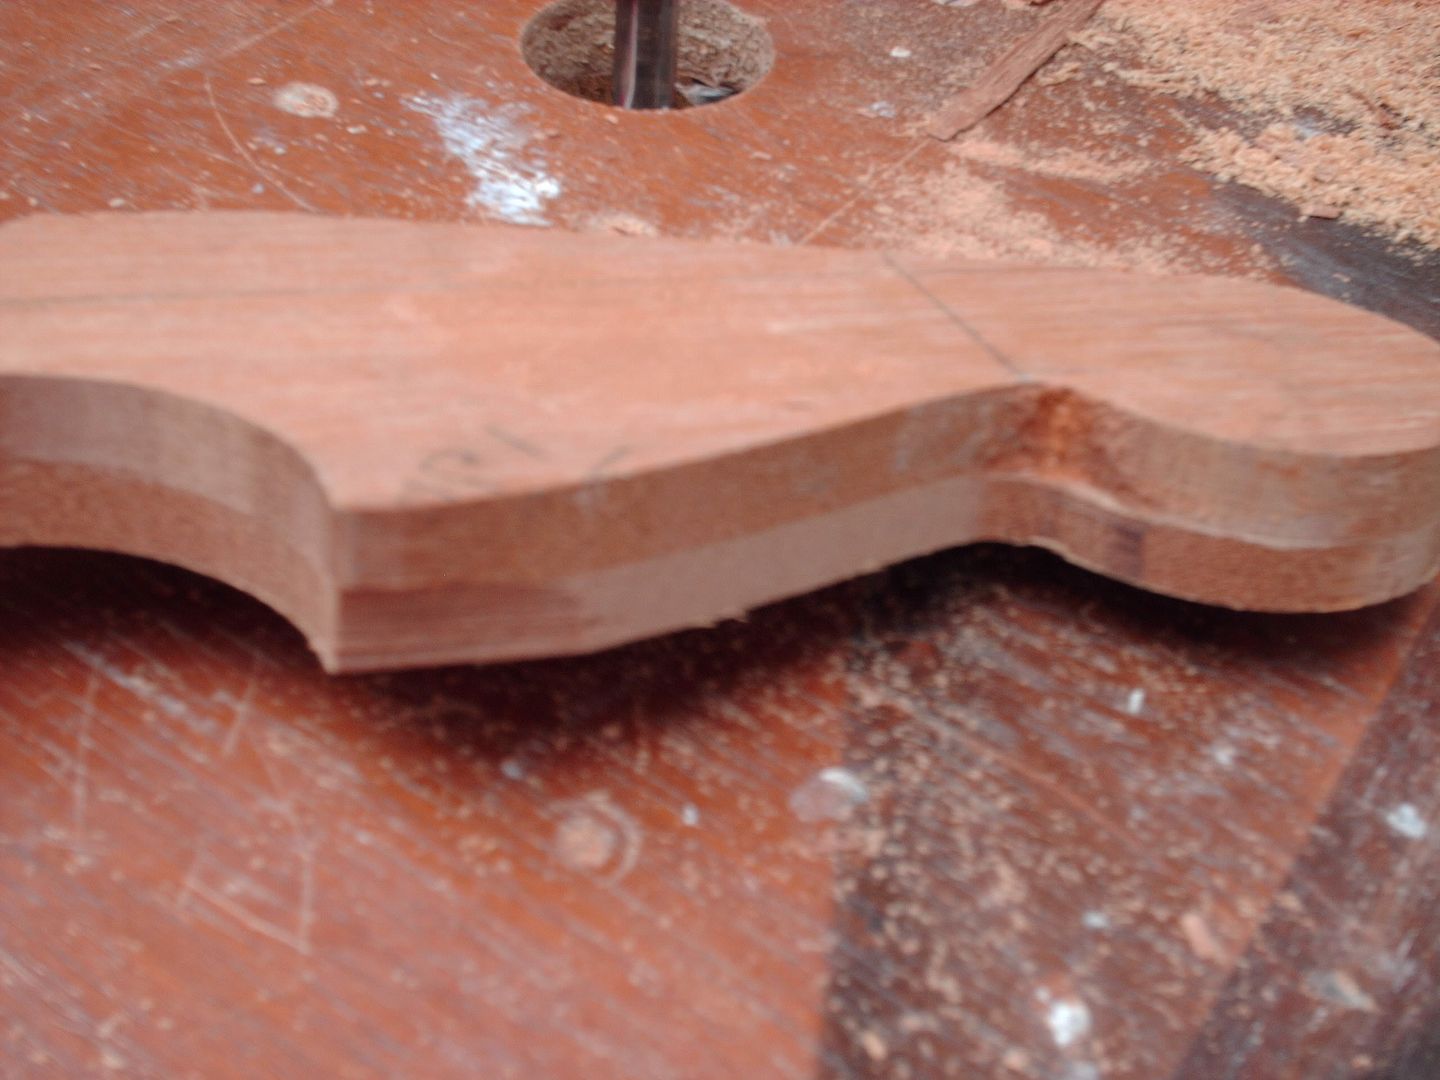
...and wonky truss rod access hole...
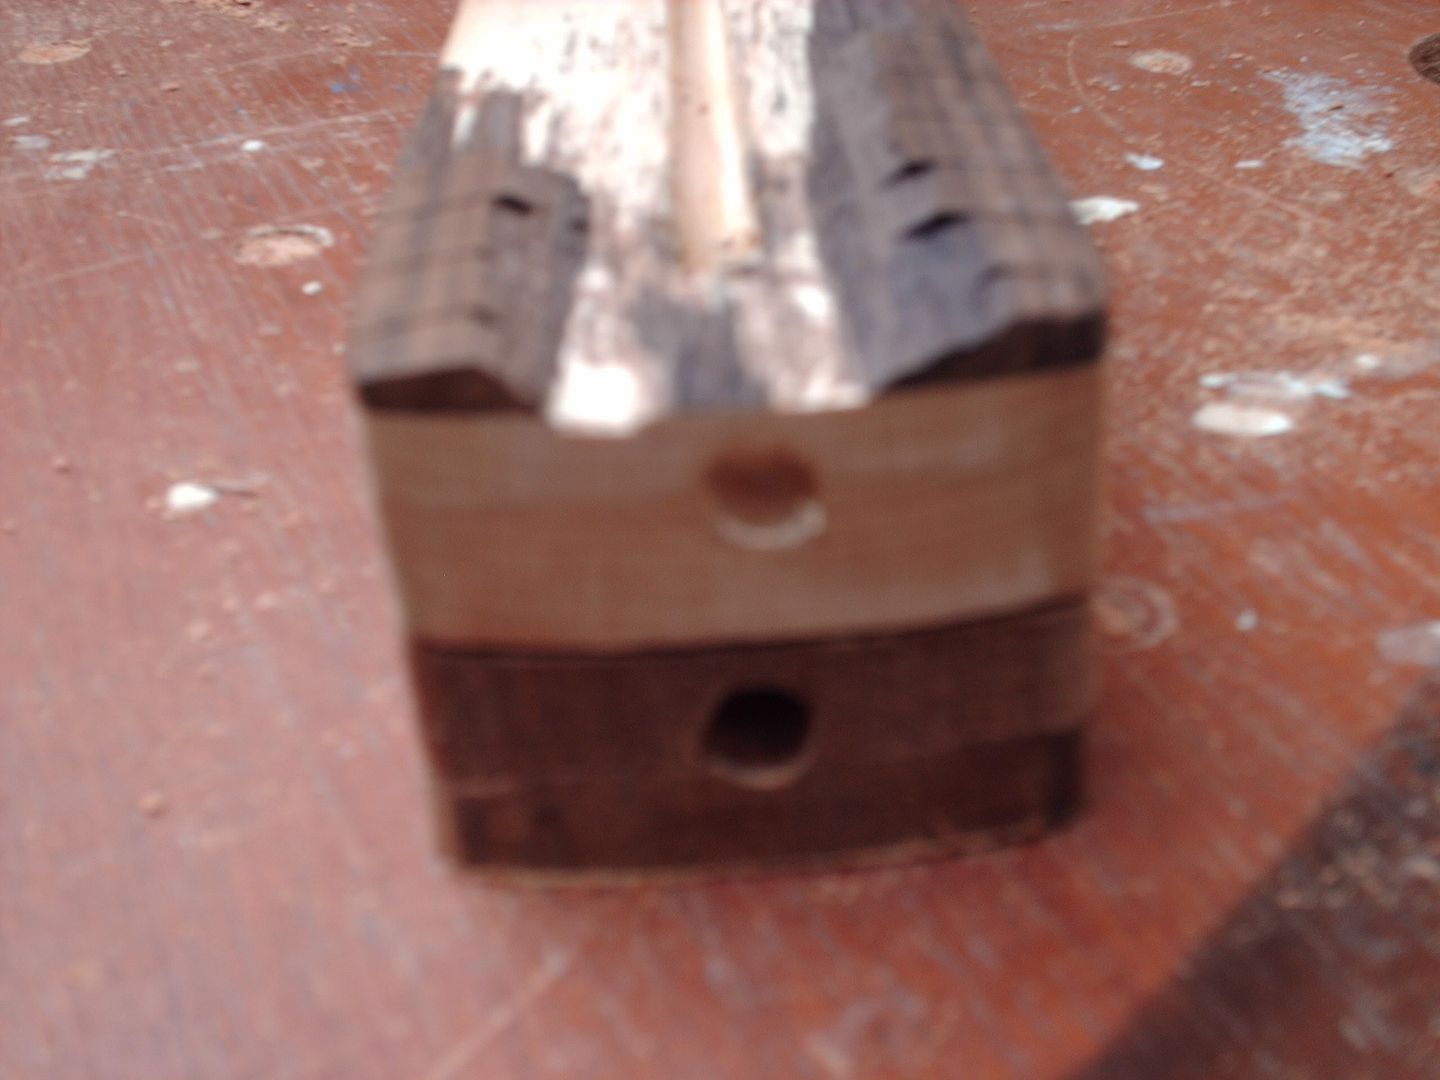
Note the remains of the fretboard, I broke the truss rod out.
If anybody wants to give me advise I would be grateful.
I
think using a bandsaw to get closer to he pencil line and a 1/2" router and maybe a higher tool speed would help.
Posted: Sun Mar 27, 2011 5:37 pm
by Addam
Already making a start on more.
If at first you don't succeed...
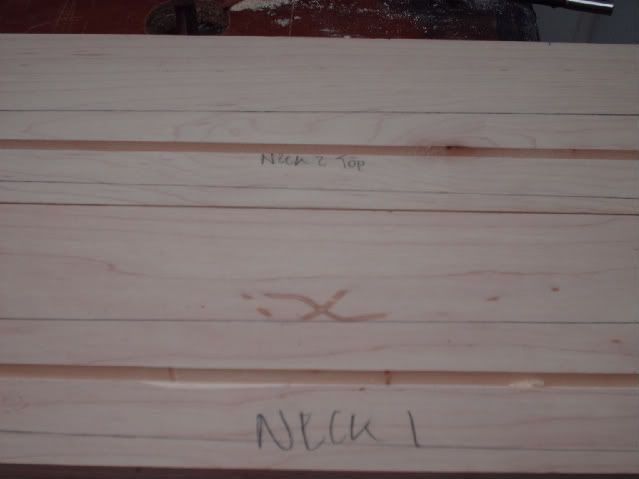
This is maple.
Posted: Sun Mar 27, 2011 6:10 pm
by Fran
Posted: Sun Mar 27, 2011 6:26 pm
by JohnnyTheBoy
Oooooohhh this is making me nervous...real shame you got tearout

I was quite looking forward to doing mine but im not so sure now....
BUT! at least youve cracked on with it..glad to see a setback not hinder you....
Keep on going matey!
Oh yeah, how much u getting your trussrods for and where?..
Posted: Sun Mar 27, 2011 7:03 pm
by Addam
Cut out the blanks as close as I dare with the jigsaw.
@Johnny, I got the truss rod off
eBay
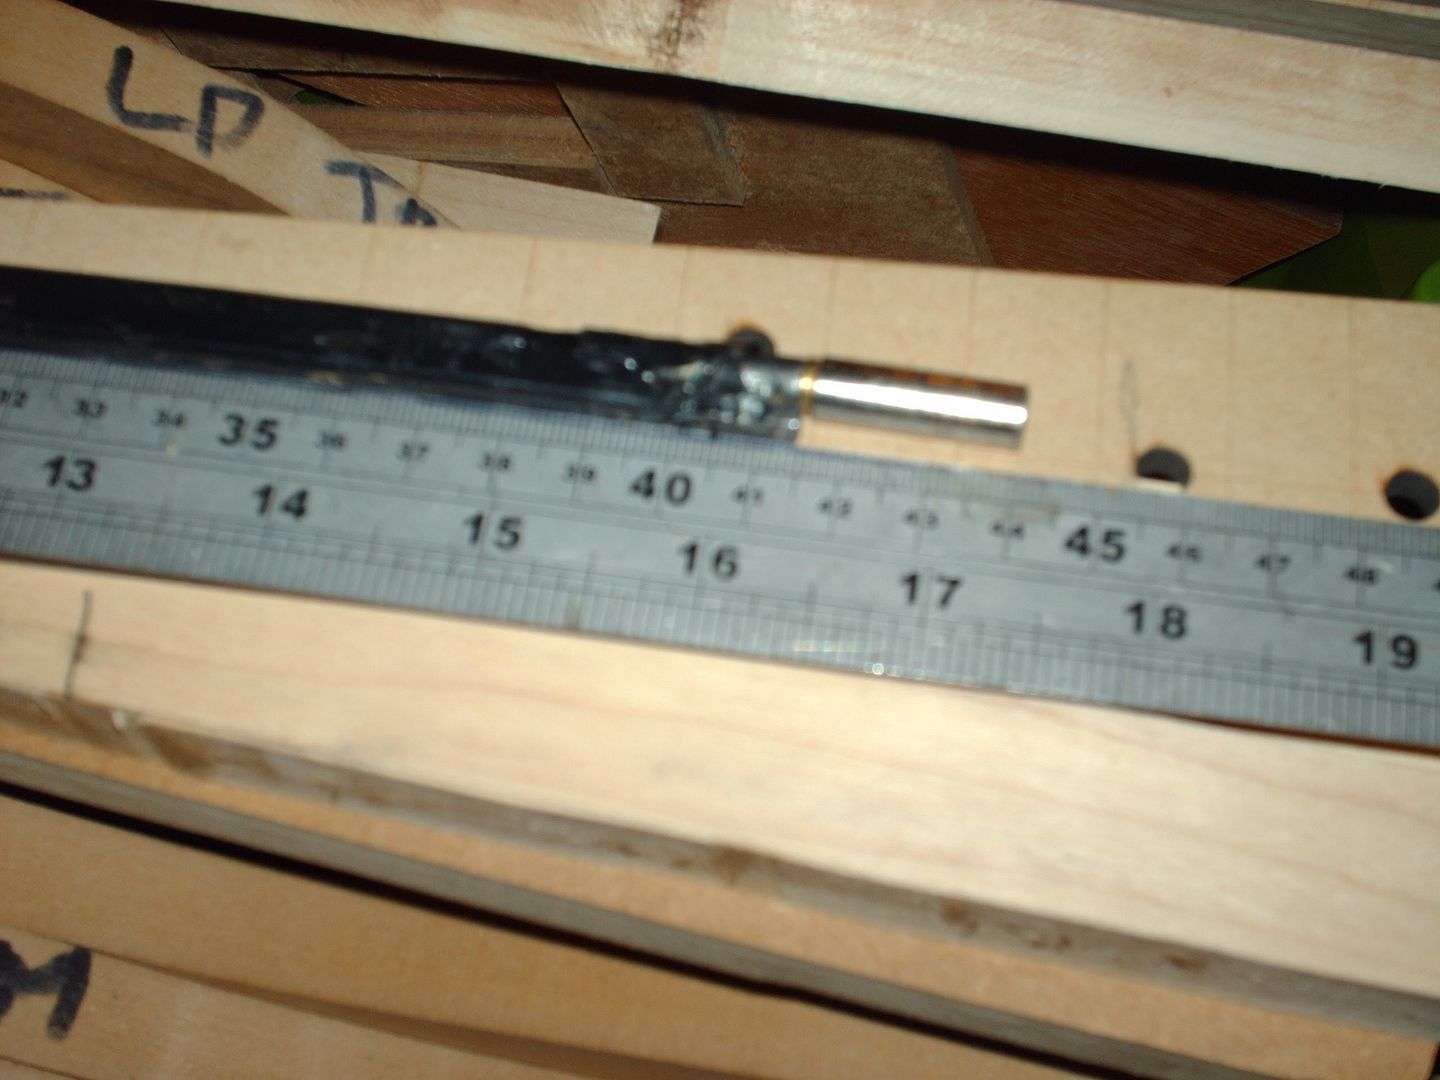
Choose the length to suit your neck. This one is a little long for the 24" scale but still fits under the fretboard and still usable. Probably ideal for 24.75" or 25.5" though. Check length before you buy!
I will do very little routing on these, mostly sanding to the line, then
maybe a gentle kiss with the router.
FINGERS CROSSED for success!
No more work 'til next week now.
Posted: Mon Mar 28, 2011 3:34 pm
by Joey
Did you read that article I linked up to you about "routing downhill"? How deep do you drop the router after each cut and how much do you trim off the edge? Denser wood is gonna tear out more.
If your doing all that above and still getting tear out you may need to just switch over to a spiral router bit. I've read stories where guys switched, never dealt with tear out.... then switched back to regular bits, thinking they had more experience and wouldn't have that problem again... only to face it again. But I don't think they make em with ball bearings.
If you have a belt sander, I'd load it with seriously rough grade paper and use that to get you closer to the line. I don't trust jig saws or band saws cause they don't cut straight... might be good on the top, but way off on the bottom.
What size router are you using.... HP? You may be losing speed or bogging the router down. Fresh bits always help. If you get nice wood chips, your bit is good... but if your getting more dust then chips, it may be time to resharpen em.
Posted: Mon Mar 28, 2011 3:47 pm
by cur
^^^truf ^^^ What Joey said.
Also, sometimes the blades get gummed up with pitch depending on what type of wood you have been working with. You can sometimes get this off with a spray solvent. Also I find the little cheap diamond sharpeners are good to use after you clean them.

Spray with a solvent and then give one or two very light laps with the sharpener. Does wonders.
Posted: Mon Mar 28, 2011 5:55 pm
by Addam
Before I ever started making my first guitar body (jagstang thing) I spent months researching online, mainly on TDRPI and offset.
I have tried several times on 'downhill routing' and just cannot get along with it. I even get tearout in MDF. So I
always go against the blade now.
The worst experience I had was when the bit got spat out the router across the room.
My router is pretty much the cheapest available (the older version of
this)
Unfortunately, in the table the minimum depth I can take off is about 10mm per pass. Then again, I could stack templates to reduce that...
I would love to get a decent quality 1/2" router, but money is a major issue.
Posted: Mon Mar 28, 2011 6:24 pm
by cur
AddamInsane wrote:
Unfortunately, in the table the minimum depth I can take off is about 10mm per pass.
But you show a picture of a plunge router. you should be able to set this to what ever you want. YOu should be able to manually set the plunge depth and then lock that depth down so it doesn't shift while routing.
Posted: Mon Mar 28, 2011 6:36 pm
by Addam
I have 2 the same, one I use hand held for cavities. The other is mounted under an old coffee table as a table router.
Posted: Mon Mar 28, 2011 9:51 pm
by Addam
Thinking of upgrading to
this router for my table?
Money talks though, so time will tell...
Posted: Mon Mar 28, 2011 10:27 pm
by Joey
You can use a stubby router bit for your first cut, rather then using spacers between the template & wood. I've got 1/4" & 3/8" blade depth router bits. I got em through routerbits.com.
Router tables scare me to death, and a pain to adjust depth cut. Milwaukee makes some routers for tables that can be adjusted from above with a key. I really love my pin router hands down. Seen em on ebay for $300 used. With a pin router, you don't have to use ball bearing bits & can use the spiral bits. I cut some aluminum shims all 1/8" thick, bolted em together. Now I got control depth stop. They are bolted together and fold out like a swiss army knife.