OR in fact I could use my art website logo and play with that.
ELEMASTER
Might just use basic Fender logo, and be done with it.
Either way, I'll sort this after the guitar is put together.
Posted: Tue Mar 27, 2012 3:39 pm
by othomas2
First job tomorrow night once I get the parts from axesrus is to insert the bushings, and attach the tuners. Found this helpful:
[youtube][/youtube]
Posted: Tue Mar 27, 2012 5:55 pm
by Addam
I use a phillips screwdriver to press bushings in.
Get a philips screwdriver that the bush slips nicely over, a rubberised handle is a bonus.
Slide the bush down the shaft of the screwdriver, then use the handle to push the bush into place.
You can guide it in perfectly, I like to wiggle and push.
You correct any misalignment issues before they become a problem.
I do it sat down, resting the neck on my leg. Obviously, don't stab yourself in the thigh or knee with the screwdriver!
I have used clamps in the past and marred the bush where the tuner comes through. But I don't have a reamer.
Posted: Tue Mar 27, 2012 8:05 pm
by SKC Willie
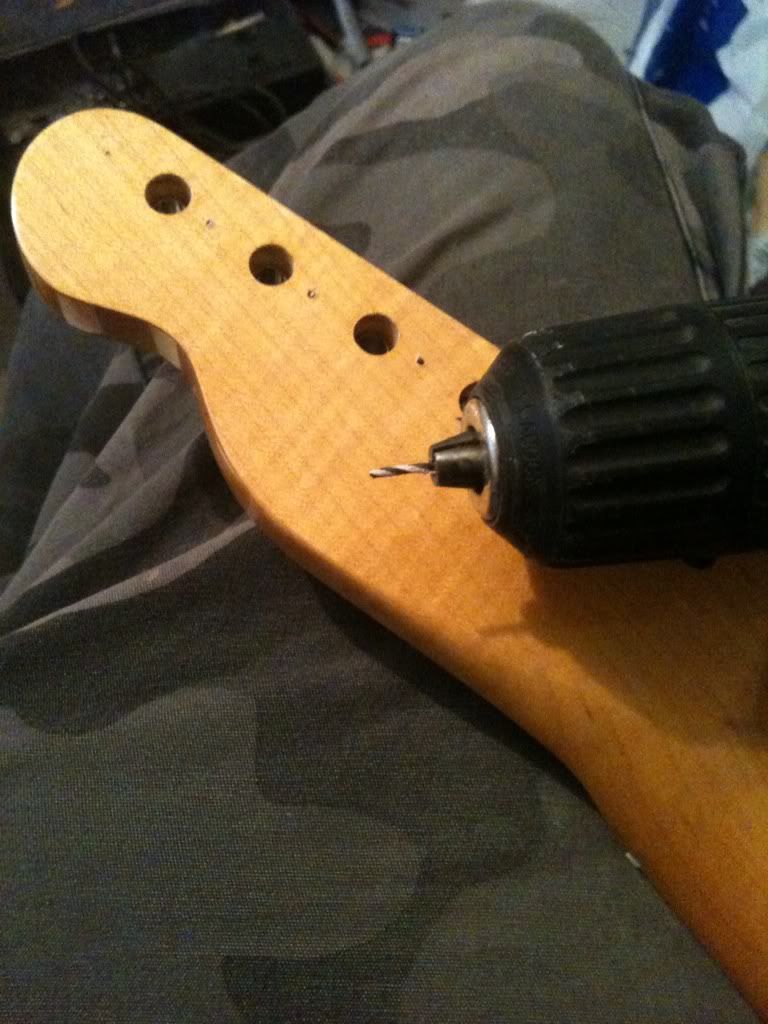
I've alway used clamps to push them in and never had a problem. I don't use a reamer, I just use an electric drill and use a slightly smaller drill bit and wiggle around w/ the drill running. The reamer is probably a lot better but I get the same result.
Posted: Thu Mar 29, 2012 8:38 pm
by othomas2
So I got the parts today, pretty impressed with the quality to price ratio.
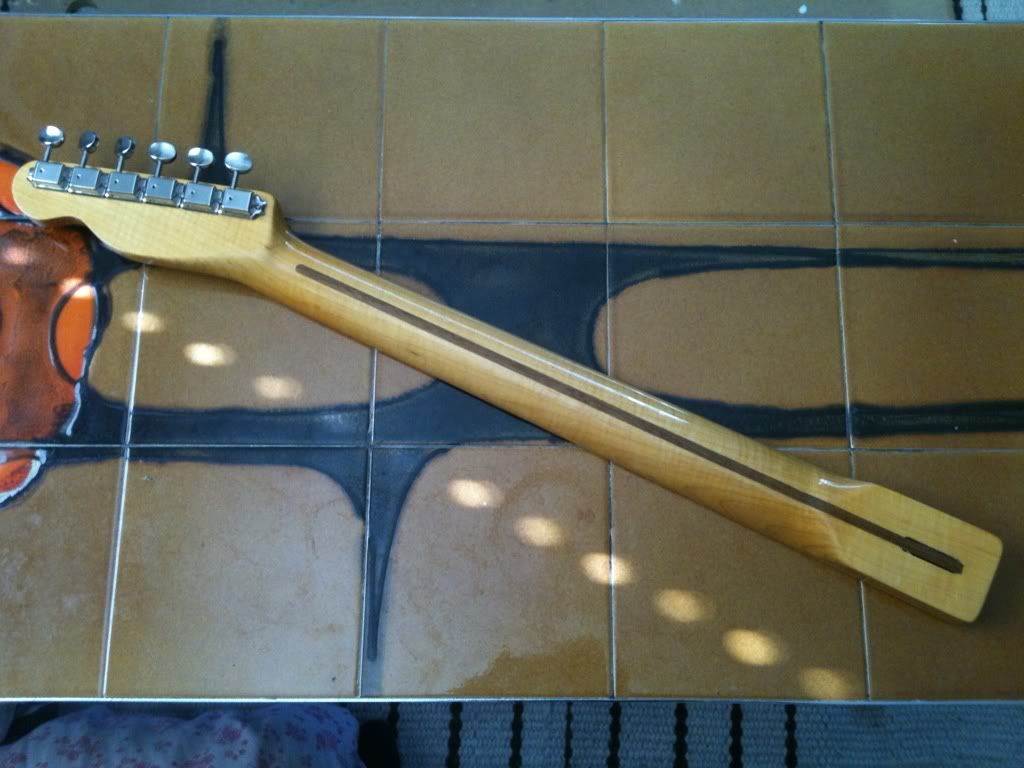
Neck is nice, no sharp fret ends which is a real pet hate of mine. Nice tint too, and some subtle flame which I personally like.
Little thicker than I'm used to but it's only goona help with the tones right ? & I'll get used to it.
I've installed the nut which still need some attention, like wise with the machine heads.
I used the screw driver technique initially and then done exactly as the video showed. Need to pick up some drill bits to finish that off tomorrow.
I've taking some pics as I go along so will post them soon.
Can't wait to get the body now. Due, early next week hopefully.
cheers
O
Posted: Sun Apr 01, 2012 8:44 am
by othomas2
Here's come snapshots of the processes so far, more pics to come. Not very exciting lol.
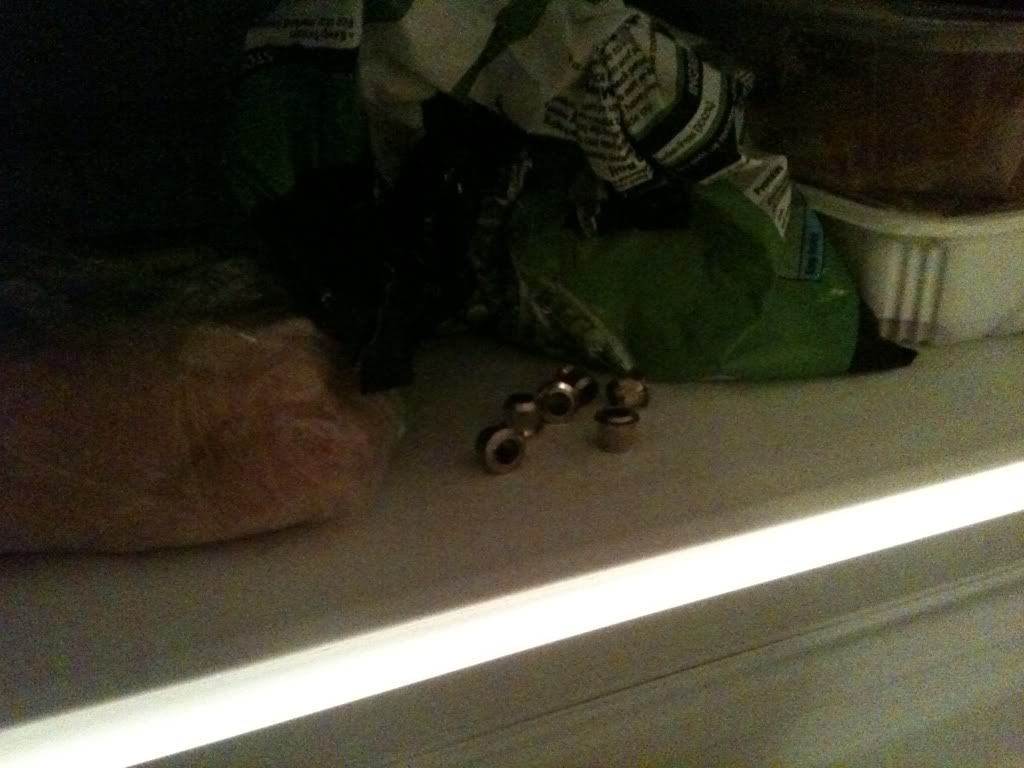
Froze the tuners ferrules for an hour
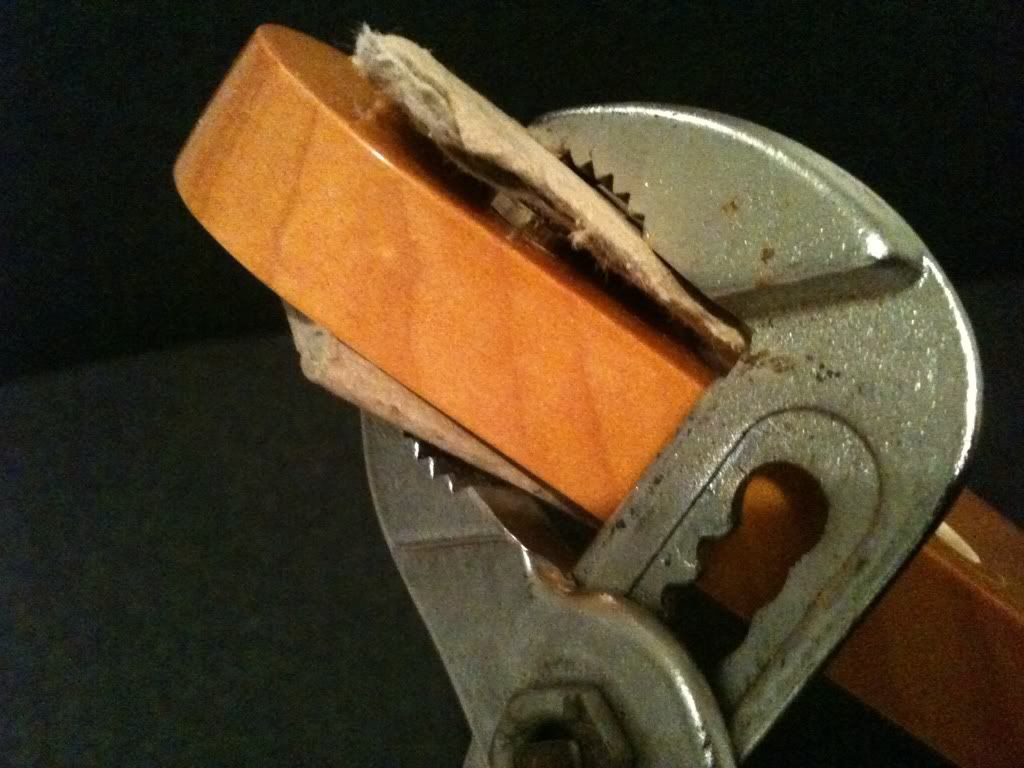
Didn't have a reemer but some heavy duty paper did the job. Looks like I've sanded the facia but it's just the dust.
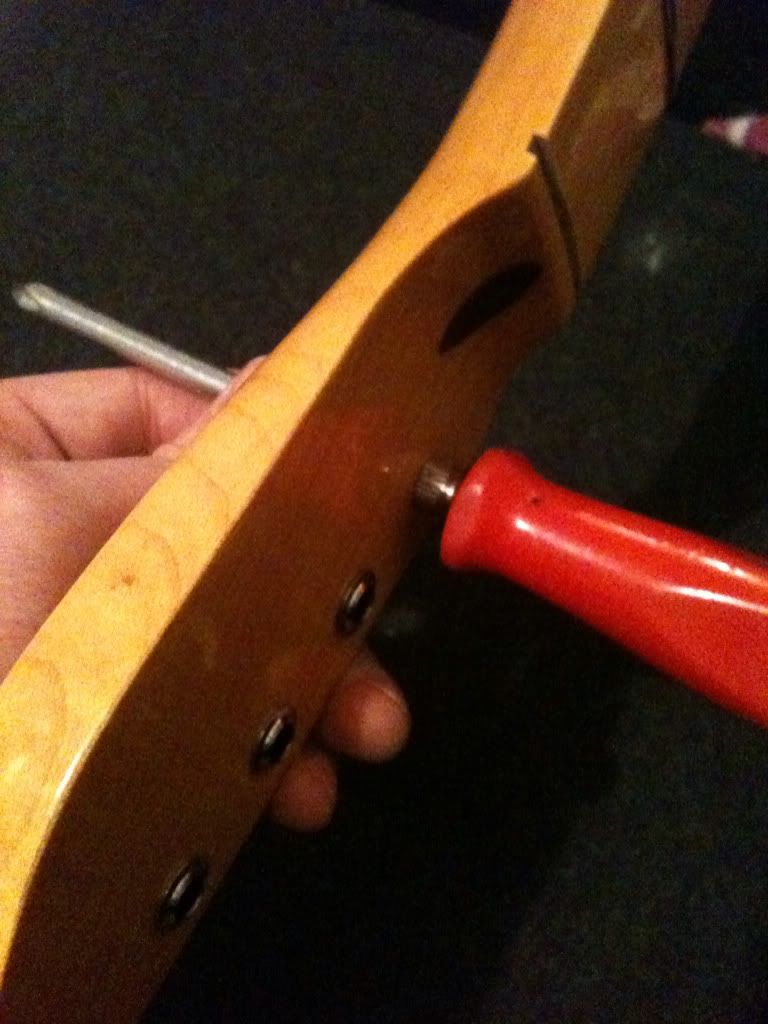
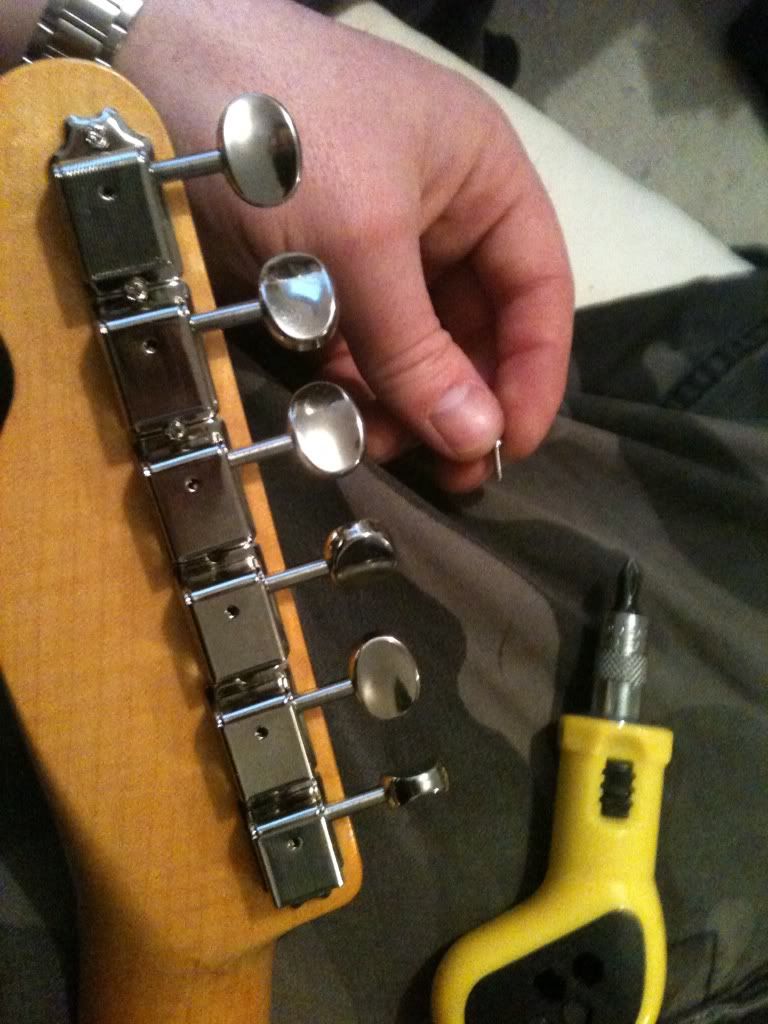
Pushing the ferrules in initially.
Prizing them properly in.
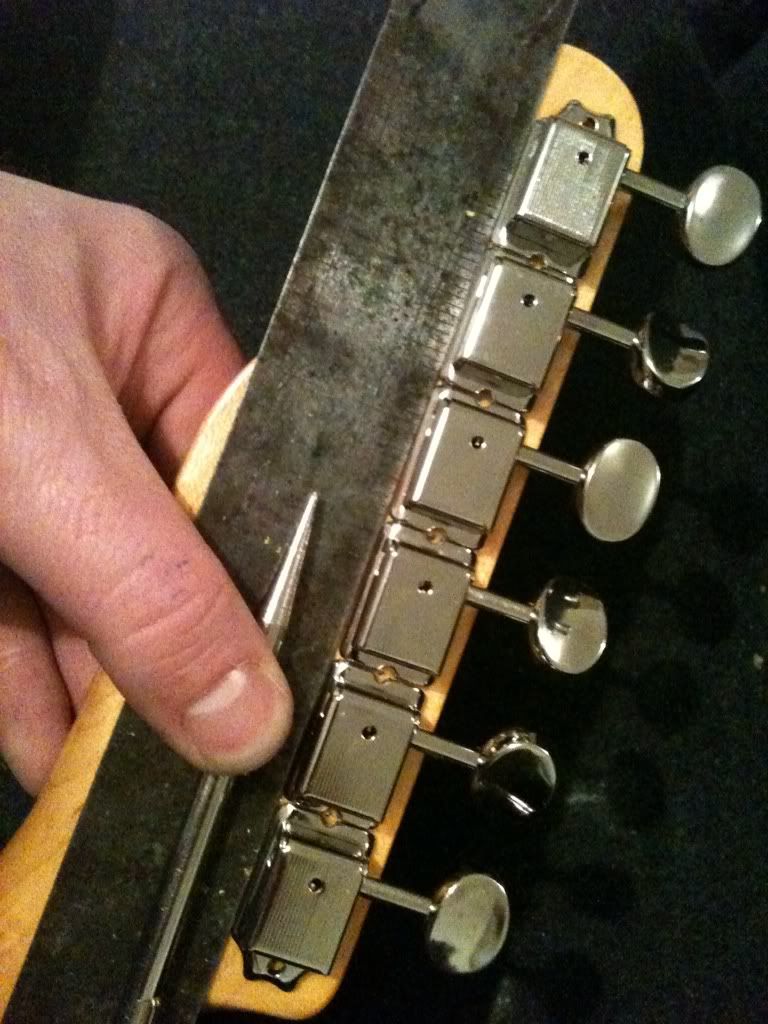
Lining up the machinhead and marking them.
Inking them the holes.
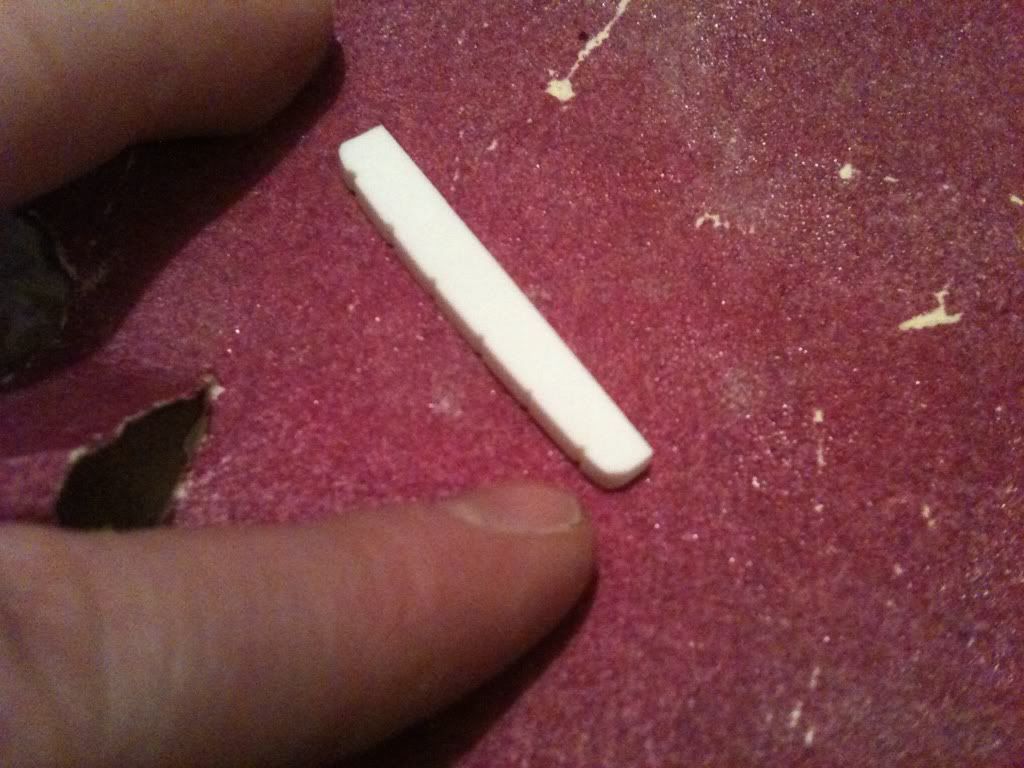
Sanding down the nut, so it'll fit in the slot, nice and snug.
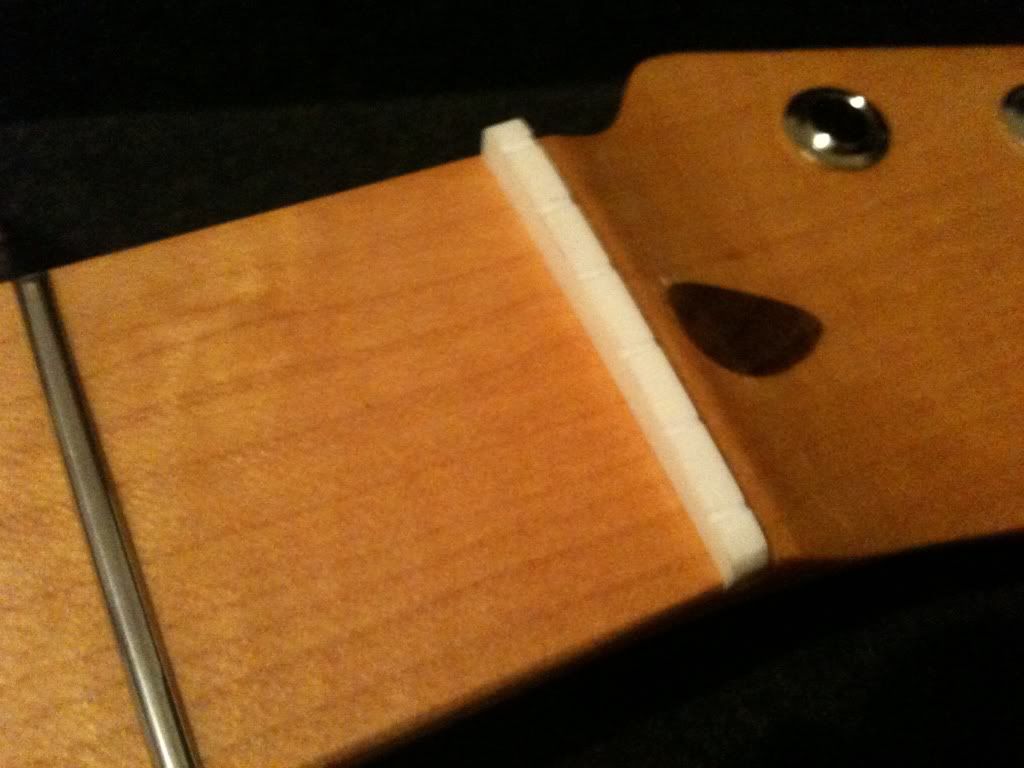
Nut fitted.... been further shaped since this pic.
Drill bits arrived.
Fitting the screws.
Posted: Sun Apr 01, 2012 10:55 am
by rps-10
Very in depth way of installing tuners. My method is to push in by hand as far as possible then use a rubber mallet to get the ferrules in the last few mm. Takes all of 2 mins to complete
(Providing the holes are the correct diameter to start with, if not then above quick install method is pointless)
Posted: Sun Apr 01, 2012 11:05 am
by othomas2
They were quite tight, so i don't think the hand / mallet job (ooooerr) would have done the trick, unless I'd sanded for longer.
It only took about 30-45 mins all in to get everything fitted
Posted: Sun Apr 01, 2012 12:13 pm
by othomas2
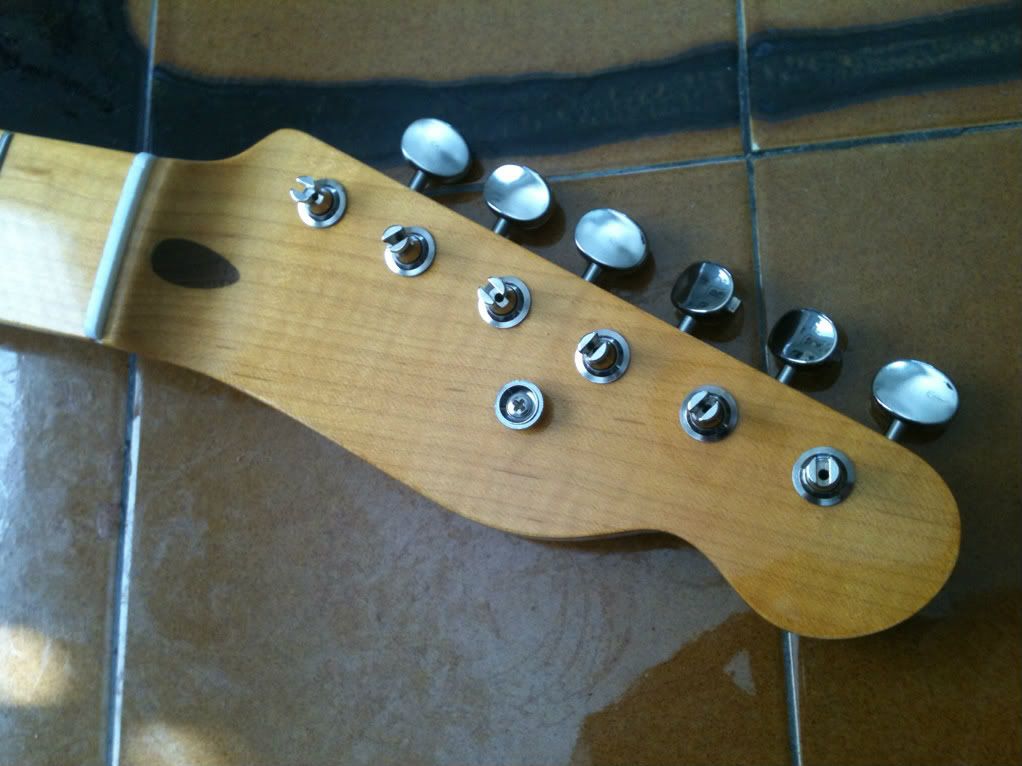
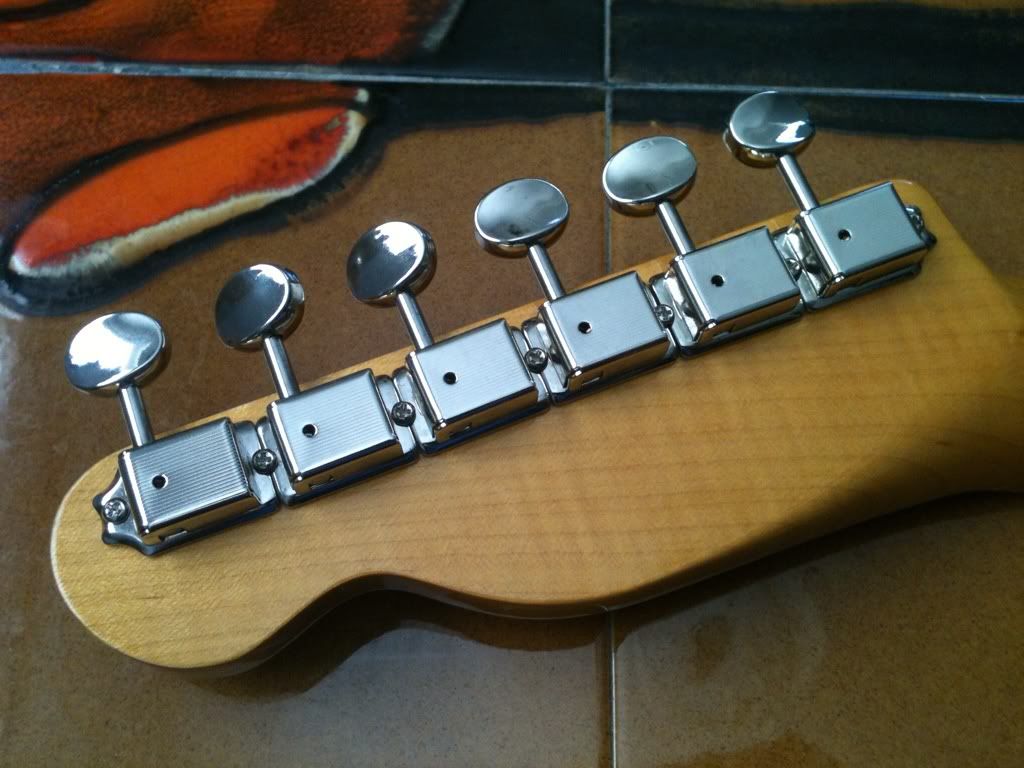
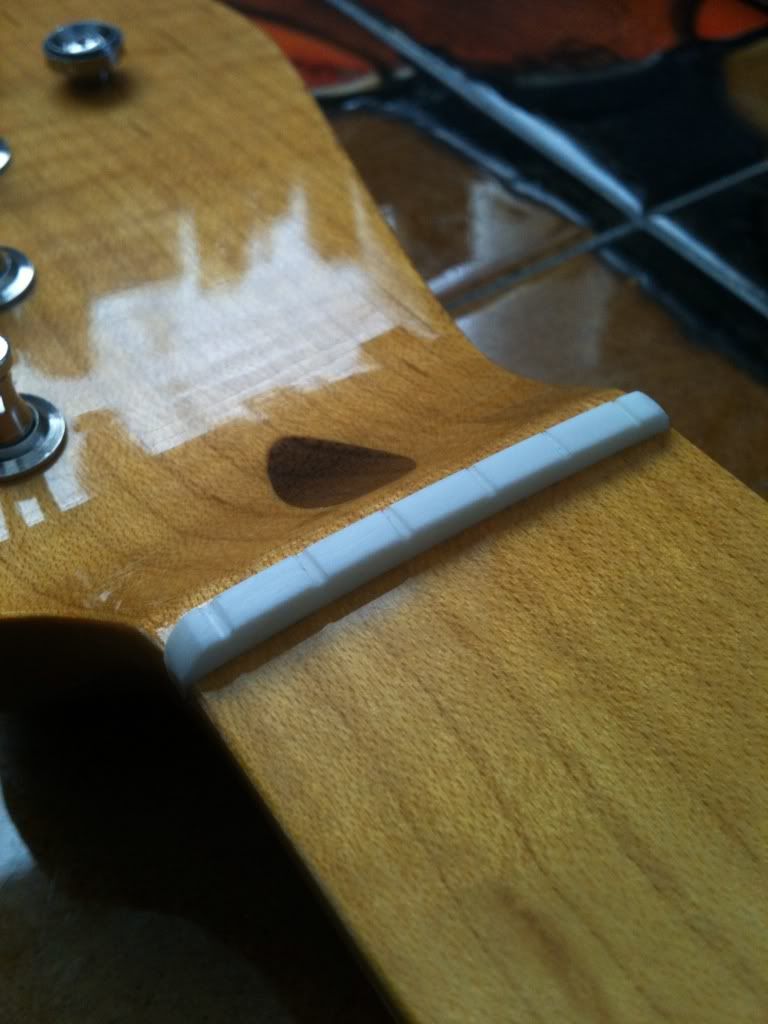
Machineheads and String tree fitted.
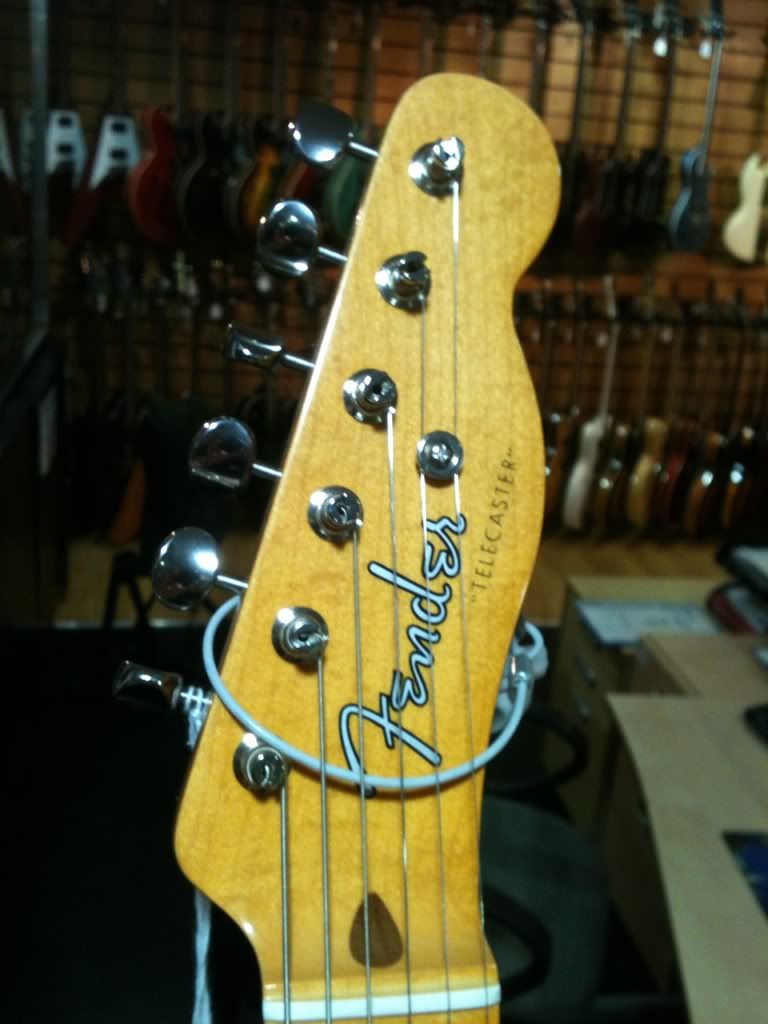
Found a person who supplies the decal I want, so that is also in the post to me... notice the 'M'
Using this as a guide for placement. So many variations out there !! This woll also leave me a gap (above the 'n') to put another string tree if I feel its necessary.
Wondering if I can get away with applying it on the gloss and without a clear coat ?
Was thinking enamel clear - brush on, or hairspray even ? Any advice appreciated.
----------------------
Tuners are pretty straight, nice amount of resistance in the 'axesrus' machineheads. They feel pretty good quality. Can't fault.
Nice grain and very subtle flame.
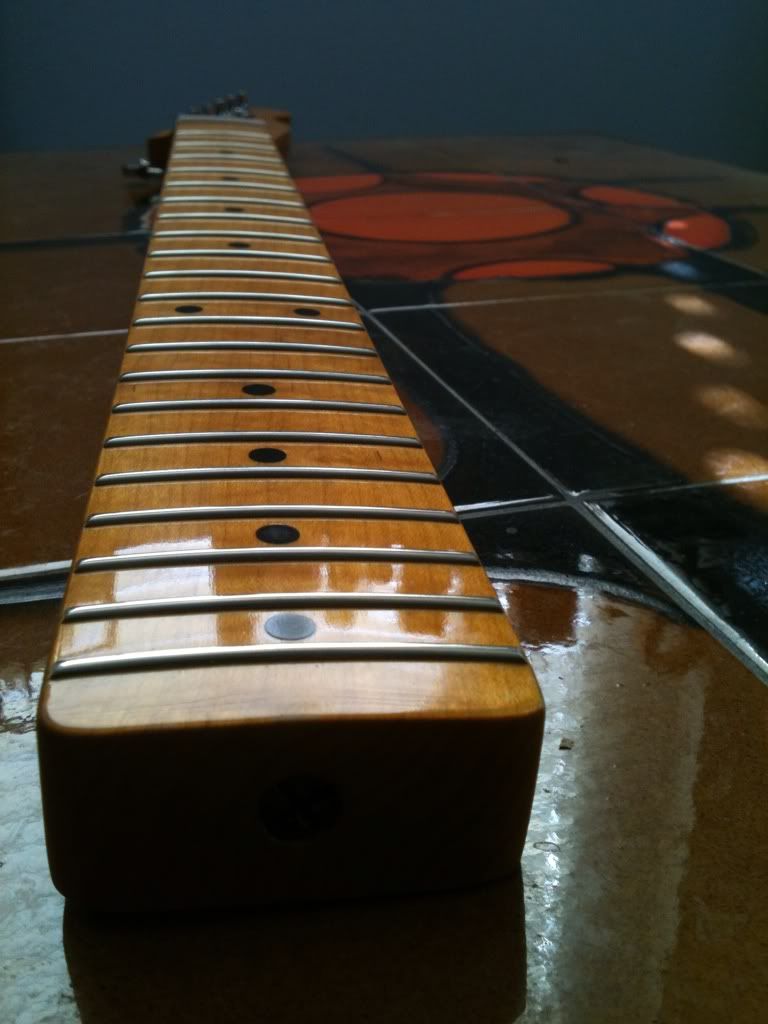
Really nicely polished frets, and no sharp ends. Happy !!
Perhaps slightly overly tinted neck which I didn't think was possible for my tastes.
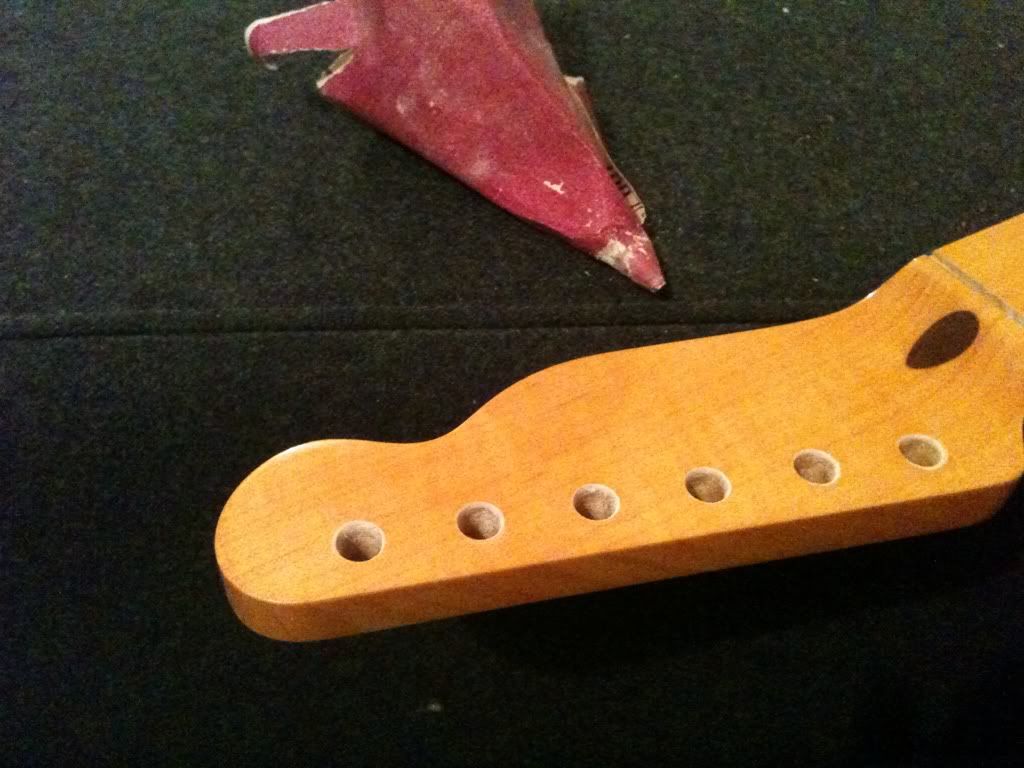
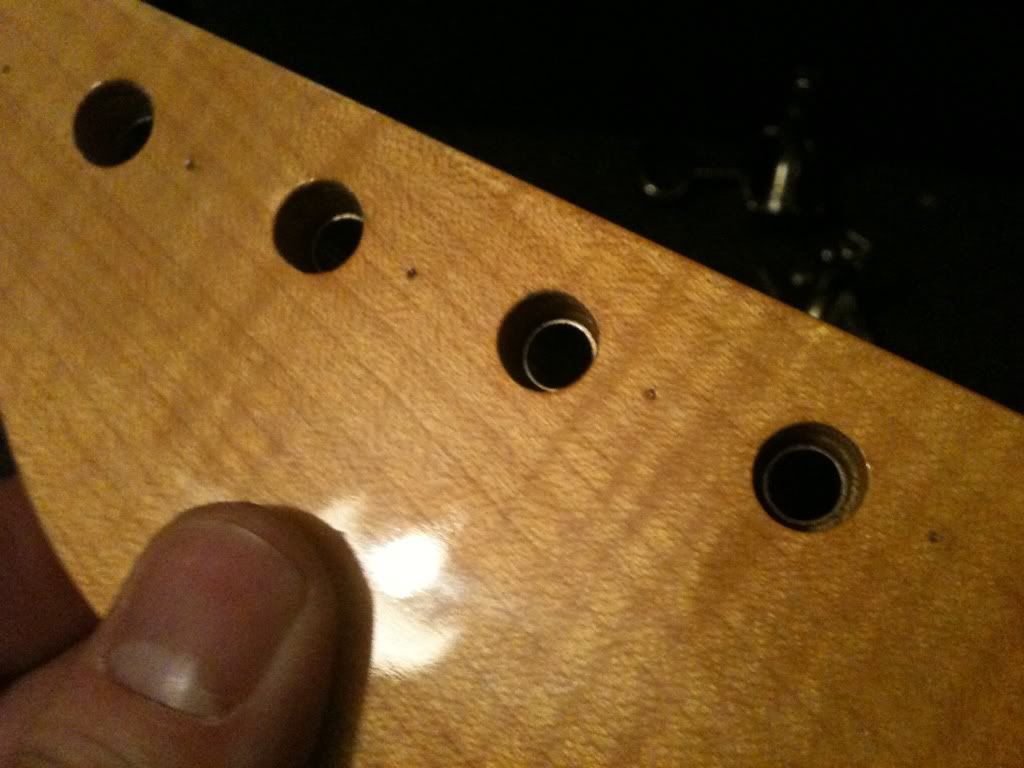
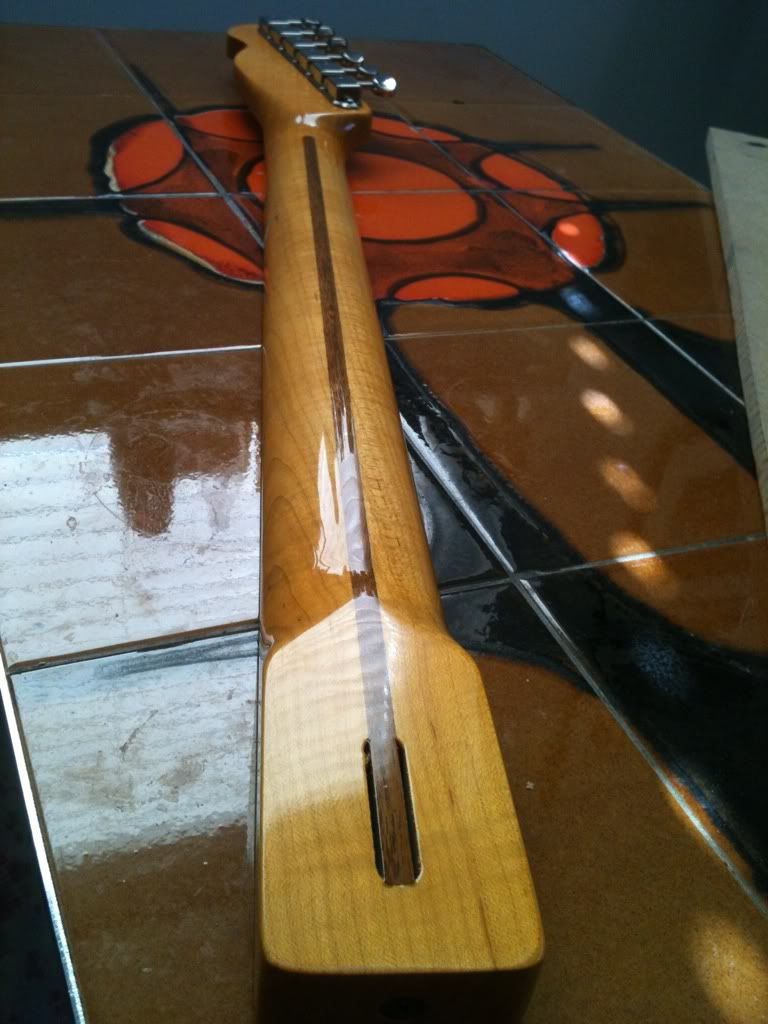
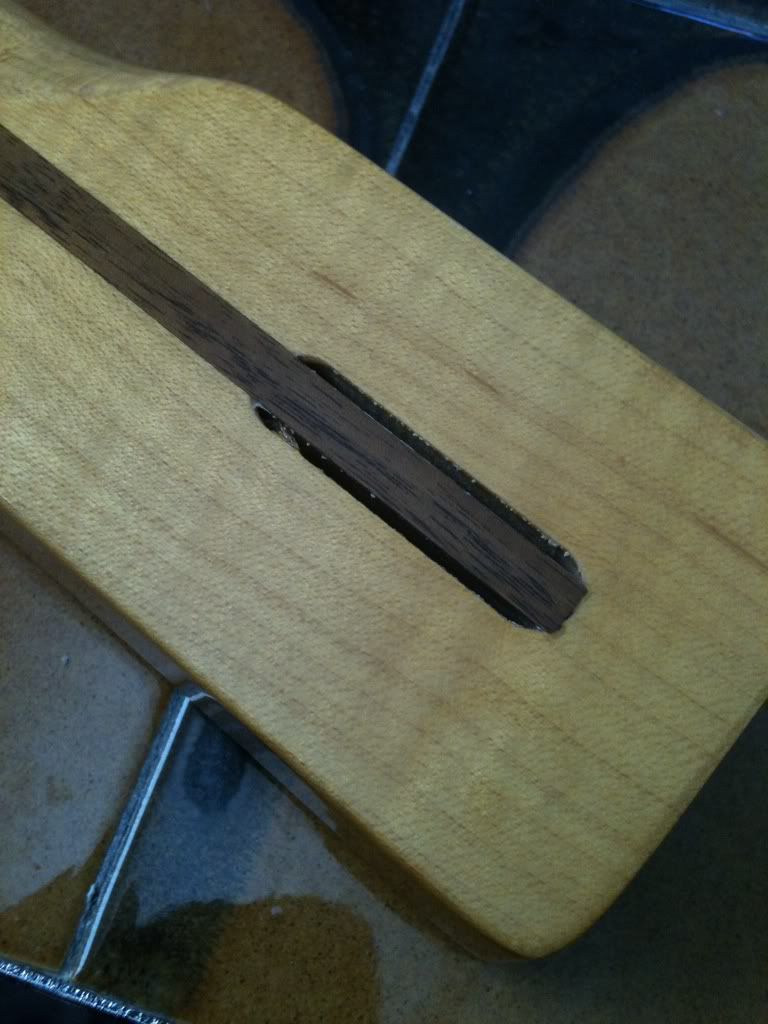
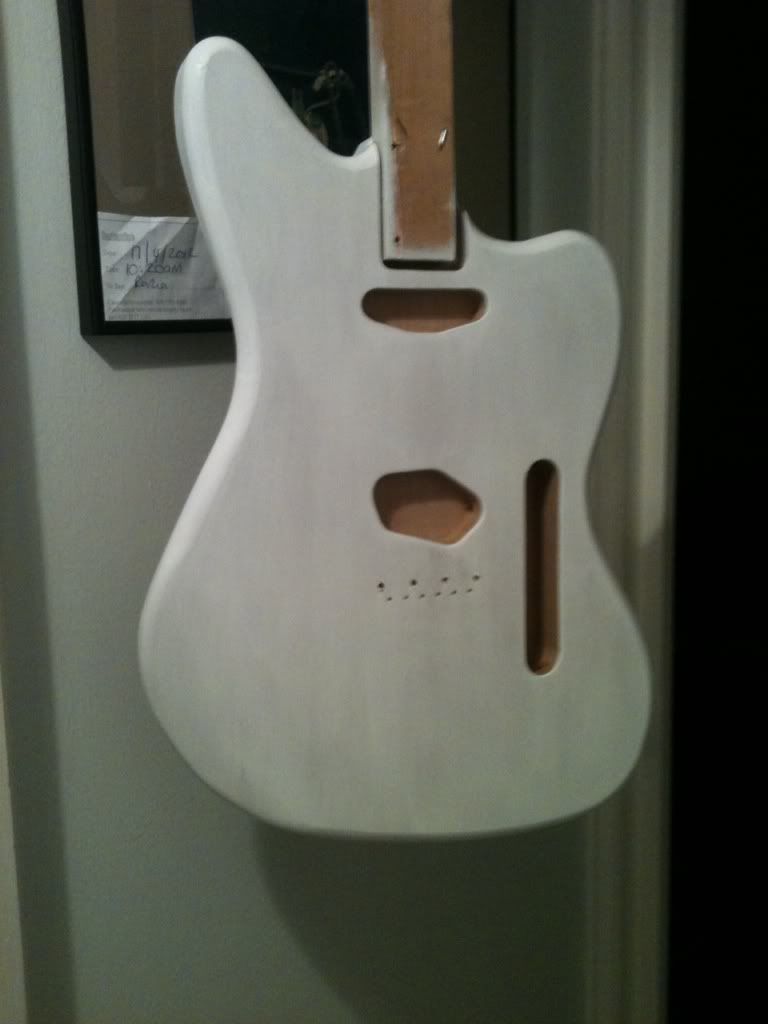
Can anyone tell me why these holes exist ? Just part of the manufacturing process ?
Nut shaped, but waiting for the assemble before doing anymore. Ultimately it's probably only going to be a template for a better nut eventually.
Advertised as a Bone nut, but this seems quite cheap to me. Was hoping for a Japanese Fender type material, which is ??
This one seems more Squier to me and a little plasticky and stark white.
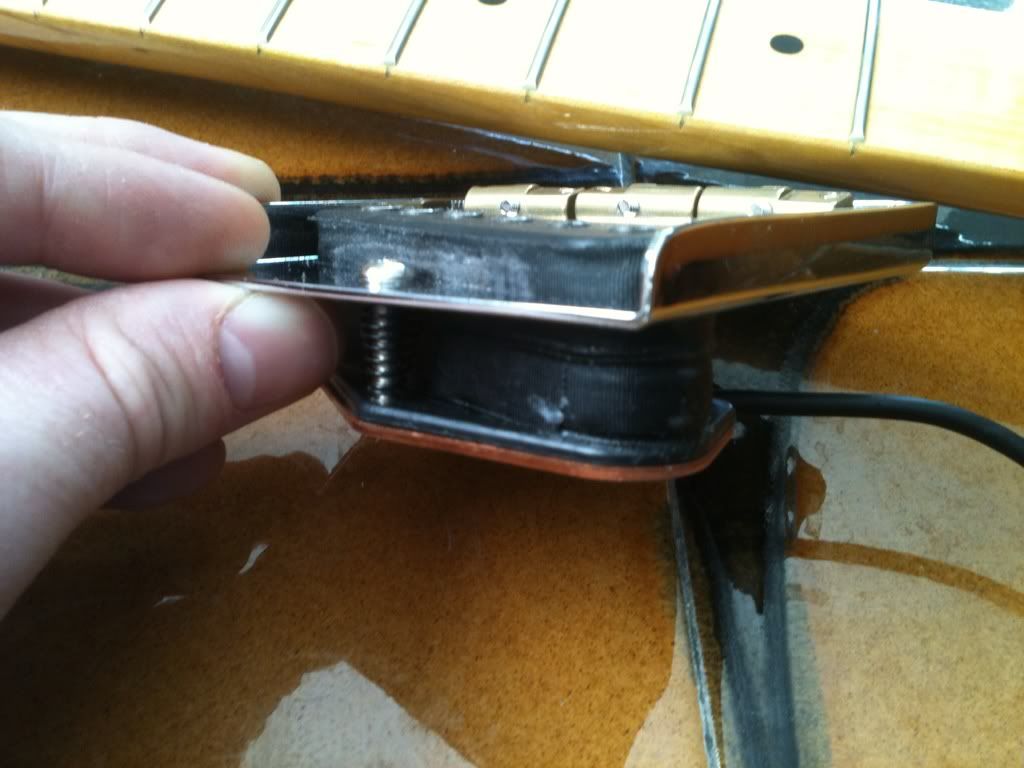
Struggled to fit the overwound bridge pickup inside the Trem pickup hole, so a tiny amount filing was need, but all good now. Took as much ribbon off as I could get away with, needs some stickyness cleaning off still. Because the pickup is double stacked as well I'm no sure the mounting screw provided will be long enough. Might just get away with it, or may have to double shim the neck for the time being. Hoping the depth of the route wont be a problem either.
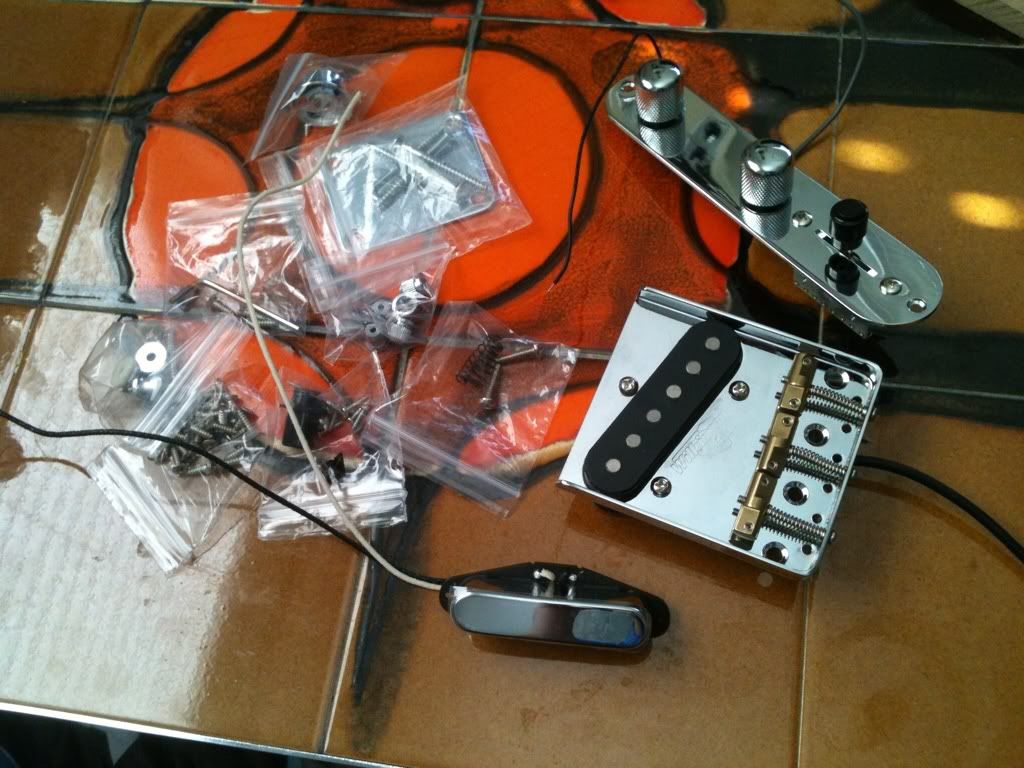
The rest of the parts, just waiting for the body now.
Also, Got the Tru Oil and have done some tests with the colour I'm using. Should turn out ok, and be pretty quick to do.
Aiming for something in between Gibson Worn white & Classic Vibe White Blonde. Will see how it goes.
Will be done by this time next week I reckon.
Ok, I'll stop boring you now.
Posted: Sun Apr 01, 2012 1:33 pm
by Thomas
Looks awesome, vert neat work too. I have no idea about the extra holes at the truss strip. I've never seen that before. I'm in the market for a neck so I'll be interested on your review of this once it's installed.
Posted: Sun Apr 01, 2012 3:35 pm
by Addam
I had the same trouble with my bridge/pickup combo.
I used a genuine Fender plate with the same pickup. I just took a little care squeezing it in.
I also have an Axes-R-Us neck. Mine's a similar colour to what they paint girls with these days.
Maybe they're trying to appeal to the younger market?
Posted: Sun Apr 01, 2012 3:46 pm
by othomas2
AddamInsane wrote:
I also have an Axes-R-Us neck. Mine's a similar colour to what they paint girls with these days.
Haha yeah .I was kinda thinkin' more like:
Posted: Sun Apr 01, 2012 3:51 pm
by othomas2
AddamInsane wrote:I had the same trouble with my bridge/pickup combo.
Did you get the same screw lengths with yours ? If so, are the strings too close to the pickups ?
Any issues with the pickup depth in relation to the cavity ?
cheers
Owen
Posted: Sun Apr 01, 2012 6:48 pm
by Addam
othomas2 wrote:
Did you get the same screw lengths with yours ? If so, are the strings too close to the pickups ?
I think I'm using the supplied screws, but it's been a few years since I bought the pickup. The top of the pickup on mine is halfway between the base plate and the top of the lip.
othomas2 wrote:
Any issues with the pickup depth in relation to the cavity?
I built the body after I had been using the pickups in another guitar, so no.
I don't think I had issues with the original body I had either though.
Posted: Sun Apr 01, 2012 7:12 pm
by othomas2
Ok thanks matey. Will just have to see then.
Posted: Tue Apr 03, 2012 6:27 pm
by othomas2
Body is arriving tomorrow, can't wait !! It's gonna be done by the loooong weekend.... that's my deadline.
Just so happens the pickup screws that were supplied were the wrong type. Axesrus are sending out the right ones straight away. i.e. the longer type.
Posted: Thu Apr 05, 2012 11:07 pm
by othomas2
Well, I haven't really remembered to take any step by step photos but I've spent about 4 hours last night painting, and this evening I put a light coat of tru oil on and began assembling. Another 4 hours... totally shattered especially with work on top.
Quite happy with the progress.... the neck pocket isn't really tight, but It's not too bad in hindsight. There's about a mm either side.
The finish is pretty average as well but I think with time and use it'll come good... if not I can start a fresh again later and maybe give the neck pocket some attention too.
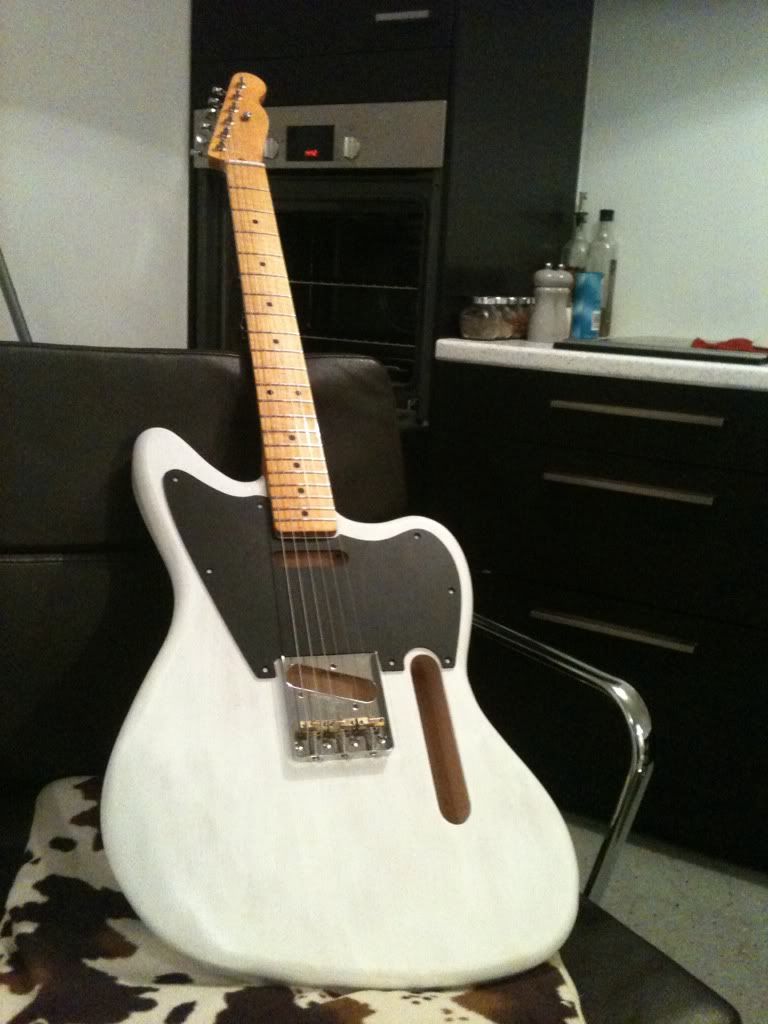
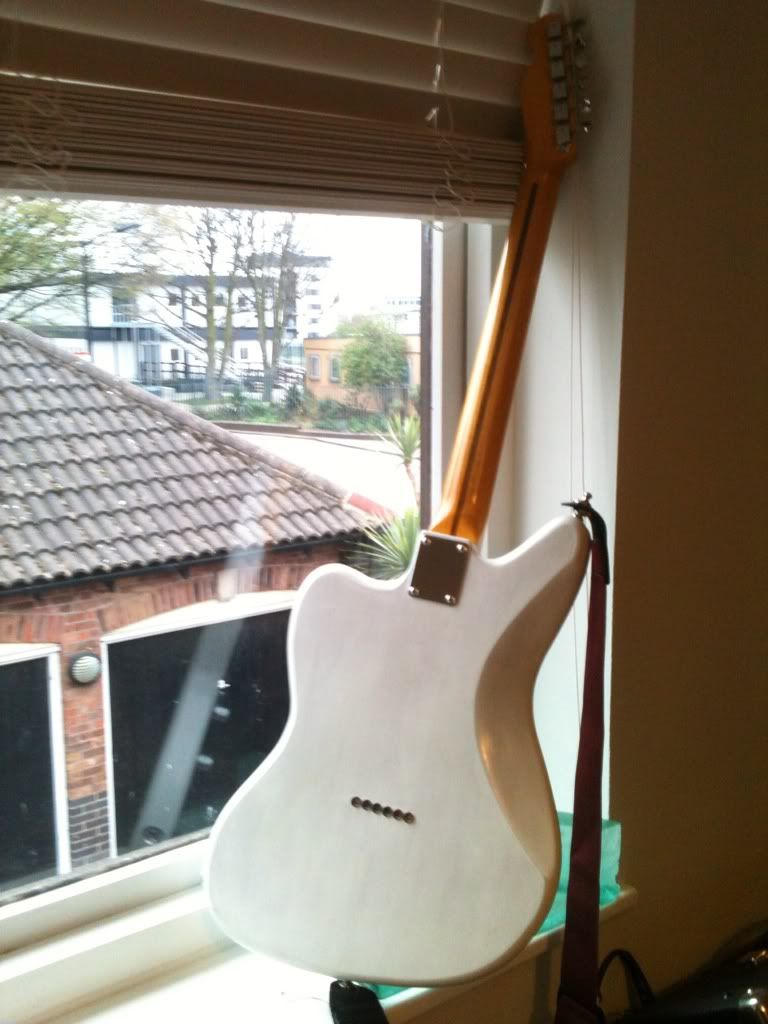
I want it to age quickly without relicing and I'm sure it'll do that very easily. Looks a little blotchy (because it kinda is) as I aimed for a white blonde appearance mixed with Gibson 'worn' ....but ended up more Gibson 'Worn' aesthetically. Happy enough though. I think the grain will show through with use and naturally polish up nicely.
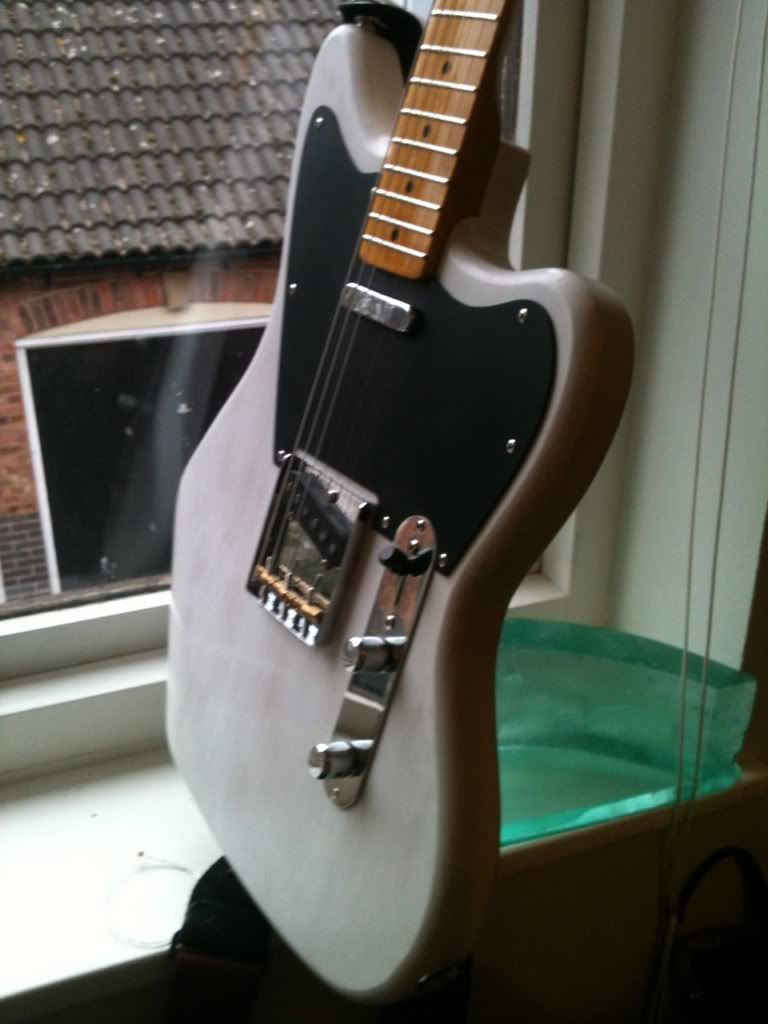
Here's a mock up. Guard isn't fixed, so looks a bit odd resting on the bridge. Strung it up and gave it a strum. Despite the high nut / bridge.... it sounds very resonant. Another bonus for a shitty thin finish
Good Friday should live up to it's name as I'll be spending the day dropping the electrics and hardware in there. I think that'll be much more enjoyable for me.
Think I'm gonna like this guitar !!
Posted: Fri Apr 06, 2012 6:14 pm
by othomas2
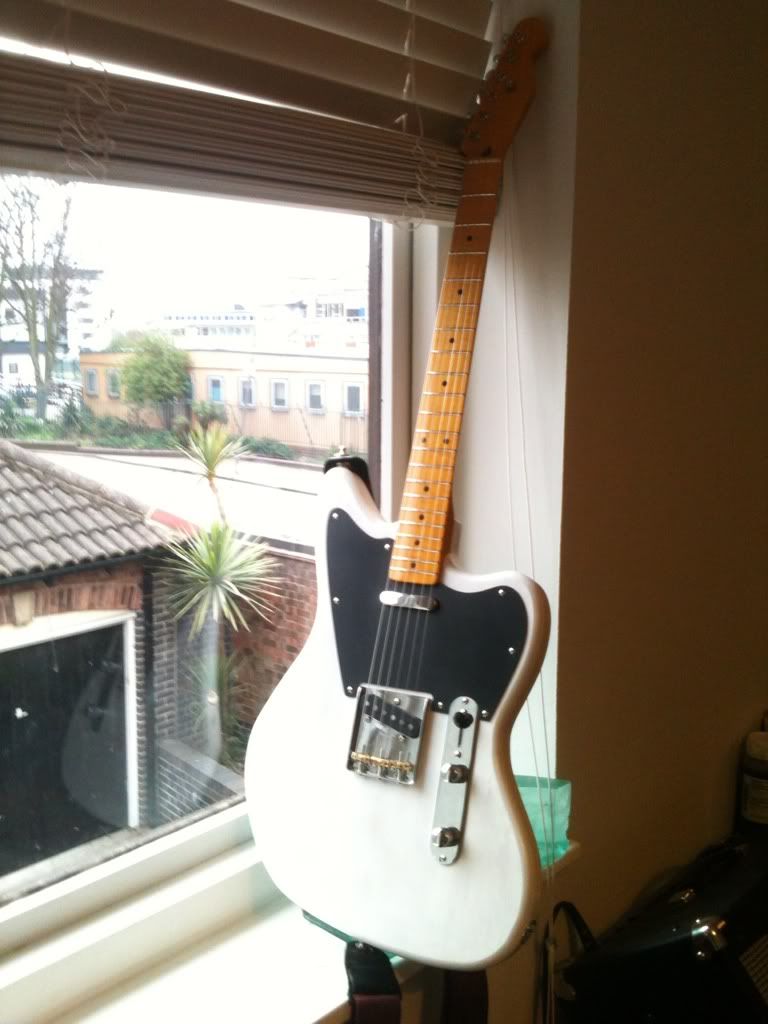
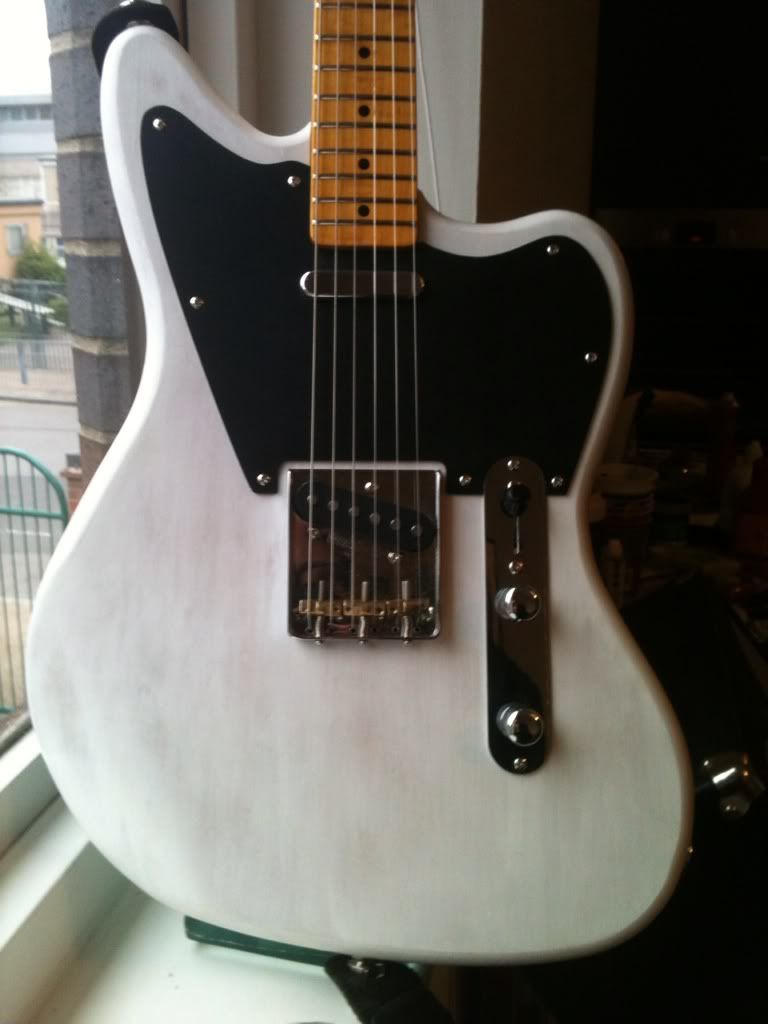
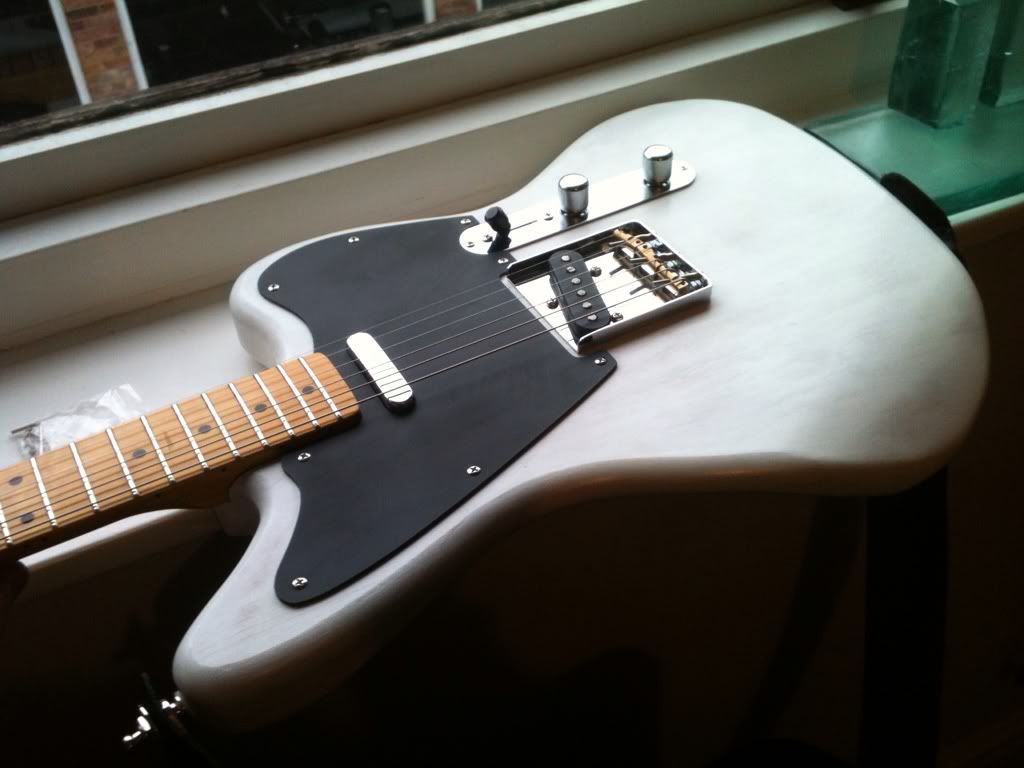
So spent all day putting the rest together without any real dramas. Spent a long time improving the setup which is probably my only strengths when it comes to building. Plays really nicely... very sturdy.
Still has a Tele vibe going on soundwise.... unsurprisingly. It's hard to tame the twang. Very bright.... and spiky. The neck pickup is really nice, but probably going to opt for my original pickups choice of a Dimarzio SuperD. in the bridge. The stacked pickup is nice, but sounds flubby with higher gain, and not tight like I wish. Still a nice p/up though, especially with clean or light dirt. Surprised how much I like the in between settings. Will do an demo soon.
The finish I'm still T-cutting / buffing etc. Trying to find a nice medium between unearthing some grain whilst applying a sheen.
Going to fix the decal later tonight... wish me luck !!
Sorry about the crappy pics, just got in there as the sun was vanishing.
 ELEMASTER