OLC Shredmeister
Moderated By: mods

I was worried that I would cut up the paint while trying to do that. I guess the trick is to have a really sharp knife? Or does the decal paper cut super easy?Mike wrote:Next time don't cut out for the holes, apply the decal, clear coat and then use a stanley knife to cut out the holes for the pots, switch, LED etc.
-
Mike

- I like EL34s
- Posts: 39170
- Joined: Thu Apr 20, 2006 8:30 am
- Location: Edinburgh, Scotland
- Contact:
A stanley knife will cut through a decal (waterslide or self adhesive) like butter.
Why would you be worried about the paint getting damaged? I run the knife around the edge of the internal rim of each of the holes and it's fine, even if you scratched all that paint off the inside of the hole who cares, It's covered by the pot washer, and whatever knob you choose.
Why would you be worried about the paint getting damaged? I run the knife around the edge of the internal rim of each of the holes and it's fine, even if you scratched all that paint off the inside of the hole who cares, It's covered by the pot washer, and whatever knob you choose.
That is very true. That totally would have saved me a bunch of time and hole punching and cutting. LOL Live and learn, right?Mike wrote:A stanley knife will cut through a decal (waterslide or self adhesive) like butter.
Why would you be worried about the paint getting damaged? I run the knife around the edge of the internal rim of each of the holes and it's fine, even if you scratched all that paint off the inside of the hole who cares, It's covered by the pot washer, and whatever knob you choose.
Hopefully I have everything on there right. My only concern is if any of those little solder points connected. I don't see anything between them, but I know that can happen. That and those little bastard resistors are hard (for me) to color code. Grey does not look gray. I need a magnifying glass with a light to do this stuff if I ended up doing this again.
It is a fun test of my soldering and electronic skills though. I wondered if I could do it. Give me a lot of respect for what you do.
I do custom waterslides, so it was fun to do a job for myself. Normally I am doing headstock decals for custom projects or pedal decals for other people. LOL
It is a fun test of my soldering and electronic skills though. I wondered if I could do it. Give me a lot of respect for what you do.
I do custom waterslides, so it was fun to do a job for myself. Normally I am doing headstock decals for custom projects or pedal decals for other people. LOL
Got the parts laid out. Would you suggest waiting until they are loaded in the box, or wiring it while it is out like this? I was thinking this might be easier to solder vs being in the little box.

DSC04406 by Hentai No Baka, on Flickr
DSC04406 by Hentai No Baka, on Flickr
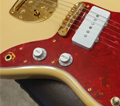
Clearcoat makes all the difference. 

DSC04413 by Hentai No Baka, on Flickr

DSC04411 by Hentai No Baka, on Flickr

DSC04415 by Hentai No Baka, on Flickr

DSC04416 by Hentai No Baka, on Flickr
DSC04413 by Hentai No Baka, on Flickr
DSC04411 by Hentai No Baka, on Flickr
DSC04415 by Hentai No Baka, on Flickr
DSC04416 by Hentai No Baka, on Flickr
-
Mike
- I like EL34s
- Posts: 39170
- Joined: Thu Apr 20, 2006 8:30 am
- Location: Edinburgh, Scotland
- Contact:
Looking good!
Personally I would do this.
Solder leads to the board a little longer than you need for each connection, and then install the pots into the case, along with the switch, LED, and jacks. Then wire each connection in situ.
Trim the wire to the length you need, and strip it, and then thread it through the pot lug and clamp it back on itself (it'll make sense when you do it), and solder it in place. This is the best way to get neat results without a spaghetti of wires around.
However you could do the same with the thing out of the case, but I think mounting everything and getting the right wire lengths would be more of a headache


Yeah I found that too when I got to that stage. Was a bit disappointed in the outcome until clear coated then it all comes to life, so to speak.
That's what I do as I drill holes first, then spray, then decal. Might try other way around on next build. Spray, decal, then drill. A stepped drill bit makes it so much easier and cleaner so I think it's worth a try.Mike wrote:Next time don't cut out for the holes, apply the decal, clear coat and then use a stanley knife to cut out the holes for the pots, switch, LED etc.

Point taken, but I don't use a vice, just a Lidl drill press and meh bare hands.
Not terribly H&S I know, but I only make a pedal once in a while for myself when I feel the need. Plus I found the stepped drill bit doesn't snag like normal HSS bits do. Using normal HSS bits on the narrow side is a bit risky when you're not using a vice of any kind.
Not terribly H&S I know, but I only make a pedal once in a while for myself when I feel the need. Plus I found the stepped drill bit doesn't snag like normal HSS bits do. Using normal HSS bits on the narrow side is a bit risky when you're not using a vice of any kind.
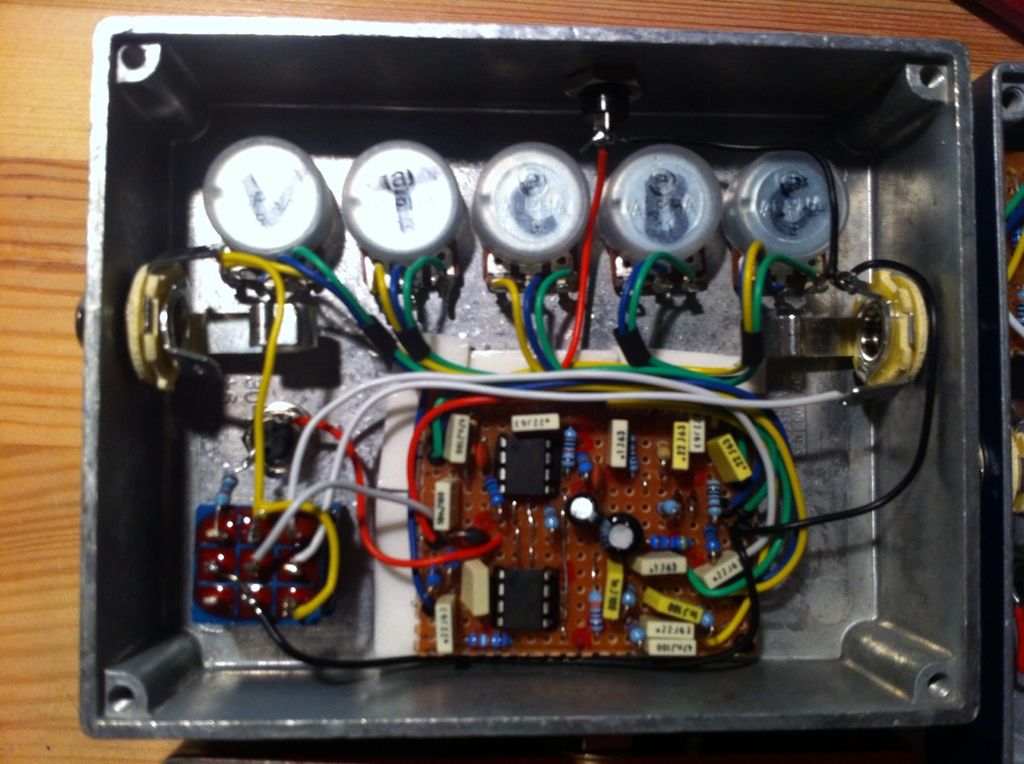
Got to work on the pedal. Got everything wired up... and no sound. There is sound when the pedal is off. When I click it on, the light powers on, but the sound goes away. Guessing I messed something up with the board? I emailed OLC to see what I can do. Really frustrating.

DSC04678 by Hentai No Baka, on Flickr

DSC04679 by Hentai No Baka, on Flickr
DSC04678 by Hentai No Baka, on Flickr
DSC04679 by Hentai No Baka, on Flickr