Page 3 of 4
Posted: Tue Sep 08, 2009 8:37 pm
by stewart
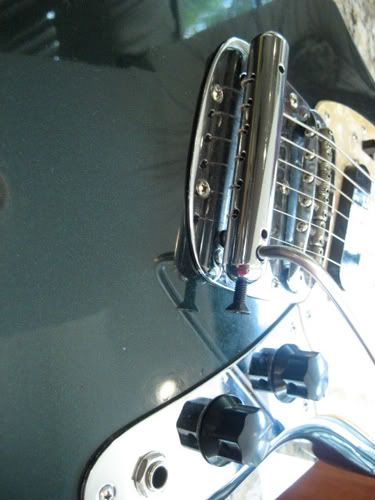
shit, i just realised you can see in that picture where i cleaned under the control and trem plates and under the guard. i've lost patina m@j@, dammit!
Posted: Wed Sep 09, 2009 2:59 am
by prospect
Joey wrote:What type of filler did you use for those deep cuts? Did you have any trouble when you put on the sealer, with the filler shrinking/expanding?
I used some stuff I got from Home Depot (American hardware store chain).
The filler would shrink when it dried and I would simply sand the area and refill until it was level.
Before the primer I sprayed a few coats of Sanding Sealer to cover up the little pores from the filler.
So far no problems with the filler.
Admittedly though I kinda wish I would of just stripped the old poly finish and leveled the whole body. There were so many little nicks that I missed some and/or didn't go over it enough. It still looks cool though.
Posted: Wed Sep 09, 2009 3:54 am
by Joey
Last time I sanded a poly finish down, I ended up in the emergency room, my eyes swelled shut from the poly dust.

There is no stripper that can remove poly. The only practical way to remove it is with a heat gun & scrapper. Sanding is just hazardous and you may distort the crisp edges and neck pocket if your not careful.
I just laid down a can and a half on a Mustang this week of sanding sealer. It was in great shape to start with. As I started sanding the sealer flat w/ 220 grit, you could see all the dings cause they show up as shiney spots. The block sanding can't reach down into the pits and dull the finish. I hold my guitars up to the light to find all the imperfections. Like you said, color paint and clear cost too much to start over.
You had an amazing collection. I'd sell my kids for a collection like that!

Posted: Wed Sep 09, 2009 8:21 am
by stewart
Joey wrote:I'd sell my kids for a collection like that!
careful, there's a couple of people on here that would buy them.
Posted: Wed Sep 09, 2009 9:30 pm
by rodvonbon
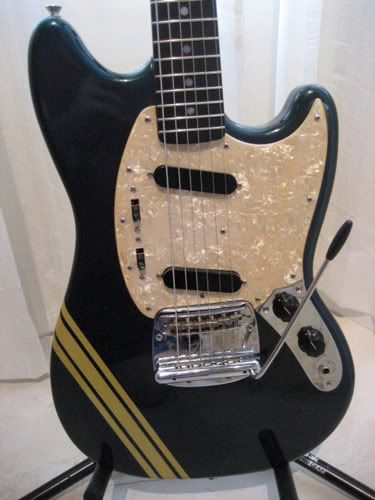
prospect wrote:I've been looking at a ton of vintage Comp Stang photos and it appears that most of them have the stripes painted on after the primary body color coat. The only exception seems to be the orange comp stang and the cij reissues. Interesting. Thanks for bringing this up Pat!
Every vintage comp Mustang I've ever seen or owned have had the stripes on top of the body color, including the orange guitars. I think waht your seeing in the orange picture you posted is some kind of stain on the back of the guitar.
Posted: Wed Sep 09, 2009 11:03 pm
by prospect
rodvonbon wrote:prospect wrote:I've been looking at a ton of vintage Comp Stang photos and it appears that most of them have the stripes painted on after the primary body color coat. The only exception seems to be the orange comp stang and the cij reissues. Interesting. Thanks for bringing this up Pat!
Every vintage comp Mustang I've ever seen or owned have had the stripes on top of the body color, including the orange guitars. I think waht your seeing in the orange picture you posted is some kind of stain on the back of the guitar.
Well if that's the case then the Reissues are the only ones that consistently use the base color coat for the stripes.
Although I have to disagree with you on the orange comp stang.
A red stain that is the same tone as the stripes is too much of a coincidence.
Posted: Wed Sep 09, 2009 11:55 pm
by Gavin
My guess would be that a few rare guitars had a red finish that didn't turn out right, so they painted over the red with orange and left the red stripes on.
Posted: Thu Sep 10, 2009 12:16 am
by rodvonbon
prospect wrote:
Although I have to disagree with you on the orange comp stang.
A red stain that is the same tone as the stripes is too much of a coincidence.
I don't want to derail your restoration thread and I think your doing a great job........but,
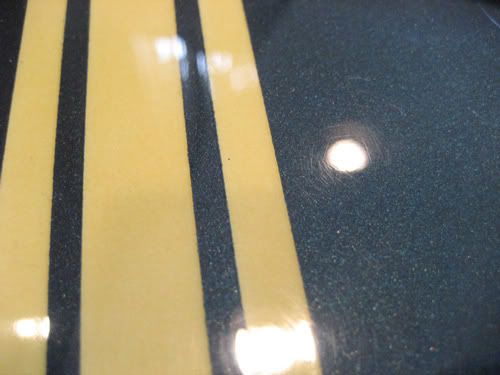
I personally have owned over a dozen vintage competition Mustangs and currently own 5 of them, with 3 of them being orange, and I can tell you for a fact that they were all painted over the body. On orange guitars in particular the stripe is a touch translucent, you can
see the orange underneath the stripe.
Posted: Thu Sep 10, 2009 2:40 am
by prospect
Well in that case I'll go with Gavins theory regarding the photo. Perhaps the one pictured above was a cover up job. Thanks for your insight, can you post some pics of your comp stang collection?
I wonder why the CIJs were done this way. Now that I'm this far along I think that doing the stripes on top of the base coat may have been easier. Oh well. I'm almost done with the clear coats. I'm psyched to get it done.

Posted: Thu Sep 10, 2009 10:58 pm
by rodvonbon
prospect wrote:Well in that case I'll go with Gavins theory regarding the photo. Perhaps the one pictured above was a cover up job. Thanks for your insight, can you post some pics of your comp stang collection?
I wonder why the CIJs were done this way. Now that I'm this far along I think that doing the stripes on top of the base coat may have been easier. Oh well. I'm almost done with the clear coats. I'm psyched to get it done.
Gavins theory might be correct, but I'm not sure if Fender made Dakota red Mustangs with contours in that era.
I'm pretty sure that the reissues are done by machine where as vintage competitions the stripes were masked by hand.
Here is a thread I posted a while ago. There are a few more guitars since then, but I did a comparison of the stripes if you read through the whole thing.
Posted: Fri Sep 11, 2009 6:54 pm
by Joey
How many cans of clear coat you laying down?
Posted: Sat Sep 12, 2009 1:39 am
by prospect
Joey wrote:How many cans of clear coat you laying down?
I just finished laying down the clear coats.

1 can of ReRanch Clear, 1 can of ReRanch Tinted Clear and 3 cans of Watco clear.
So a total of 5. Used almost an entire can alone on the headstock.
Watco nitro lacquer is cheaper, cures faster, cures much harder, and also has a very slight amber tint.
Posted: Sat Sep 12, 2009 12:40 pm
by Joey
Wow! That's alot of clear. You could stop a bullet with that finish!
I've never heard of Watco, yet. Which store you picking that up at?
I spent the last week prepping my 66 Mustang, finally got to lay down some color yesterday. Probally be 2 more days before I get started on clear coating. I'm on a shoe string budget with this guitar, being that I'm unemployed. So I'm using Deft sanding & sealer and clear coat, a couple dollars a can at Lowes. And Home Depot Rustoleum Lacquer... which sucks ass! It spits out some nasty dry paint that makes the guitar feel like sand paper. It's ok, cause wetsanding corrects the problem. I'm gonna switch over to McFadden, stuff that ReRanch uses, it's $30 a gallon (makes 2 gallons when thinned for spray gun).
How long you gonna let the body dry before you wetsand, polish & buff?
Posted: Sat Sep 12, 2009 3:48 pm
by prospect
I feel ya man. I've been unemployed for 15 months. I worked in the CD/DVD manufacturing business which was already limping before the recession. Now it's just a rotting carcass.
I bought the Watco for $7.99 per can at a
Woodcraft store.
It's a chain store so there may be one in your area.
Some of the guys in the ReRanch forums said they've found Watco at a
Menards for $4.99 per can. Where I am currently there are no Menards, but there may be one in your area?
If you're doing a solid color you probably won't need more than 2 cans of clear (with Watco maybe 3 since there seems to be a little less stuff in the can than the ReRanch cans).
I had to use a ton of clear:
1. To level out both layers of paint (solid color and stripes created un even layers)
2. To seal and protect the tinted clear (to avoid sand-thrus during polishing)
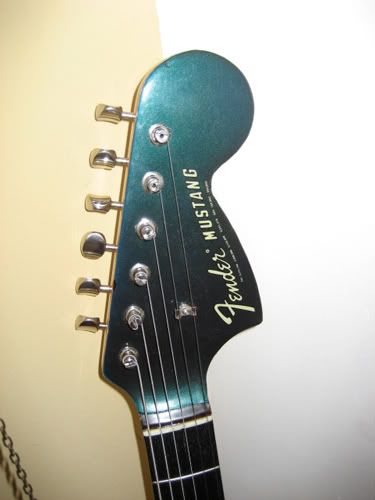
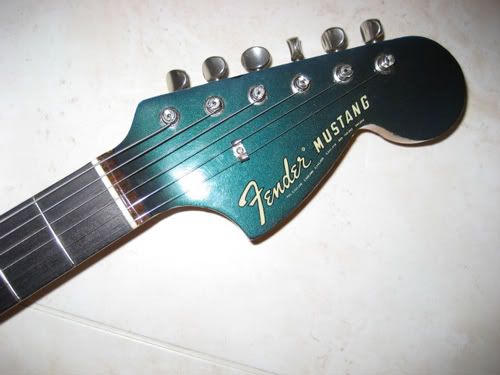
3. I oversprayed the headstock and needed to bury the decal
A lot of the clear will be sanded off during final westsanding and polish. I'm still new at this so the extra clear will give me slack to make sure I get it right. I'm going to try to wait 4 weeks but if I feel that the lacquer has cured well enough in the 2 week mark; I may give it a shot then.
Posted: Sat Sep 12, 2009 3:57 pm
by prospect
@rodvonbon That is a lovely collection you got.

Posted: Sat Sep 26, 2009 4:17 pm
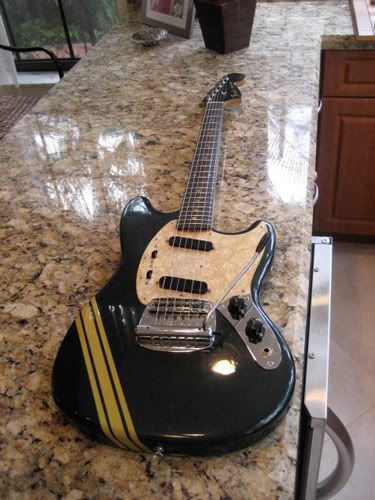
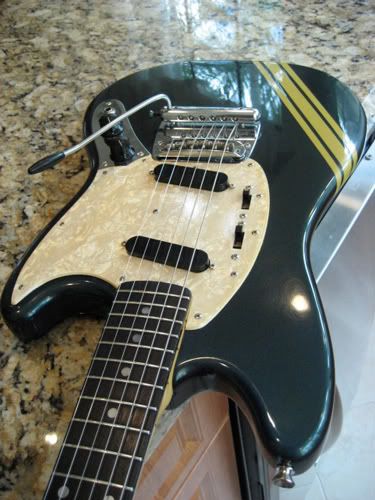
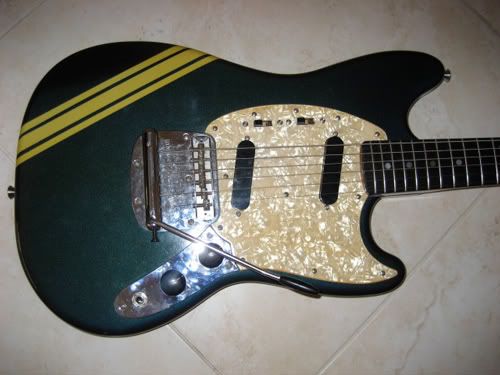
by prospect
Posted: Sat Sep 26, 2009 4:22 pm
by Noirie.
Thats fucking gorgeous. Awesome work dude

Posted: Sat Sep 26, 2009 4:28 pm
by Mike
Fantastic. I adore that.
Wonderful work.
Posted: Sat Sep 26, 2009 4:55 pm
by prospect
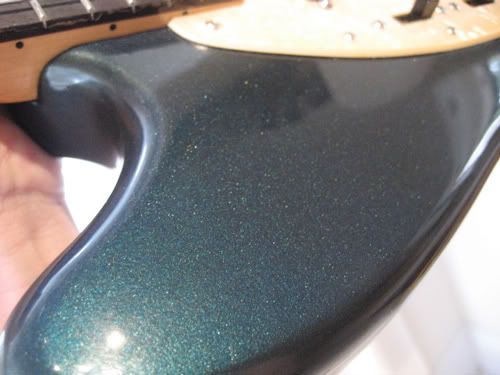
Thanks guys!
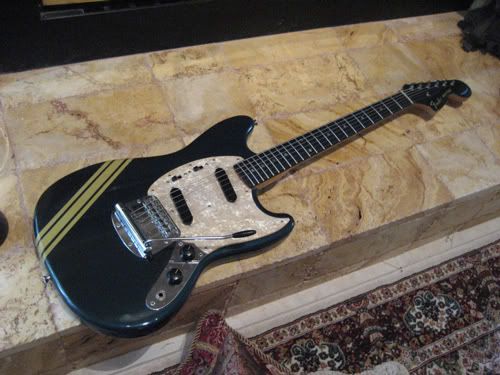
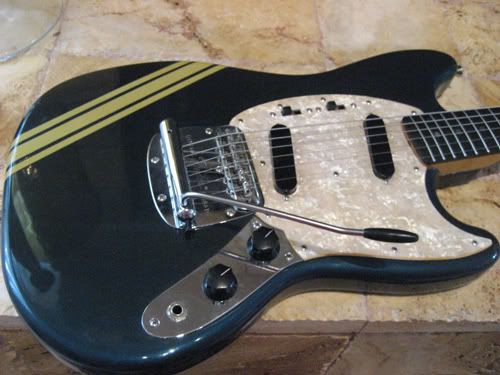
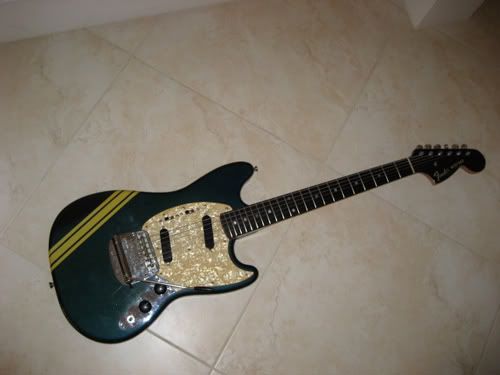
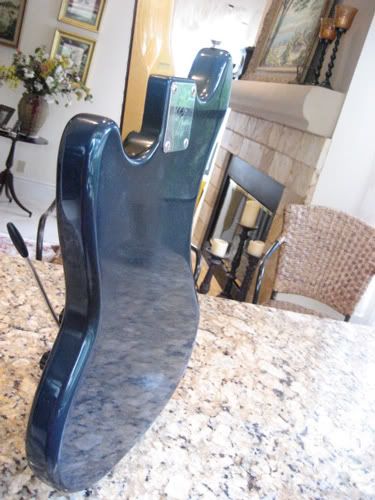
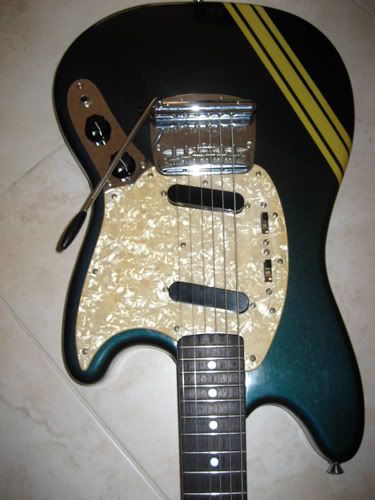
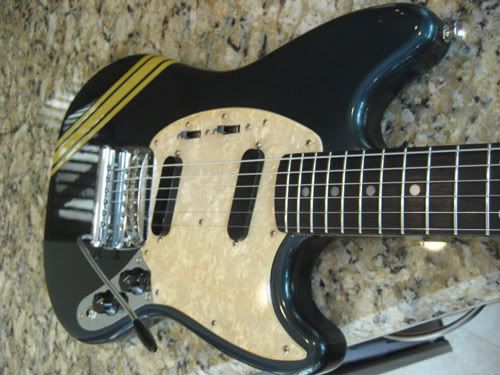
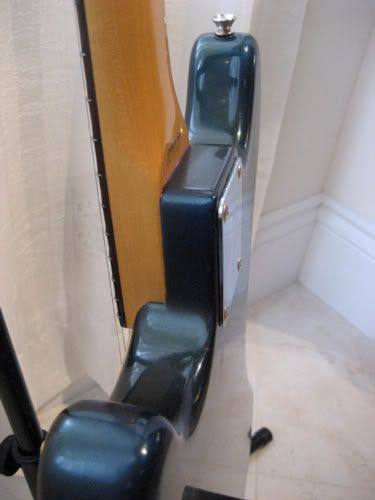
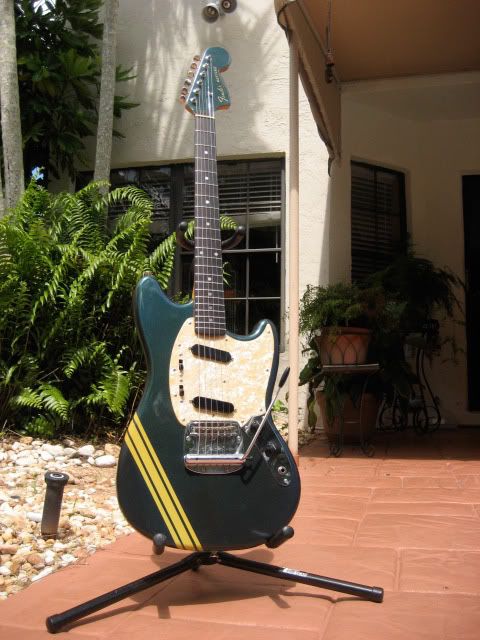
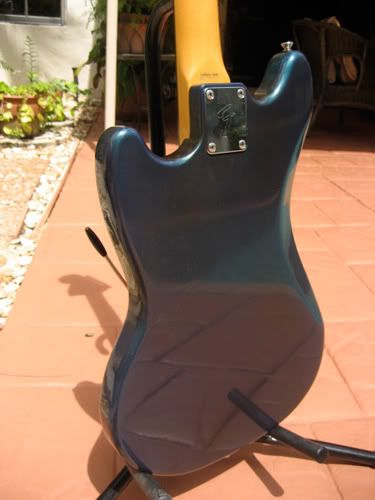
The sun finally came out. I love the iridescent effect of this paint job, particularly around the cutaway horns.
Posted: Sat Sep 26, 2009 5:00 pm
by stewart
looks delicious!