Posted: Fri Jan 13, 2012 4:30 am
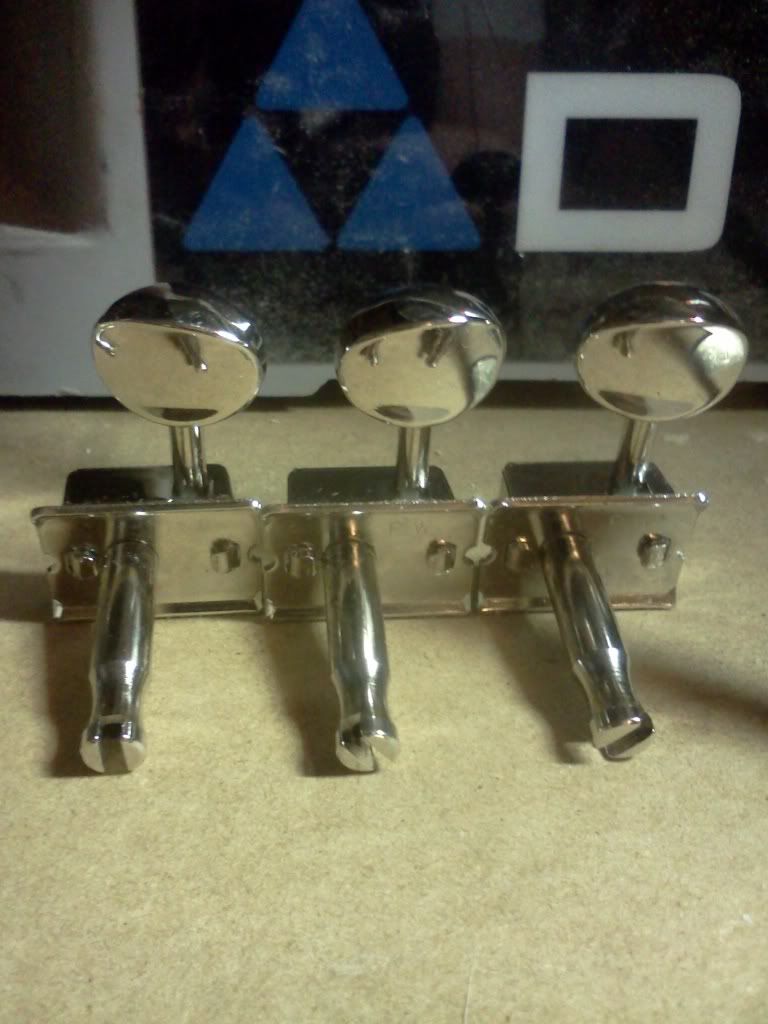
3 rightys
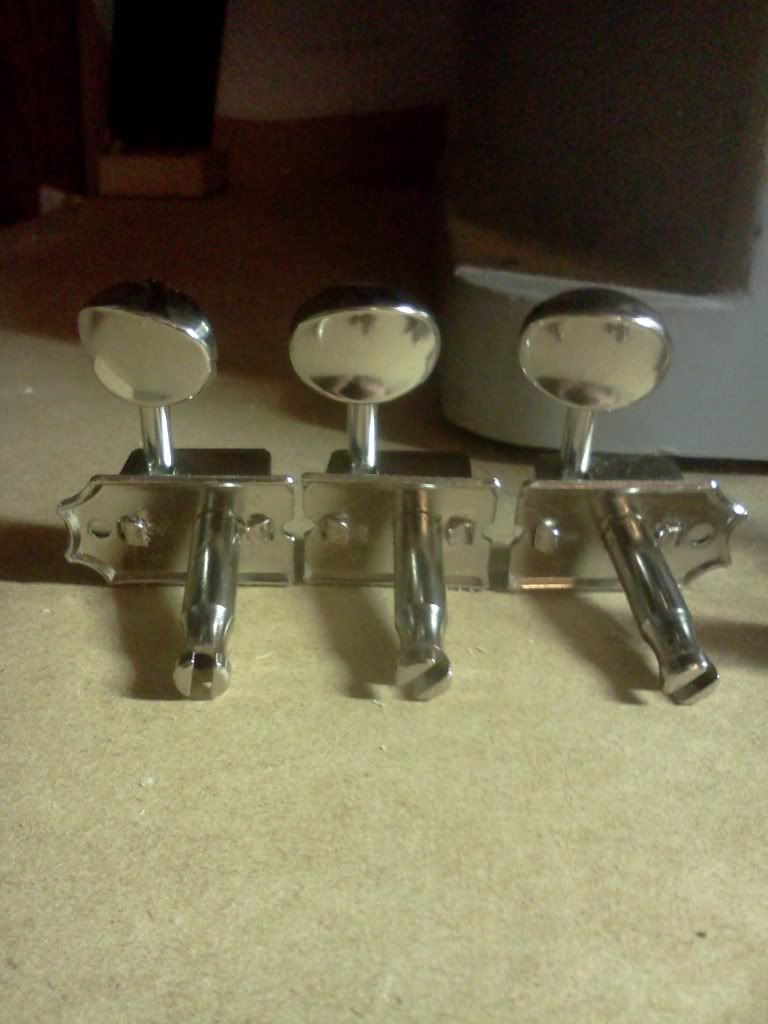
3 leftys
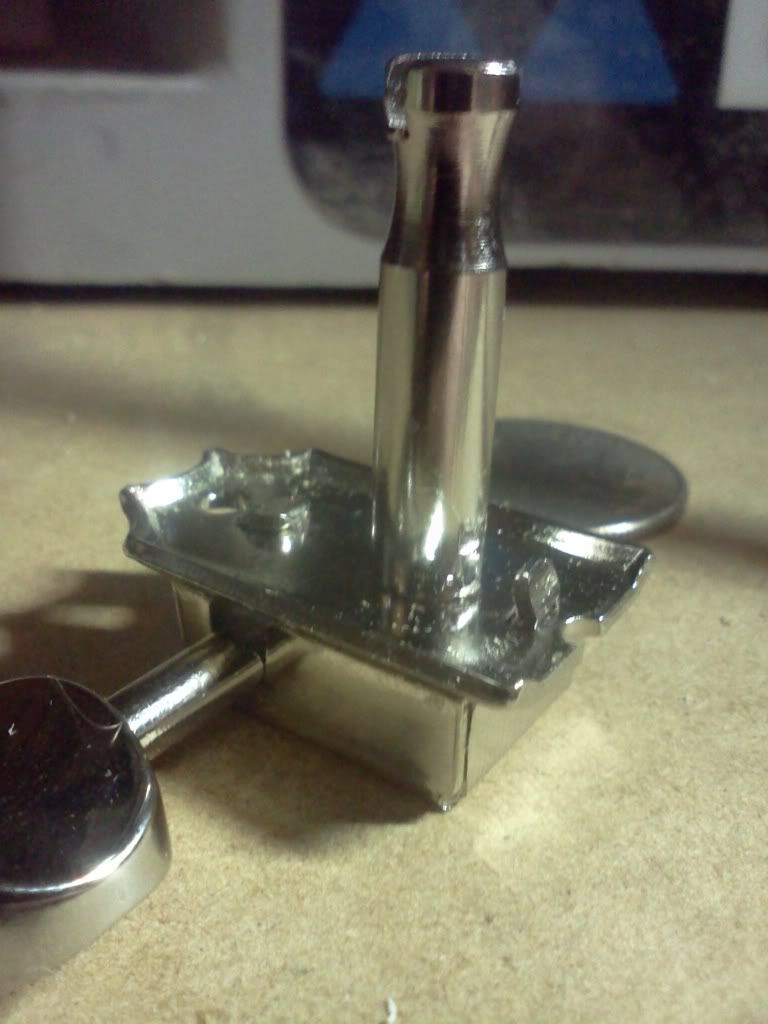
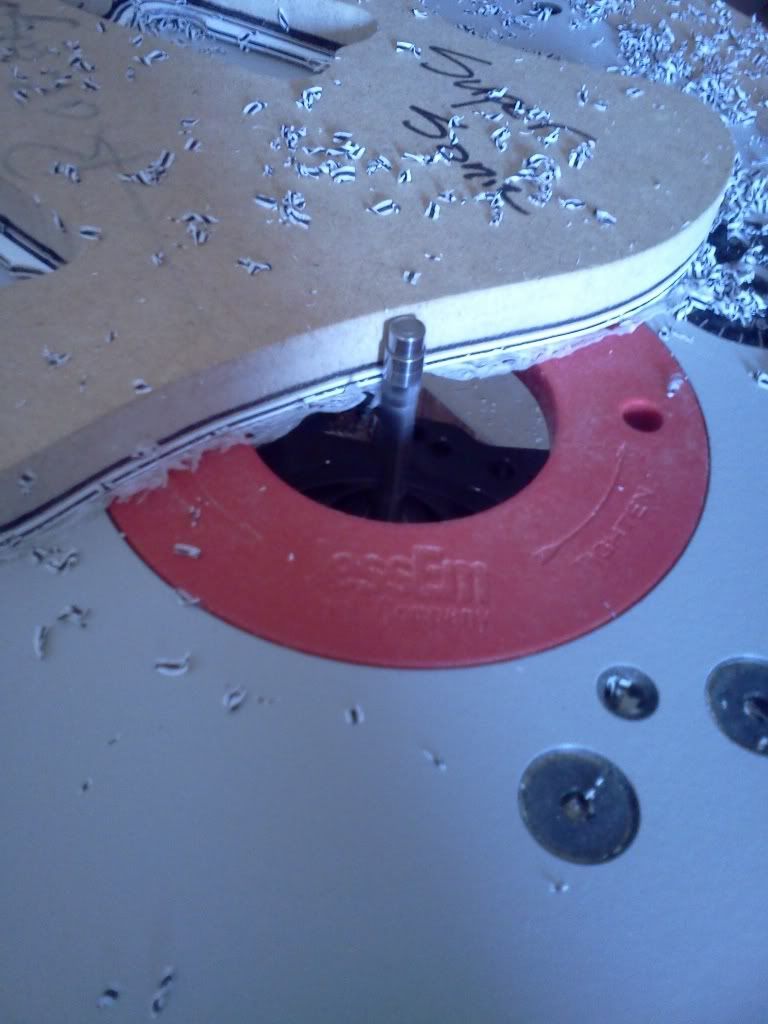
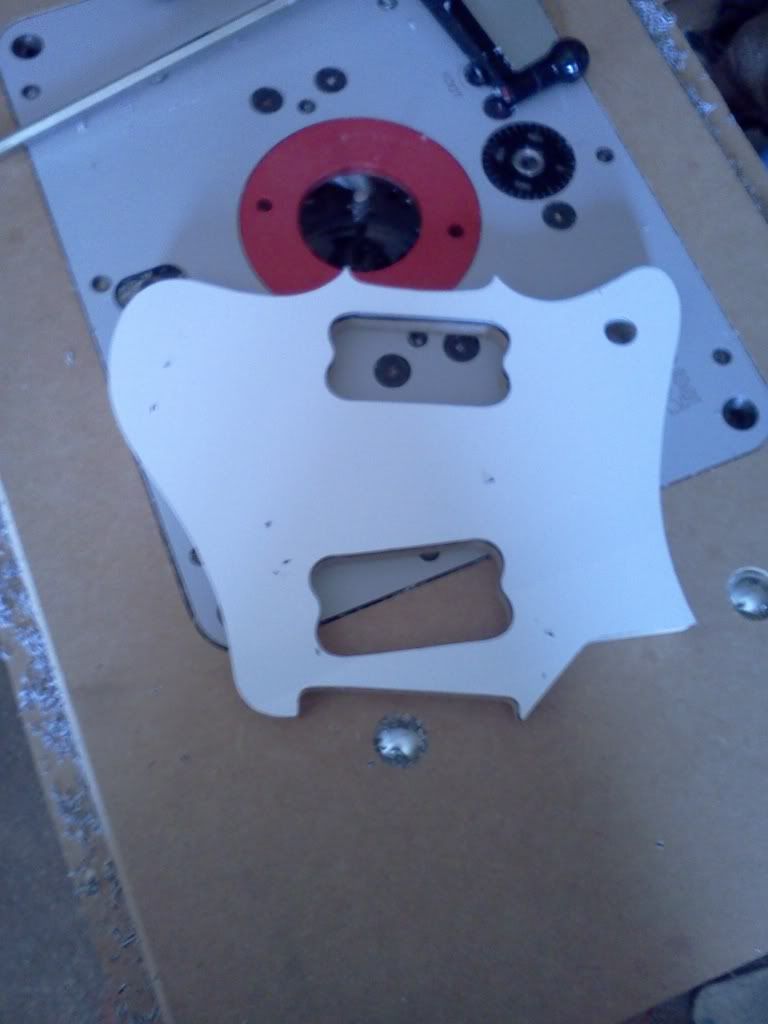
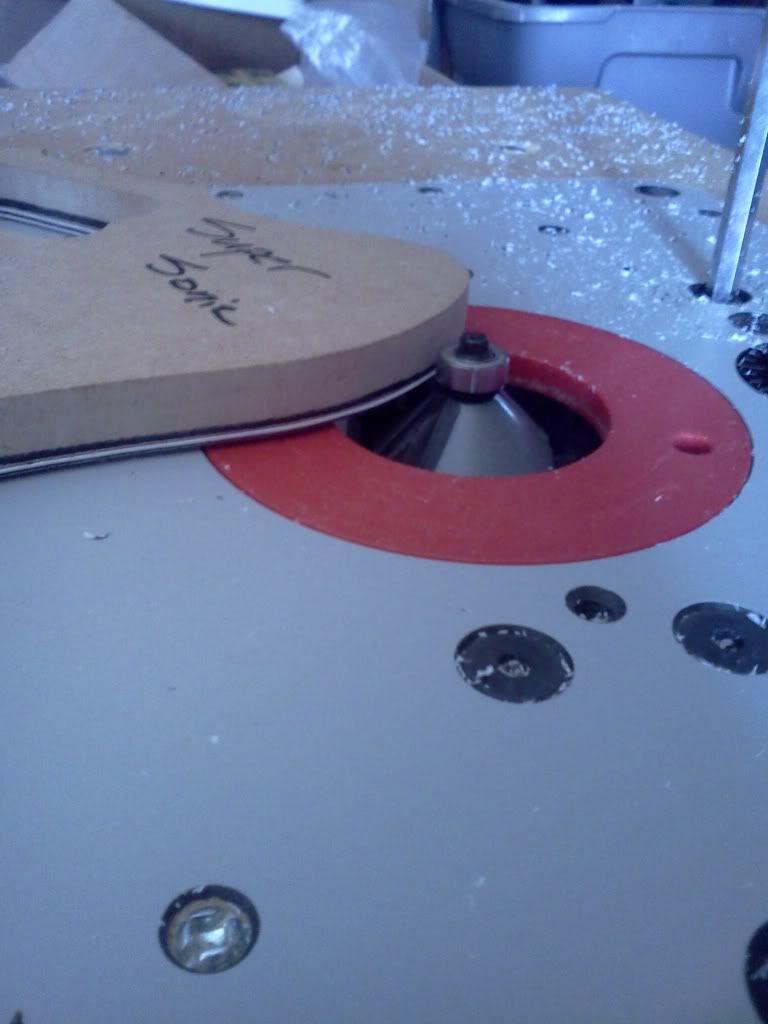
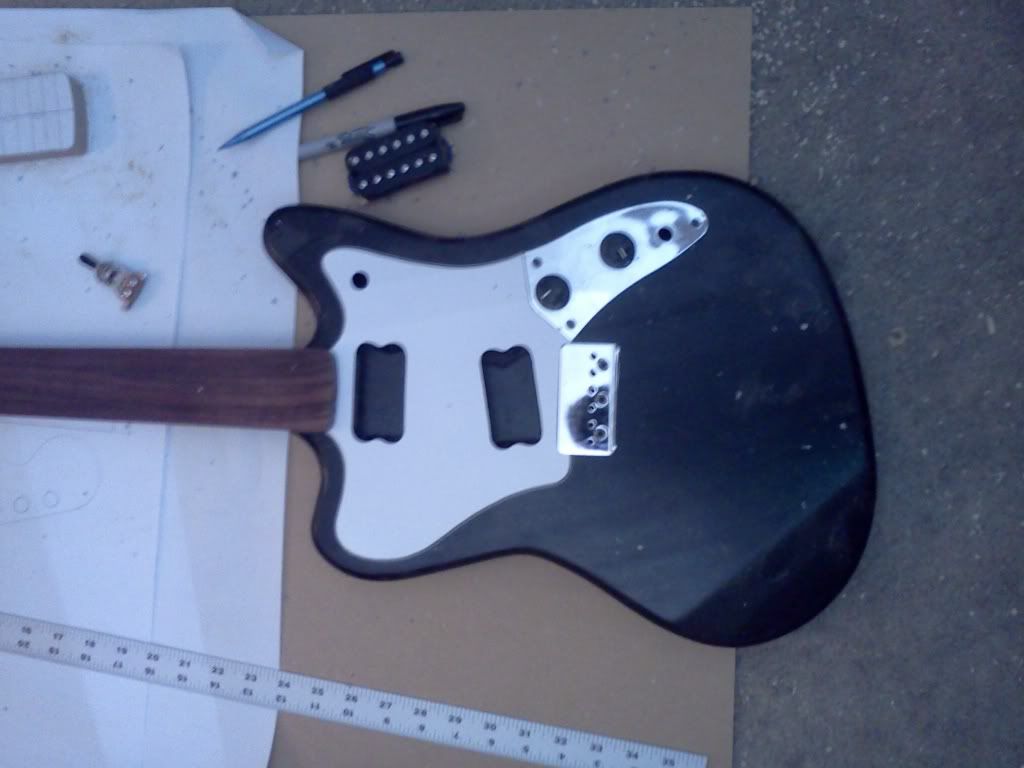
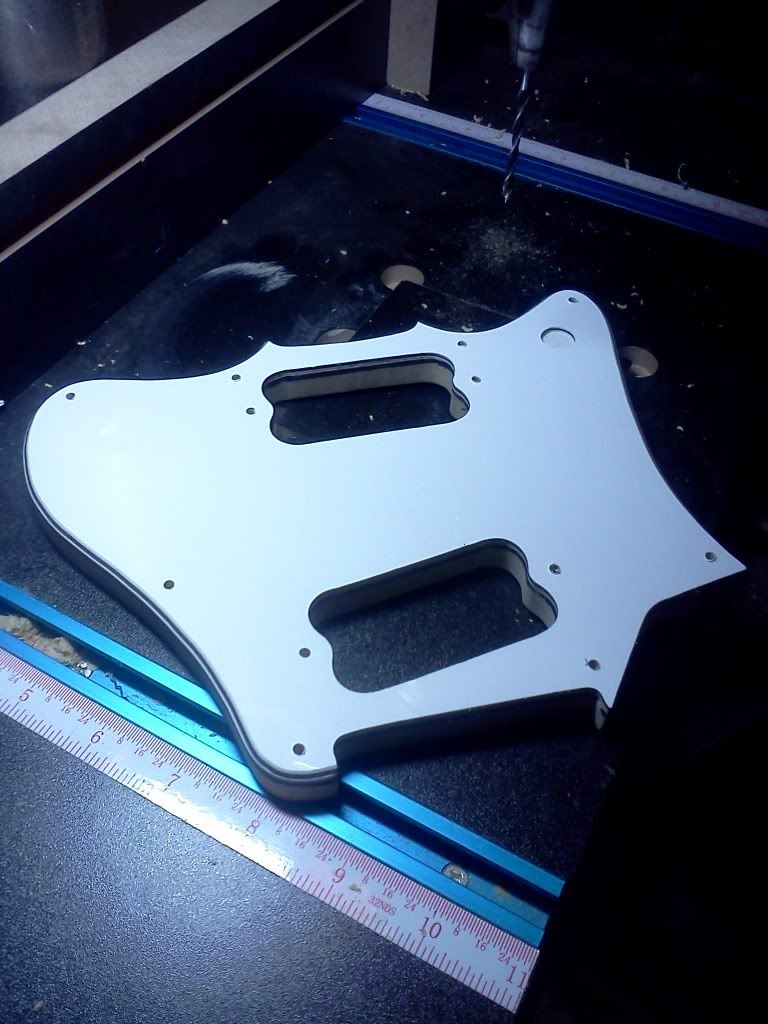
moar pictars

3 leftys
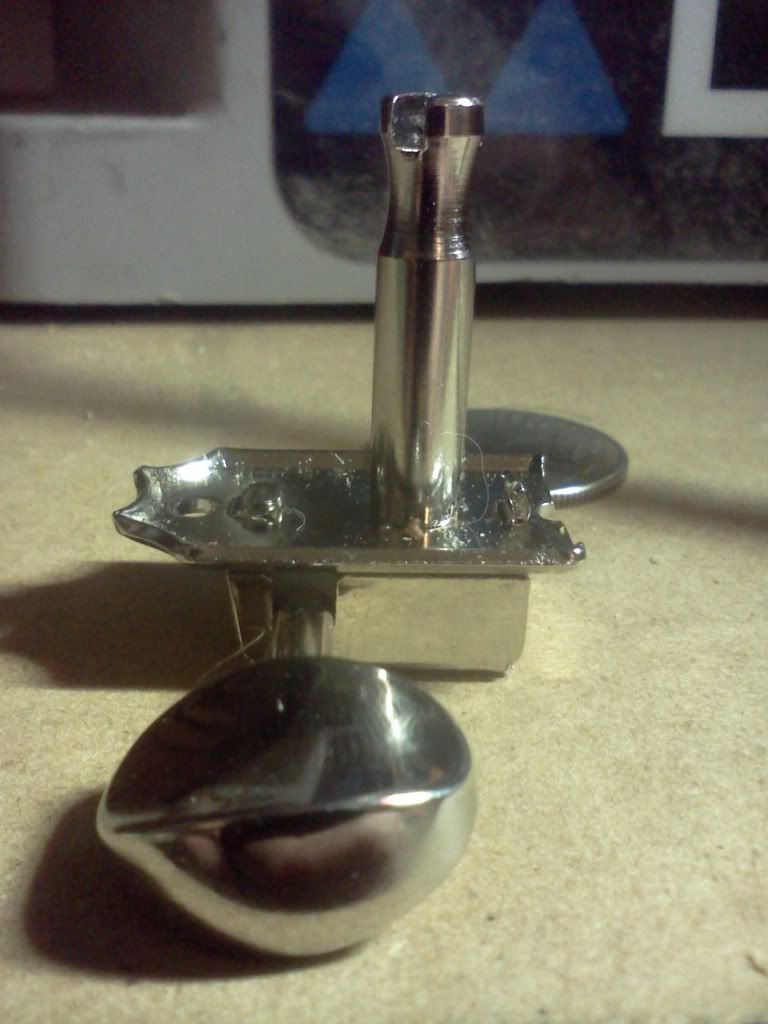
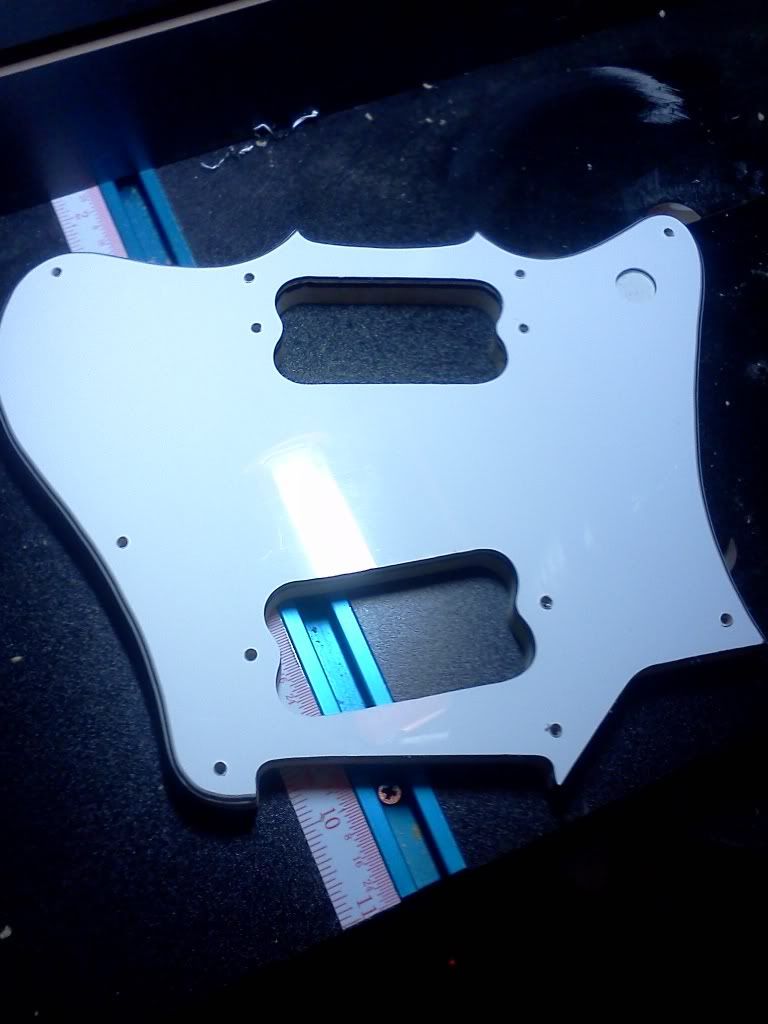
moar pictars
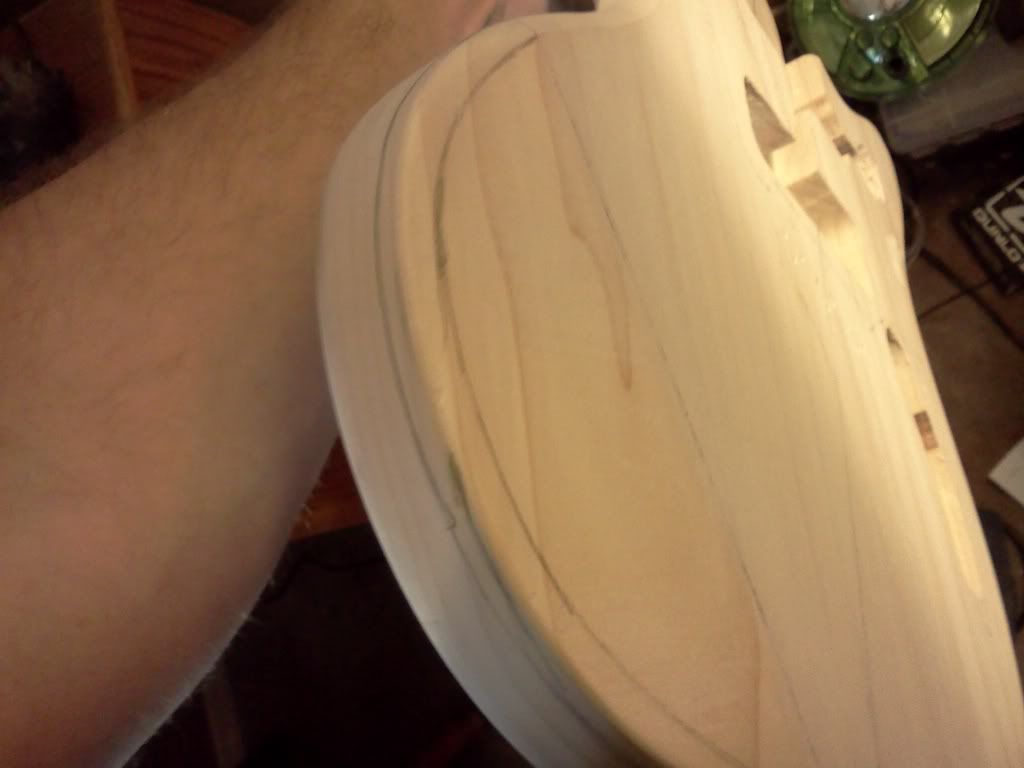

Yes, my coral one has a tele bridge. I found a how-to online for filling the cavity of a strat and went for it. But that one was getting repainted. I would love an elegant solution for hard-tailing strats that involved just bolting a different bridge on. There was one a few years ago, but they went out of business.wantsasupersonic wrote:I hope that works. I thought of doing that with a strat once. tried it but it lest a 1/2" gap at the bottom of the trem. I suggest filling the trem route and start there. only issue would be that gap would end up as a bare piece of wood. refinish maybe? Wasn't it you that did a tele bridge conversion? that's about what i did except with a hard tail.wadeaminute wrote:Glad to have donated a control plate. Psyched to see the progress.
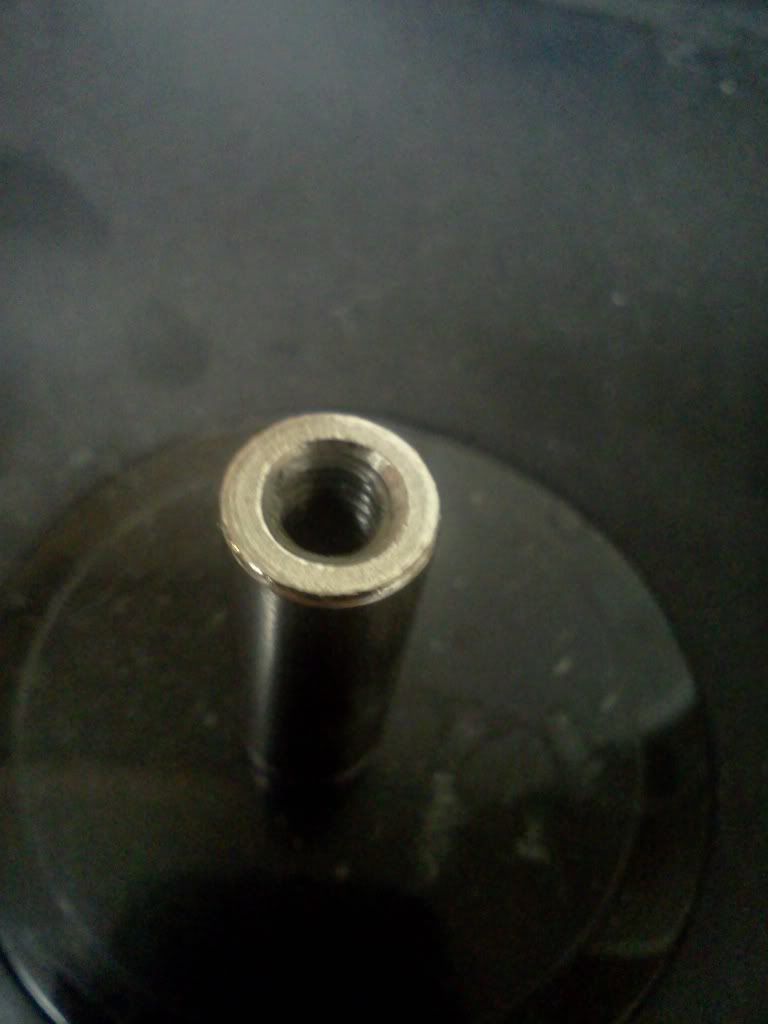
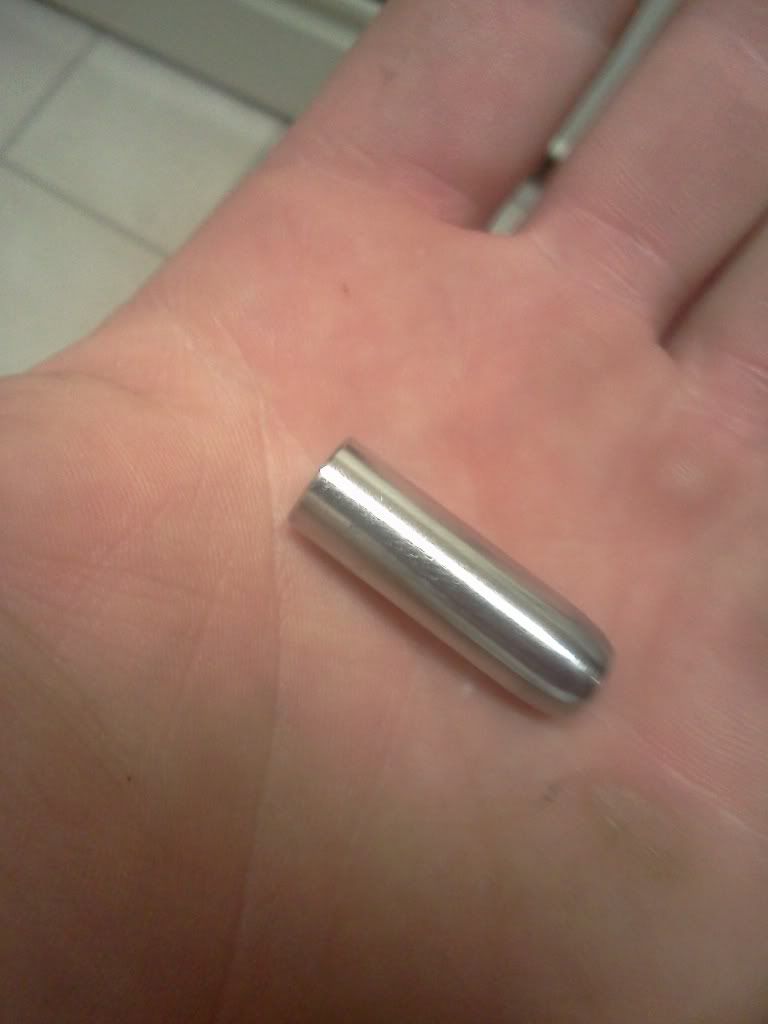
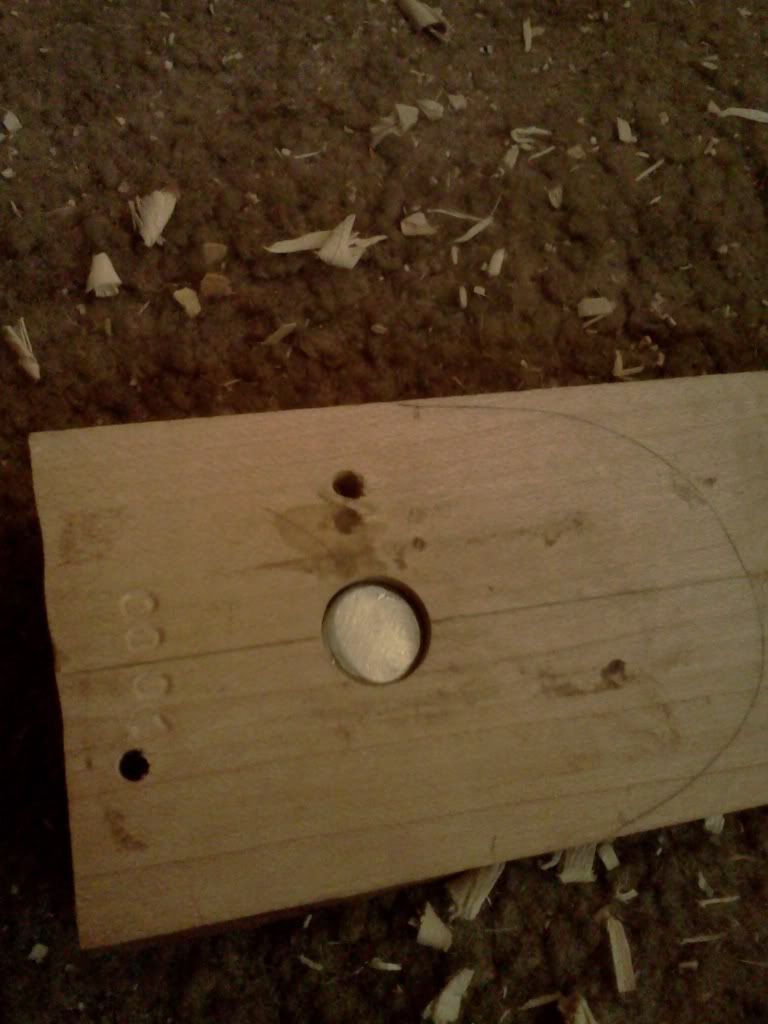
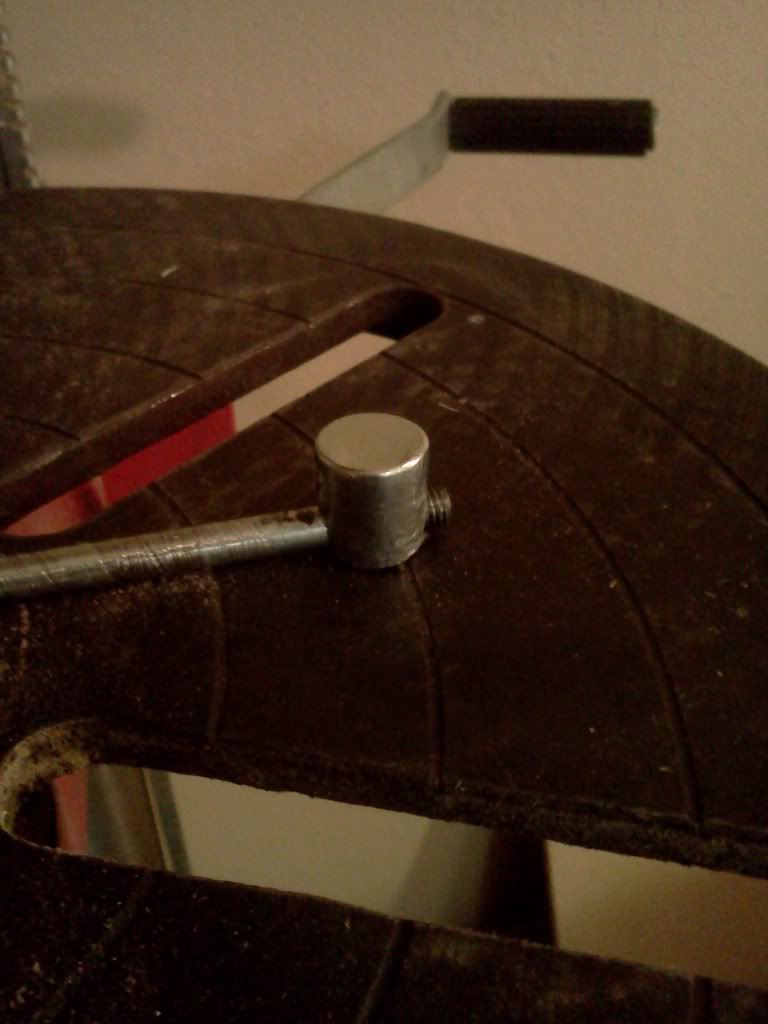
I just ordered a left-hand strat trem plate. My theory is that I will be able to replace the right handed one with a left handed one, screw down the plate to the body at the trem arm hole, and be able to remove the block and the springs etc. If it works, I can hard-tail all four of my normal Super-Sonics. Starting from scratch, I would do what you are doing, or maybe go with a left-handed Tele bridge like my coral one.
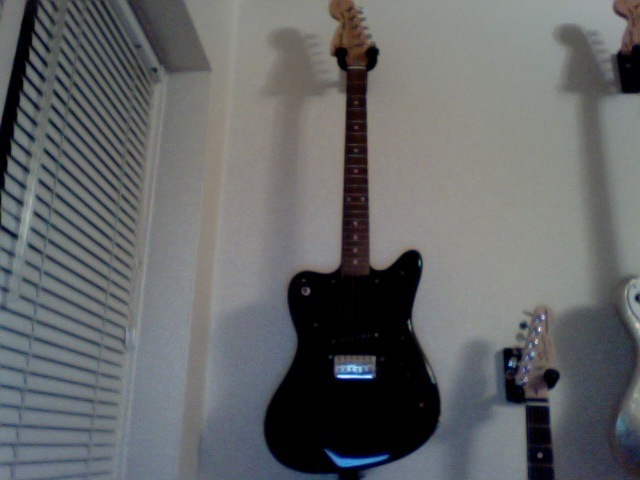
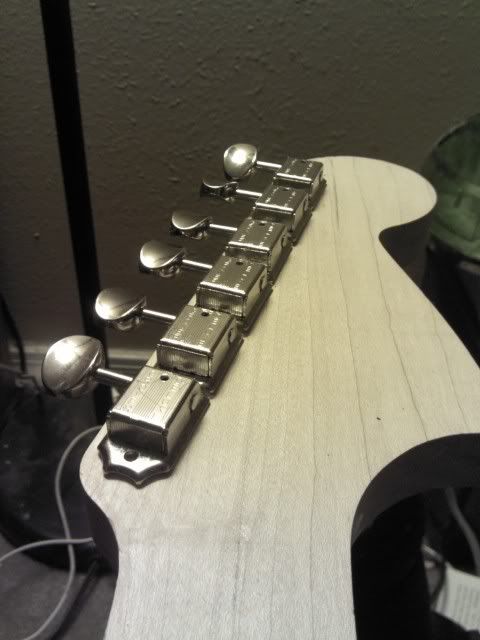
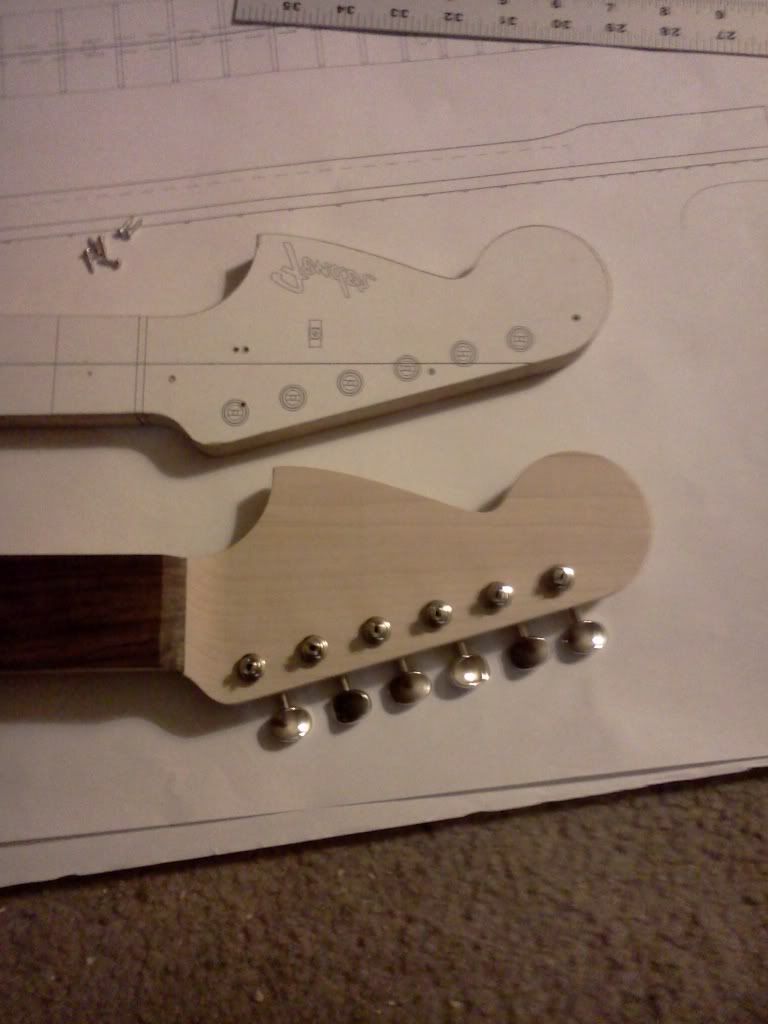
nice. Happen to know the fret board radius? .. anyone? I do prefer a 12" radius but haven't made up my mind.wadeaminute wrote:My blackout Super-Sonic:
http://raleigh.craigslist.org/msg/2801348805.htmlwantsasupersonic wrote:Hello all. New here. Been on the lookout for a SuperSonic without much luck.

 .
. 
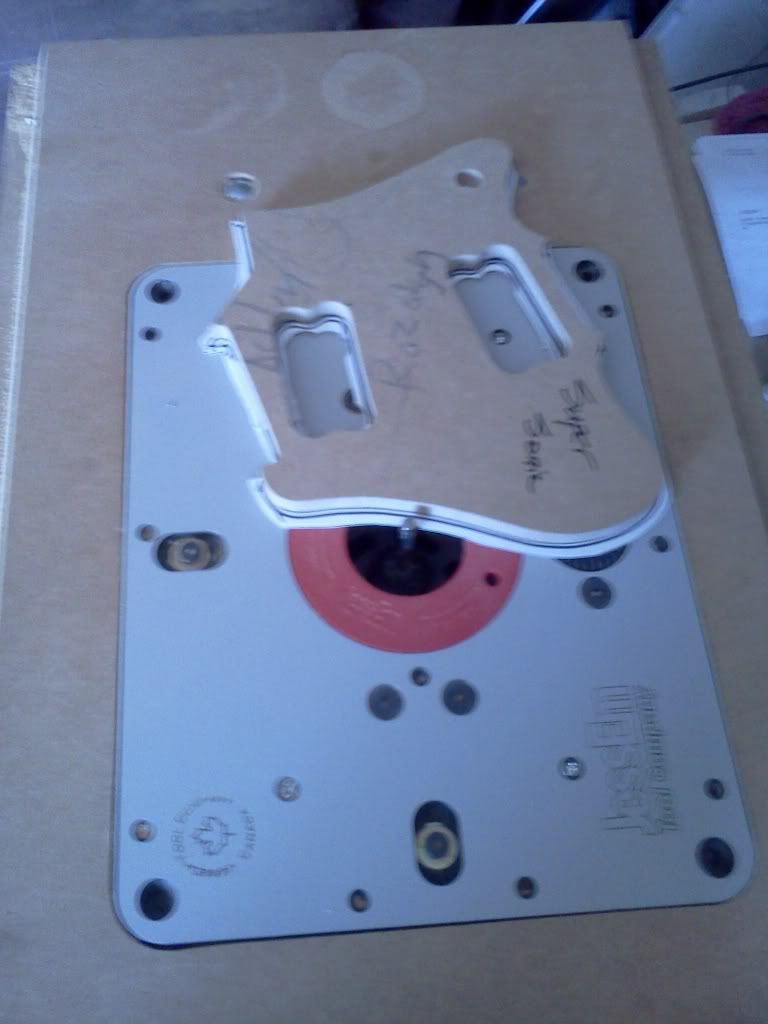
I totally agree I've seen it before. I do plan on doing more ss's, all a little different. Lefty, solid color, metal flake, pickup arrangements. I'm thinking of doing the rear football Jack on a few, I love the idea just can imagine playing a gig and hitting it one to many times and knocking the input loose.wadeaminute wrote:It looks like it is too late, but what I did for two of my Super-Sonics is mount the three-way toggle in the control plate, and then drill out the side for a football-shaped plate.
Few agree with me, but I actually prefer a strat jack on the back, now, like with my coral one.
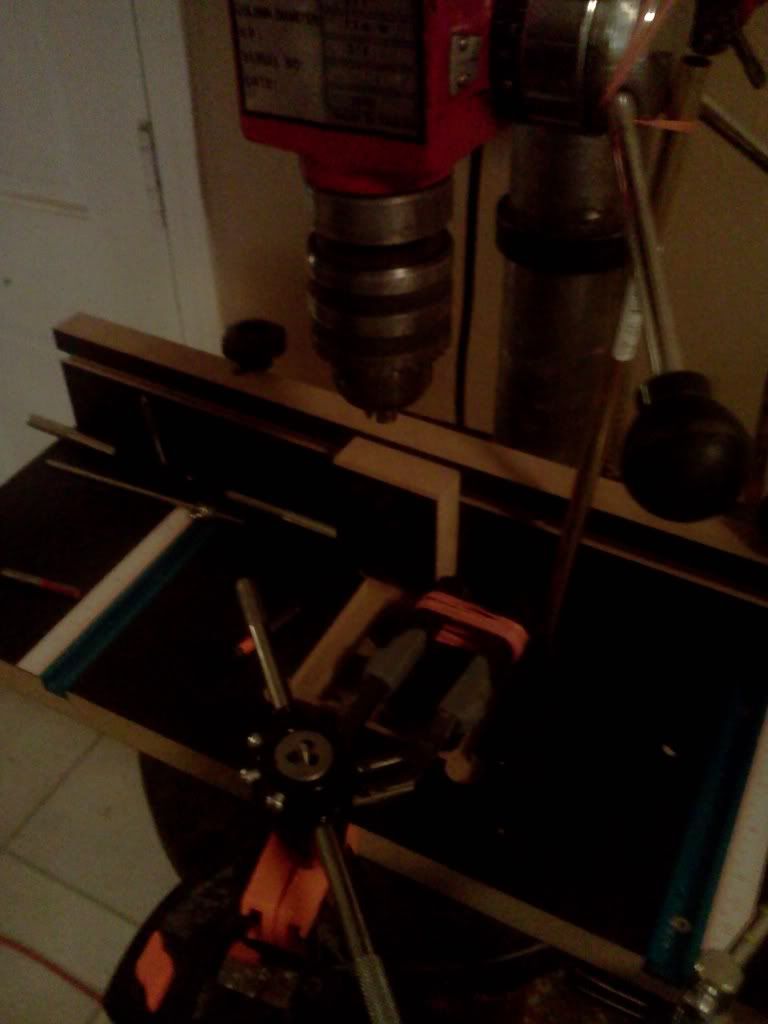
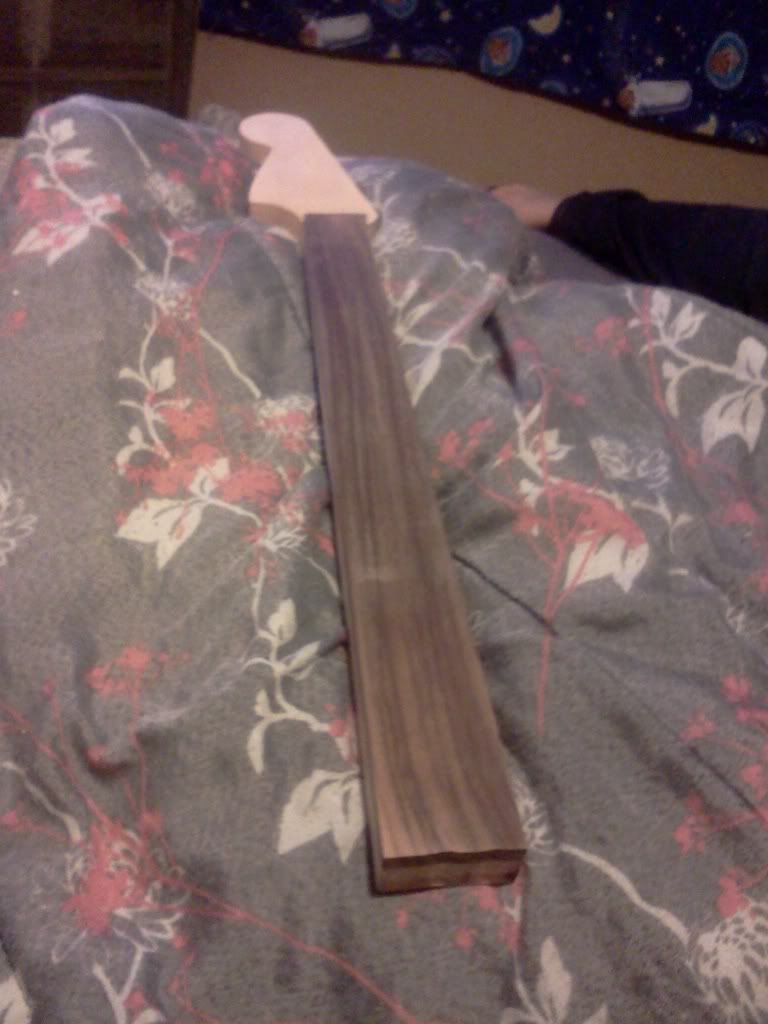
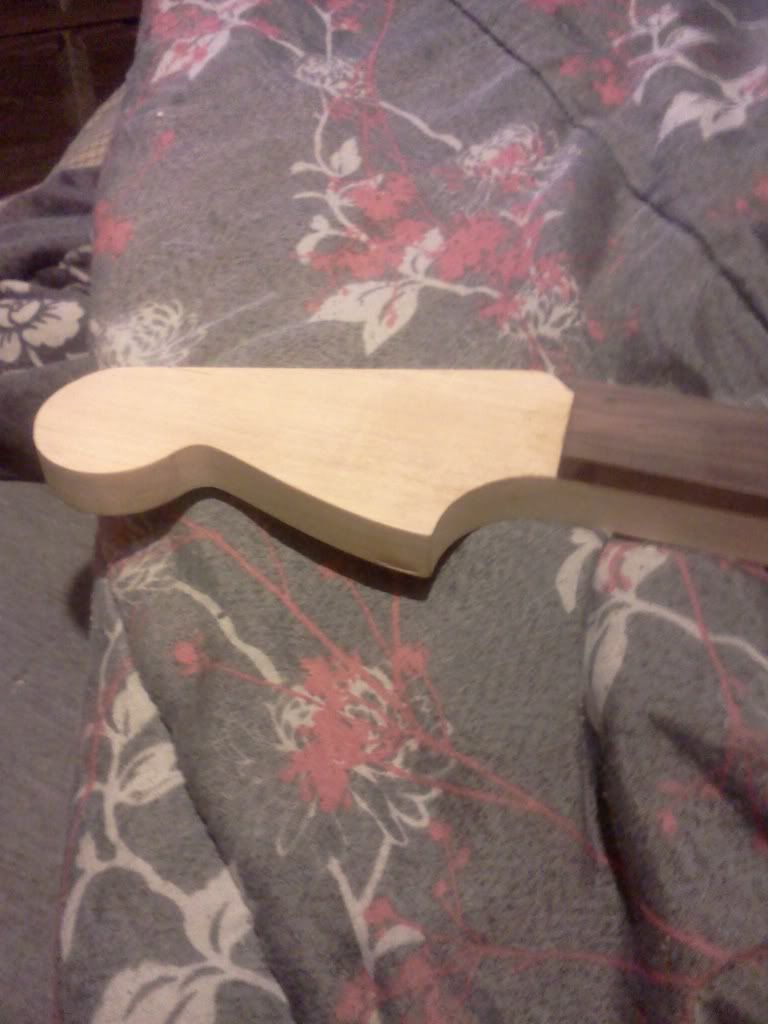
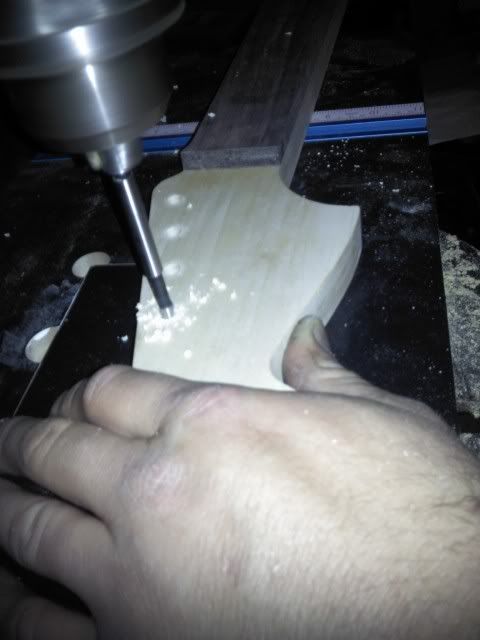
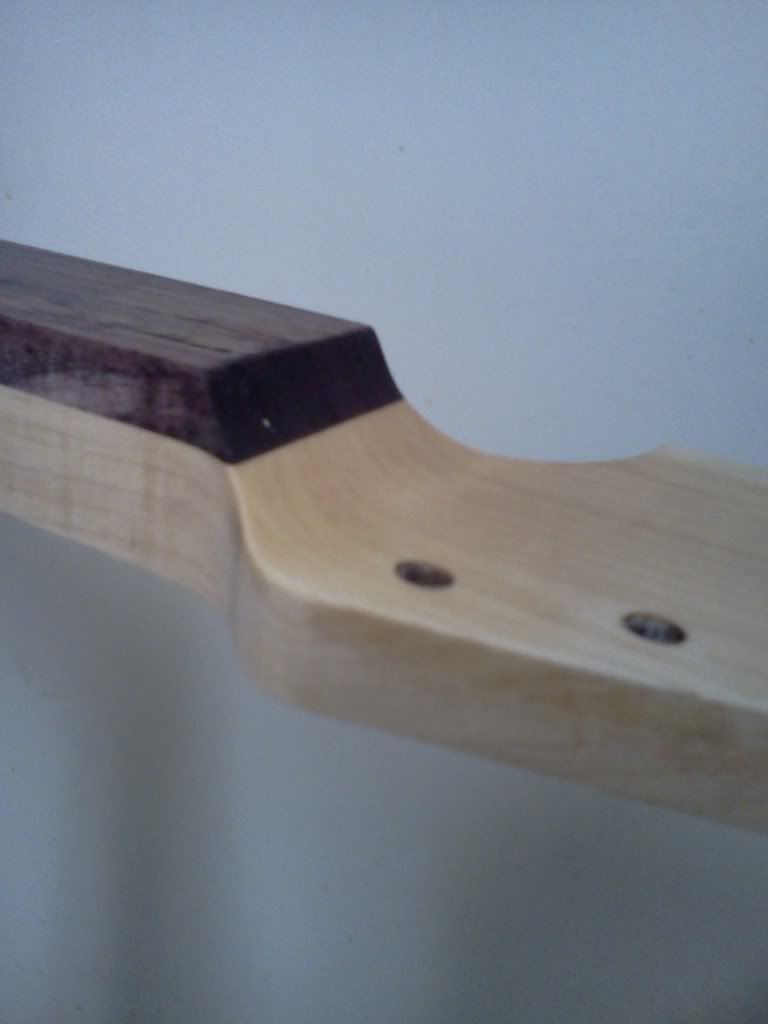
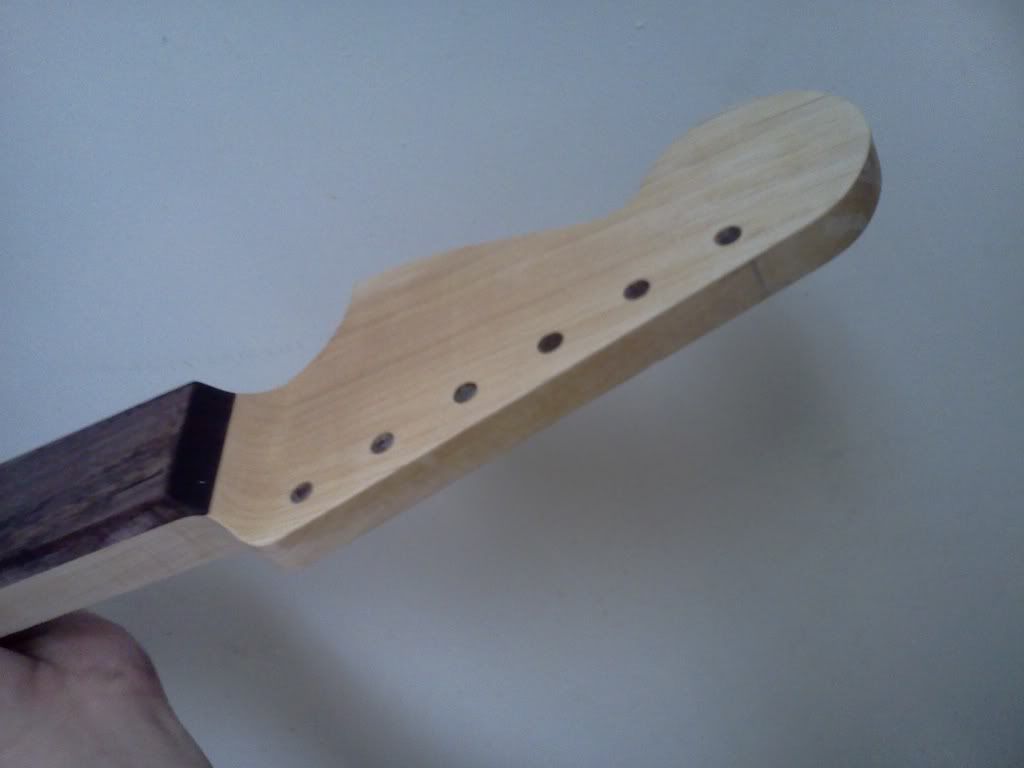
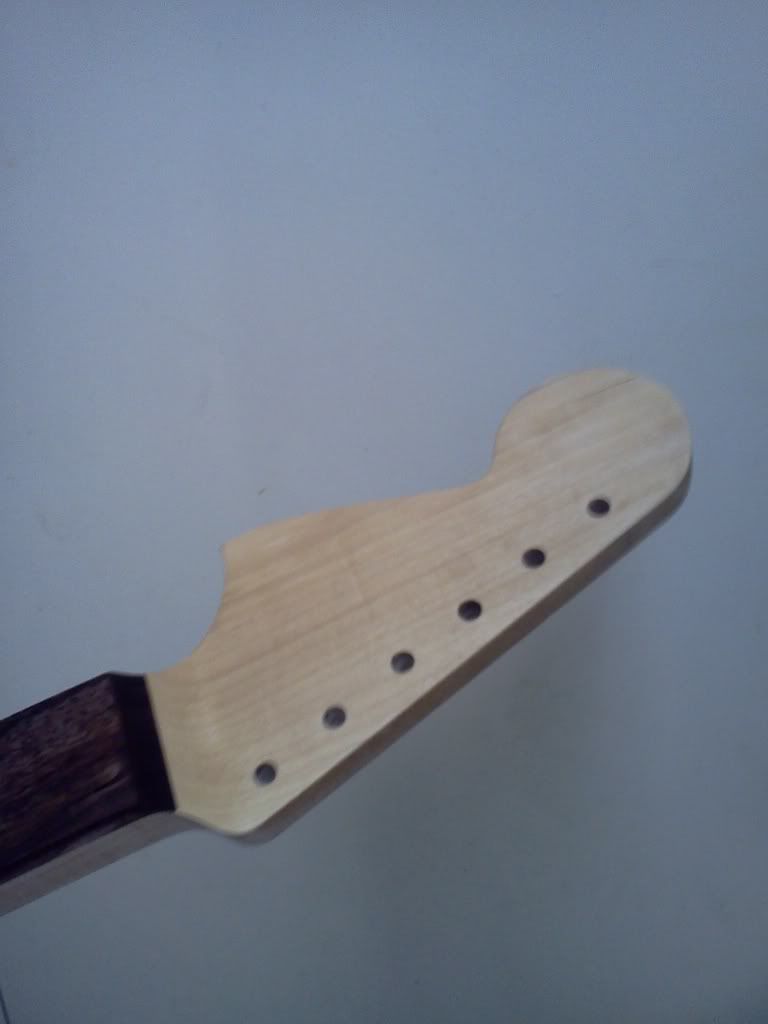
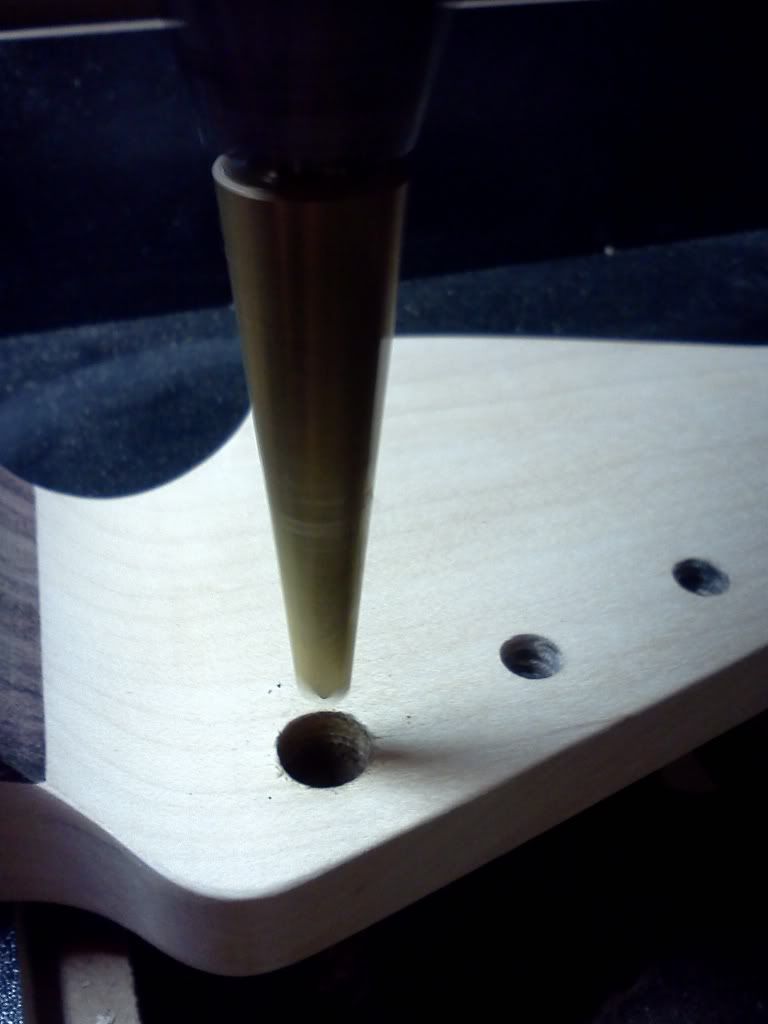
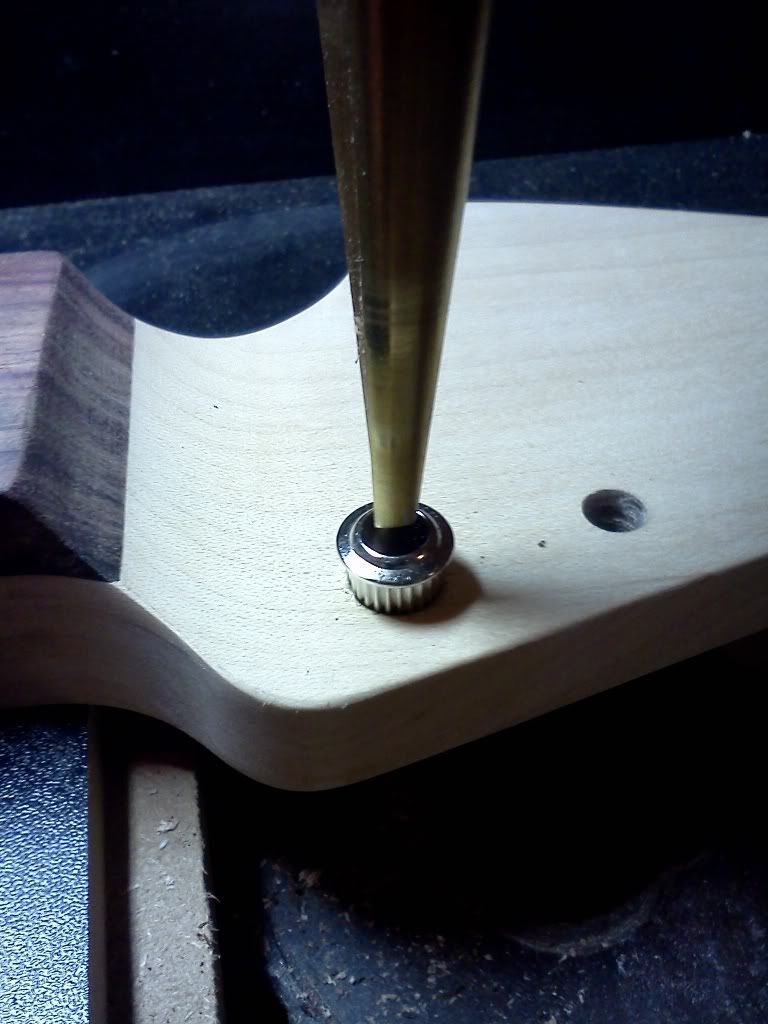
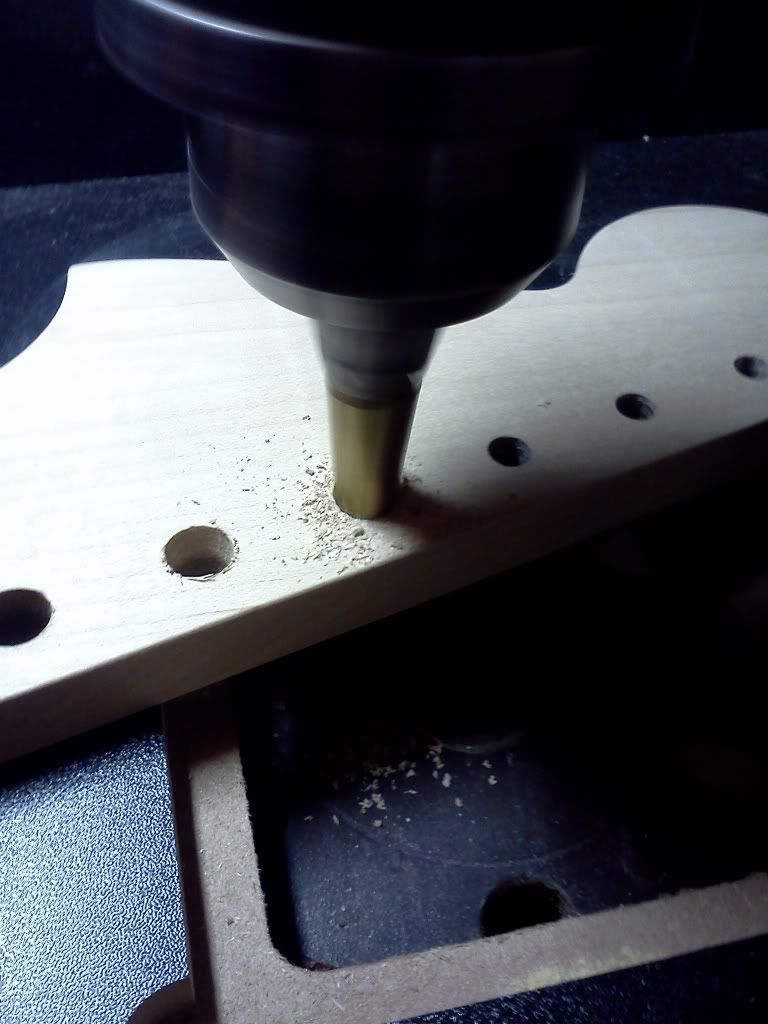
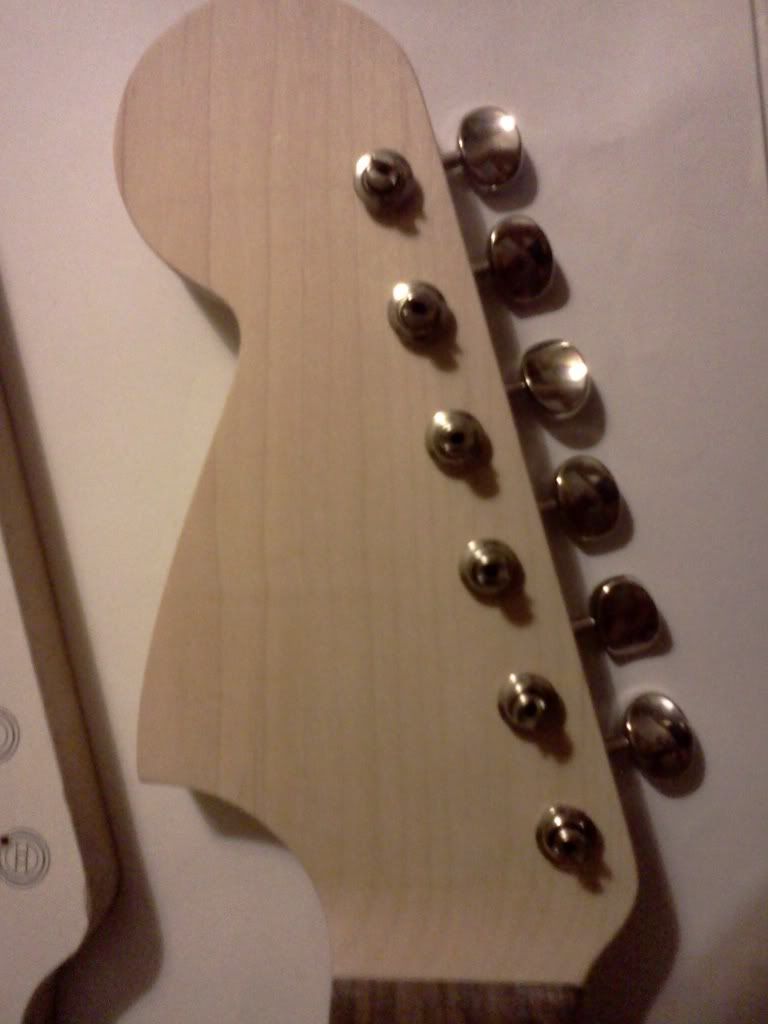
Its not as hard as it seems, just time and practice. You spend more time building jigs just right than you do actually shaping the neck. This being my first short scale neck I had tobuild a whole new jig, not to mention the weird heel on these necks. I had to make multiple templates. If you get around to it on day use cheap wood for practice.also tools for fretting are pricey, so only worth it if you plan on doing many necks. But once you do get it down it's the most fun part of a build I think.cooterfinger wrote:Nice work.
I'd like to try making a neck from scratch one day.
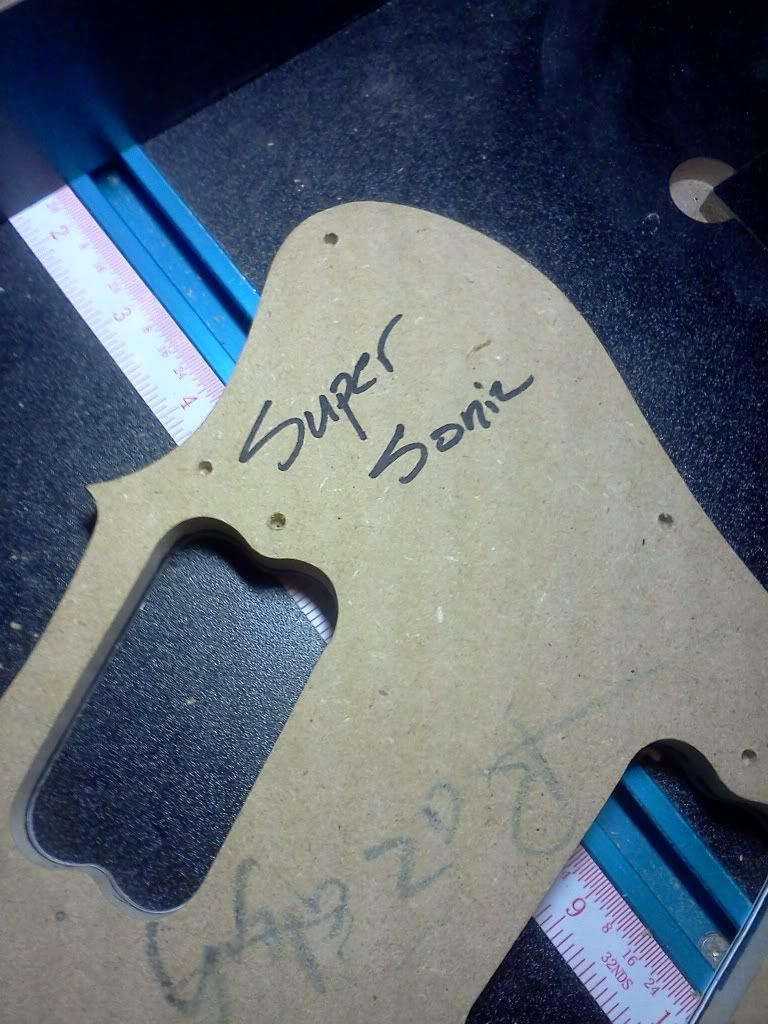
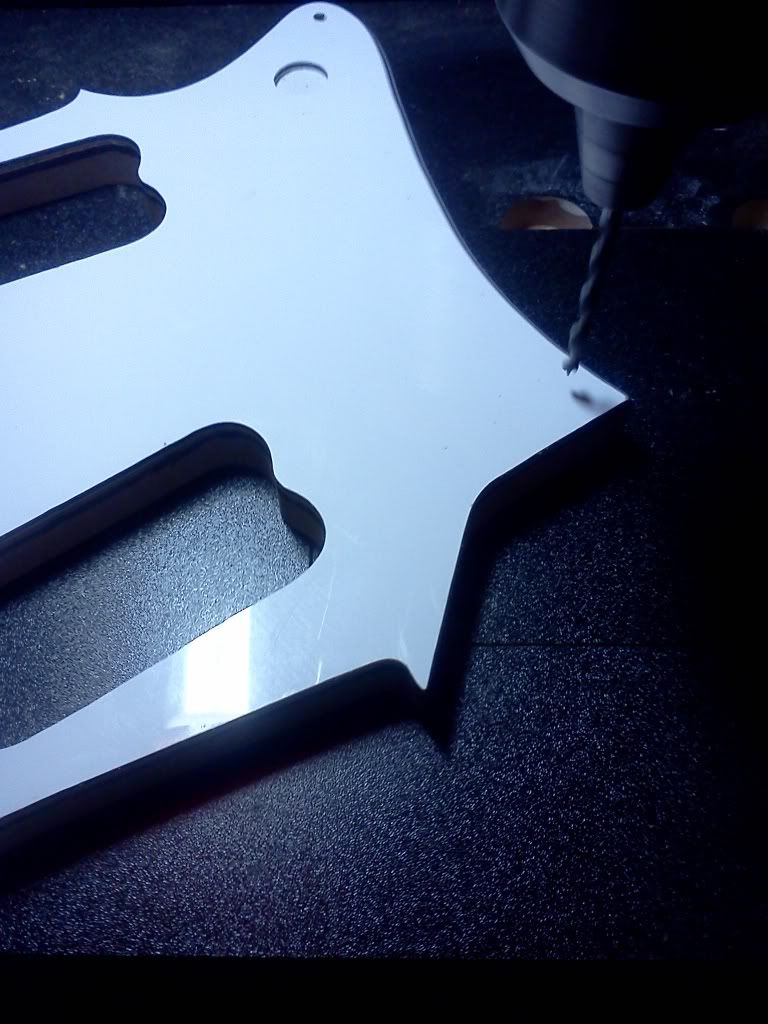
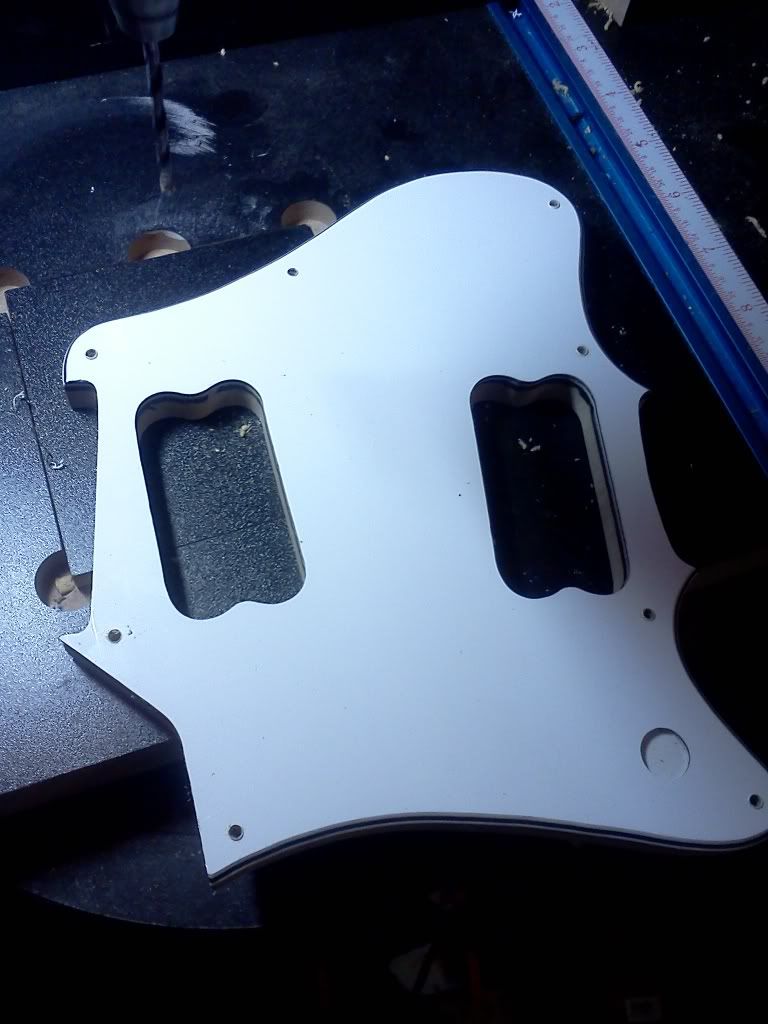
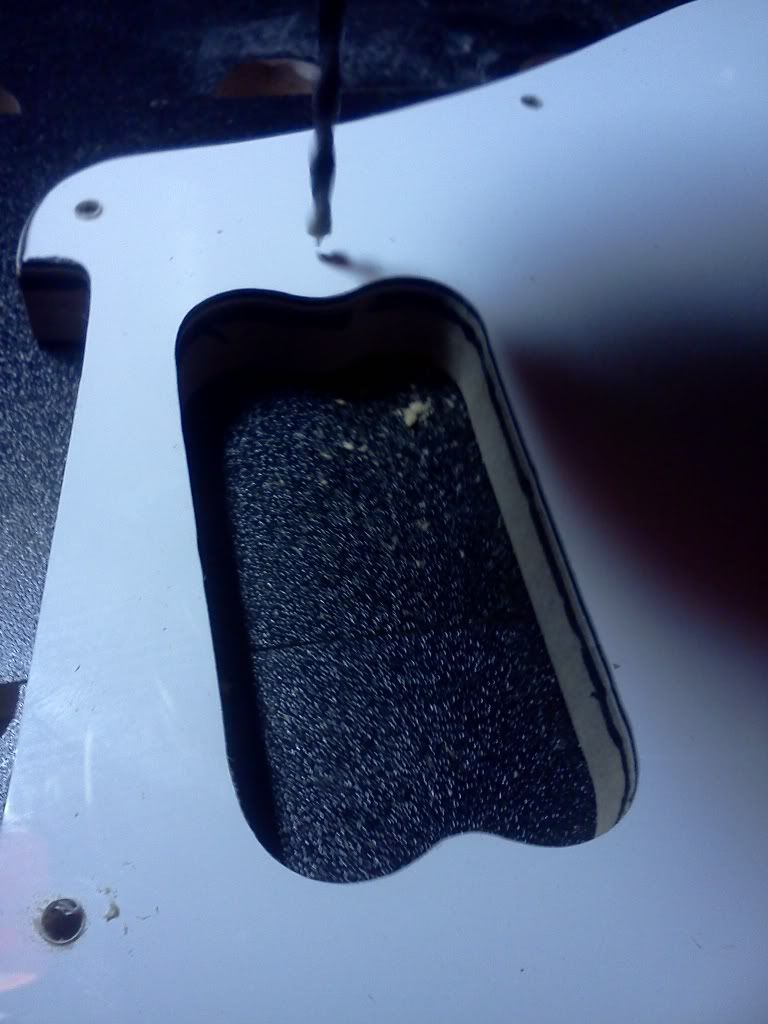
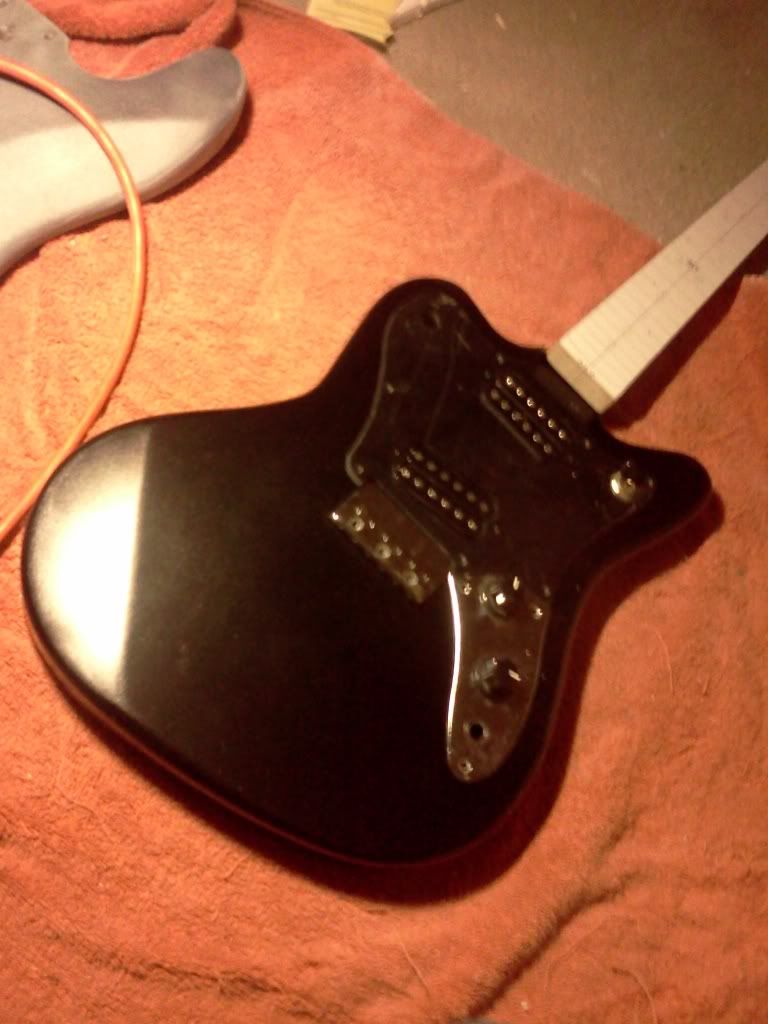
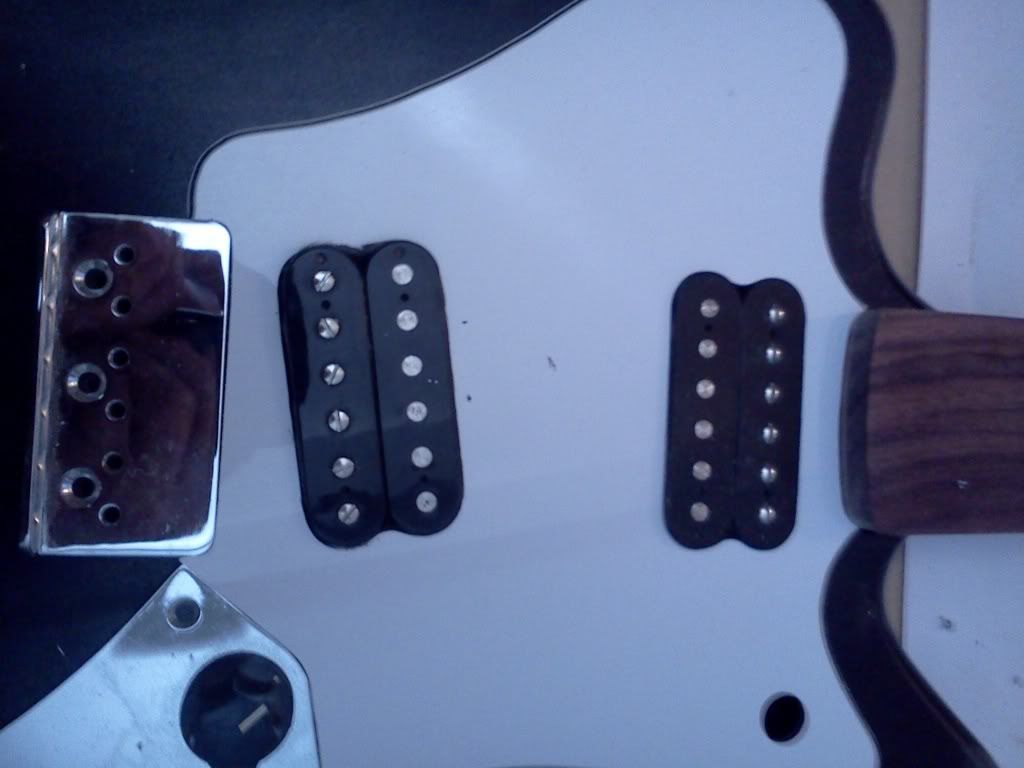
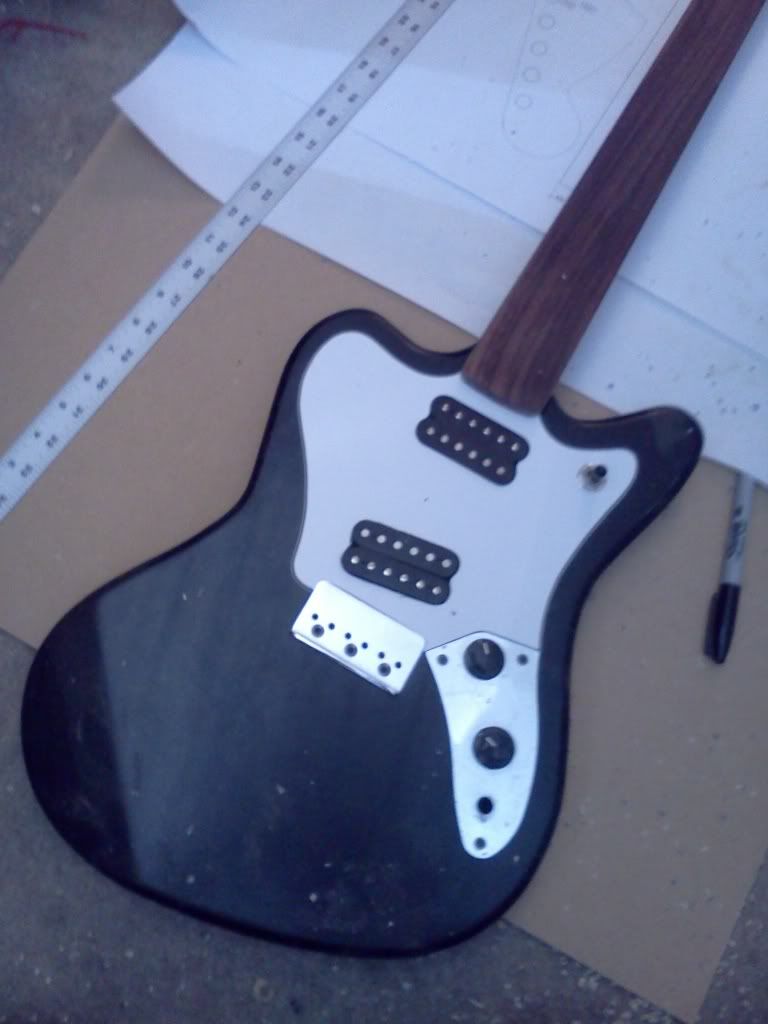
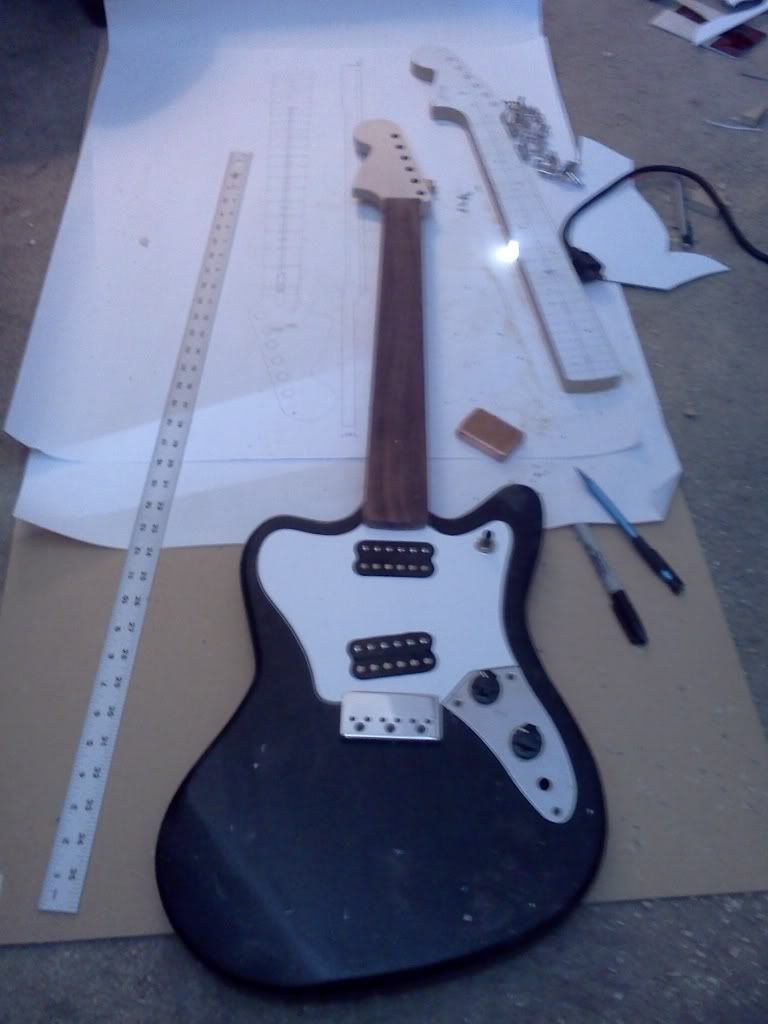
Not sure what you mean exactly. I got the jackplate from wadeaminute (hope I spelled it right ). But from now on I will machine my own. I have a couple connections for plating. The pg was not original, just a flat black replacement I got from e bay. I have no super sonic nor have I even seen one I person. I used pics from Google and 3 or 4 programs to make templates.mkt3000 wrote:Out of curiosity, how much of your build is based off of a stock unmodified supersonic (for replacement part purposes for my own SS)?