*how to* fret level
Posted: Tue Mar 04, 2008 8:17 pm
this is a squire affin p-bass, property of a good friend of mine, im doing it for free cuz i owe him for a favour and the bass needs it done.
anywho.
first thing is first, you need to have a good cup of cold black coffee and some 10 year old menthols that you found at the farm.
those two things will wake you up and keep you alert and focused.
first thing is to take off the strings and make sure the neck is straight as an arrow with not tension on it.
i do this by eyeballing and then taking a ruler and pulling it in the center of the neck to make sure that there is no an insane weeble or wobble.
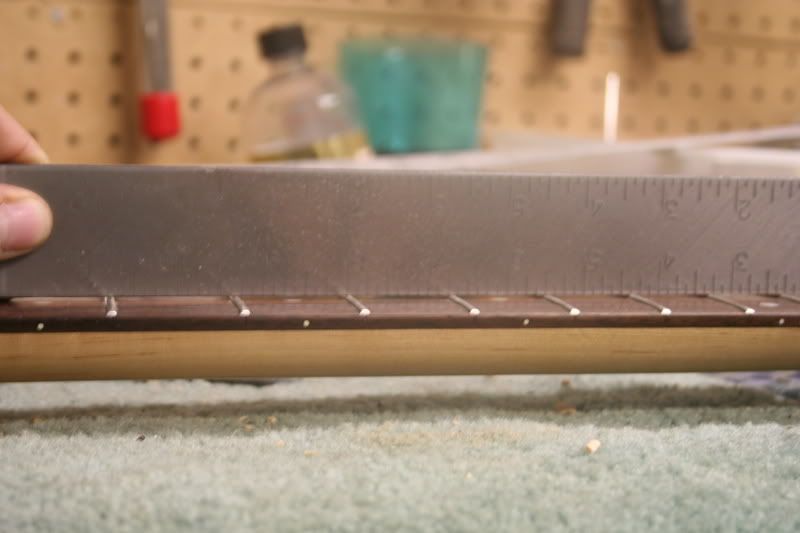
then i do the same thing but i follow the endge of the fretboard, and the veneer of rosewood.
making sure the neck is a straight is an absolute must, if its arched or bowed and you preform a fret level, the next thing you will be doing is a re-fret.
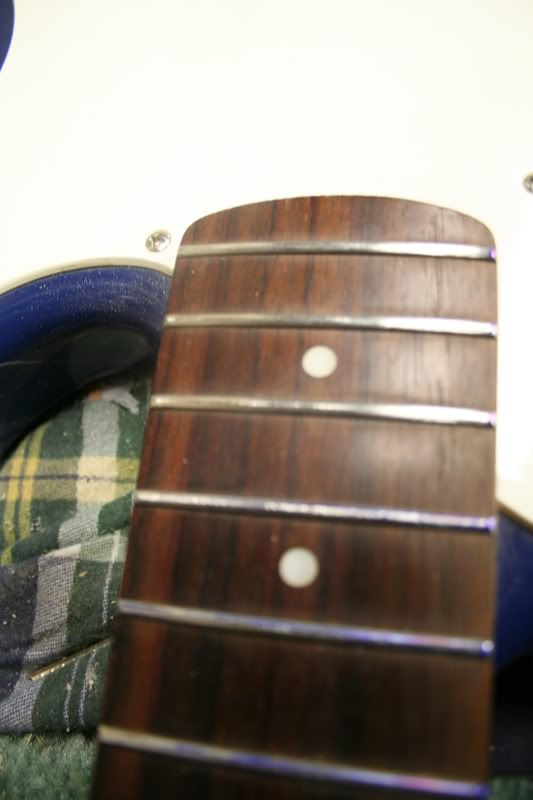
once i have completed this part i color the frets with a blue sharpie, just the tops(on a higher end guitar i tape off the fretboard)
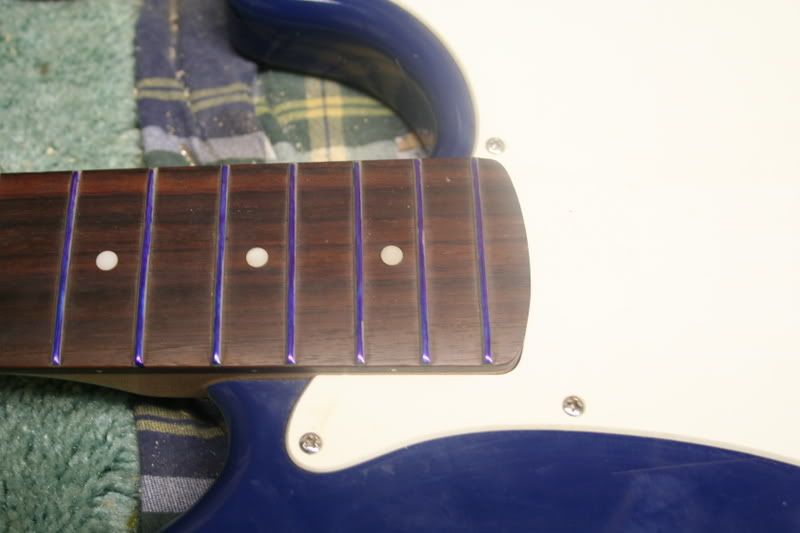
then i use my handy dandy fret file and i apply an even pressure as i take long strokes up and down the fret tops.
you will start to notice the low spots and the high spots immediatly,
the low spots will still have blue on them and the high points get taken down a bit.
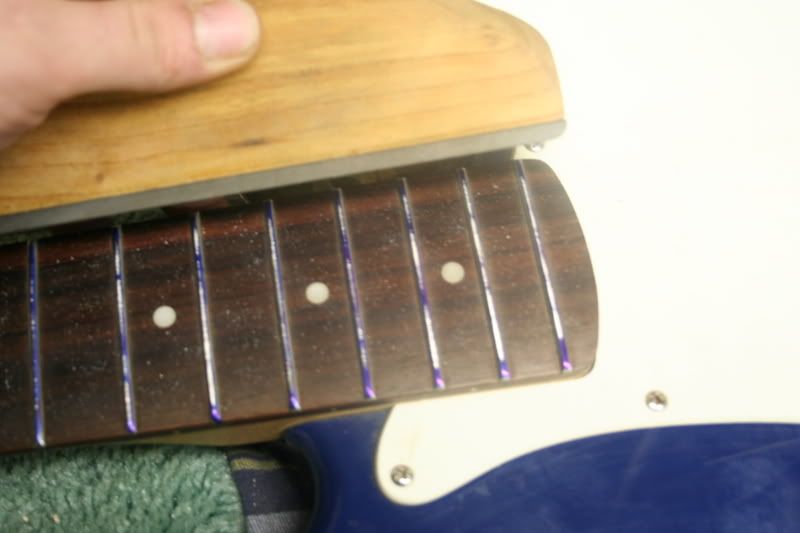
then i use a fret crown to give them back the normal shape, i work them until the raw parts of the top are almost gone, but still visible.
this pic is crap but its the best i could do,
i did the last 3 frets and the rest are untouched.
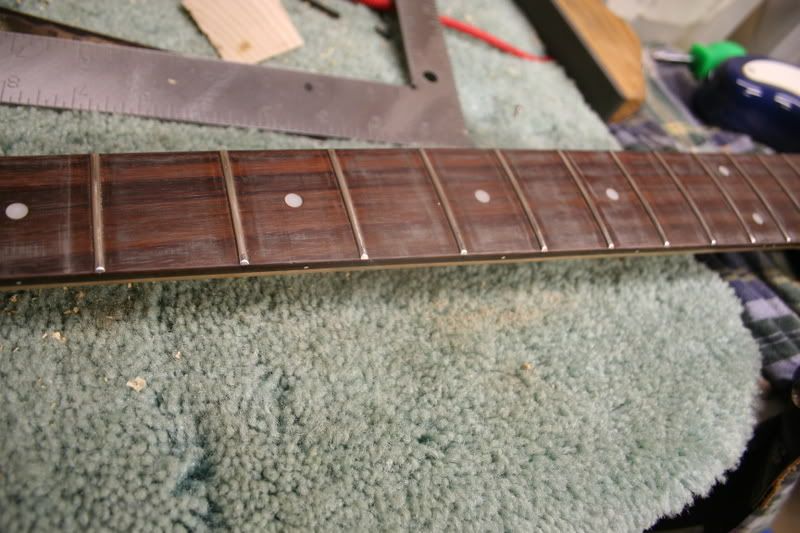
once i have sufficiently done ALL of the frets i take out my 600 grit sandpaper and begin polishing them up a bit and making them "perty"
generally it is easier to attach this piece of sand paper to radius block and do it that way, but that does flatten them a bit and does not let the fret get the individual atten it needs.

after about an hour of that, i take a dollar bill and do the final polishing.
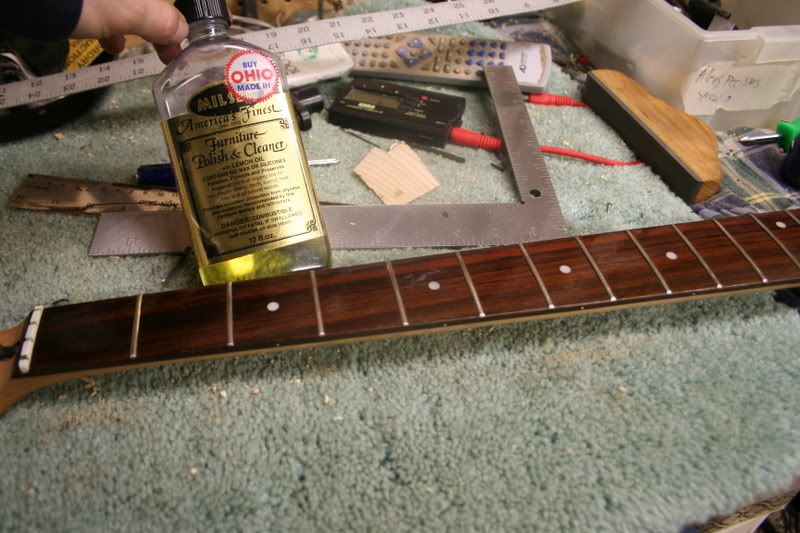
but now, there is all sorts of metal flakes floating about and the roswood looks dirty as hell.
thats an easy fix tho.
use some mineral spirits to clean it up and once that has evaporated use some good oils or some sort of finish for it(maple does not need this)
put the strings on, and continue with the normal setup, and revert back to the ruler method so that way to can get the right amount of relief.

and presto, a 60 dollar fret job for a 50 dollar bass.
keep in mind this is just a crash course, for different guitar types, wood types and job types this will differ slighty.
anywho.
first thing is first, you need to have a good cup of cold black coffee and some 10 year old menthols that you found at the farm.
those two things will wake you up and keep you alert and focused.
first thing is to take off the strings and make sure the neck is straight as an arrow with not tension on it.
i do this by eyeballing and then taking a ruler and pulling it in the center of the neck to make sure that there is no an insane weeble or wobble.
then i do the same thing but i follow the endge of the fretboard, and the veneer of rosewood.
making sure the neck is a straight is an absolute must, if its arched or bowed and you preform a fret level, the next thing you will be doing is a re-fret.
once i have completed this part i color the frets with a blue sharpie, just the tops(on a higher end guitar i tape off the fretboard)
then i use my handy dandy fret file and i apply an even pressure as i take long strokes up and down the fret tops.
you will start to notice the low spots and the high spots immediatly,
the low spots will still have blue on them and the high points get taken down a bit.
then i use a fret crown to give them back the normal shape, i work them until the raw parts of the top are almost gone, but still visible.
this pic is crap but its the best i could do,
i did the last 3 frets and the rest are untouched.
once i have sufficiently done ALL of the frets i take out my 600 grit sandpaper and begin polishing them up a bit and making them "perty"
generally it is easier to attach this piece of sand paper to radius block and do it that way, but that does flatten them a bit and does not let the fret get the individual atten it needs.
after about an hour of that, i take a dollar bill and do the final polishing.
but now, there is all sorts of metal flakes floating about and the roswood looks dirty as hell.
thats an easy fix tho.
use some mineral spirits to clean it up and once that has evaporated use some good oils or some sort of finish for it(maple does not need this)
put the strings on, and continue with the normal setup, and revert back to the ruler method so that way to can get the right amount of relief.
and presto, a 60 dollar fret job for a 50 dollar bass.
keep in mind this is just a crash course, for different guitar types, wood types and job types this will differ slighty.