Page 1 of 3
new projects: Muttstang build + tele refin.
Posted: Tue Jan 26, 2010 9:35 pm
by Addam
I started with MDF and made templates.
For the body I used my bronco, traced, cut sanded and checked for accuracy.
For the neck template I used my Jagstang neck. Using a combination of measuring and tracing, I think its pretty accurate.
I bought 2 mahogany one piece body blanks at a local hardware store for £23.50 each.
Maple PAR board, rosewood fretboard blank and truss rod via ebay.

*EDIT*
The spec will be:
mahogany body,
24" scale maple/rosewood neck
toronado bridge,
The anchient DiMarzio humbucker from my bronco,
Japanese mustang neck pickup,
bronco shaped pickguard (with reshaped bridge area)
Posted: Tue Jan 26, 2010 11:07 pm
by stewart
ooh, interesting... if you manage to pull off the neck i imagine a fair few people here would clamour at you to make them one.
Posted: Tue Jan 26, 2010 11:20 pm
by SKC Willie
Templates look good.
With I could do any kind of wood work like that!
Posted: Wed Jan 27, 2010 12:40 am
by taylornutt
Make sure and keep those templates. I would love to get a copy of that trace from you some time in the future. A good bronco trace is probably hard to find on the internet. I am starting to crank up my first official build once I get some wood. Probably a mustang or tele.
Posted: Wed Jan 27, 2010 4:06 am
by cobascis
excited to see how that neck turns out!
Posted: Wed Jan 27, 2010 6:31 am
by Haze
LOOKS PRETTY GOOD! Kinda bummed that it will have a humbucker in it but you gotta do what ya gotta do. Will definitely watch along
Posted: Thu Jan 28, 2010 4:19 pm
by LorteMidget
nice! upload a demo when it's done !
Posted: Fri Jan 29, 2010 5:37 pm
by Addam
I started radius sanding the fret board, but got bored.
So I made myself a new template for the pickguard.
Basically, it's the outline of a bronco PG but tweaked in the bridge area. A bit like a late musicmaster.
That humbucker is the !970s DiMarzio that I took from my bronco. I think it's some kind of PAF style pickup?
I'm planning a black robroe cover for it too.
Posted: Fri Jan 29, 2010 7:00 pm
by crofty
please make the traces you did available?
cheers.
Posted: Fri Jan 29, 2010 7:18 pm
by taylornutt
crofty wrote:please make the traces you did available?
cheers.
Pretty please!
Posted: Fri Jan 29, 2010 7:26 pm
by Haze
AddamInsane wrote:I think it's some kind of PAF style pickup?
I'm planning a black robroe cover for it too.
this is why we're shortscale
Posted: Sat Jan 30, 2010 3:50 pm
by cur
Cool project. Keep posting with updates. I am in the process of doing an neck. Trying for all maple. I just squared my plank and an letting it sit in doors for a week or so to acclimate since it has been out in the elements in a covered shed.


I will watch and learn from you ; )
Posted: Sat Jan 30, 2010 9:41 pm
by Addam
I'm impressed Cur!
I don't think I'm skilled enough for a 1 piece neck.
I presume you're going to have a skunk stripe?
I've done a fair ammount of research before starting this.
I've spent hours on You Tube, various web forums (tdrpi.com especially), and some other instructional websites.
I looked at guitar building, neck building, fretting, refretting, fret levelling, fret dressing.
My tools are still pretty basic.
I have 2 cheap routers (£22 cheap). 1 of them is screwed upside down to an old coffee table, the other is a plunge, but i like to set the depth of cut and lock it out.
I have a cheap jigsaw (£10?) a cheap sander (again about £10) and a hand held drill.
Though I'm planning on getting a drill press ASAP. I'll need it for the string through holes and holes for the machine heads.
One thing I struggle with is tool speed. Can anybody help me with what RPM I should run the router at for different woods.
I mostly use a 1/2" bit with bearing.
Posted: Sat Jan 30, 2010 10:10 pm
by cur
we will see how it goes, but yea skunk stripe. Going to take my time and make good jigs. I like wood working so I figured I would give it a shot. I got a 8' x 4" 5/4 hard maple plank as a starting point. So I figure I have three shots at it. I used to have a bunch of full sized tools, but I really don't do that big of projects anymore so I got rid of them and am building an arsenal of bench-top shop tools. I just got the small jointer so I can build new kitchen cabinet doors. Following the directions for the neck in Melvyn Hiscock's book.
My plan is to make a short scale neck for my SX strat that has a wider nut and a flat radius. I like the feel of my Danelectro neck. I guess if i fuck up the fret board too bad I can always plane it off and glue up some pre cut rose wood (haha) I have a wonderful lumber yard just down the street that has all the types of wood and hand tools you can think of. Really the only thing that scares me is the thought of fret leveling. But the guys that I have work on my guitar are very cool and I will probably have them do that if everything else works out.
You are going to be moving faster than be so remember to post your results so I can cheat off of your paper.
Always try your router techniques out on scrap first : ) and feed the right way and once you are down to only three fingers on your strumming hand quit wood working.
Posted: Sat Jan 30, 2010 11:08 pm
by Addam
This is my second neck build. The first had a few mistakes, but that's what life is about.
In my opinion the most important thing is to establish a datum.
Truss rod on the centre line with frets and nut perpendicular to it.
I started with my plank (19X115mm PAR maple)
I drew on my centre line, marked and drilled my 'tooling' holes (where I screw the template onto the neck)
I routed the truss rod slot (I used a dual truss rod) using kind of fence type jig that attatches to the router.
Then I drilled the bottom end of the neck for the truss rod nut (heel adjust).
Installed the truss rod, and glued the fretboard on.
Using the same side as a guide that I used for routing the truss rod slot. I used a t-square and G-clamp as a guide (and a fretting template) I cut the fret slots.
Then I Screwed the template on the back of the neck, drew round it, removed it, and cut as close as i dared with my jigsaw.
I fired up the coffee table router, and routed out the shape.
I like to space the template up, and take several passes at cutting.
After that, I got a piece of 60 grit and my 7.25" radius sanding block and got sanding.
I pretty much finished that and realised i hadn't got any fret markers!
I'm having a go at DIY clay dots made from wood dust and titebond.
After it's fretted, I'll use my trusty angle grinder with soft pad to carve the back. And borrow tools for thinning the headstock blending it in and drilling the tuner holes.
Anyway, make sure you check that it's straight as you go. I think truss rod adjustments are fine. I use a 24" steel rule for this.
I find the cutting of the wood to be the difficult part. And fretting and sanding is really easy!
Posted: Sat Jan 30, 2010 11:39 pm
by cur
Thanks,
This hard maple is really tough stuff but seams to machine ok. I have made furniture from regular maple but this is different. I have used purple heard in the past and it is really hard also, but in a different way.
Posted: Sun Jan 31, 2010 1:10 am
by onezero4u
Fukin talented people i hate them !!

looks like a winner
Posted: Fri Feb 05, 2010 7:00 pm
by Addam
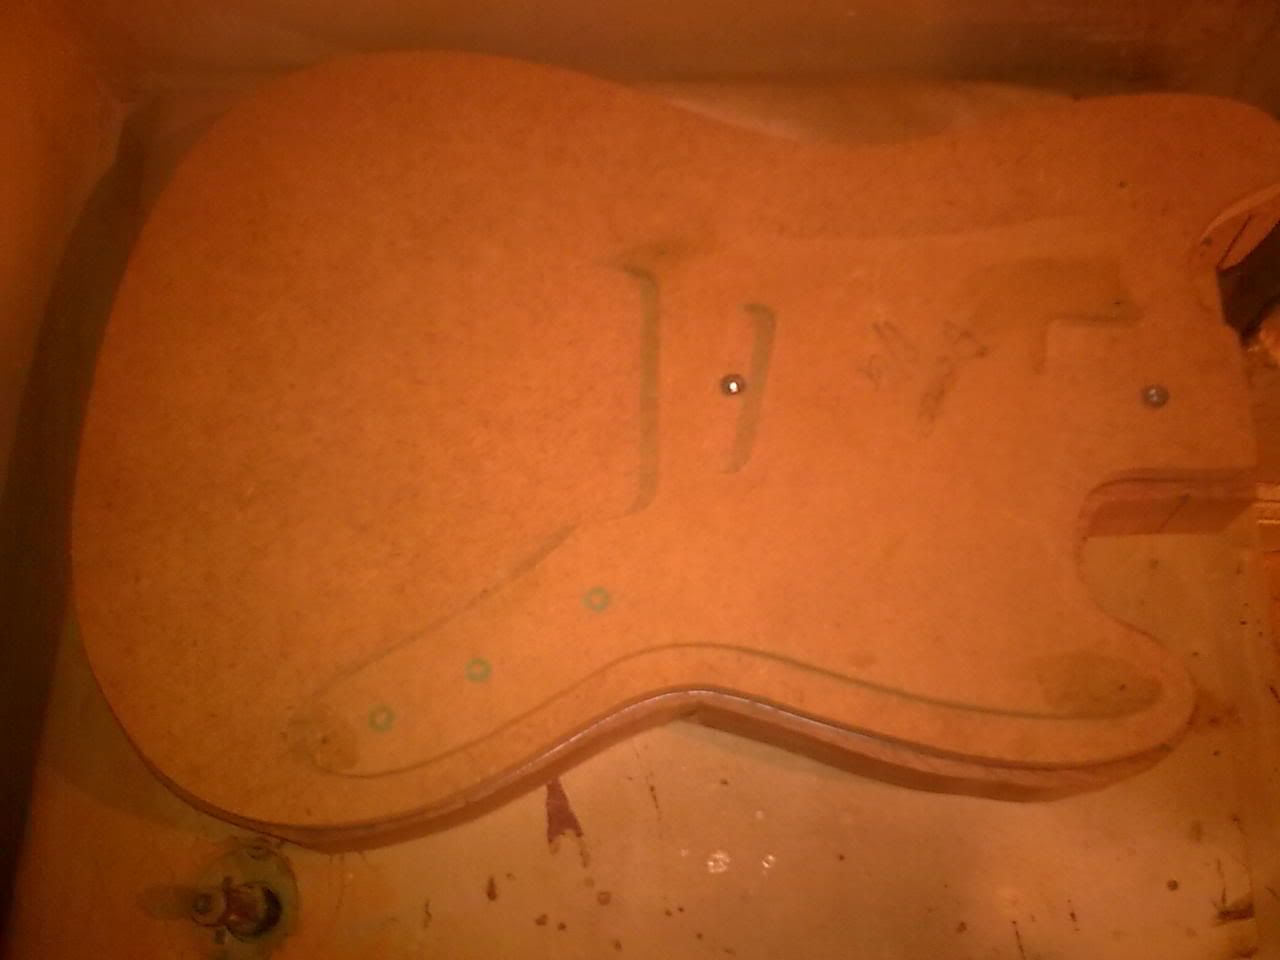
Here's what I've done today. Looks like a guitar body to me...
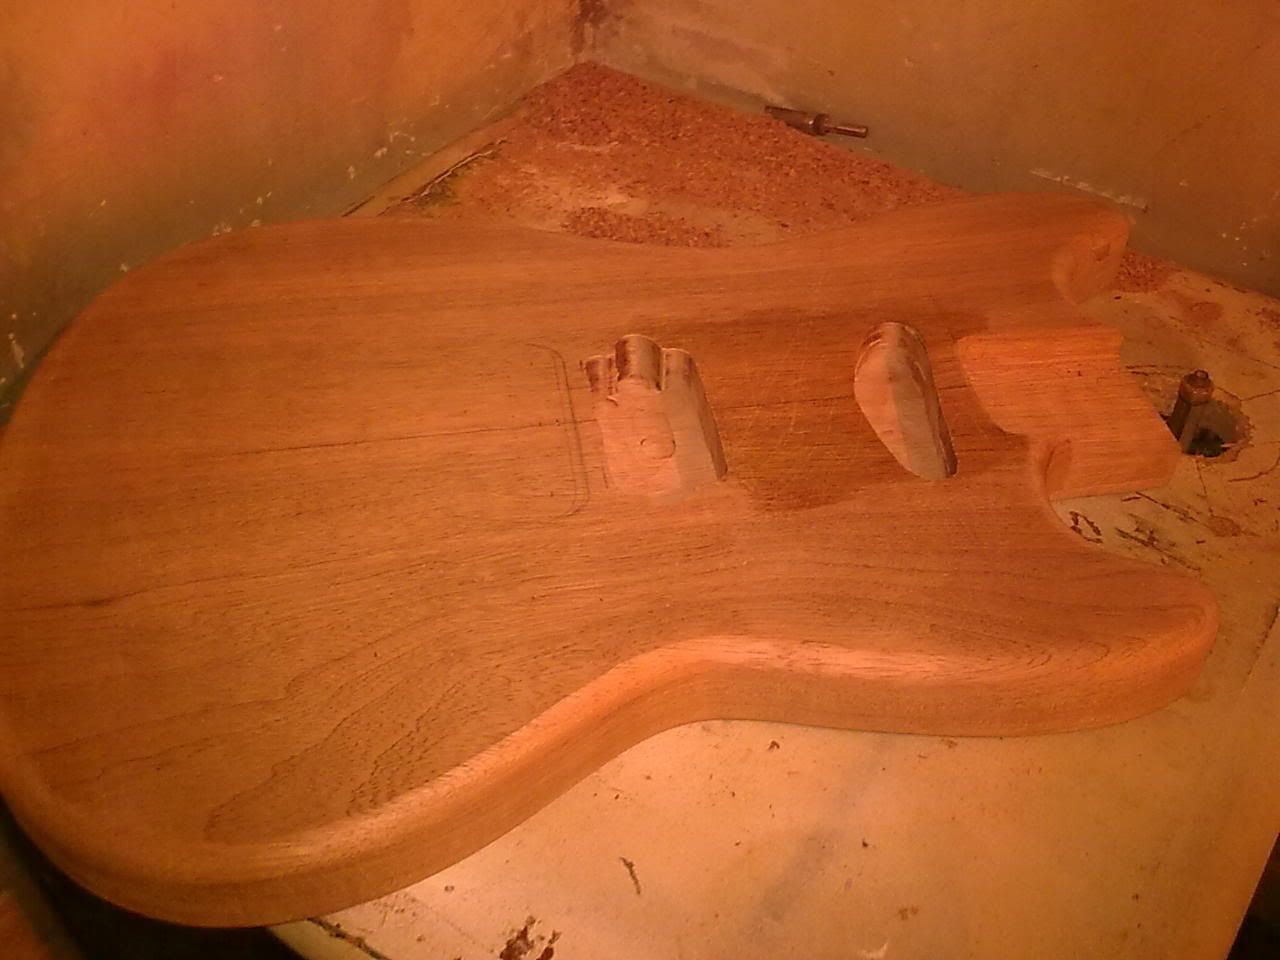
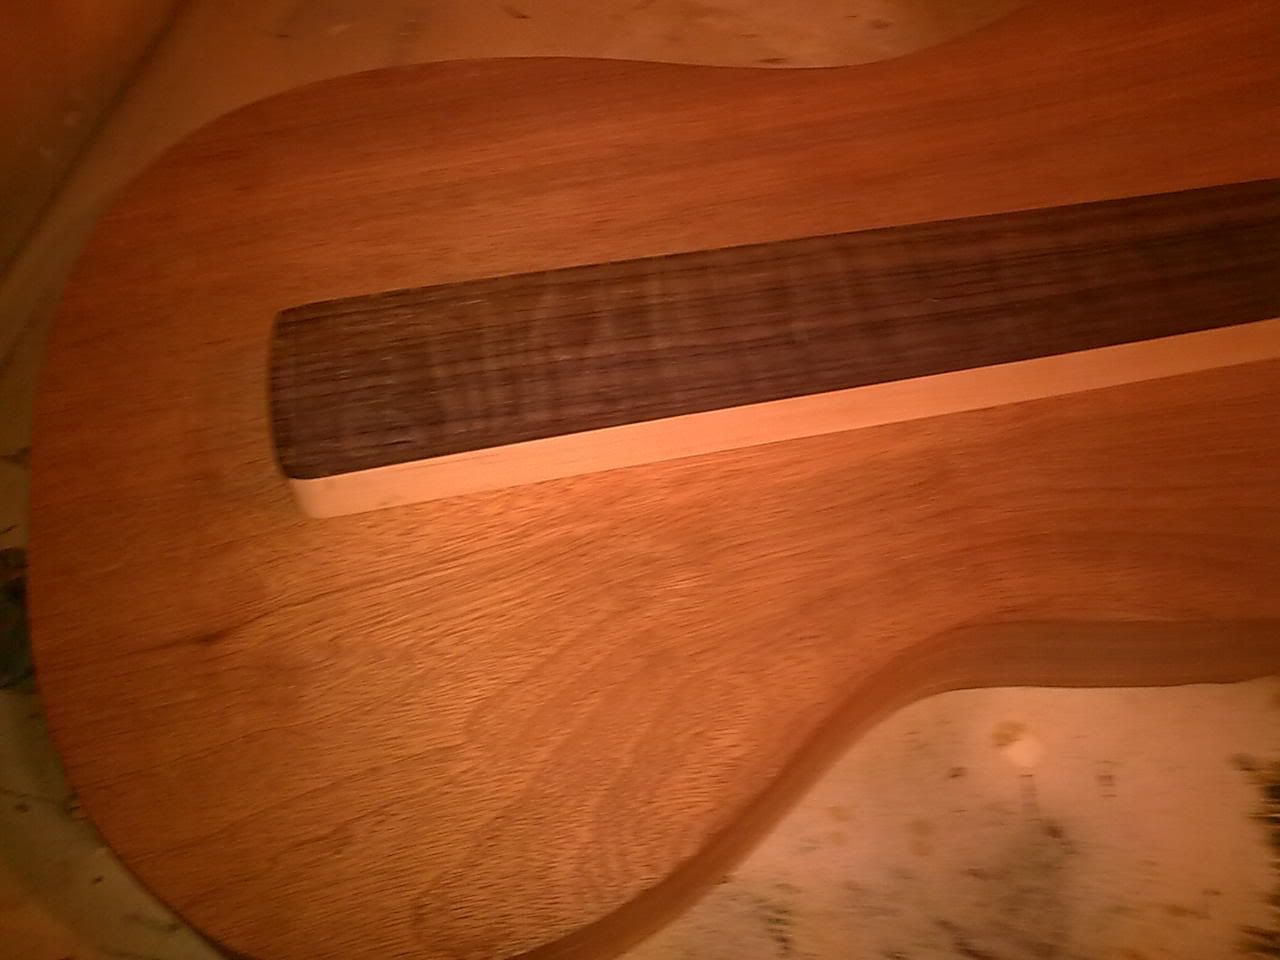
Haven't done much on the neck.
Might borow my jagstangs neck, just to get it together
Posted: Fri Feb 05, 2010 8:42 pm
by stewart
ooh, looks super.
Posted: Mon Feb 08, 2010 8:40 pm
by Addam
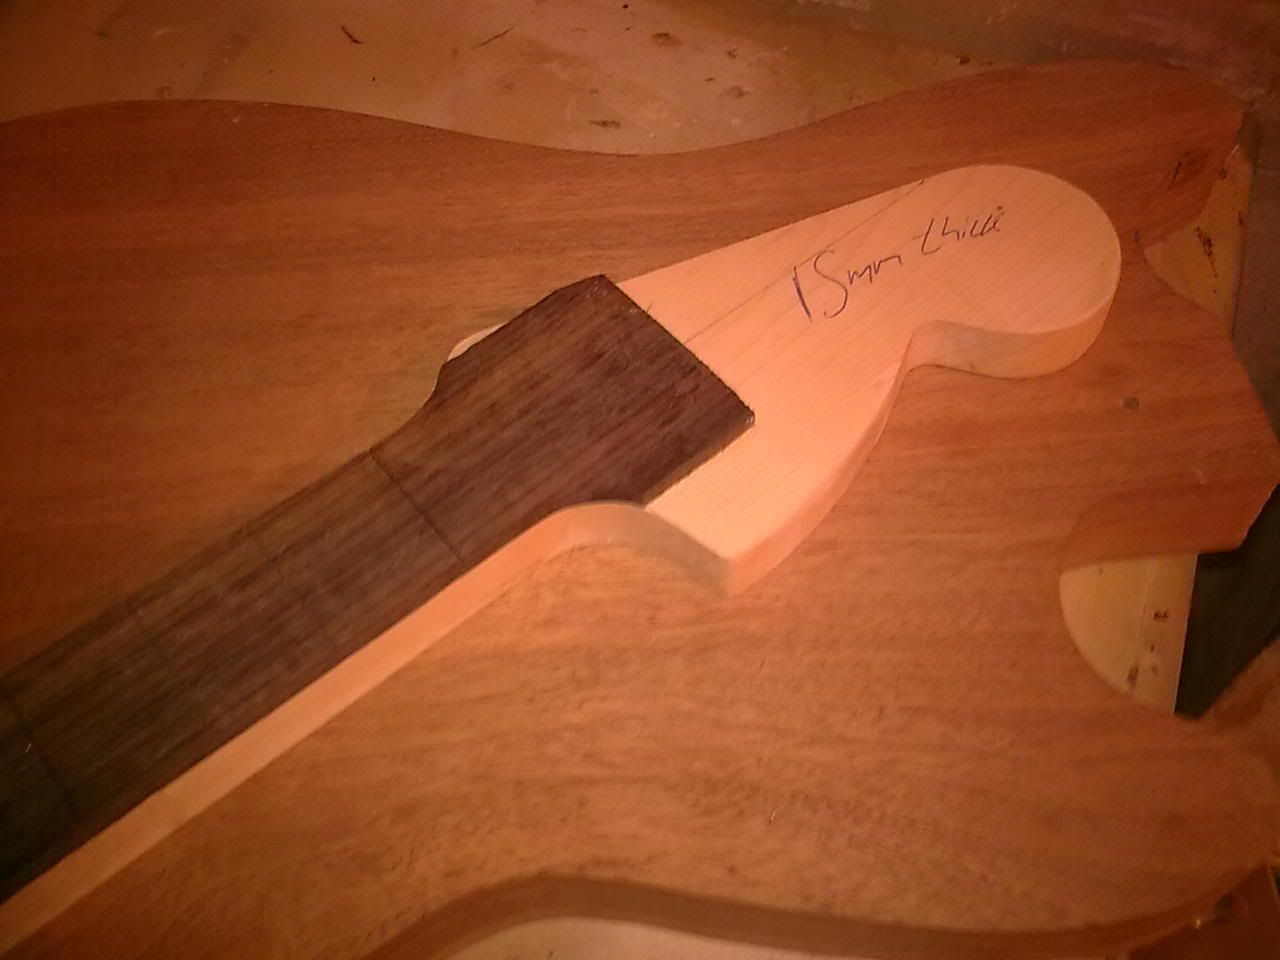
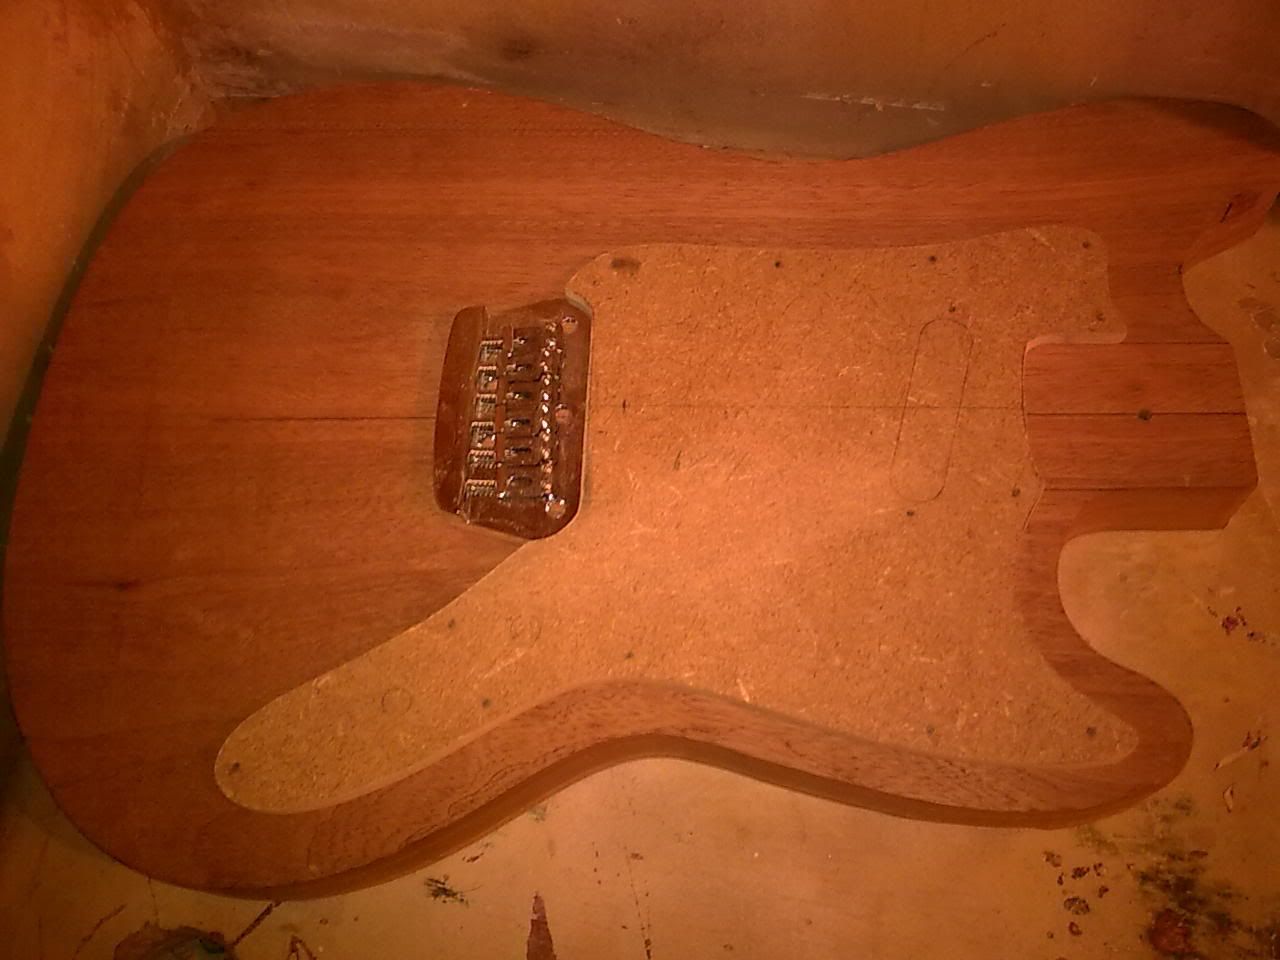
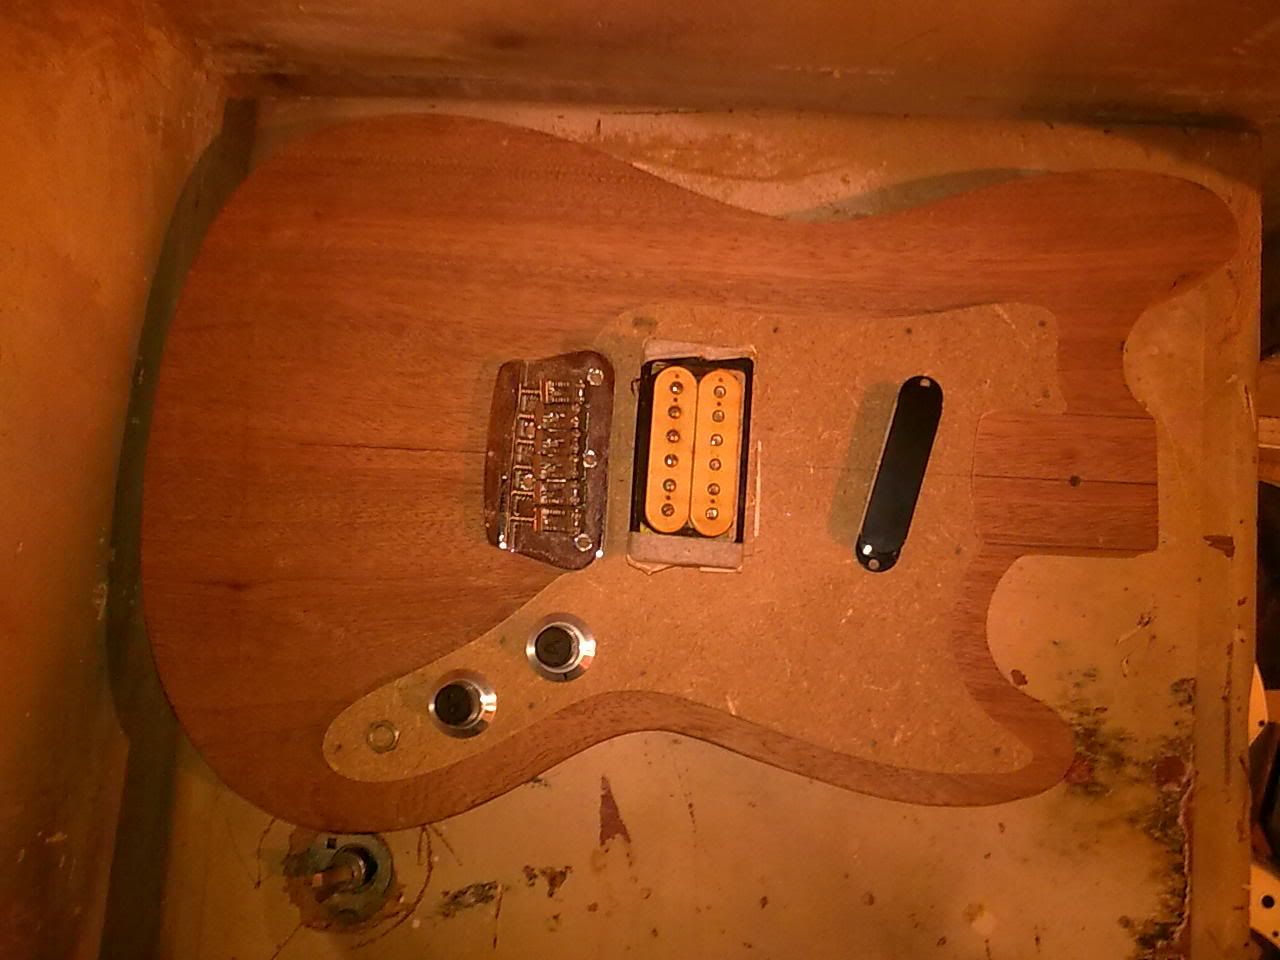
Looks a bit more like a guitar...
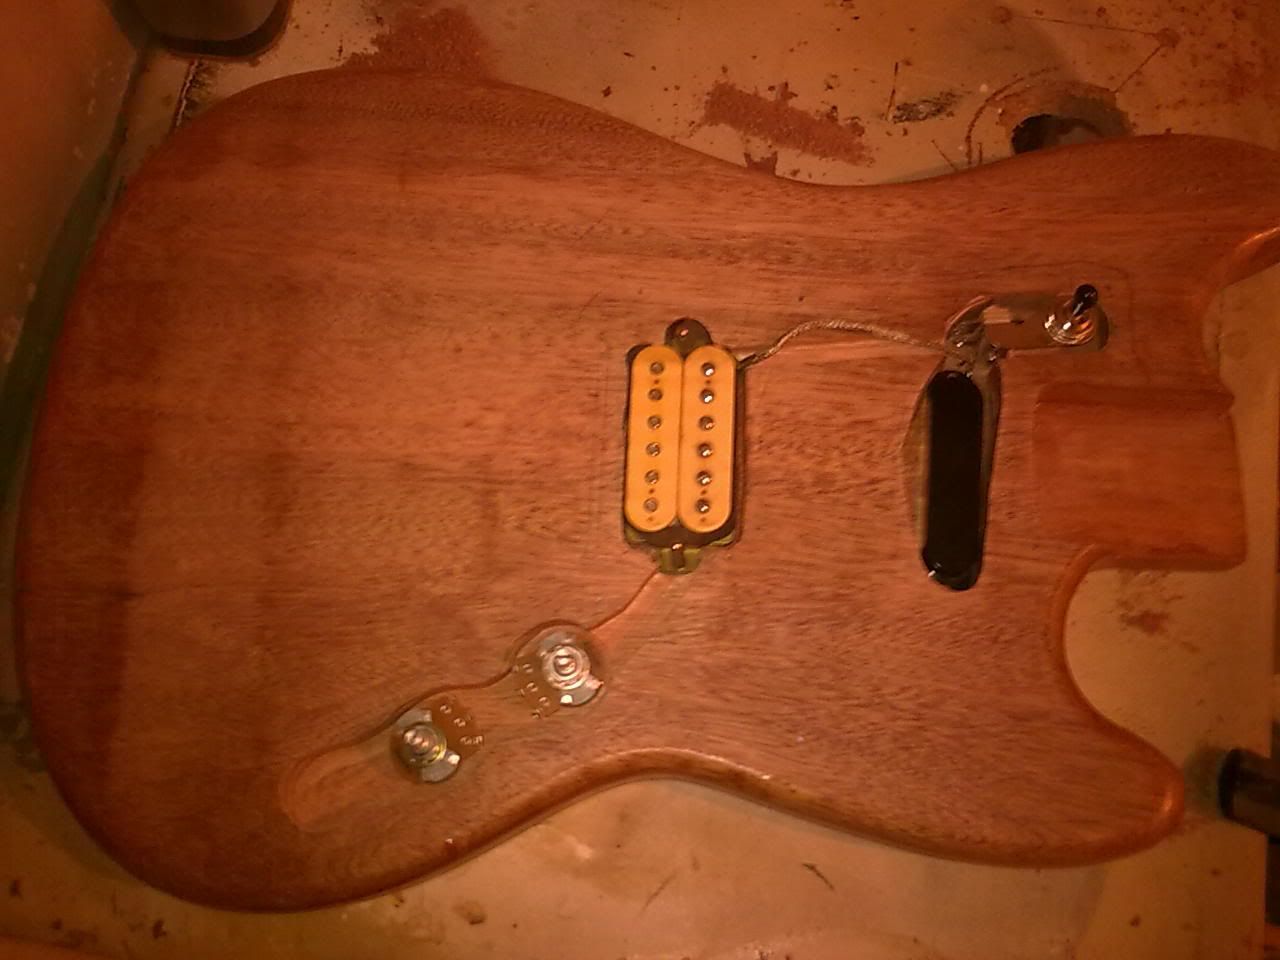
I routed some cavities for some 'lectrics. I stole my switch placement idea from that blue bronco that has been posted on here a few times.
Gonna try to make a pick guard for it tomorrow.
I have an off white PG blank and some cans of nitrocellulose laquer.
I have white primer, burgundy mist, clear and tinted clear.
Though, I'm not sure if I want the BM or just prime it and just put tinted clear, to give an off white finish.
Opinions please?