Page 1 of 2
IKEA Gorm Pedalboard Build (lots of pics) *Update, 19th Dec*
Posted: Mon Oct 04, 2010 9:04 pm
by Bacchus
Hopefully I'll be updating this thread every day or two to show the progress until it's finished.
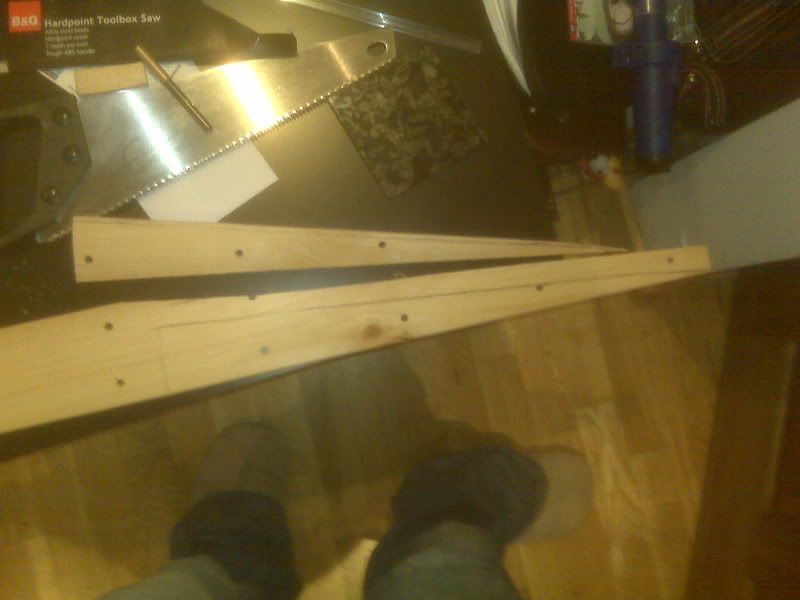
A good while ago I got my hands on a Gorm Shelving unit from Ikea, along with two planks, which I think they call side posts or similar. The planks are £2 and 110cm each, the shelf was not much more than that, about £5. To be honest, if you don't want the board angled, this would probably do fine. Also, Ikea sells these in all sorts of different sizes, and given the way they are put together, there's no real reason you couldn't have it any size you wanted.
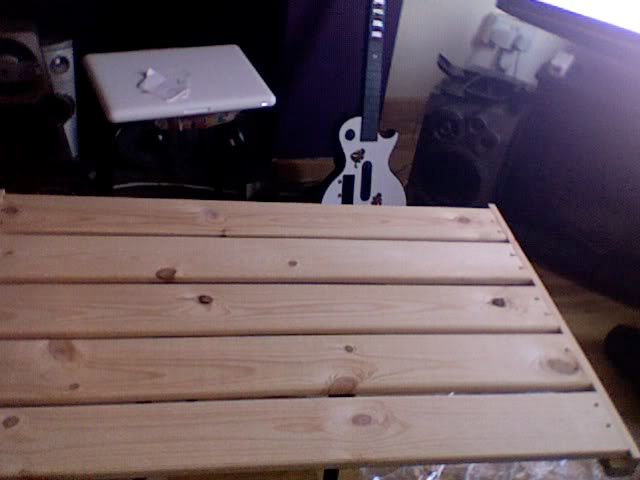
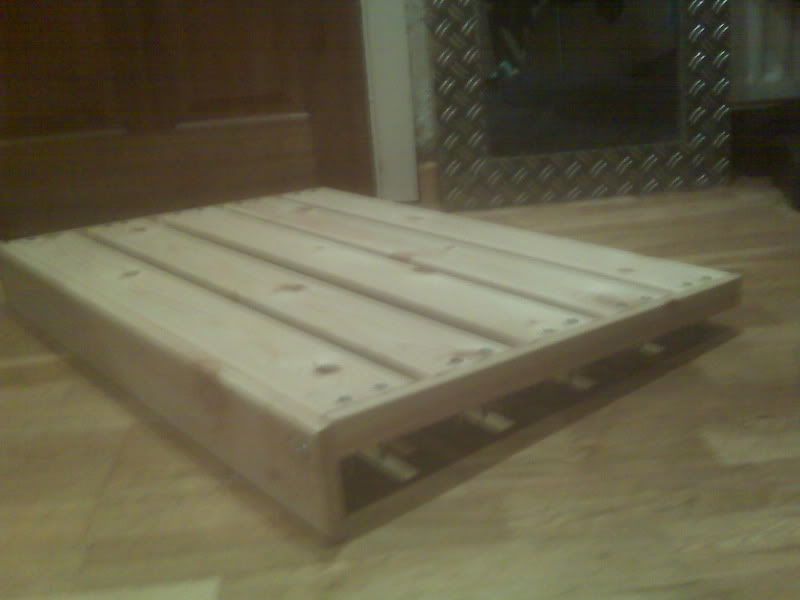
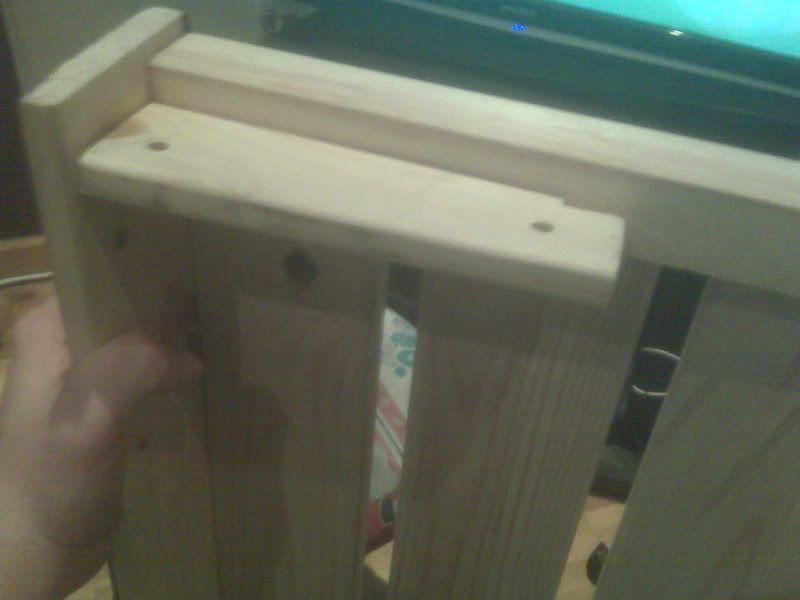
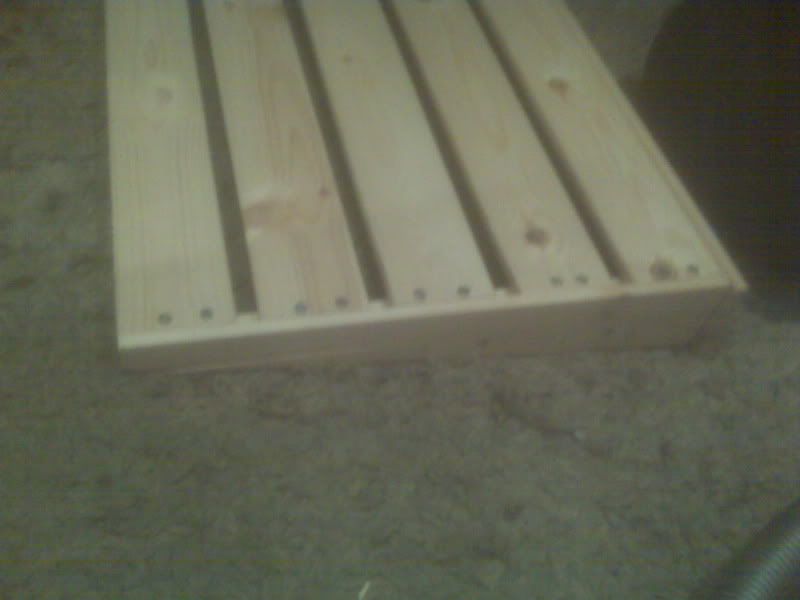
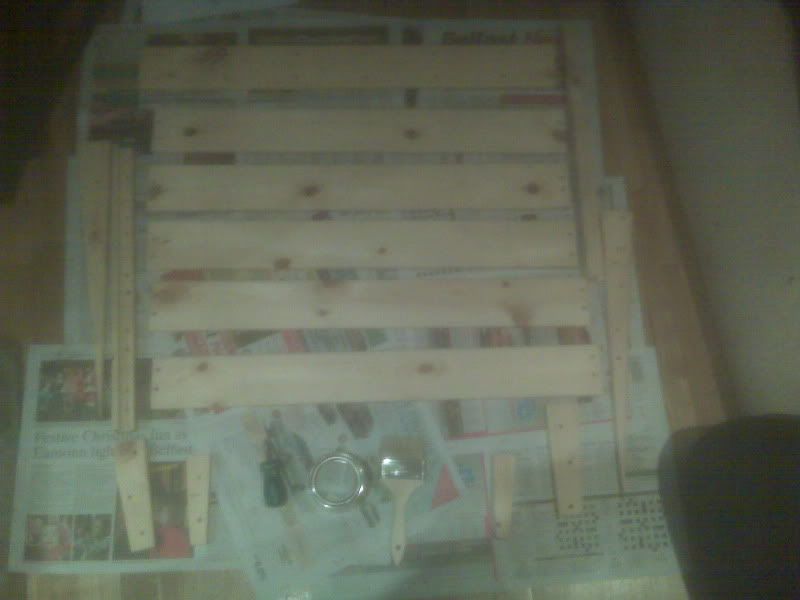
So, here's the shelf unit as I got it originally. It is made of two rail parts that will form the left and right edges of the board, and five slats. Notice that the slats aren't sitting right at the edge rail parts. This means that the top and bottom of the board are untidy and also that the gaps between the slats are narrower than they really need to be. Given that I'm going to be running cables through these gaps, I wanted them wider. Also, I didn't like the flimsy nails holding it together for some reason.
► Show Spoiler
There's a bit I don't have pics of, and it's taking the unit apart. Basically, I turned it upside down, sat the rail on two books of equal height with the slat I wanted to remove between the books, then stood on the slat to pop it out. There are any number of ways to do this.
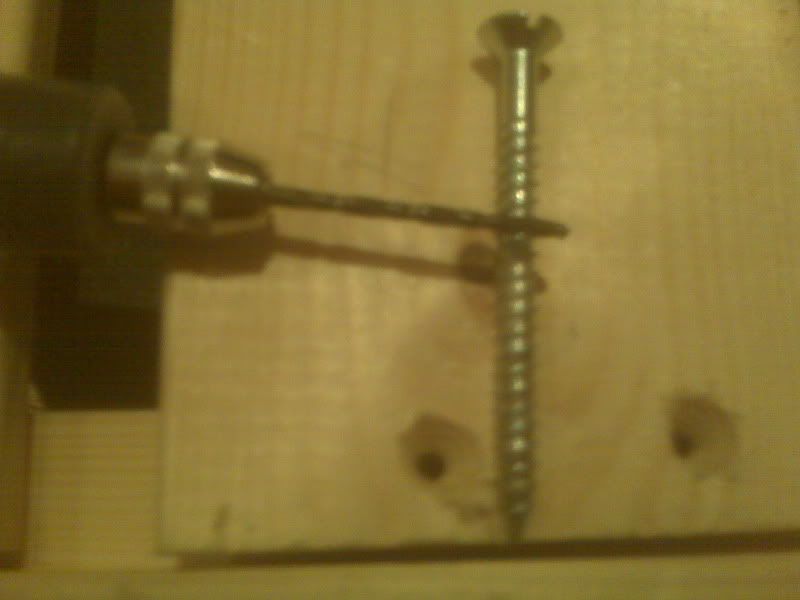
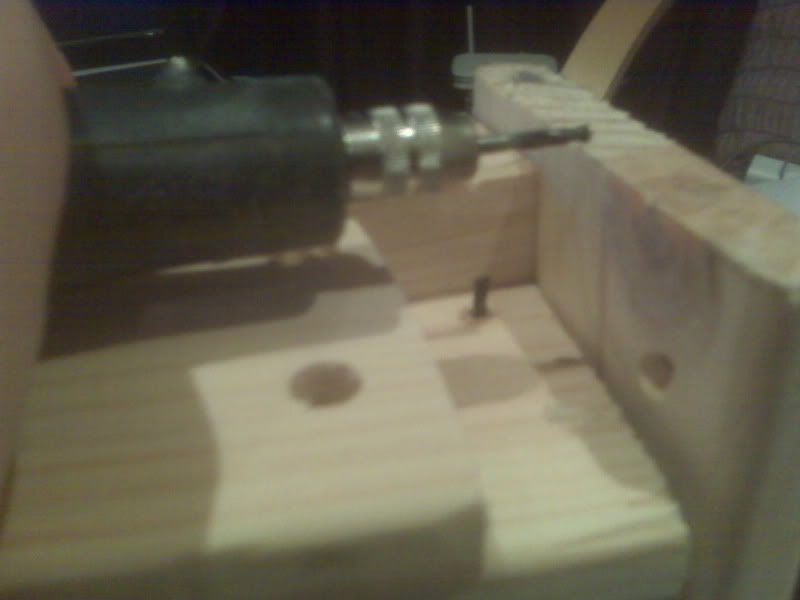
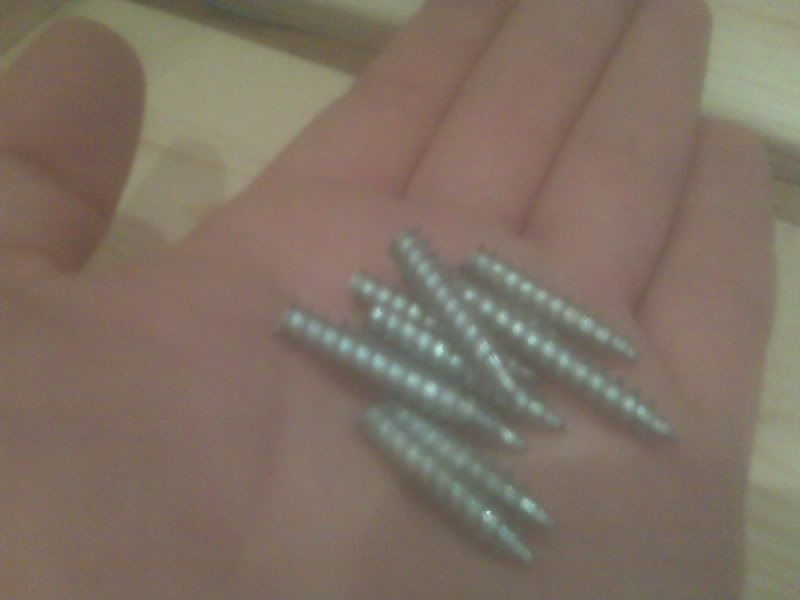
Anyway, having taken the thing apart into five slats and two rail parts, I set about widening the holes to take the ridiculous screws I bought. The screws I'm using are massive. The drill big I have to widen the holes is tiny. This was tiresome, and involved robroeing the holes (sticking a dremel in a jiggling it around until it's big enough). This was a nightmare. It took ages. I also had to drill holes through the rail pieces, and widen then too.
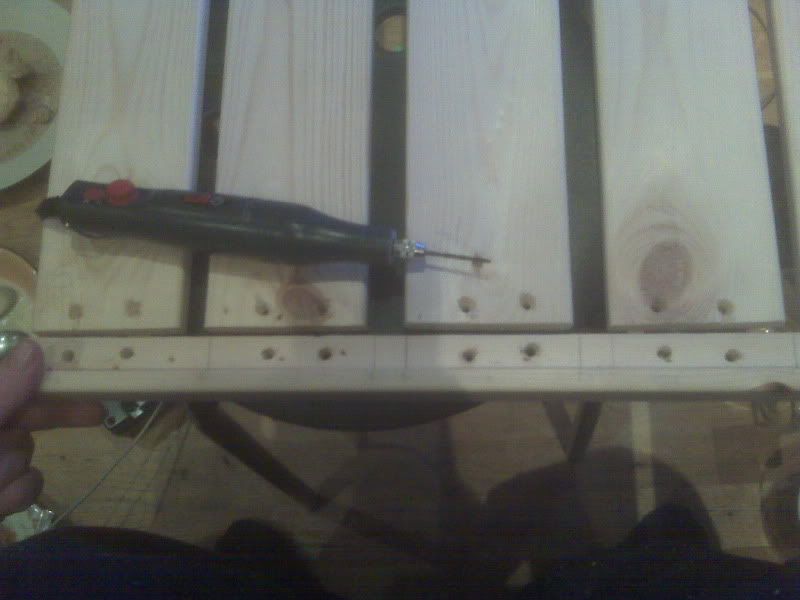
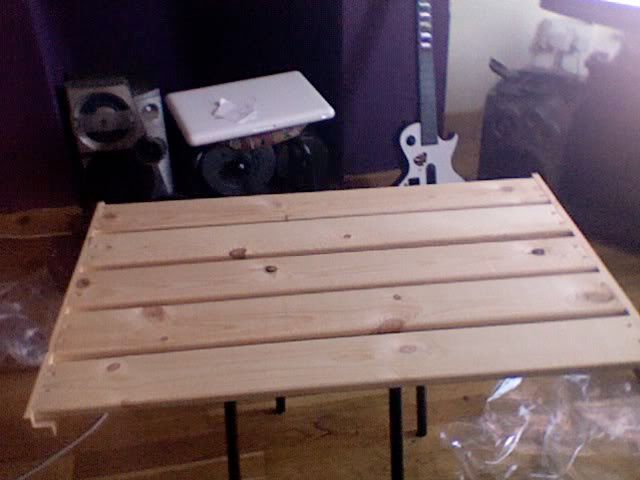
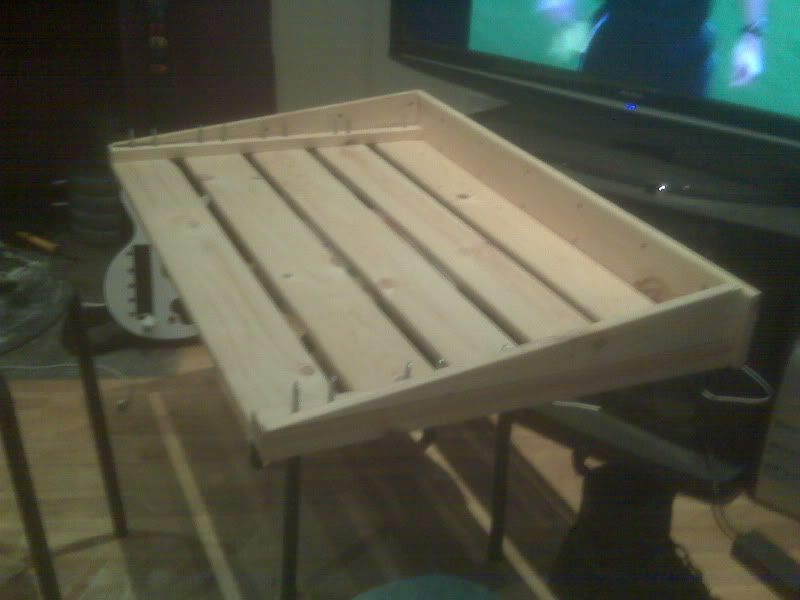
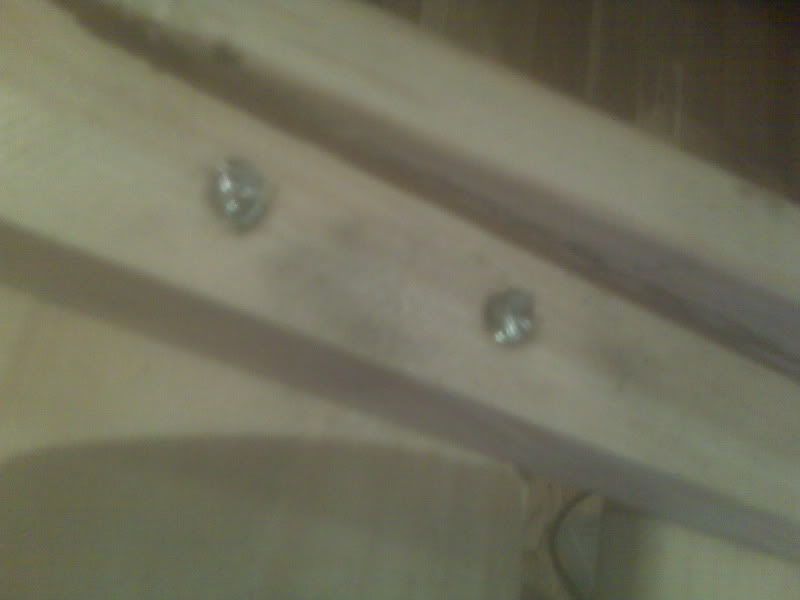
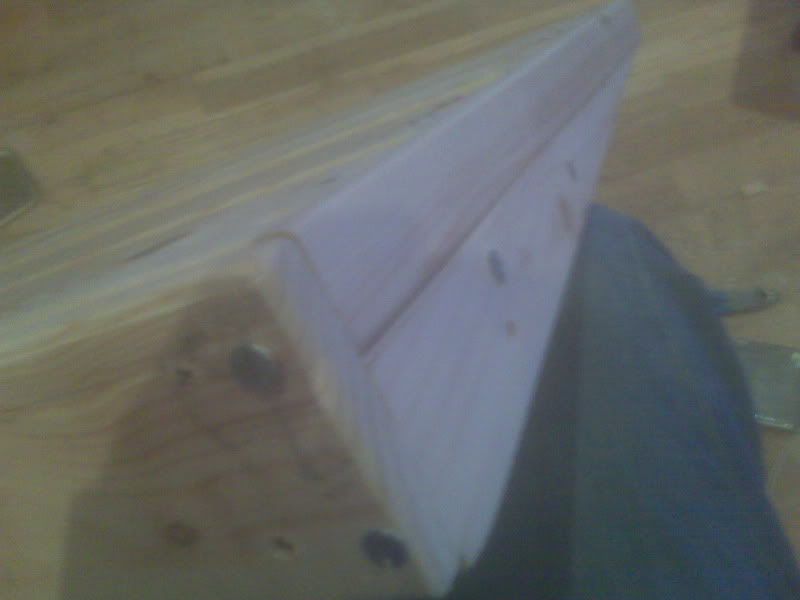
Having done that, I put it back together again. Note that the slats are now out at the edges of the rails.
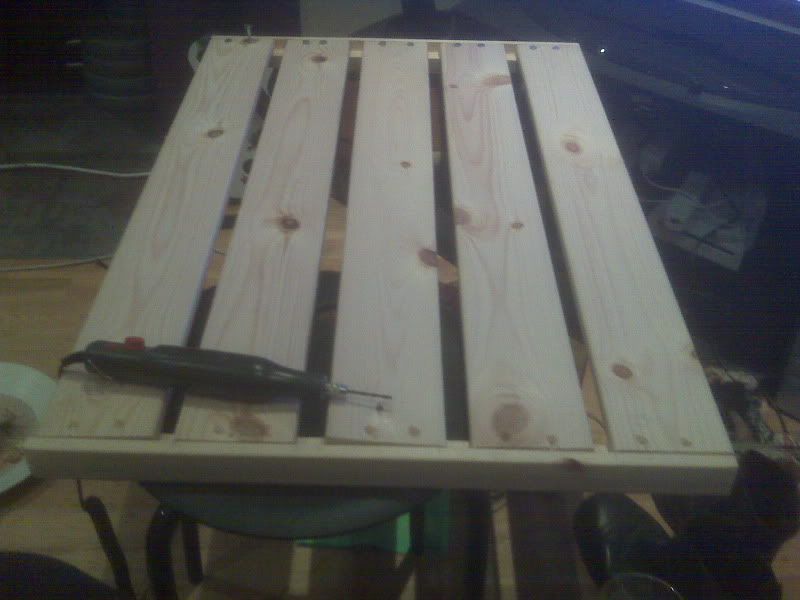
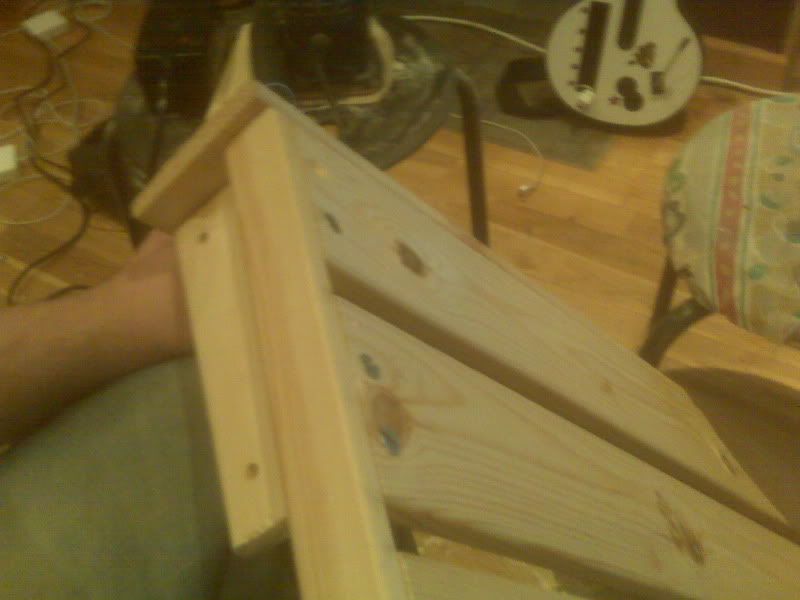
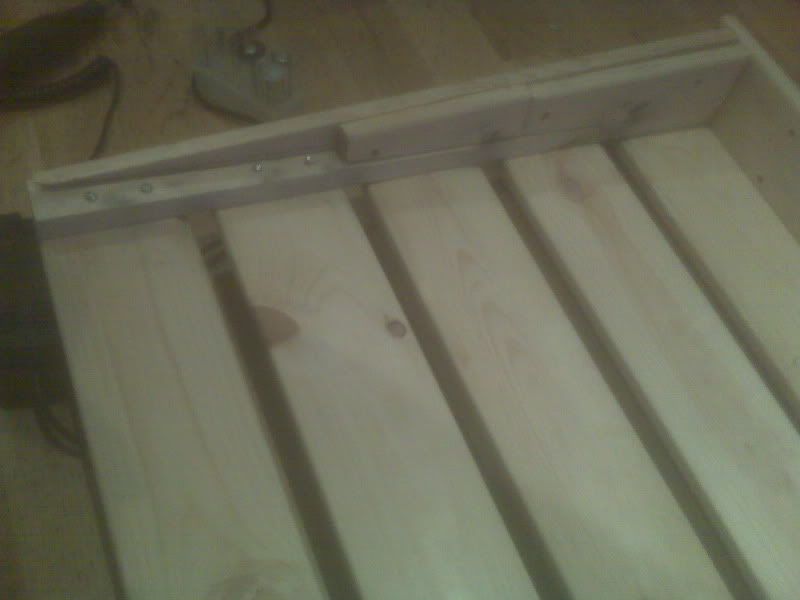
In order to give the board a bit of angle, I'm attaching a backboard to the back so that the back is higher than the front. This where one of the two planks I mentioned earlier will come in. I measured one of the planks against the pedalboard and cut it, leaving it a bit bigger than needed (probably half an inch longer). I'll tidy this up later.
This backboard will attach to the two rails at the edges of the board. Luckly, there is already a hole drilled in each rail.
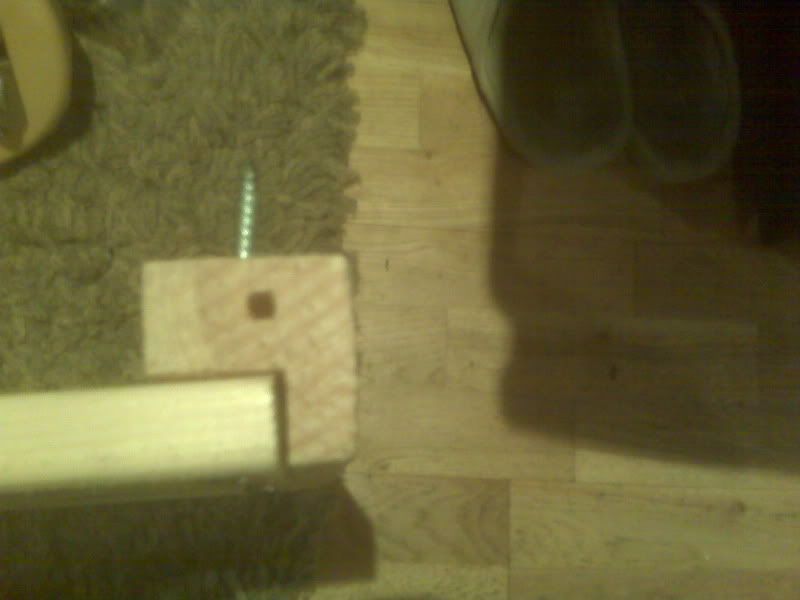
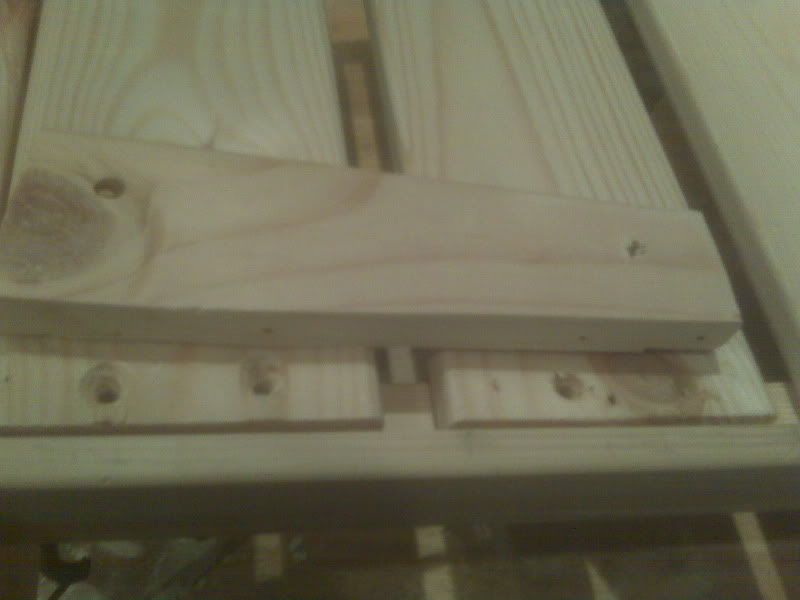
Someone on another site mentioned that these rail holes matched up with the holes in the plank, but not so in my case. I had to drill my own holes. Maybe if I'd used a different sized shelf unit it would match. In order to get this to match, I sat the backboard up against the pedalboard (upside down) and traced around the rails which gives me an impression of the location and shape of the cross section of the rails on the backboard. I couldn't really get a good pic of this, sorry. You can sort of see it better on the the second of these two pictures below. The hole (in my case) needed to be 1.5cm from the outside of the rail, and 7/8th of an inch from the top. Sorry for mixing measurements, but that's how I did it. I'd advise anyone else to make their own measurements, as these shelving units don't seem too precisely made. The hole in the first of these two photos was already in the plank. Presumably its purpose becomes clear if you use these things for their intended purposes rather than making cheap pedalboards.
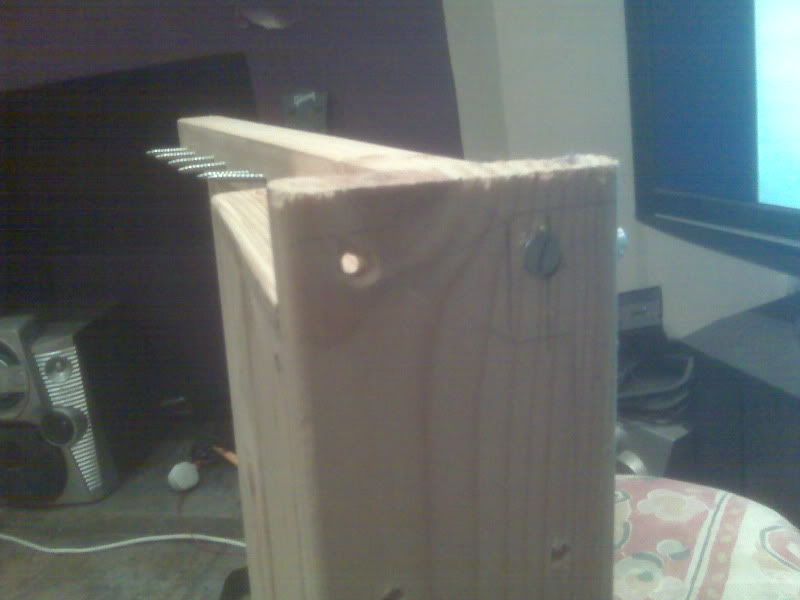
I drilled holes and robroed them out. here you can sort of see the tracing of the cross section of the rail (the hole below is 1.5cm from the right hand side of the rail in this picture, and 7/8" from the bottom).

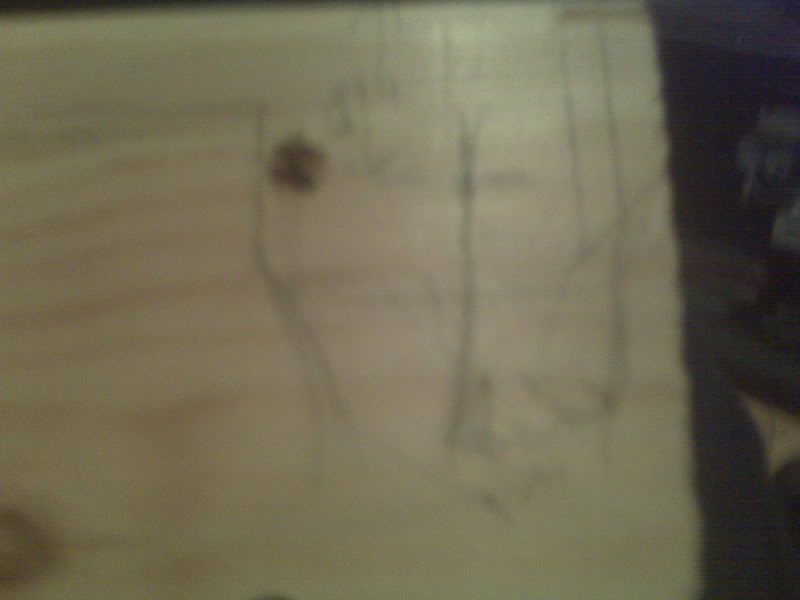
Here's a mistake I made, no doubt due to the flagrant mixing of different measurement standards. Imperial and metric don't mix. I'm not too bothered about this, it makes it boutique. This sort of mistake adds insane value to the board. No cold, machine made nonsense here.
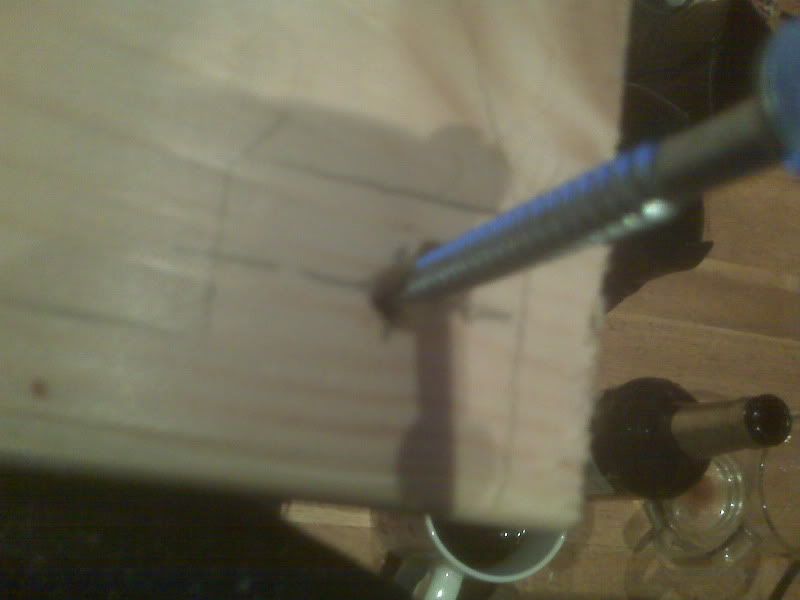
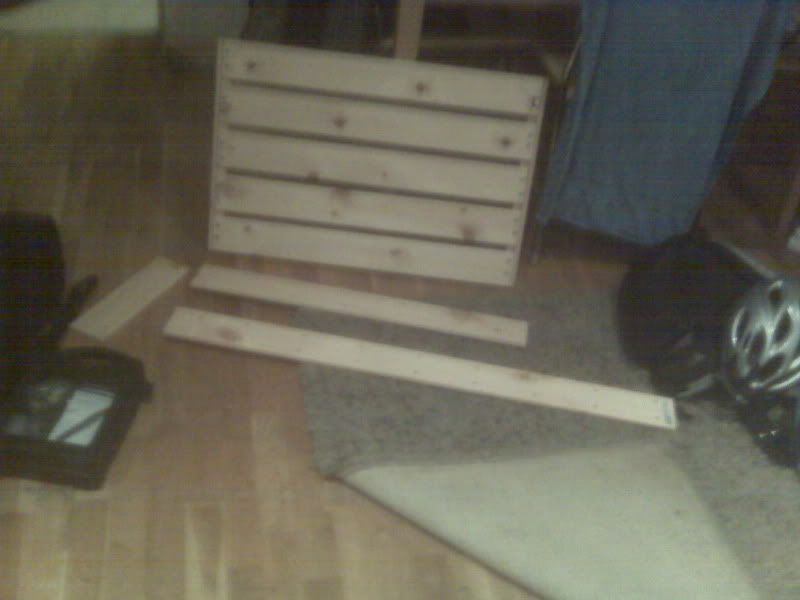
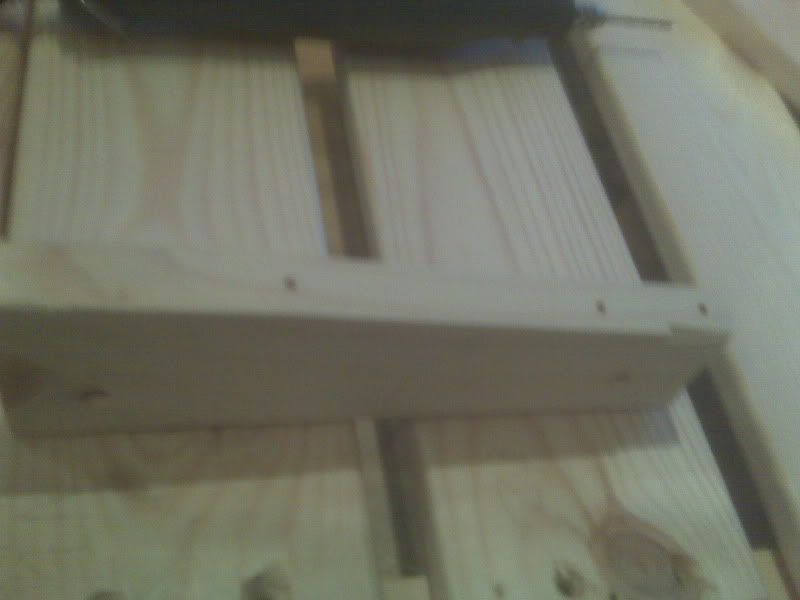
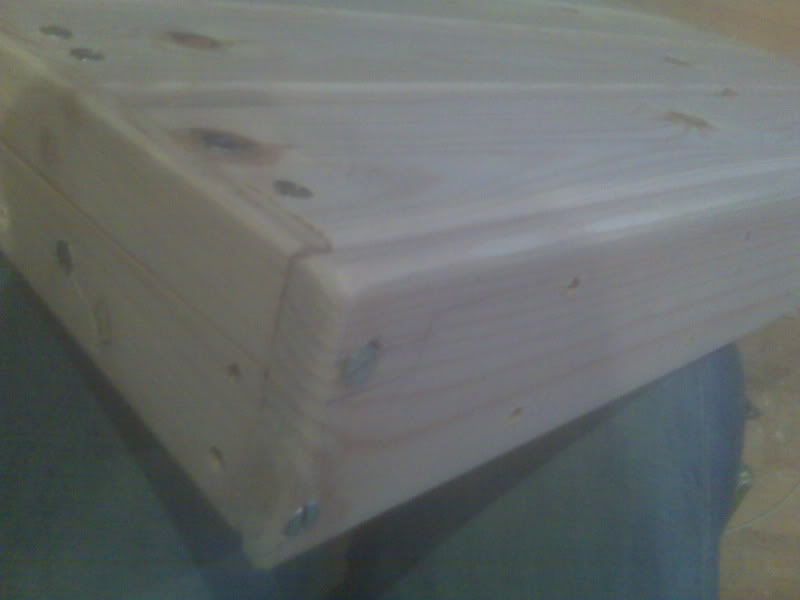
And here's the backboard screwed to the pedalboard.
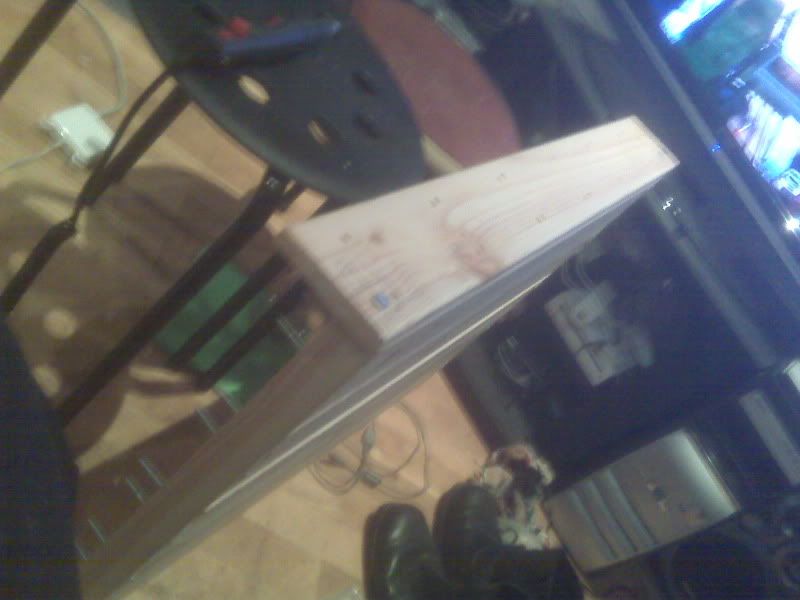
Here it is on the floor. The angle should be a lot better (lower at the front) except that the gigantic screws haven't been taken care of yet. I'm a long way from finished, and have a few things I need to work out yet. I imagine I'll hack saw the screws off and I might will put sideboards on it. The whole thing has to come apart again, get painted, and be glued and screwed together permanently.
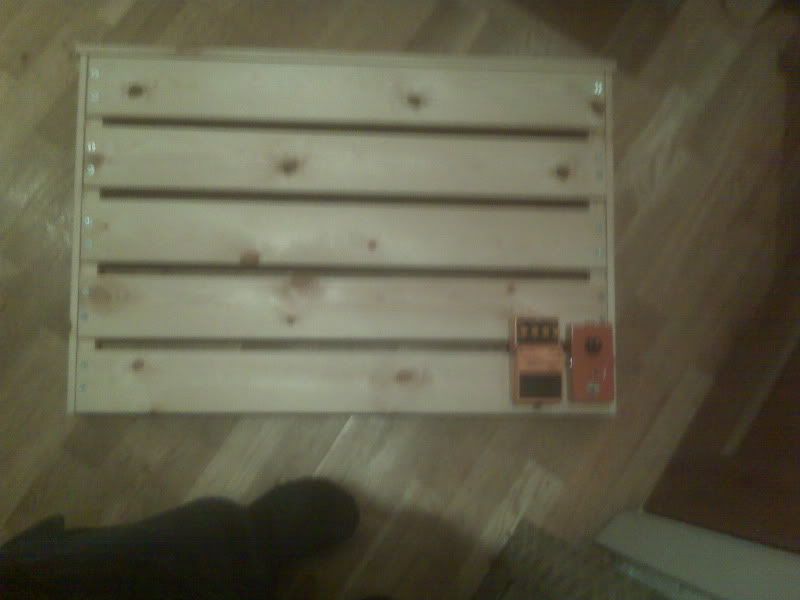
Here's an idea of the size of the thing. On the right is a Saltbooster, on the left is one of the 14 DS-2's that the board is being built to house.
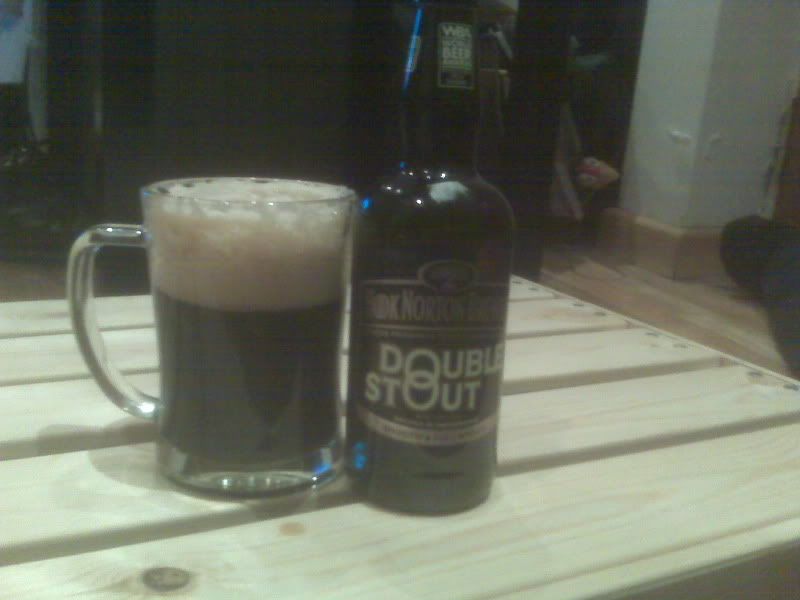
Here's a pint of stout to mark the end of this session of work. Much stickier and sweeter than I'd expected. Not cloying though. Not too strong either, 4.8%. Could drink it all day.
More tomorrow, hopefully.
Re: IKEA Gorm Pedalboard Build (lots of pics)
Posted: Mon Oct 04, 2010 9:29 pm
by endsjustifymeans
BacchusPaul wrote:on the left is one of the 14 DS-2's that the board is being built to house.
that one shot coffee out my nose... thanks paul.
Posted: Mon Oct 04, 2010 10:15 pm
by Fran
+1

Good work Paul.
P.S. I love the DS-2.
Posted: Tue Oct 05, 2010 7:57 am
by Dave
Awesome work! Look forward to seeing this pan out. Will there be a funky finish?!
Posted: Tue Oct 05, 2010 7:58 am
by wwrrss
Dave wrote:Awesome work! Look forward to seeing this pan out. Will there be a funky finish?!
DS-2 Orange finish!!
Posted: Tue Oct 05, 2010 8:07 am
by Dave
wwrrss wrote:Dave wrote:Awesome work! Look forward to seeing this pan out. Will there be a funky finish?!
DS-2 Orange finish!!
+ GREEN PEARLOID
Posted: Tue Oct 05, 2010 10:43 am
by Doog
Good stuff Paul, that board is fuckin' maaaaaaaaassive!
Posted: Tue Oct 05, 2010 10:49 am
by Fran
wwrrss wrote:Dave wrote:Awesome work! Look forward to seeing this pan out. Will there be a funky finish?!
DS-2 Orange finish!!
Posted: Tue Oct 05, 2010 2:57 pm
by SKC Willie
Doog wrote:Good stuff Paul, that board is fuckin' maaaaaaaaassive!
My board has 5 pedals on it and I'm trying to downsize because I think it is too big! I do love when other people bring giant pedal boards to shows though.
Posted: Tue Oct 05, 2010 4:57 pm
by James
Go one step further than DS-2 orange - paint the whole board to look like a giant DS-2.
Re: IKEA Gorm Pedalboard Build (lots of pics)
Posted: Tue Oct 05, 2010 6:40 pm
by Mike
endsjustifymeans wrote:BacchusPaul wrote:on the left is one of the 14 DS-2's that the board is being built to house.
that one shot coffee out my nose... thanks paul.
+1
Extremely well timed.
Posted: Tue Oct 05, 2010 8:14 pm
by Fran
James wrote:Go one step further than DS-2 orange - paint the whole board to look like a giant DS-2.
THIS would make it the project of the year. DO IT PAUL.
Posted: Tue Oct 05, 2010 8:18 pm
by Bacchus
Haha. I did want to do it in red, white and black, Derry City colours, but decided on black instead. Probably sensible.
No work being done this evening. I'll likely get the sides on tomorrow depending on what the overtime situation is at work.
Posted: Tue Oct 26, 2010 10:00 pm
by Bacchus
Finally got round to doing more work on this.
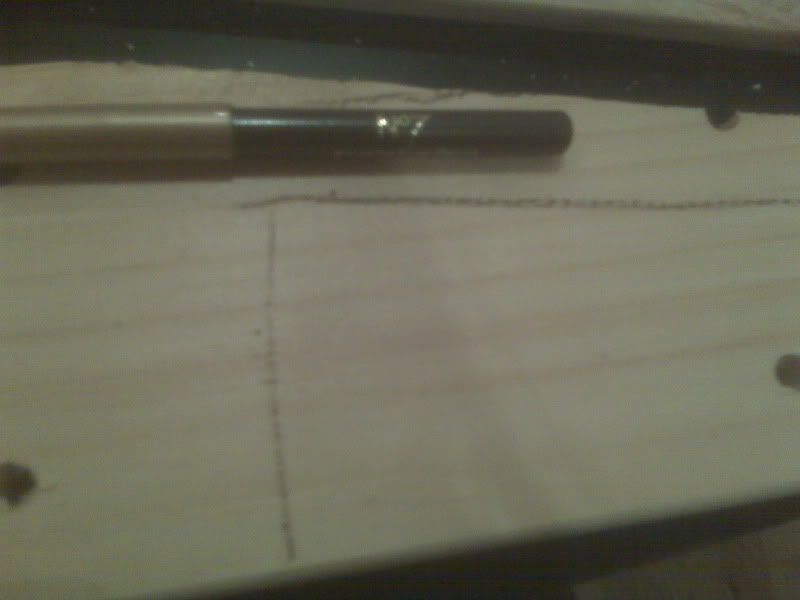
I decided I definitely wanted walls on it, so I did a bit of measuring and a bit of pythagorasing and ended up with these triangles. When I went to mark the wood, I couldn't find my ordinary pencil, so I had to improvise and use eye-liner instead.
I'm using Boots own brand No.7 eye-liner.
► Show Spoiler
Here's one triangle cut out, and one about to be cut:
Here's the board upside down with the triangle walls sat on the rails. They needed a little extra shaping to fit, so I used a hand sander:
In order to attach the walls, I thought about using the little plastic blocks that are designed to take screws at right angles that you usually find beside the Rawl plugs at the hardware shop, but I decided I'd rather use wood as it'd be heavier, sturdier and would look better. I cut these inserts from the scrap left from cutting the triangles. Angles being angles, and doing what they do when placed against parallel lines, this scrap bits are pretty much exactly the right size, shape and angle to correspond to the portion of the wall where they'll be placed. They will be attached to the underside of the rails using the screws that are holding the slats on. The walls will go just outside of them. Here's the first one:
I held this insert along side the triangle wall so that the two were perfectly in profile. I then marked where the screw holes would need to go on the insert:
I robroed some screwholes out with a dremel (not the holes you can see on the face of the insert in this picture), and attached it to the underside of the rail:
Next up was attaching the wall. I decided that as well as screwing the wall to the insert, I would also put another screw through the backboard and into the wall. I robroed a hole in the backboard:
I put a hole in the insert (the one I'm pointing to. The other holes were already in the wood, they are probably useful for using the wood as intended as part of a shelving unit). The hole had to go here as the screw needed to miss the screws coming down through the slats, through the rails, and into the insert.
I decided to put another screw through the wall and into the insert in the top right hand corner of the insert as seen in the previous picture. The main reason for doing this was that when I assembled things, I found that the screws coming down from the slats and through the rails, which were intended to go into the insert were missing slightly, pushing the insert inwards, the wall outwards, and making a space between the two. I don't want anything to split, so I decided the best thing to do is to get the wall and insert as tight as possible and worry about where these screws go when I'm reassembling everything with glue. I'll drill a new hole for it if necessary.
Unfortunately, this is when disaster struck:
The bit broke. Too much robroeing. I'll get new bits and get on with things again.
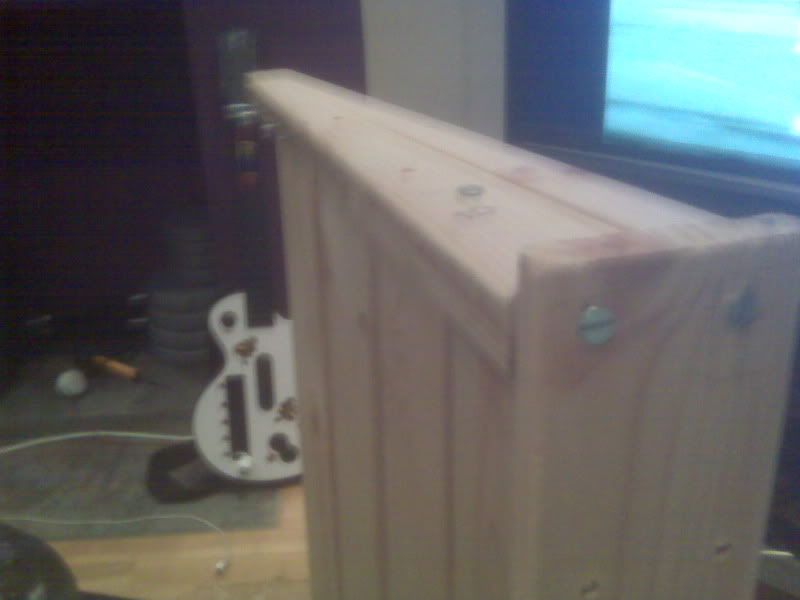
Here's a few photos of everything together as it is so far. I might put another insert in each side, just because I happen to have bits of wood about the right size, and they can't hurt. I have to do the inserts on the other side, tidy up the back board, and then I think I'm ready to take it all apart and paint it before gluing it back together:
Posted: Tue Oct 26, 2010 10:46 pm
by Haze
lookin guuuuuud. Its going to be pretty slick once its painted up and loaded with pedalies
Posted: Wed Oct 27, 2010 8:36 pm
by lorez
jezus paul, I struggled with making my small gorm pedal board I wouldn't of been arsed half way through this. Mightily impressive mate. Looking forward to seeing it full of pedals and making it like a DS2 would be amazing
Posted: Sun Dec 19, 2010 6:19 pm
by Bacchus
So, I finally got new drill bits and could get on with this.
The first thing to do was to tidy up some of the holes that the screws weren't pulling or pushing anything apart. Then I assembled the whole thing.
The next thing was to tackle those screws which were sticking out all over the place. I really wasn't looking forward to this bit, as I didn't have a definite tactic in mind that I was sure would work. First I tried a hack saw, but it quickly became obvious that that was a waste of time and was ruining the (very cheap) hacksaw. Better to hold on to it and keep it usable for other, easier jobs.
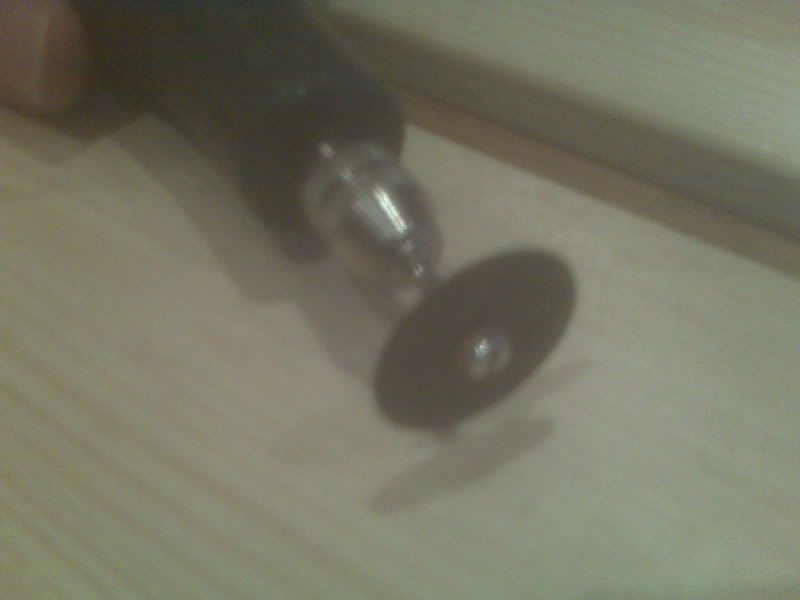
Next I tried the circular saw on the dremel but it did nothing at all and blunted in no time so that it was basically just a round, nobbly disk with no real teeth on it. Finally I tried some grinding wheels and they did the job. Lots of sparks flying about the place and the edge of the wheel turning red and then white hot. Good fun. I'd get about three quarters of the way through the screw and then break off the tips with a pair of pliers whilst the metal was still hot.
► Show Spoiler
Here's the wheel:
Here's the tips of the screws after they were cut off:
And here's two of the screws in the wood having been cut.
Here's a picture of the underside with one of the walls and two of the inserts. the screws are cut here and the pedal board will be able to sit flush on the ground:
This is it as it would sit on the ground:
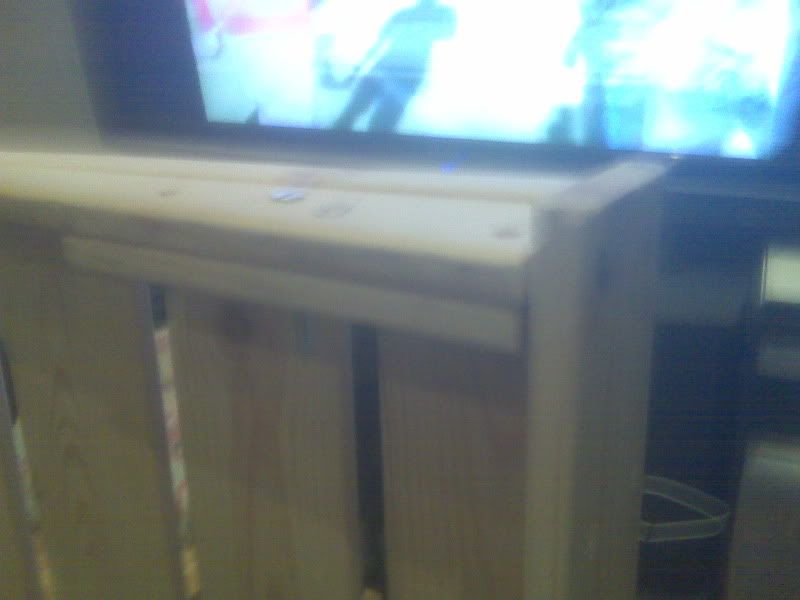
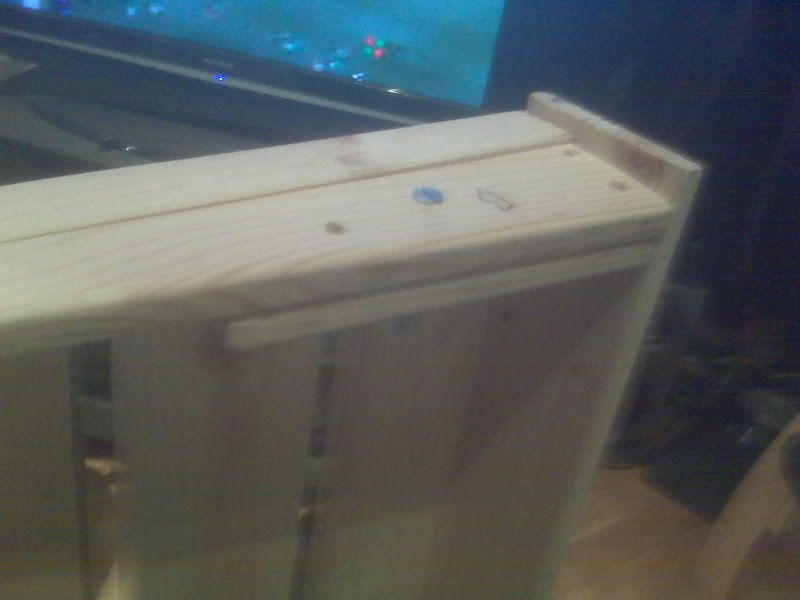
Next, I had to tidy up some of the corners. I originally cut the backboard to be a good bit longer than was necessary, now it was time to tidy it. I sawed the excess wood off and tidied with a hand sander. If you compare these pictures to some of the ones of the same joints from above you'll see what I've done here.
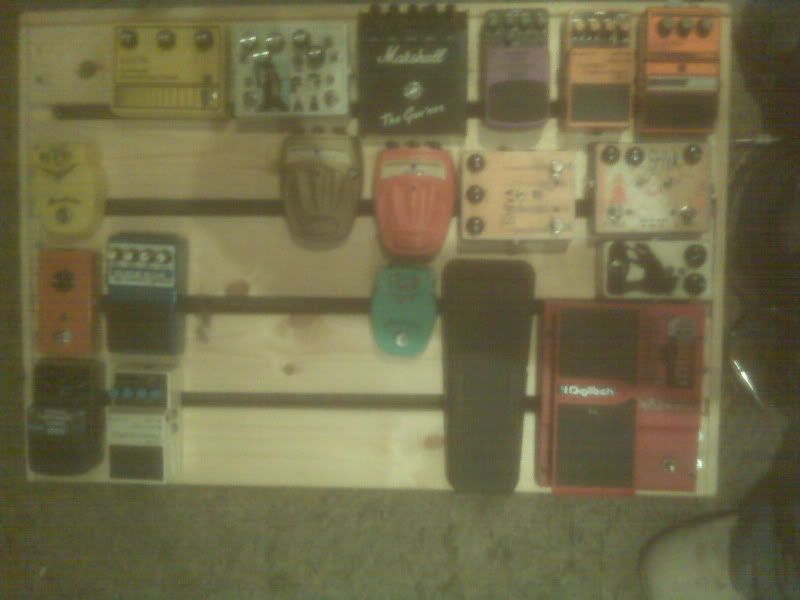
At this point I couldn't help myself and populated the board with the pedals that will go on it, because it might be a while before the whole thing is assembled again. Cue lots of standing around with no guitar standing on pedals that aren't plugged in making "bzzz, piyoooo, grnrnnnrnnn, dvvvffvfvvv" noises with my mouth. There is just about the right amount of space here for what else has to go on, so it's worked out well.
Now I had to take it apart and finish it. Here it is taken apart:
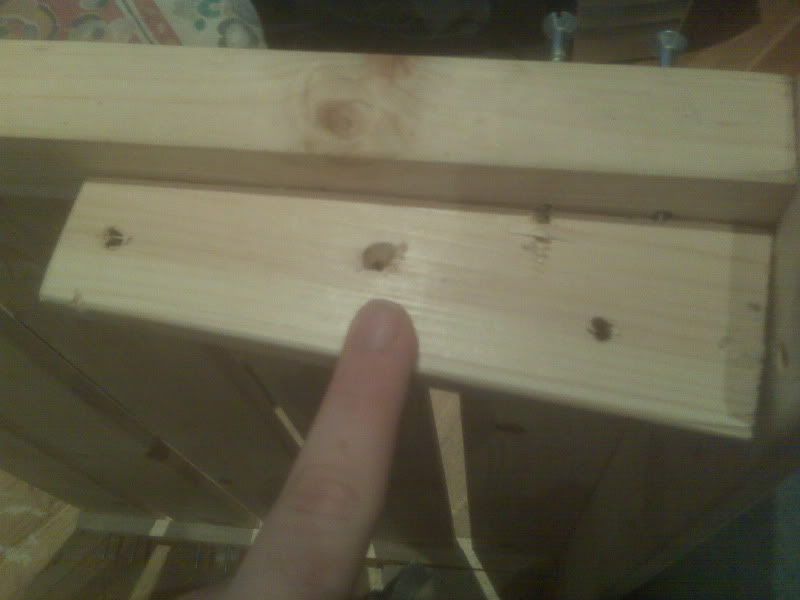
Because some of the screws had been cut to measure I thought it was prudent to make a diagram at this point and a table so that I could keep track of what screw goes where. Here that is:
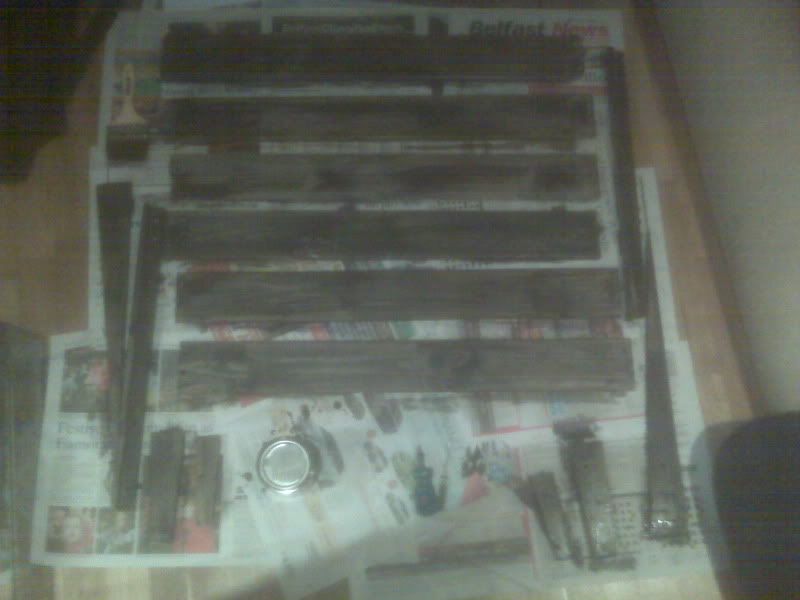
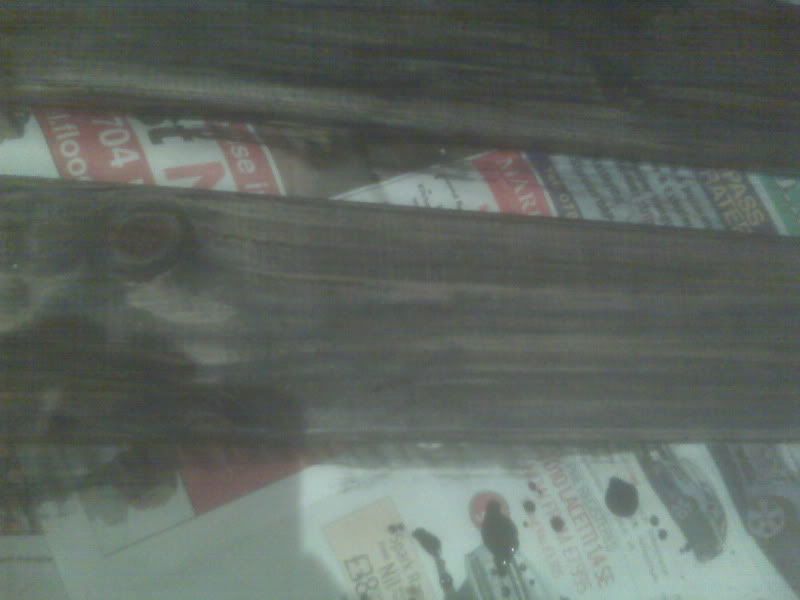
The paint itself was a little less impressive than I was hoping. This also came from Ikea and is basically a black stain but with a weird Ikea name like Merhaba Royskopp or something. I'll get a few coats on there so that it ends up properly black. It's kind a grey blue colour now, but I'm hoping it dries black. I think it actually looks kind of cool as a patchy, thin stain, but it's not yet what I'm looking for.
Posted: Sun Dec 19, 2010 6:35 pm
by lorez
nice work paul. are you going to stick velcro on there as well? I look forward to more installments.
Posted: Sun Dec 19, 2010 6:45 pm
by Thom
That board is massive! Only really got the size with the pedals on it. Bloody good work.
Posted: Mon Dec 20, 2010 8:19 pm
by Bacchus
Definitely going to be using velcro. One of the main reasons I went for black over red and white was that red and white would look crap with black velcro (it'd probably look crap anyway, to be honest).
I've put two more coats of stain on and it's looking black now rather than grey. I'll post pics when I've got the whole thing painted.