Fender Starcaster Flanger - Modification Tutorial
Posted: Fri Apr 08, 2011 11:55 pm
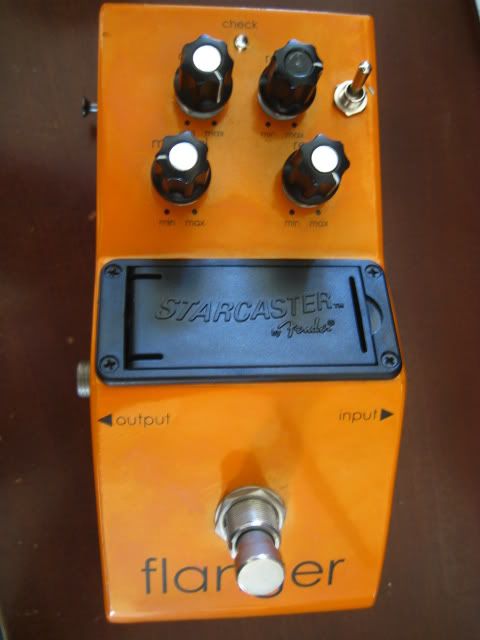
I picked up a used Fender Flanger the other day and as promised in the Fender Chorus thread, here are some modifications for it. It's a Boss BF-2 clone almost part for part. It's missing the FET switching, about 6 parts have different values and it's missing the Resonance internal trimmer along with it's resistor.
If there is interest in modding this pedal, I'll do some more mods like true bypass and whatever else I can come up with.
Here's the pedal:
First I changed C7 from 0.047uf to 0.01uf. This made it a little less metallic sounding but I kind of liked the metallic sound of it so I changed it back.
Then I changed C13 from 47p to 33p. This slows down the rate and gives kind of a chorus feel on slower settings. Didn't like it so I went the other way. I replaced it with a 100p. This speed it up a little and seemed to add a little more depth.
Now for the fun stuff!
Speed Mods:
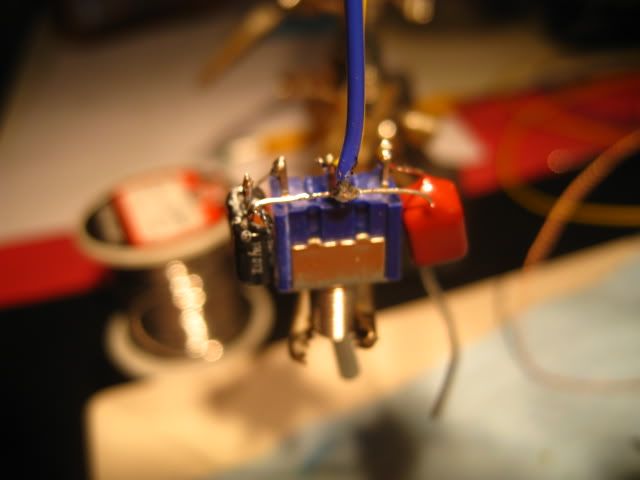
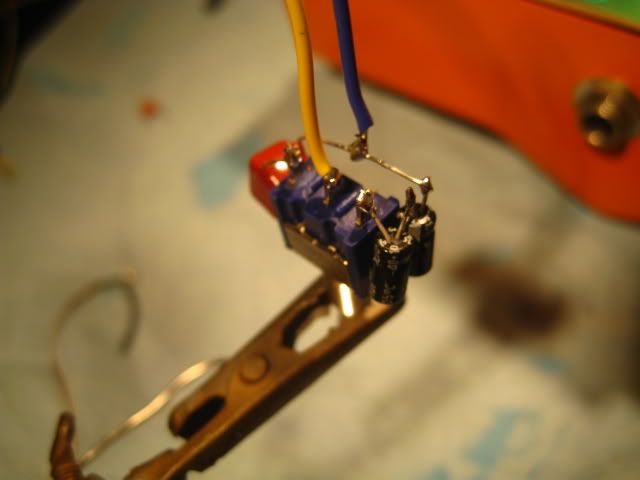
There are two 33uf electrolytic caps (C17 and C18) that are in series but opposite directions. Together these form a non-polarized ~16uf cap. Lowering the values of these caps gives ridiculous speed raising the values of them slows it down. Kind of what C13 does really. Didn't like the slower speeds but did like the faster speeds as it almost sounded like ring modulation at the faster speeds. I do like the stock speeds with the two 33uf caps also. This called for a switch.
I removed the two 33uf caps and soldered the negative legs together. Then I soldered one of the positive legs to the outside lug of an SPDT switch. I then soldered a 1uf film cap to the other outside lug of the switch. The other leg of the 1uf went over to the last unused leg of the 33uf combo. (see pictures below). I soldered a wire to the middle lug of the switch and a wire to the leg of the 1uf that goes across to the 33uf's positive leg. Solder each loose end of wire to where the positive legs of the 33uf's were on the board.
Vibrato:
Next I lifted one leg of R55 to get a vibrato effect. It was ok. It did add a little vibrato to the flanging but I didn't really like it too much. Not enough to add another switch. At least not right now.
Blinking LED:
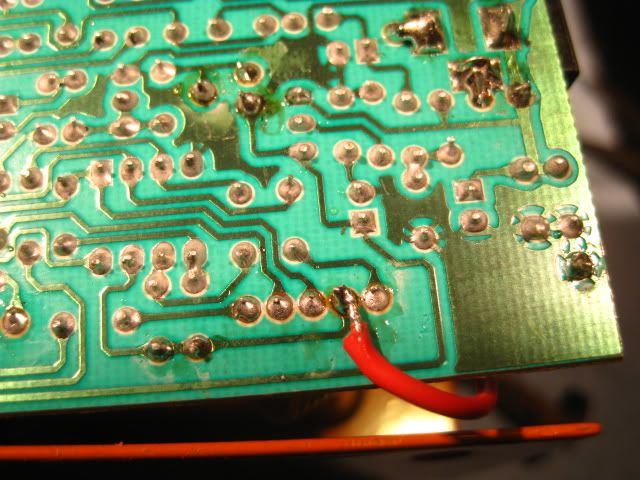
I removed the red wire off the little status LED board and soldered it to where the ribbon cable for the Rate and Depth pot attach to the board. You could solder it directly to the pot but I didn't remove them from the enclosure and it was too hard to get my soldering iron in there so I just soldered it to the board. See picture below. Now the LED blinks with the Rate control. I also changed the LED out to a bright green LED while I was at it.
If there is interest in these mods and doing more to the pedal, I'll crack it open again and do some more stuff to it.
If there is interest in modding this pedal, I'll do some more mods like true bypass and whatever else I can come up with.
Here's the pedal:
First I changed C7 from 0.047uf to 0.01uf. This made it a little less metallic sounding but I kind of liked the metallic sound of it so I changed it back.
Then I changed C13 from 47p to 33p. This slows down the rate and gives kind of a chorus feel on slower settings. Didn't like it so I went the other way. I replaced it with a 100p. This speed it up a little and seemed to add a little more depth.
Now for the fun stuff!
Speed Mods:
There are two 33uf electrolytic caps (C17 and C18) that are in series but opposite directions. Together these form a non-polarized ~16uf cap. Lowering the values of these caps gives ridiculous speed raising the values of them slows it down. Kind of what C13 does really. Didn't like the slower speeds but did like the faster speeds as it almost sounded like ring modulation at the faster speeds. I do like the stock speeds with the two 33uf caps also. This called for a switch.
I removed the two 33uf caps and soldered the negative legs together. Then I soldered one of the positive legs to the outside lug of an SPDT switch. I then soldered a 1uf film cap to the other outside lug of the switch. The other leg of the 1uf went over to the last unused leg of the 33uf combo. (see pictures below). I soldered a wire to the middle lug of the switch and a wire to the leg of the 1uf that goes across to the 33uf's positive leg. Solder each loose end of wire to where the positive legs of the 33uf's were on the board.
Vibrato:
Next I lifted one leg of R55 to get a vibrato effect. It was ok. It did add a little vibrato to the flanging but I didn't really like it too much. Not enough to add another switch. At least not right now.
Blinking LED:
I removed the red wire off the little status LED board and soldered it to where the ribbon cable for the Rate and Depth pot attach to the board. You could solder it directly to the pot but I didn't remove them from the enclosure and it was too hard to get my soldering iron in there so I just soldered it to the board. See picture below. Now the LED blinks with the Rate control. I also changed the LED out to a bright green LED while I was at it.
If there is interest in these mods and doing more to the pedal, I'll crack it open again and do some more stuff to it.