Page 1 of 1
Advice Needed: Reattaching New Headstock to Neck
Posted: Wed Apr 04, 2012 5:30 pm
by Narco Martenot
I am thinking about starting a new project -- I have not built a guitar in over a year and I am craving a project. For this project, I want to keep this incredibly cheap, which means I might have to do some hilarious hacking to an existing guitar to make it look like a completely different guitar.
Basically, I have a Fender guitar with a neck that I love (scale, thickness, etc) but I hate everything else about it the guitar in general. However, this project must have a 3 x 3 headstock like so:

I want to cut an existing Fender-style headstock off of a neck and attach a new one. What would be the best way to go about doing something like this; yet have it be strong enough to withstand some minor abuse if necessary? I assume cutting the neck and new headstock in a specific shape will make it much stronger? Should I use some sort of brace, just make the two pieces fit will and glue them; or both? Keep in mind the font of the headstock will be covered in aluminium, so that might strengthen it a bit. I could also cover the back of the headstock.
I have only fixed broken Gibson headstocks before -- I have never attempted anything like this.
Any help would be much appreciated.
Posted: Wed Apr 04, 2012 8:37 pm
by othomas2
I'm no expert but I'd cut the fender one square and make wings and dowl together. A suggestion.
I guess you'd need to plug the tuner holes too.... hmmm.... I dunno.
Posted: Wed Apr 04, 2012 8:59 pm
by Addam
Also, it depends on what tools you have or have access to.
(I'm not an expert either)
Posted: Wed Apr 04, 2012 9:02 pm
by Narco Martenot
I have access to a woodshop, so tools are not an issue.
I should have added that I want to cut the entire headstock off, and make a new one that is very small like shown in the drawing. Matching the wood grain and all of that is not necessary as it will be painted.
Posted: Wed Apr 04, 2012 9:09 pm
by Addam
Personally, I would go ambitious and do a scarf joint (angled headstock)
But if you're getting that involved, it would probably be just as easy to scratch build...?
Posted: Wed Apr 04, 2012 10:43 pm
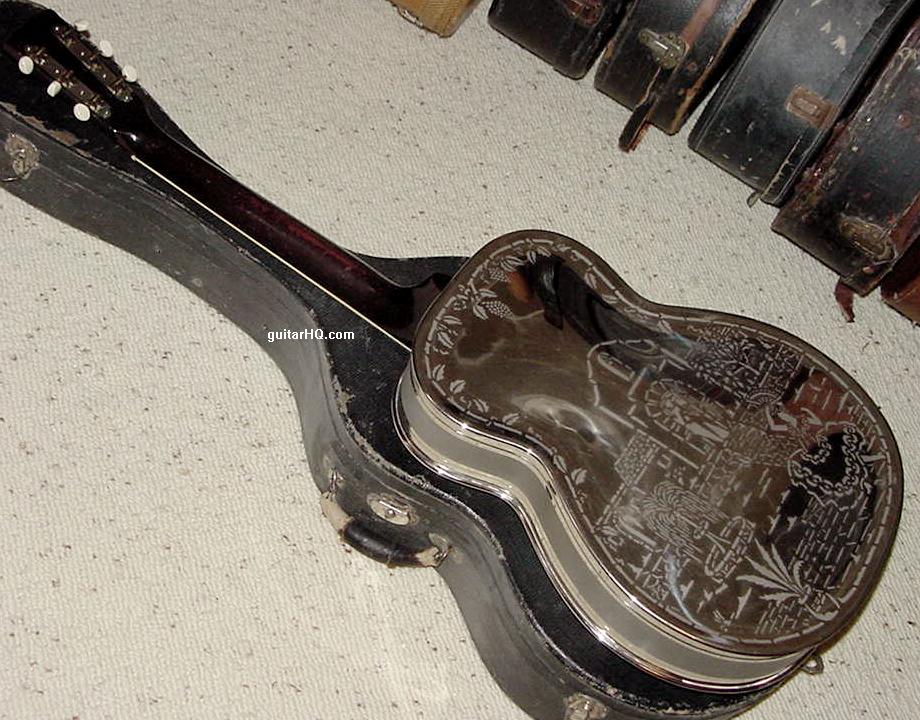
by robroe
at some point in its 83 years, the headstock broke on my Dobro.
the fixer man, cut a fucking piece of solid steel, shaped it to the form of the back of the head stock, drilled out holes for tuners in it, and screwed that fucker down.
this idea might work great for you.
get a steel plate screw it into the new headstock, then have the overhang go into the end of the neck of your neck
Posted: Thu Apr 05, 2012 1:42 am
by Narco Martenot
I think using thicker metal (steel or aluminium) on both sides of the headstock is a great idea. I would use epoxy glue and screws.
Do you have a photo of your Dobro that you can post? I'm curious to see how it was fixed.
Posted: Thu Apr 05, 2012 11:54 am
by robroe
it still lives in my old house with my parents. my mom's dad was the only owner of it. just chills under my old kid bed in its case. mom won't let it leave the house. she doesn't want bad mojo feathers.
actually im 99% sure now that it was made out of brass, not steel. (the whole guitar body is brass) the plate has tarnished much more than the body of the guitar over time. i think the body of the guitar has nickel in it too to keep it from getting shitty. im not up on my dobro history and how they were made.
i found a photo of one exactly like it. but without the fitting on the back of the head stock. the 3 in a line tuners were taken off, the plate fitted onto the headstock, and then the tuners were screwed into thru pilot holes in the plate and back into the guitar headstock.
Posted: Thu Apr 05, 2012 12:00 pm
by robroe
if you do go this route, the whole thing seems like it would be much more stable with using 2x3 units instead of 1x6 sets. all that extra material on the back would help it all stick together better.
http://www.allparts.com/Vintage-Style-3 ... 00-001.htm

Posted: Thu Apr 05, 2012 3:51 pm
by cur
I think rob's ideas is a good one. I have a hint for laminating with epoxy. I have lots of experience with epoxy resin lamination because I used this technique to build a 16' boat. You may know this already, but when laminating with epoxy, you need to use a filler to get a good contact and prevent a glue starved surface. Pre-coat the wood surface with epoxy and let is soak in. Depending on the wood it can soak up a bunch and the resin heats up and becomes thinner when the reaction is proceeding and soaks into the wood more. Once this sets in an hour or so you can laminate. Also use a slow set epoxy to give yourself some time. The bigger the batch, the hotter it gets and faster it sets. What works good as a filler is to collect dust from your belt sander collection bag. Then mix it into the epoxy resin until it is like peanut butter. Paste it up and laminate. When the stuff has stiffened but still green, use a razor blade to trim off any resin that oozed out.