Page 1 of 2
Black then White Over Burst Jaguar Project
Posted: Sun May 24, 2015 3:20 am
by HNB
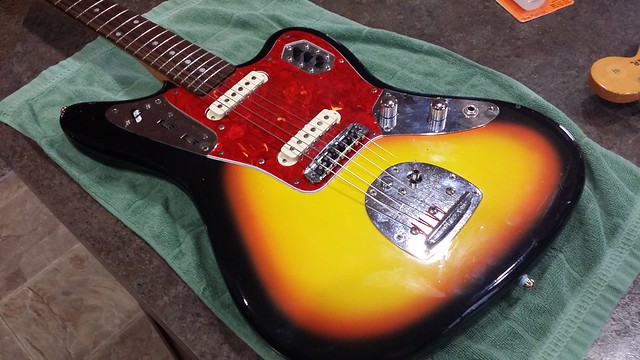
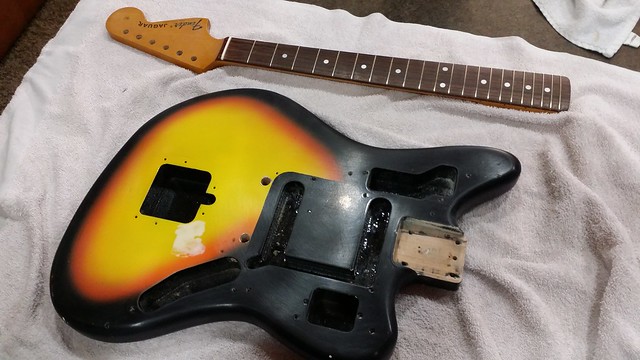
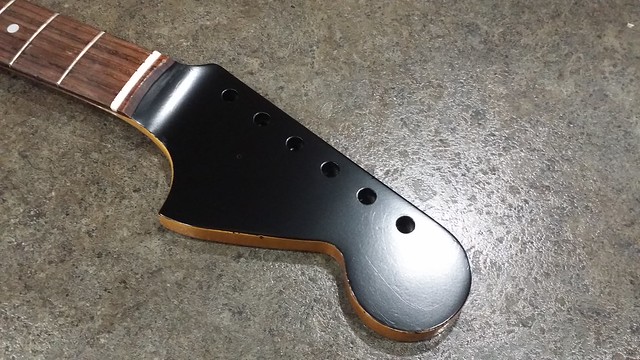
Picked this up in the sale area. I plan on painting it black with a matching headstock. Then I am going to sand through the black in some places showing the burst under it.
Here is what I am starting with.
 20150523_180417
 by
Christopher Louck, on Flickr
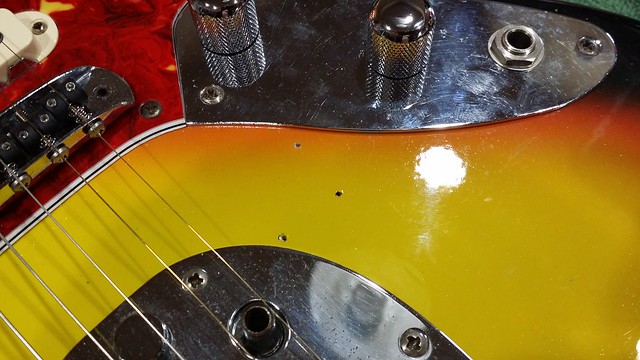
Three random little holes?
 20150523_180421
 by
Christopher Louck, on Flickr
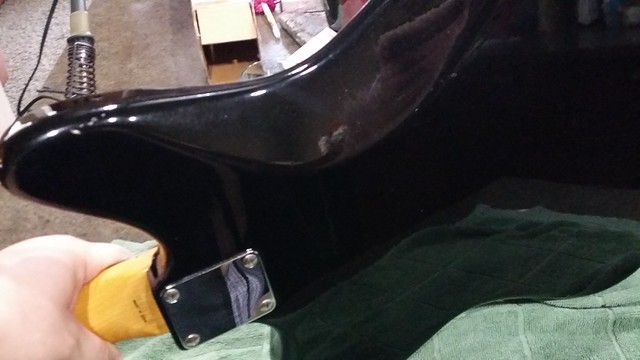
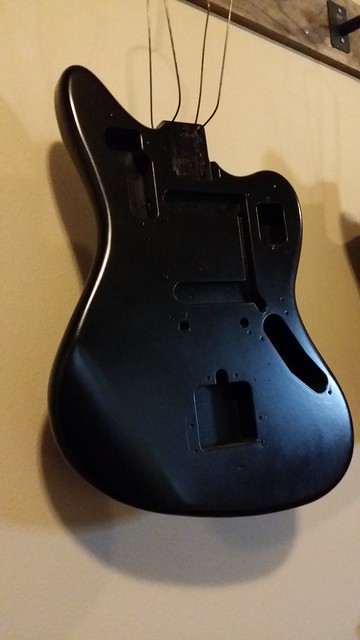
Totally a refin. All black back. (With sparkles.... )
 20150523_180439
 by
Christopher Louck, on Flickr
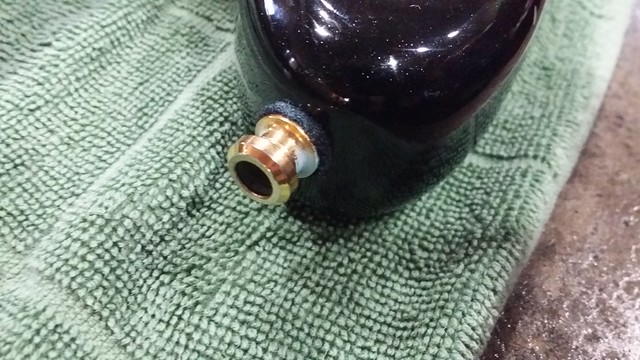
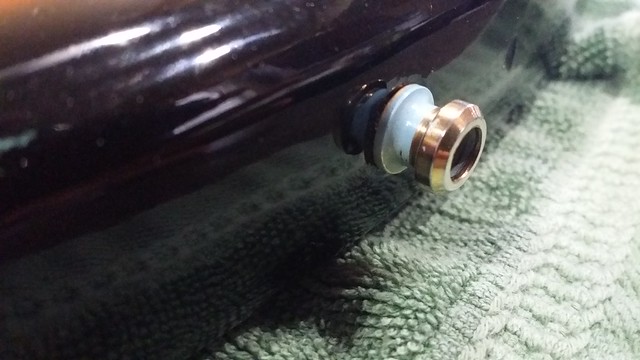
Non-Fender strap buttons...
 20150523_180516
 by
Christopher Louck, on Flickr
 20150523_180528
 by
Christopher Louck, on Flickr
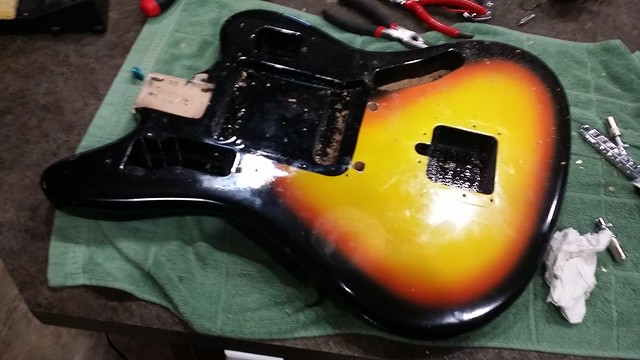
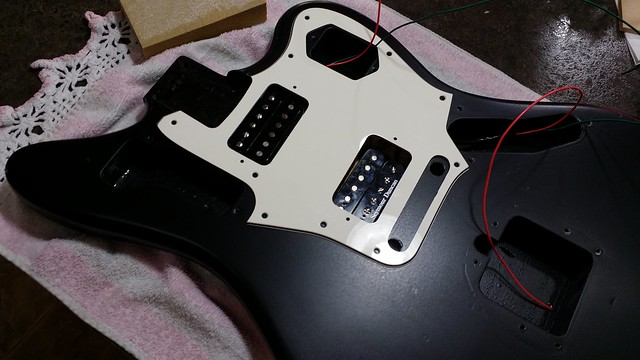
Did I mention it is a refin? Yeah that is right... the burst is only in that one area. (Pickguard area is black.)
 20150523_185807
 by
Christopher Louck, on Flickr
Got everything apart and steelwooled to be painted. Just waiting on masking tape.
 20150523_194008
 by
Christopher Louck, on Flickr
Posted: Sun May 24, 2015 4:23 am
by cur
I can't really imagine how this will look. So I am interested in the results.
Posted: Sun May 24, 2015 4:26 am
by HNB
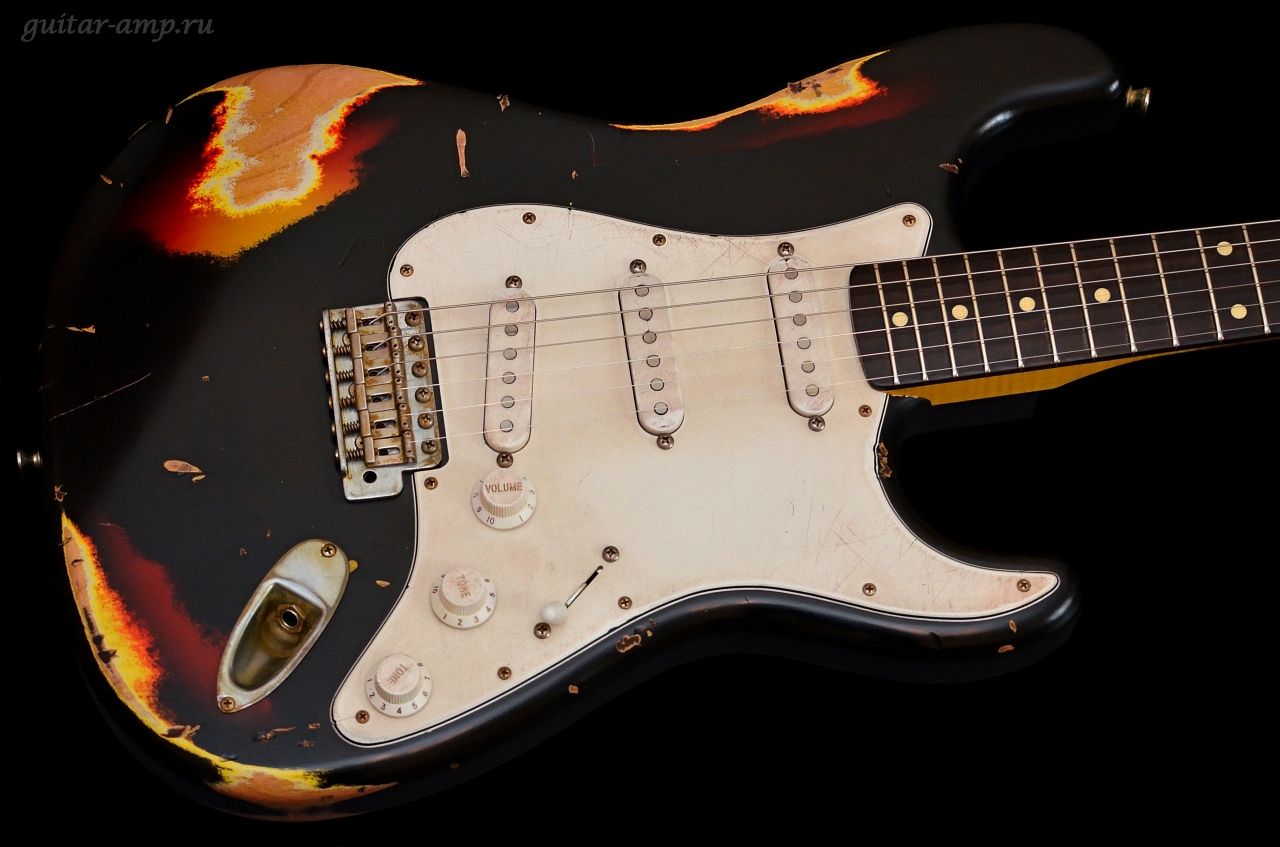
Kinda this.
Posted: Sun May 24, 2015 6:25 am
by HNB
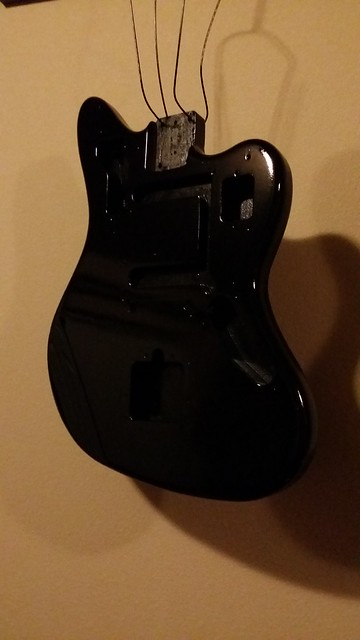
First coat of black.

 20150523_230458
 by
Christopher Louck, on Flickr
 20150523_230410
 by
Christopher Louck, on Flickr
It will have humbuckers and a TOM when I am done.
Posted: Sun May 24, 2015 5:53 pm
by cur
You start using your HVLP gun yet?
Posted: Sun May 24, 2015 9:52 pm
by HNB
LOL no.... My garage is still too full of crap to get it hooked up right.

Posted: Sun May 24, 2015 9:53 pm
by Bacchus
I actually quite like the burst that was on it. Looks servicemanish.
Posted: Sun May 24, 2015 9:58 pm
by HNB
Parts of it will show through again.
It is pretty bad really. It is yellow paint and black paint. A tiny bit of orange. Since it was painted over a finish, there is no wood showing through. Also the back was solid black. LOLOL
Posted: Sun May 24, 2015 11:45 pm
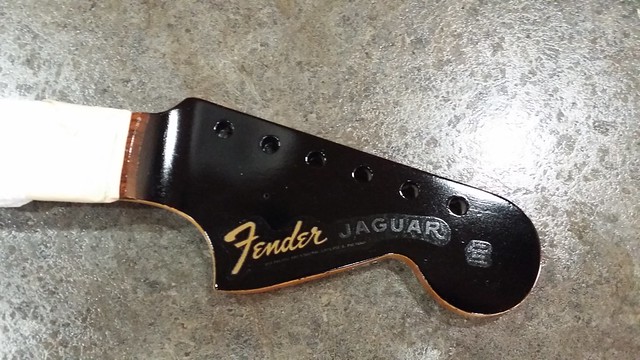
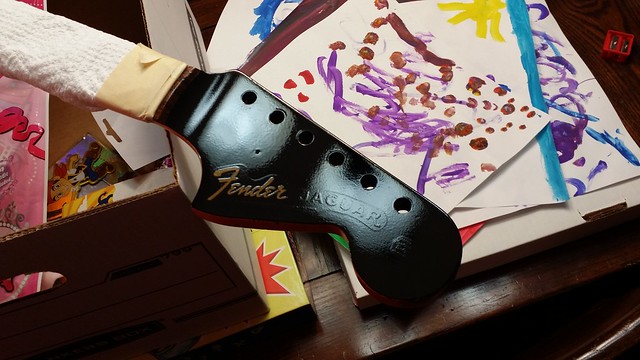
by HNB
 20150524_163541
 by
Christopher Louck, on Flickr
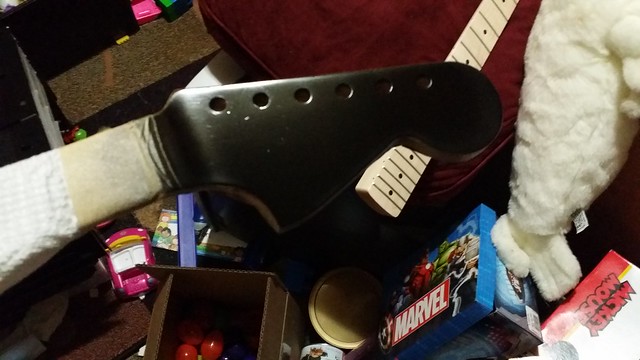
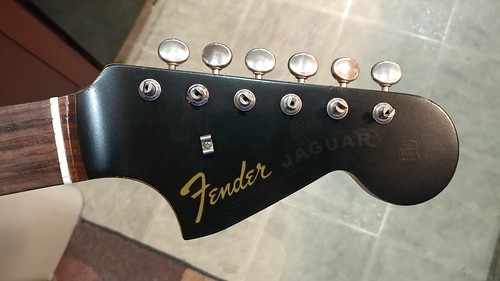
Headstock is done with black. I couldn't get a clean edge because it is dinged up, but when the rest is done, it should fit in fine since I am going to be kind of aging the body.
Once the lacquer cures, I will start getting clear on it.
Posted: Mon May 25, 2015 4:18 pm
by jcyphe
Would probably look better all black.
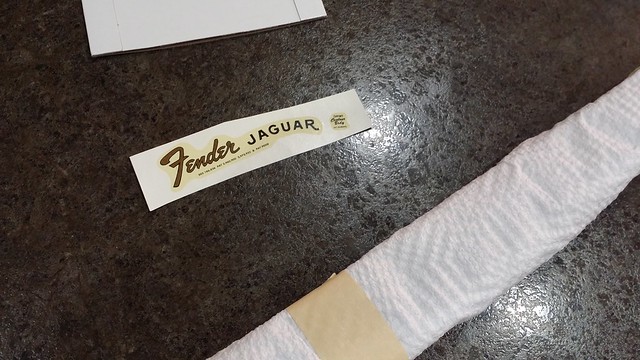
Posted: Fri May 29, 2015 3:17 am
by HNB
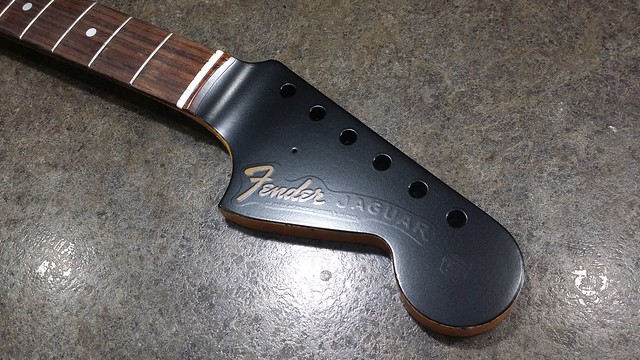
Posted: Fri May 29, 2015 10:38 am
by Thomas
The decal looks great. Nice jerb.
Posted: Sat May 30, 2015 2:59 am
by HNB
Thank yer.
More clear on the headstock and first round of satin clear on the body.
 20150529_192959
 by
Christopher Louck, on Flickr
 20150529_195541
 by
Christopher Louck, on Flickr
 20150529_195533
 by
Christopher Louck, on Flickr
Posted: Sat May 30, 2015 10:58 am
by Thomas
Lookin good man. It'll look ace when it starts to wear.
Posted: Sun May 31, 2015 7:46 pm
by HNB
Not sanded, but satin spray done.
 20150531_102400
 by
Christopher Louck, on Flickr
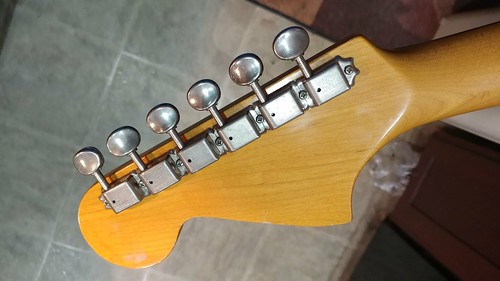
Started working on the back of the neck. All the shiny stuff is super glue in the dings and scratches.
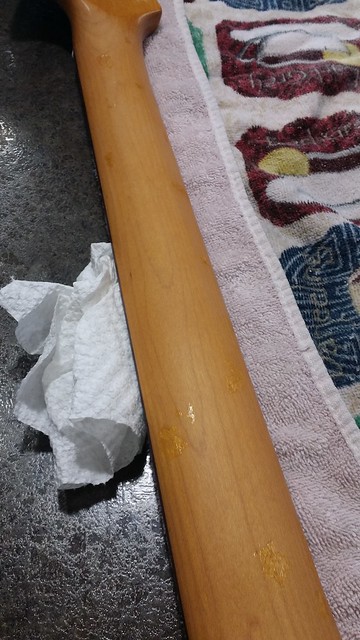 20150531_103610
 by
Christopher Louck, on Flickr
Posted: Sun May 31, 2015 8:46 pm
by HNB
Wore through the color coat in a couple spots, but looks worn, so no biggie. Main thing is it is smooth.
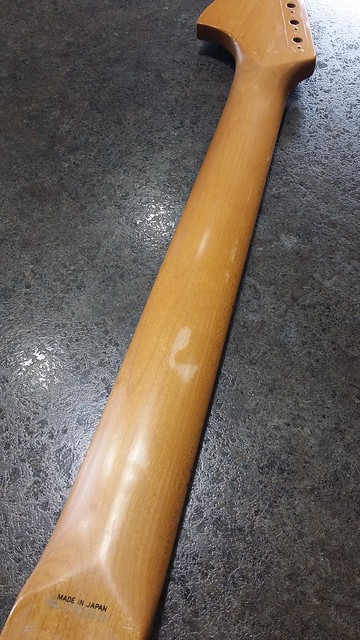 20150531_133950
 by
Christopher Louck, on Flickr
Also cleaned the fretboard.
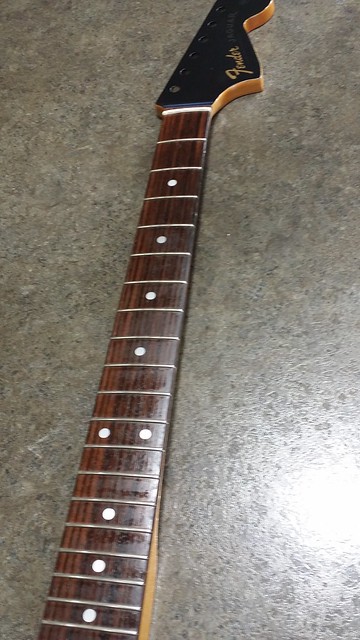 20150531_134257
 by
Christopher Louck, on Flickr
Posted: Mon Jun 01, 2015 12:34 am
by Awstin
I liked that burst a lot. Very in your face and cheap looking. Hopefully a good bit will shine through at least.
Posted: Tue Jun 09, 2015 3:14 am
by HNB
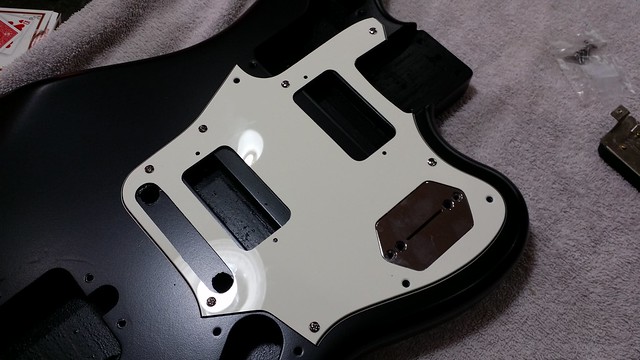
Got the guard Cooterfinger made for me. Here it is on the body with my tele switch plate.
 20150608_182513
 by
Christopher Louck, on Flickr
I outlined the openings with a pencil so I could put a humbucker template over the markings to help center them.
 20150608_182524
 by
Christopher Louck, on Flickr
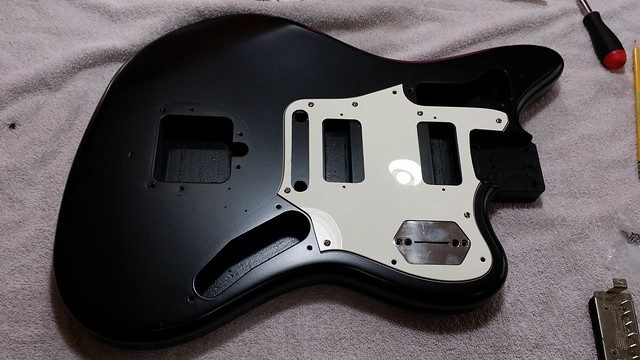
Taped off the body and routed the spots 1 1/8 deep. (The neck pickup has long legs and I just figured to do both the same.)
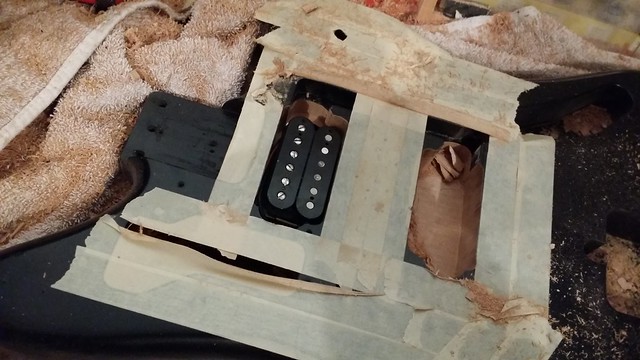 20150608_190435
 by
Christopher Louck, on Flickr
Pickups fit fine.
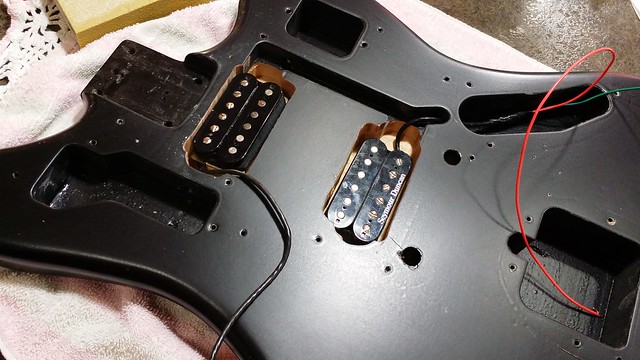 20150608_192244
 by
Christopher Louck, on Flickr
Some black paint to make it look sort of like it is supposed to be like this. LOL
 20150608_192858
 by
Christopher Louck, on Flickr
Body still needs to cure more, but it looks good! I will likely just do matte black and let it wear through on its own if it does.
 20150608_192144
 by
Christopher Louck, on Flickr
Posted: Sat Jan 14, 2017 4:06 am
by HNB
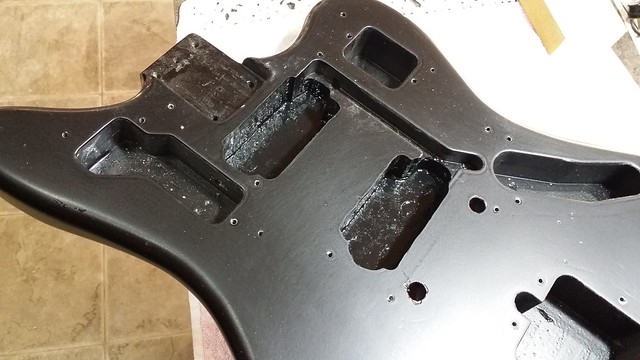
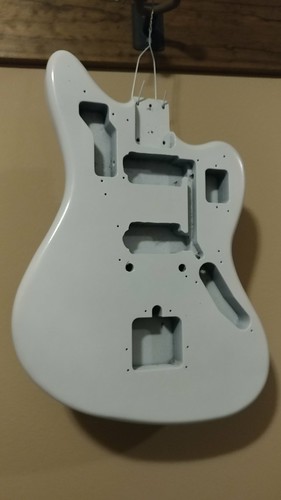
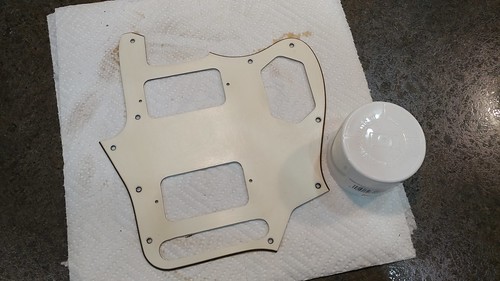
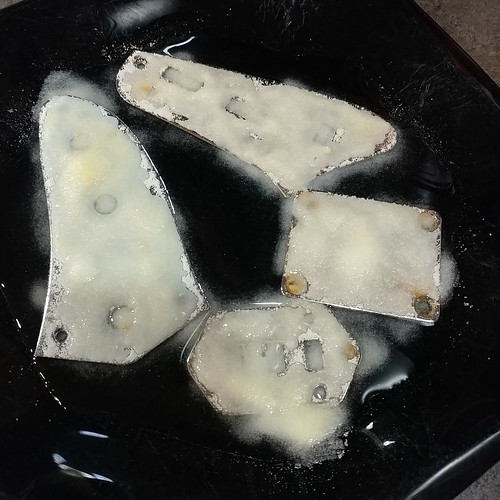
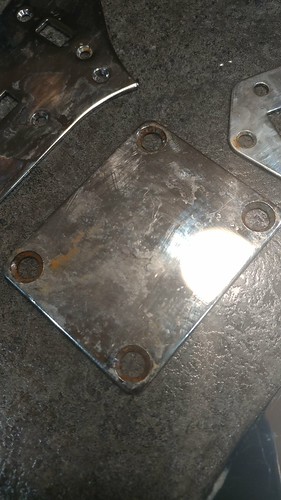
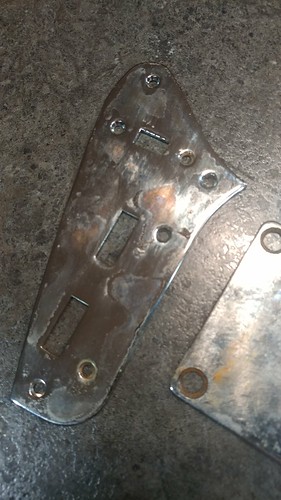
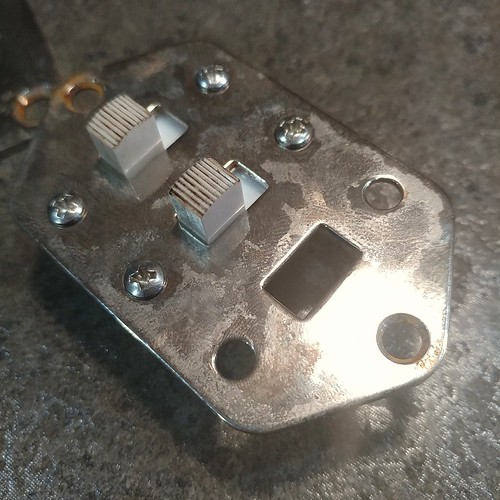
Long time no post on this project. To be honest, I got it close to being assembled and just wasn't excited about how it was going to look so I stopped working on it.... for almost two years... LOL I have a new plan and have some new steam. This is the last back burner project I have going on. Kind of excited to get it done. I didn't like the idea of all black with white guard and black pickups. Just kind of felt blah to me. I am doing to paint the body white and sand through to the black in some spots and such. I am going to go for chrome humbuckers. I am leaving the headstock black. I acid bathed the metal parts and have them rusting at the moment to go for a beater look. I am leaving the upper plate empty. The switch plate will just have two switches and no filter switch. That hole will be empty. The volume plate will just have a volume pot and knob so the second hole will be left empty. I kind of thought going for a haugepauge look might be kind of cool. At least it is exciting me to finish. I have the white done. I did two cans and will let them dry for a week before sanding. No clear since I want to sand through to the black in the usual places. Forearm, upper control area, and back belt/tummy area. I stained the white guard after sanding it to a matte finish so it has a beat up look. Anyways, here are the pics.
 20170113_164741
 by
Christopher Louck, on Flickr
 20170113_195531
 by
Christopher Louck, on Flickr
 20170113_195536
 by
Christopher Louck, on Flickr
 20170113_171750
 by
Christopher Louck, on Flickr
 2017-01-13_07-54-49
 by
Christopher Louck, on Flickr
Posted: Sat Jan 14, 2017 8:32 pm
by HNB
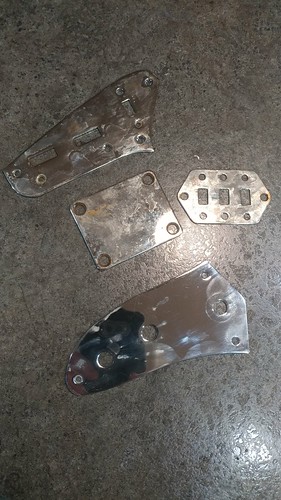
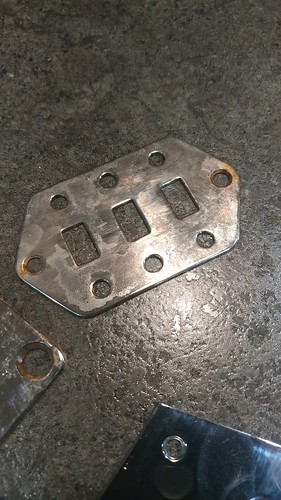
That volume control plate is a tank. It is back in the acid for a longer soak. It barely has any difference compared to the other parts. Here is how they are looking. I am pretty happy. I know that this kind of look is not natural. It isn't really what I am going for exactly. I want them to look beat up instead of shiney and covered in fingerprints. I also "aged" the white switches with dark walnut stain. Rubbed it on and wiped it off. It builds up in the little lines making them look kind of dirty. I like it.
 20170114_080703
 by
Christopher Louck, on Flickr
 20170114_080707
 by
Christopher Louck, on Flickr
 20170114_080710
 by
Christopher Louck, on Flickr
 20170114_080714
 by
Christopher Louck, on Flickr
 2017-01-14_12-27-48
 by
Christopher Louck, on Flickr